• LUCZORAMA SHIPWRECK SCAVENGER HUNT GIVEAWAY. 4 Weeks of Fun • 1 Legendary Prize ((OcCre’s Fram Ship)) • Global Crew Welcome!
    **VIEW THREAD HERE**

HM Cutter 'Trial' 1790 [1:64 Vanguard] - First attempt at a wooden ship

  • Thread starter Thread starter AlexP
  • Start date Start date
  • Watchers Watchers 5
Joined
Jun 10, 2025
Messages
8
Points
23

After years of my Dad telling me that I should, I finally cracked open Master and Commander and started reading. I of course got hooked immediately, and in addition to now having bought and read the first nine books of O'Brien's magnum opus, I determined that I had to build a model ship of the era. Now as the title says, this is something I've never done before, but I wouldn't count myself a complete novice, as I've done 1:1 scale woodworking my whole life (furniture and cabinetry mostly), and have been pretty obsesses with plastic models of airplanes these last six years. But still I figured I ought to find something reasonably straightforward and of manageable size to start with. The Vanguard Models products get great reviews, and one can peruse their extensive and detailed instruction manuals on-line. So despite that fact that they are definitely at the upper end of the price range, I figured this one, one of their simpler kits, would be a fine place to start.

IMG_3625.JPG

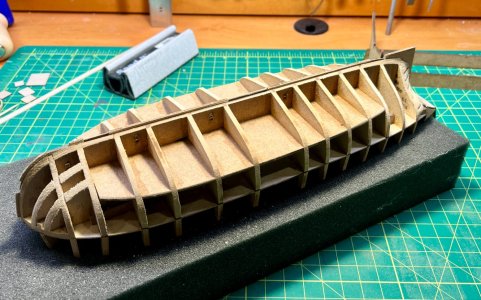
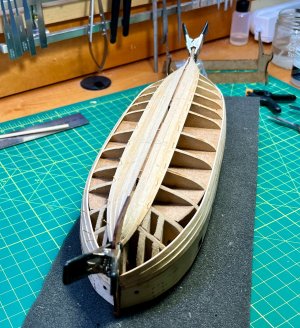
In addition to the deluxe full-color, spiral bound manual, there's a full set of to-scale plans included. The assembly process is quite straightforward, with the laser-cut MDF parts needing barely any sanding to fit perfectly. As easy to do as a high-quality plastic kit. So I ended up getting sucked in and neglecting to take any process photos until the point where I already had the keel, bulkheads, lower deck, and various bracing members joined up:
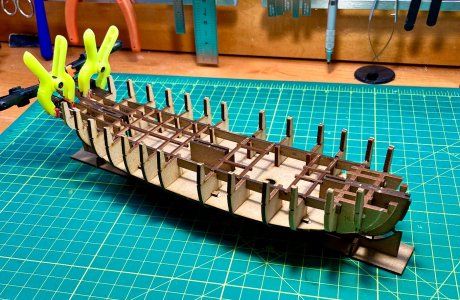
IMG_3635.JPG

From there it was a matter of adding the upper deck underlayment:
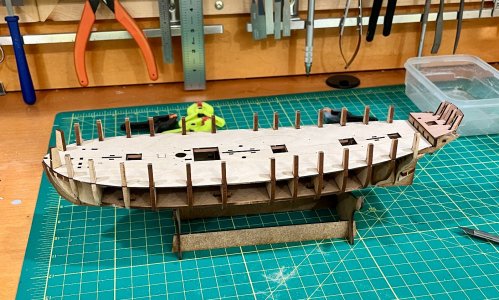
IMG_3636.JPG

And the fairing the bulkheads, first one side...
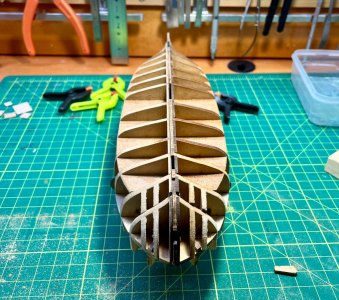
IMG_3637.JPG

And then the other.
IMG_3639.JPG

I think I slightly overdid it on the stern filler pieces right at the top by the transom, but it's not so much that I won't be able to compensate with some filler post-hoc.

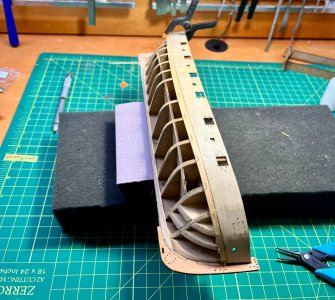
I added the first planking strip next to the keel, per the instructions.
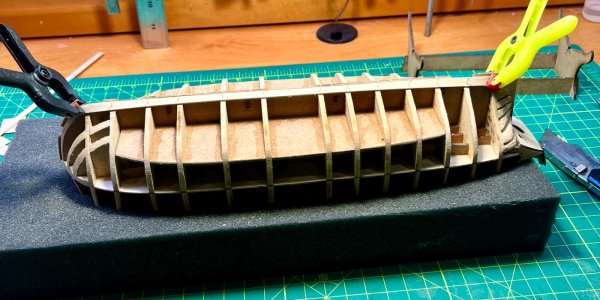
IMG_3640.JPG

And then the first layer of ultimately three that will make up the bulwarks.
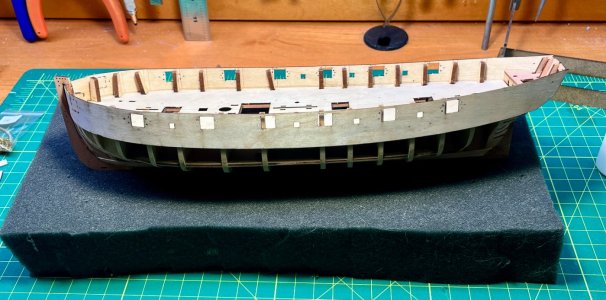
IMG_3641.JPG

I need to fair that up to the transom a bit and then I will be ready to start planking! So far this has been easier than I had been imagining it might be, thanks mostly to the great kit engineering and clear instructions. But I also have a sense that I'm doing the easy parts now, and that it may get more challenging as I move on to rigging a bit later.
 
It is a clean and meticulous work... We will follow the development with interest.
 
Welcome to SoS Alex.
Your build might be of great interest to the members here as there are not very many build logs with Vanguard kits at SoS compared to other kit brands. Seeing build logs elsewhere, Vanguard is definitely at the high end in price but also in quality in instructions and materials as well as accuracy (not perfect by any means) compared to the old name brands
Allan
 
Last edited:
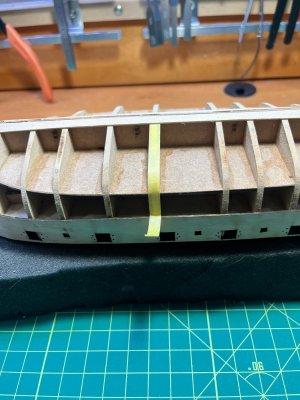
I've had my daughter's family visiting this past week, which has cut into modeling time (for a good cause). But I have been able to get a start on the first layer of planking. I started by measuring the length of each bulkhead to be covered to understand the degree of taper that would be required.
IMG_3642.JPG

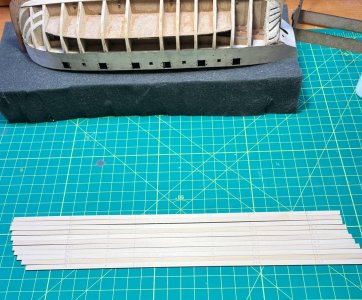
Just fit a piece of tape along the surface to be planked, then pull it off and lay it on a ruler to get the length along the curve. I put these measurements, along with the spacing between the bulkheads into a spreadsheet to calculate the taper I would need for 12 planks to fill the available space.
IMG_3643.JPG

From bulkhead 2 to 12, the spacing is basically uniform, but obviously the distance from those bulkheads to the stem or sternpost varies significantly, so the defined points of the taper occur at different spots relative to the ends of the planks.

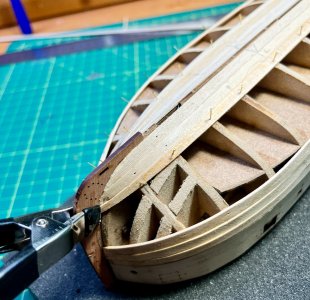
At this point I've got about a quarter of the planks on, and I'm hopefully getting a bit better at the process. I have been fiddling around with the right kind of jig to enable edge-bending these planks near their ends, which is necessary to get a tight fit, especially near the bow.
IMG_3646.JPG

IMG_3681.JPG

IMG_3692.JPG
 
Does this kit call for a second layer of planking? The reason I ask is because you can use the first layer for practice including marking off the frames to correctly taper the planks so they all end at the rabbet at the stem. It really is not a big deal for the first layer if there are to be two layers, but it is good practice. There are some good planking tutorials that can help if you are interested. Many builders find the first layer to be good practice for sizing the planks and also to avoid the lifting you are experiencing from trying to edge bend right on the hull.
Allan
1751990296620.jpeg
 
Yes, it absolutely does use two layers of planking, with the second in smaller 4x0.8mm pear (first is in 5x1mm limewood). And as I progress I am seeing that I've underestimated the degree to which I have to taper at the bow, so I have to compensate in my last 5-6 planks on each side.
 
And for clarity, I'm trying to edge bend off the hull, before applying the planks, but I had underdone it on several. I've revised my jig and am edge-bending more aggressively now, and the planks are fitting better. This is all definitely practice for layer #2....
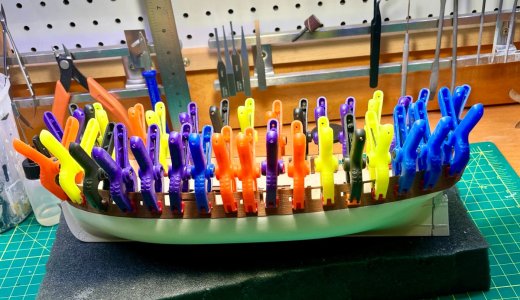
 
I've revised my jig
This sounds intriguing. Can you post pictures of this? Never thought about a jig that could do more than one or maybe two edge bends per side as every strake lies a little differently. TIA
Allan
 
Last edited:
This sounds intriguing. Can you post pictures of this? Never thought about a jig that could do more than one or maybe two edge bends per side as every strake lies a little differently. TIA
Allan
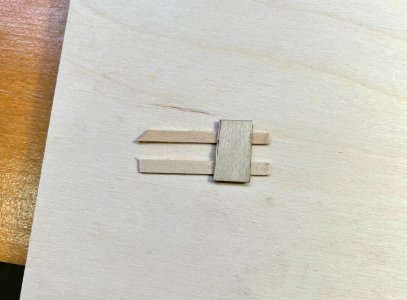
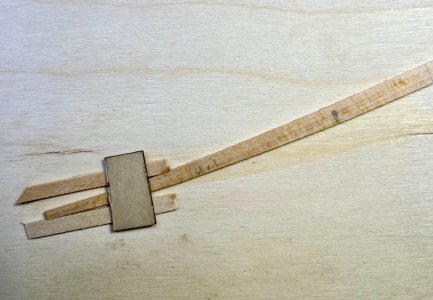
I'm afraid it's about as simple as something can be and still maybe qualify as a "jig". I've just glued two spare pieces of 1mm plank to a piece of plywood, and then a small piece of thin plywood over them:
IMG_3695.JPG

To edge bend a plank I just moisten it and then slip it through thusly:
IMG_3696.JPG

By bending it to the side and pressing down with this thing:
IMG_3698 2.JPG

I can make a permanent edge bend in it.
IMG_3697 2.JPG

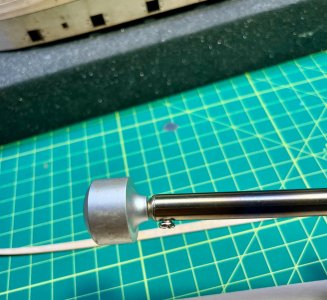
I have been having to do a couple rounds of this to get enough bend into the bow section of the planks. Once I have enough edge bend in the right places, I move on to flat bend, which is easy to do with the bending iron obviously, and then to twist, which is especially required near the transom. I've been learning how to eyeball the right 3D shape for the final plank through fitting, bending more, fitting again, etc. I've been tending to start by over-doing the edge bend, since it's easy to reverse just by dampening the plank and applying a little force with your fingers.

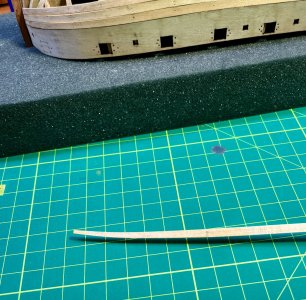
Here is a plank ready to install.
IMG_3699 2.JPG

It fit pretty nicely (it's the one furthest from the keel of the three planks next to the keel on the port side.
IMG_3700 2.JPG
IMG_3701 2.JPG

You can see on the one above it I kind of mashed the leading edge, but that's OK as this layer will be covered. Presumably the rabbet in the stem that's produced by attaching the final stem trim pieces will serve to capture the leading edges of the second round planks.
 
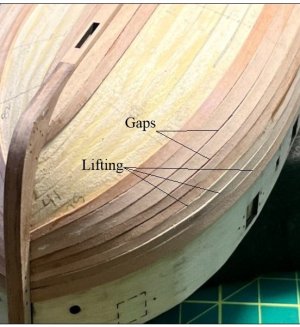
Thanks for posting your photos, it is very much appreciated. It is great to see planking being tapered in breadth. With your jig set up, how do you know how much to edge bend each strake? There is a lot of lifting in the photos, thus my question. Thanks again Alex:)

Allan
 
I’m doing the edge bending kind of by trial and error. Certainly some of the earlier ones had insufficient bend and do not lie flat on the bulkheads. I’m going to have to deal with that at the sanding stage with some judiciously applied filler to make sure that I don’t sand through any of them. But I think I’ve got the hang of it now, so hopefully the second layer of planking will go on much cleaner. I will also do a better job of sufficiently tapering the second layer, which I undershot early on.
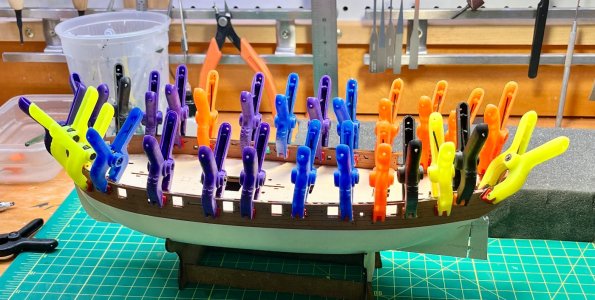
 
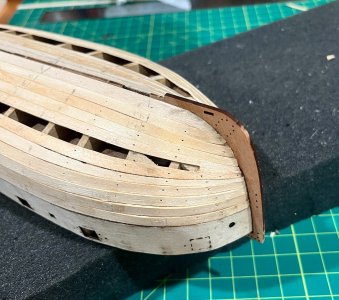
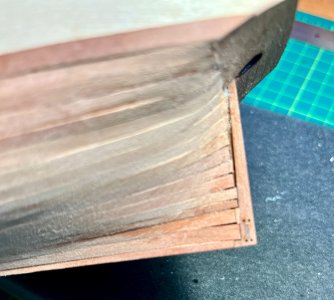
On the port side, I had put on too many planks with the bow section being too wide before I realized the problem, such that for the final three planks I did not want to try and taper them to fit all the way to the stem. Instead I did this:
IMG_3817.JPG

Such that the final plank terminated one bulkhead back from the stem. Seems to have worked OK, and will be covered up by the second layer of planks. Despite my attempt to measure carefully, I realized that the planks were too wide at the front because I was tapering them to the set width at the end, but then trimming them back significantly to get the right length. So of course the place I trimmed to was wider. Doh. Live and learn. A side consequence of these over-wide early planks is that they forced later planks to have to edge-bend more severely. The ones that needed the most extreme bend were very hard to carry off - the wood really resisted such a sharp bend. For the second layer, I'm going to go from the bulwark down, not from both sides in, and if anything I will over-taper the early planks at the bow to reduce the amount of edge-bending required in the mid part of the hull.

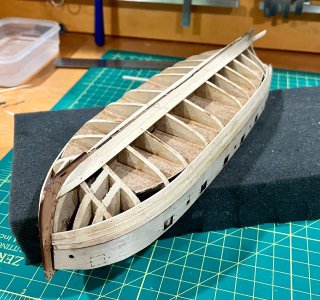
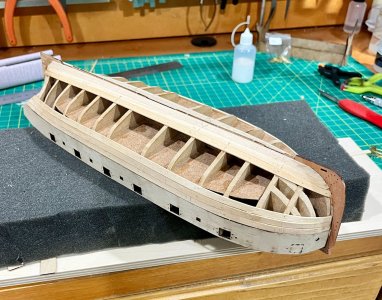
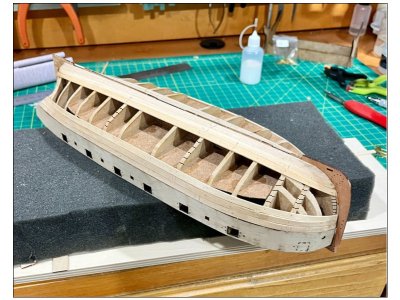
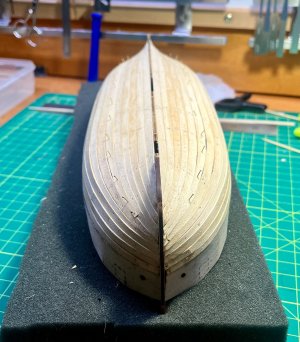
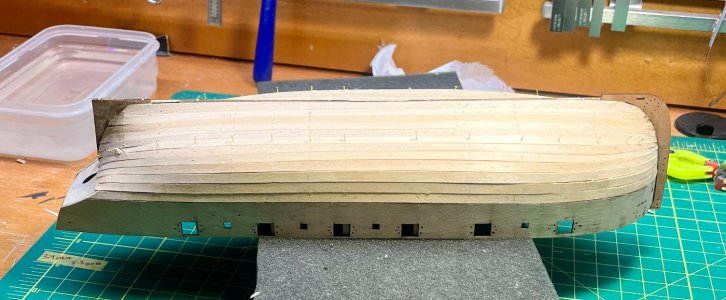
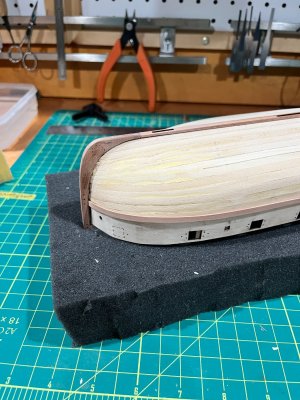
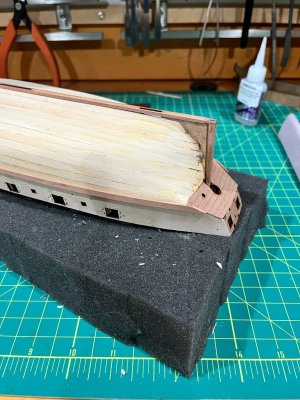
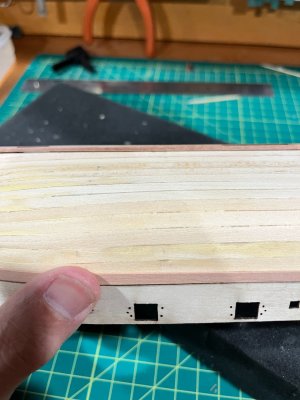
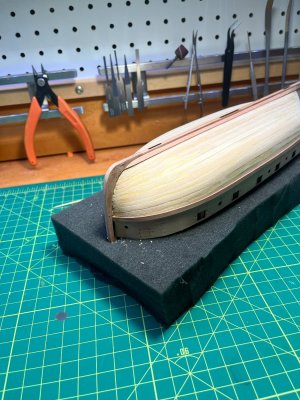
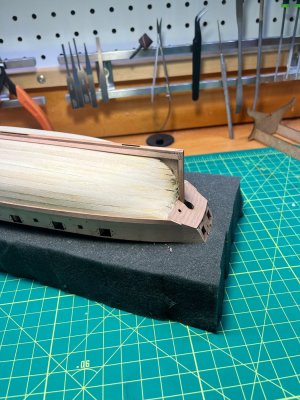
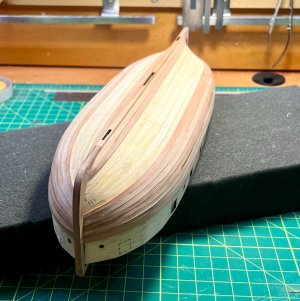
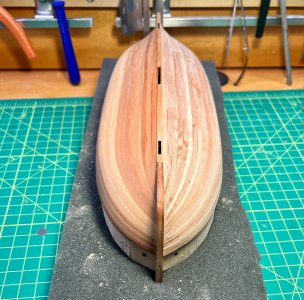
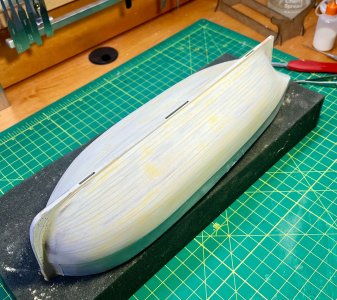
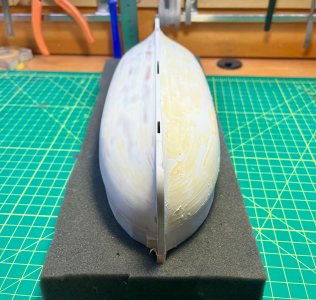
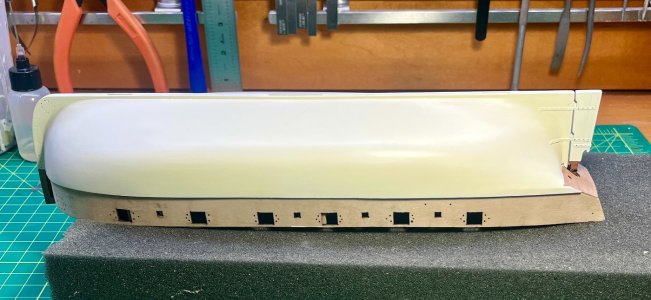
At any rate, all of the planks are finally on. The last plank was just a hair too narrow in a few spots, but nothing that's beyond filling. I will do some structural gap filling with thick CA before using Elmers wood filler to help fair the shape of the hull ahead of the second layer.
IMG_3818.JPG
IMG_3819.JPG
 
Back
Top