• Ships of Scale has incorportated an extra level of security when you log In. Please follow on-screen prompts to acknowledge that you are not a robot via a "Check Box" or a "Pictorial Check Box Puzzle". This is needed due to higher level of AI Activity Security.
  • SUBSCRIBE TO SHIPS IN SCALE TODAY!

    The beloved Ships in Scale Magazine is back and charting a new course for 2026!
    Discover new skills, new techniques, and new inspirations in every issue.

    NOTE THAT OUR NEXT ISSUE WILL BE July/August 2026
  • Win a Free Custom Engraved Brass Coin!!!
    As a way to introduce our brass coins to the community, we will raffle off a free coin during the month of August. Follow link ABOVE for instructions for entering.

HMAV Bounty 1:48 (based on) Artesania Latina Kit

Good afternoon!

Just a quick update from France. I haven’t posted much lately. Not because nothing was happening on the Bounty, but because it was all just the same tasks over and over again: cutting en gluing sails en sewing in lines, etc.

I’ve now decided which sails I’ll install completely, which ones I’ll stow, and which ones I’ll leave out entirely.

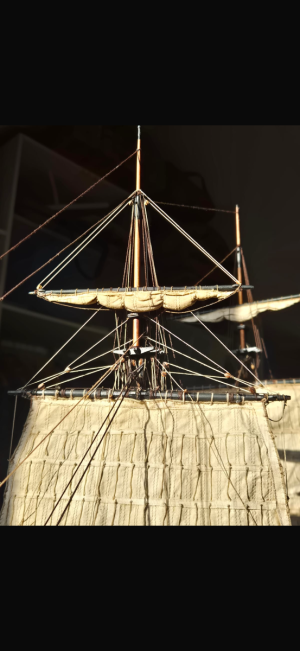
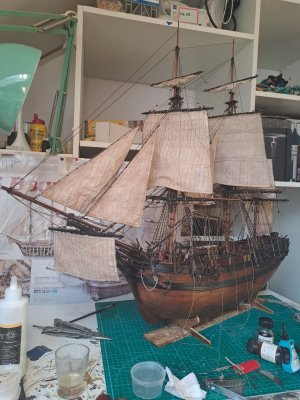
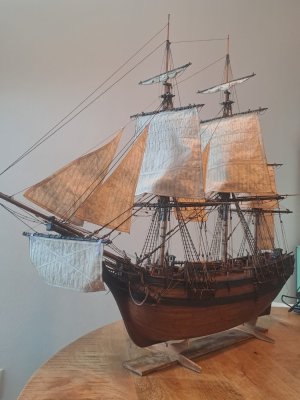
Below is a photo of what my Bounty will ultimately look like, with the salie currently installed Dry Fit

It’s the same photo twice. For the second photo, I used AI to add a black background.
f2a6182f-1748-46b9-8135-9e3cb80d17da.jpeg

eeead94d-2902-4c43-88ad-f5ae9c6444ec.jpeg
 
Hi from Australia,
First of all you are doing a fantastic job!
I'm building a 1:48 Bounty from a 1990's AL kit at the moment but it's a slightly different model.

I'm currently building the Windlass lathe following the very poor instructions and photos provided with the kit - so I'm checking your posts for tips and inspiration.
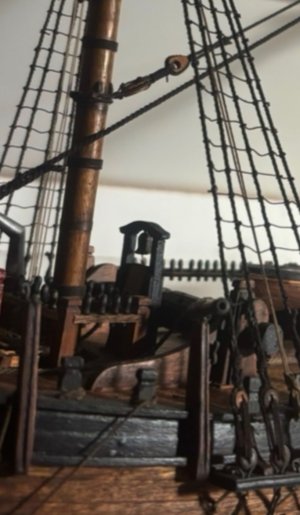
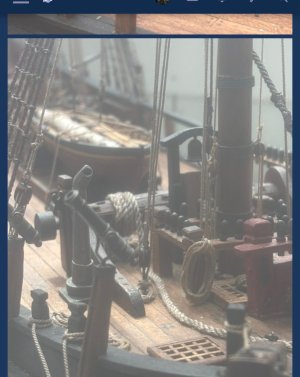
I noticed in your earlier photos the bell on top of the windlass bit was mounted with a simple strip of metal but in the newer photos the bell has a proper wooden support frame. When and why did you make this change and if it's not too much trouble could you please provide an updated detail photo of your lathe?
 
Good afternoon!

Just a quick update from France. I haven’t posted much lately. Not because nothing was happening on the Bounty, but because it was all just the same tasks over and over again: cutting en gluing sails en sewing in lines, etc.

I’ve now decided which sails I’ll install completely, which ones I’ll stow, and which ones I’ll leave out entirely.

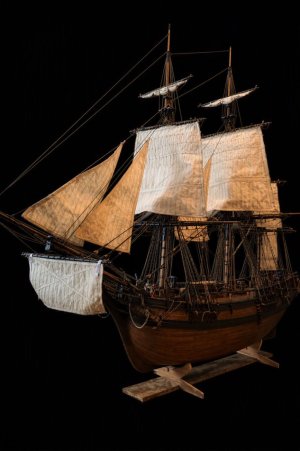
Below is a photo of what my Bounty will ultimately look like, with the salie currently installed Dry Fit

It’s the same photo twice. For the second photo, I used AI to add a black background.
View attachment 621720

View attachment 621721
Good morning Eric. Fabulously executed. Love it. Cheers Grant
 
I noticed in your earlier photos the bell on top of the windlass bit was mounted with a simple strip of metal but in the newer photos the bell has a proper wooden support frame. When and why did you make this change and

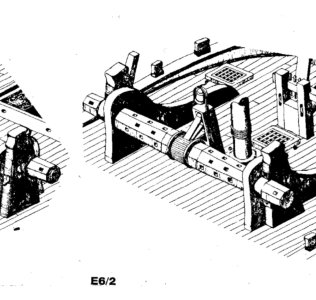
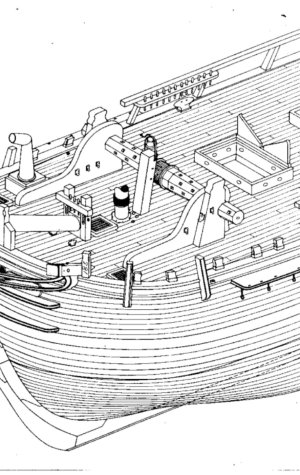
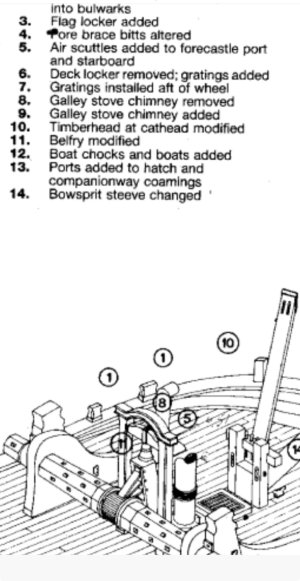
Hi Ozbrian, It is true that I initially mounted the ship's bell according to the kit's instructions. I never really liked that way of hanging the bell. McCay's book shows several views of the windlassand the ship's bell. Initially, he also depicts the bell hanging from just a steel rod. A bit further on in the book, the bell appears again, but this time hanging from a "modified belfry." I don't know why—or if—the Bounty actually received a different belfry, but I thought it looked much better that way. That is why I rebuilt the belfry myself using some scrap wood. Below are the illustrations from McCay's book that I am referring to.

IMG_7015.jpegIMG_7014.jpegIMG_7017.jpeg
 
if it's not too much trouble could you please provide an updated detail photo of your lathe?
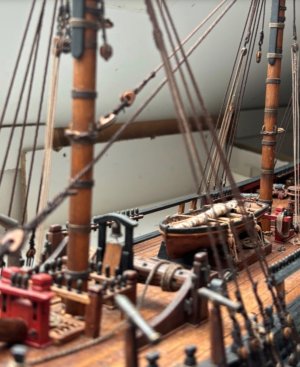
I’m currently on vacation, so I can’t take a photo for you right now. However, I’ve included some photos from my archive below. For a more detailed account, you can also check out our Dutch forum:

IMG_7010.jpegIMG_7011.jpegIMG_7012.jpeg
 
I’m currently on vacation, so I can’t take a photo for you right now. However, I’ve included some photos from my archive below. For a more detailed account, you can also check out our Dutch forum:
Thank you so much for that Erik. I probably have enough information with all the wonderful photo's you have posted of your brilliant work.

The index from the book you posted lists it as "Belfry Modified", and it also shows the Galley stove chimney in both it's original and new position.
I'd say the bell mount must have changed during the Bethia refit and yours is the historically correct version for the Bounty.

Enjoy your vacation!
 
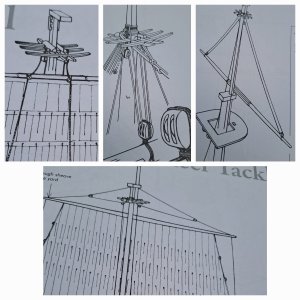
I’ve almost completely moved away from AL’s drawing. For the rigging I’m using Lennard Peterson’s book. His work is highly recommended for anyone building a British ship from the second half of the 18th century!
One thing to note, though: Peterson makes all the rope functions very clear with individual illustrations, but doesn’t show what everything ultimately looks like TOGETHER in relation to each other.
As an example, below are a few illustrations from the book, followed by all the rope functions together on my model.

By referring to photos of other similar ship models, I was able to position all the blocks roughly in the correct relative positions to one another. That said, all opinions and suggestions are welcome!

1.jpg2.png3.jpg
 
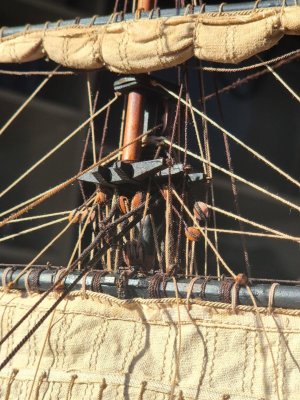
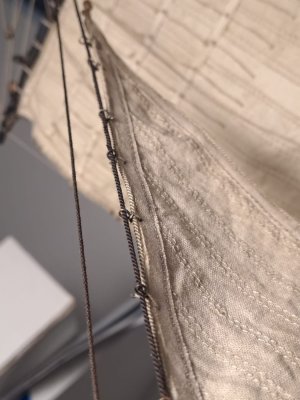
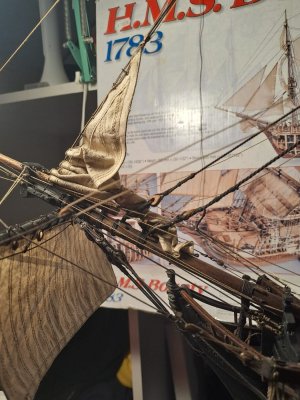
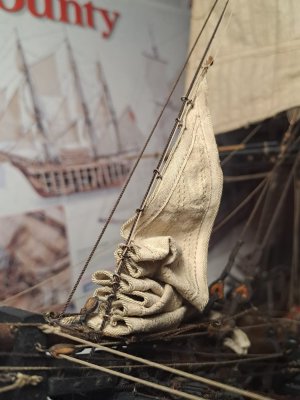
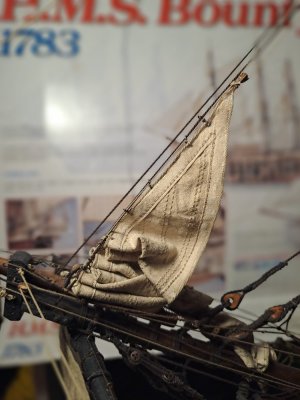
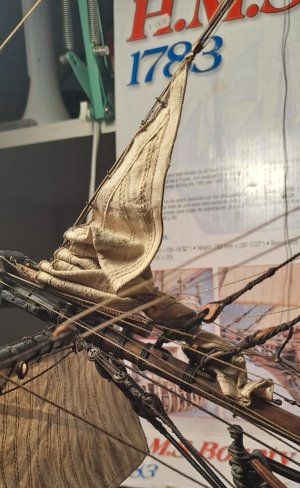
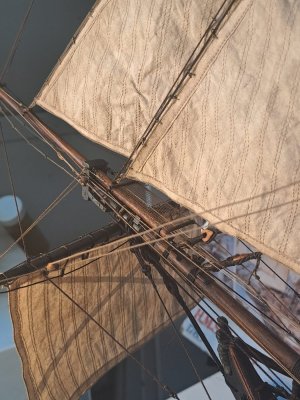
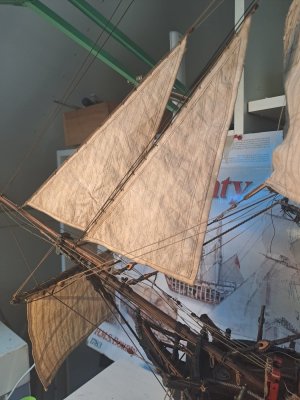
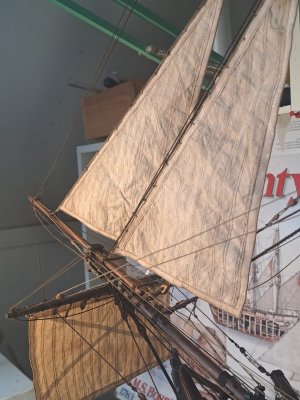
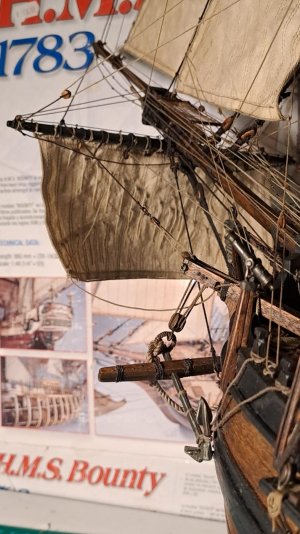
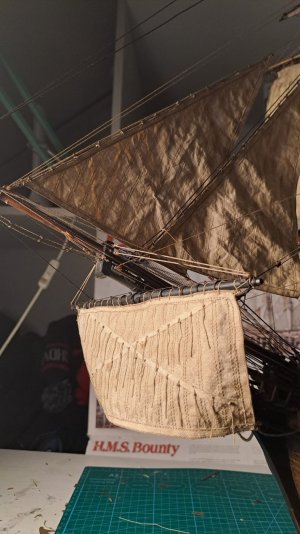
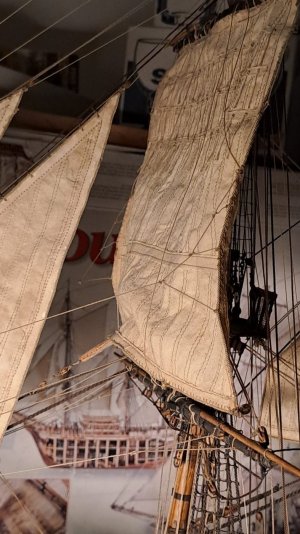
Time for another update! I have permanently rigged the staysails onto the stays between the foremast and the bowsprit, including the necessary running rigging. Although I installed two staysails in the fully hoisted position, I first stowed one of them in the designated "basket" above the bowsprit—purely for the sake of the photos (so that basket wouldn't have been made for nothing, after all). I’ll let the photos speak for themselves.

1.JPG2.JPG

4.JPG5.JPG6.JPG7.JPG7a.jpg8.JPG9.JPG9a.JPG10.JPG
 
Last edited:
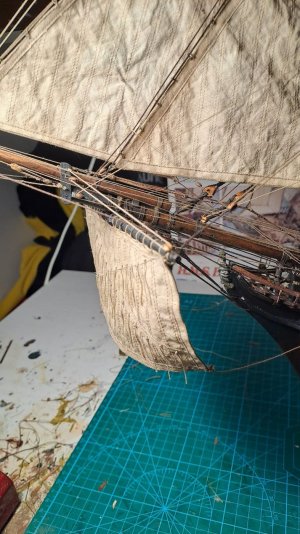
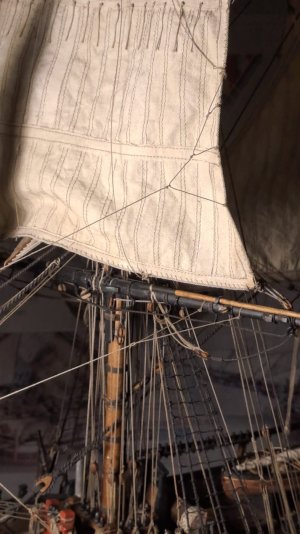
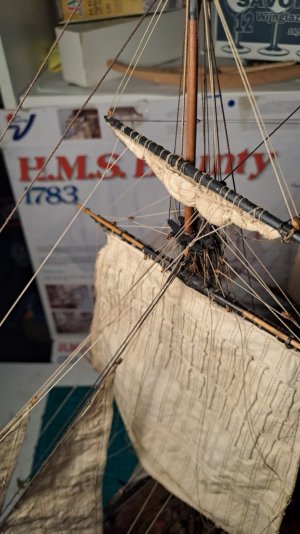
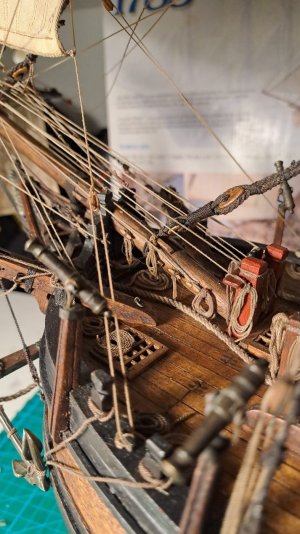
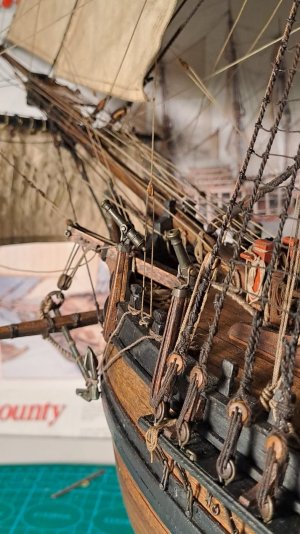
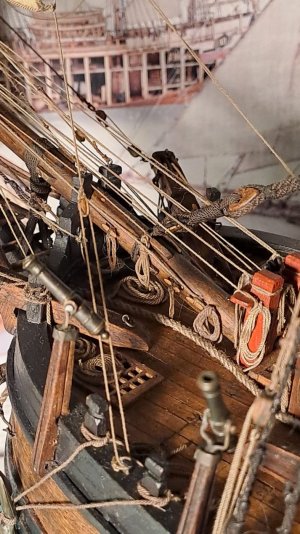
The blind sail has now been permanently secured as well. I’ve also fitted the ‘bow lines’. When there’s no sail on the yard or the sail is stowed away, I’ve attached (the first part of) the bow lines to the yard.

Here are a few more detailed photos of all those lines now laid around the bowsprit. To be honest, I’ve almost no idea myself where exactly each line comes from. I suppose experienced sailors knew that off by heart?

1.JPG2.JPG3.JPG4.JPG5.JPG6.JPG7.JPG8.JPG

9.JPG
 
Time for another update! I have permanently rigged the staysails onto the stays between the foremast and the bowsprit, including the necessary running rigging. Although I installed two staysails in the fully hoisted position, I first stowed one of them in the designated "basket" above the bowsprit—purely for the sake of the photos (so that basket wouldn't have been made for nothing, after all). I’ll let the photos speak for themselves.

View attachment 640014View attachment 640015

View attachment 640017View attachment 640018View attachment 640019View attachment 640020View attachment 640021View attachment 640022View attachment 640023View attachment 640024View attachment 640025
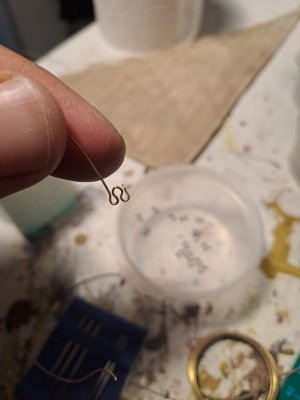
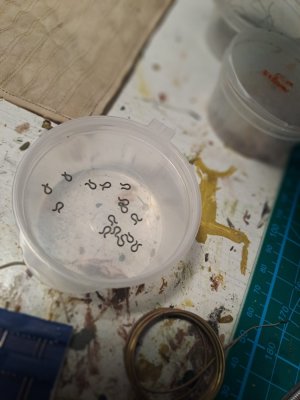
You made some very nicely scaled hanks to run the sails along the stays, Erik.
Regards, Peter
 
The blind sail has now been permanently secured as well. I’ve also fitted the ‘bow lines’. When there’s no sail on the yard or the sail is stowed away, I’ve attached (the first part of) the bow lines to the yard.

Here are a few more detailed photos of all those lines now laid around the bowsprit. To be honest, I’ve almost no idea myself where exactly each line comes from. I suppose experienced sailors knew that off by heart?

View attachment 640736View attachment 640737View attachment 640738View attachment 640739View attachment 640740View attachment 640741View attachment 640742View attachment 640743

View attachment 640744
And that bowsprit looks IMPRESSIVE!. Nicely done.
Regards, Peter
 
Back
Top