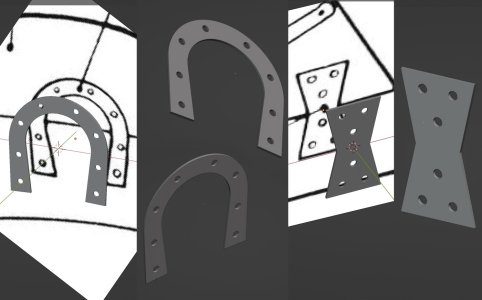
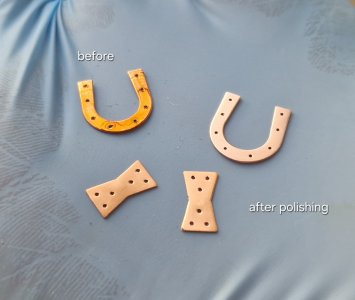
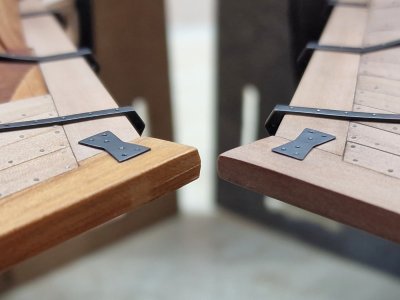
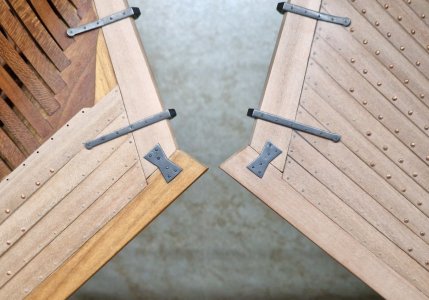
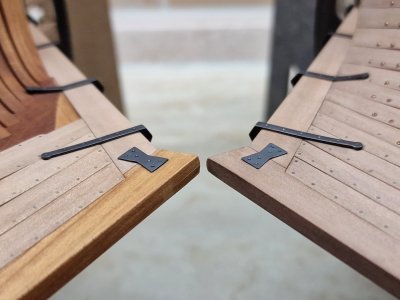
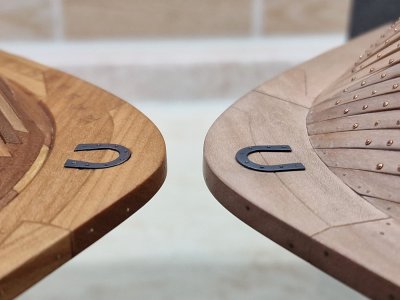
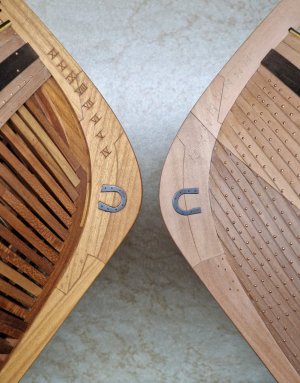
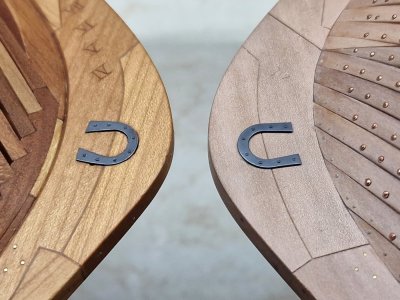
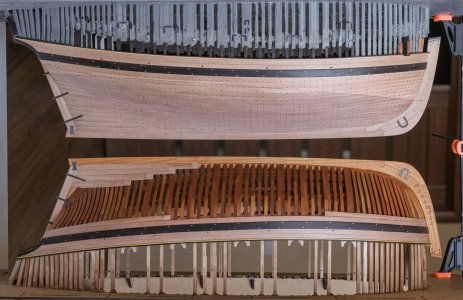
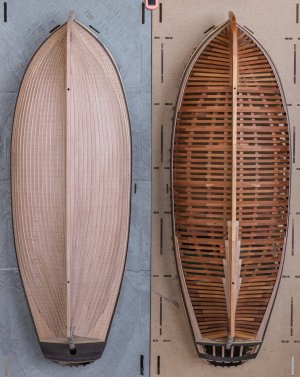
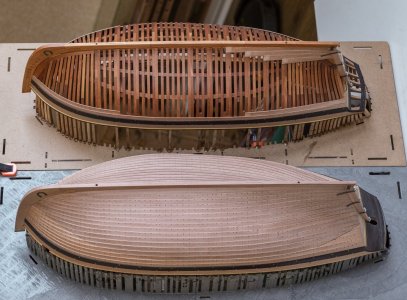
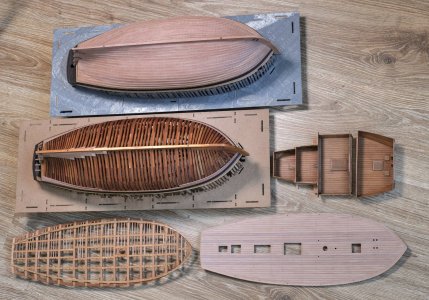
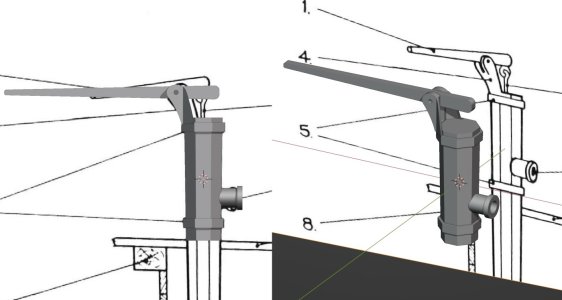
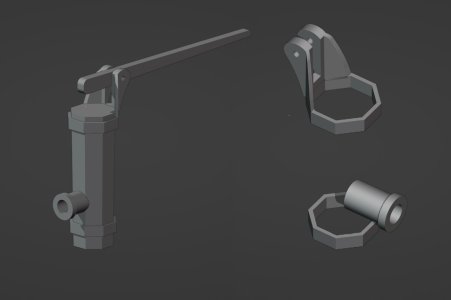
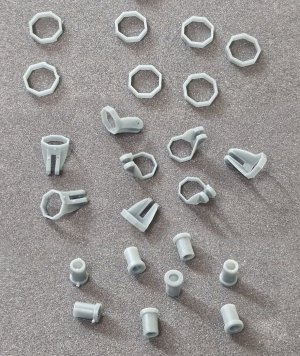
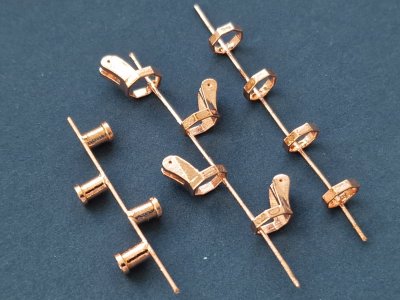
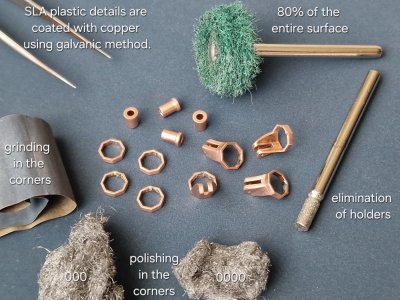
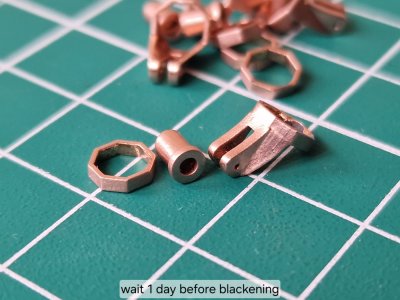
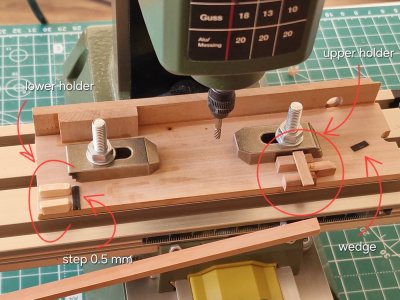
* I'll continue the review using the sample from my website, with reference to the current engraving...
Chapter 26. On the Decks (Part 4)
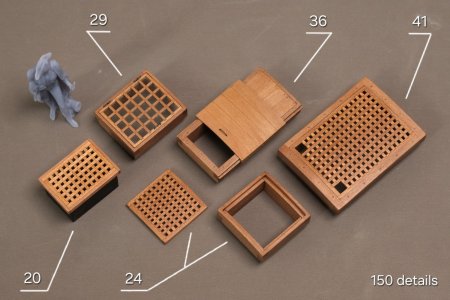
Gratings.
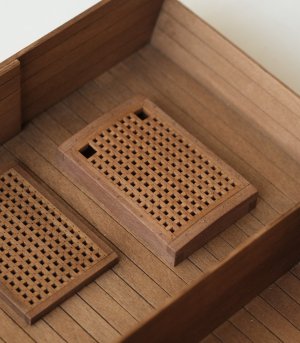
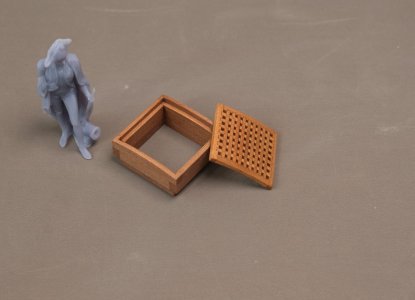
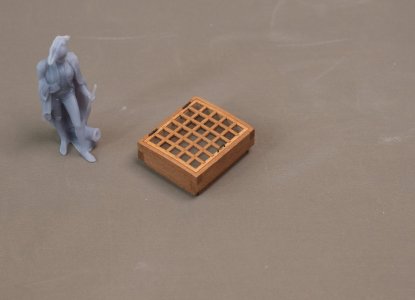
So, a huge milestone has been achieved; the hulls and decks are almost complete, and now I'm returning to the deck rigging and will begin with finishing the gratings.
View attachment 631198
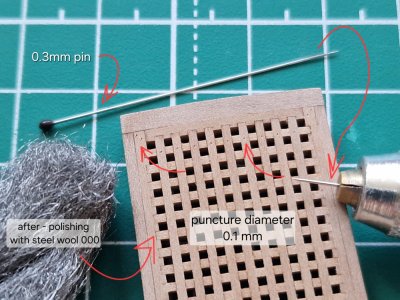
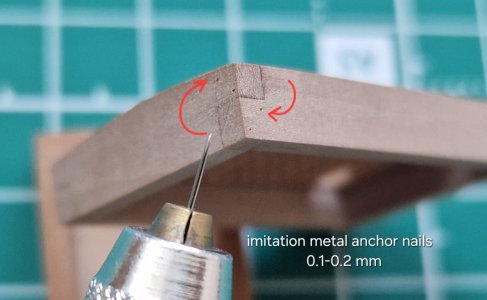
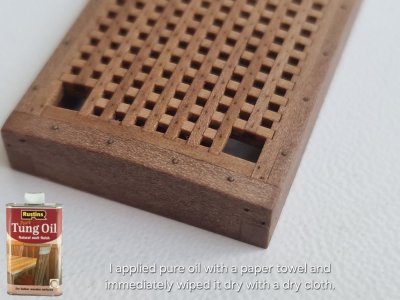
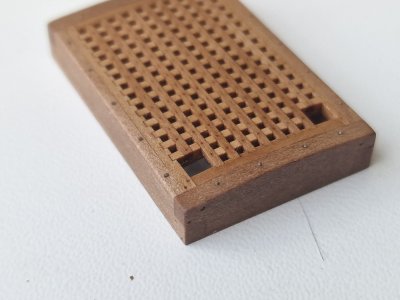
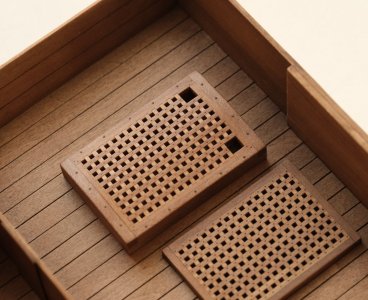
This time I made an imitation of the nails that connected the gratings themselves and the nails that fastened the frames...
View attachment 631203
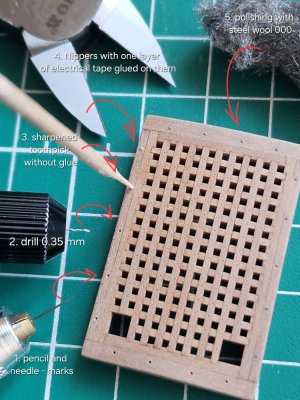
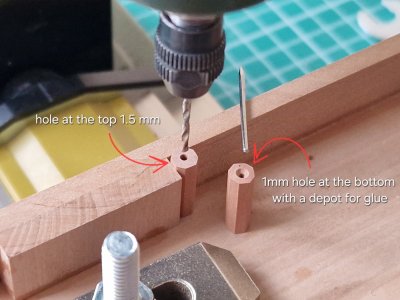
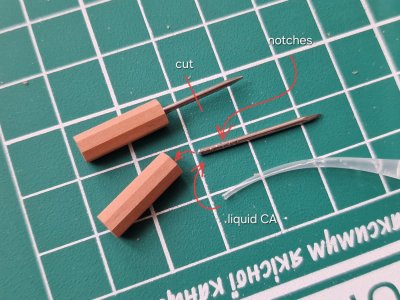
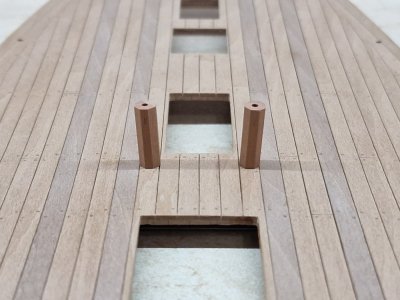
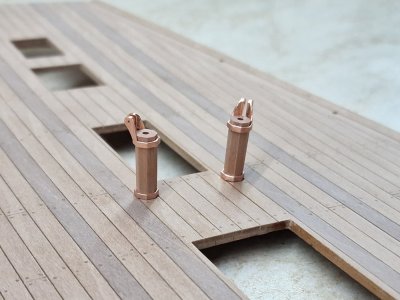
...and I thought long and hard, and finally decided to make imitation plugs over the bolts that secured the frames to the beams and carlings. I haven't yet decided whether I'll do this where the frames are thin, but where the thickness allows, I will.
View attachment 631204
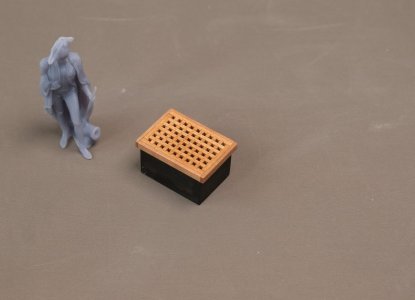
I'm still thinking about doing the same on the first body kit, but to protect the oil coating, I'll cover it with masking tape.
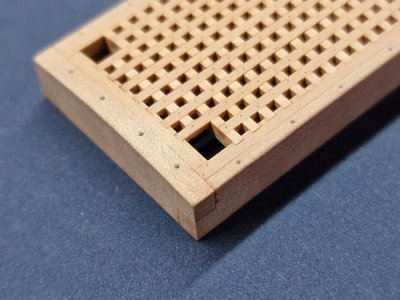
I wanted to create a sense of presence... that is, so that the small details wouldn't overwhelm the main part from a distance, so that they wouldn't look like contrasting dots, but so that all the fine detailing would only be visible up close and just enough to be distinguishable from the main body.
View attachment 631205
And now, the most important and most interesting part... and for me, it's also the most challenging and the most terrifying!!! This is the oil coating. What's the big deal? But I'm making a museum-style model, and after the coating, it initially becomes much darker than before. And then there's the bitumen... And it's important to have a sense of proportion. If it's too light, the antique, museum-like effect will be lost, and if it's too dark, everything could blur into one black spot...
View attachment 631212
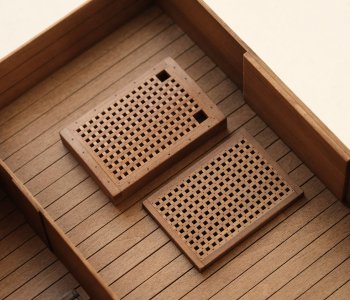
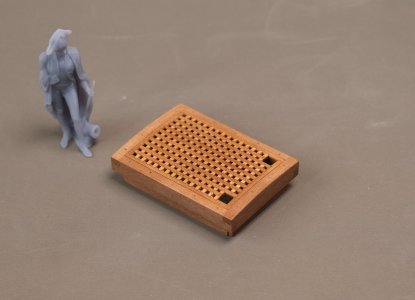
As planned, to make the deck details stand out and contrast, I coated them with pure tung oil. I did this with a regular paper towel and immediately wiped it dry with another one.
View attachment 631213
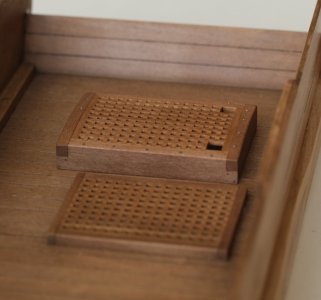
Unfortunately, I couldn't achieve accurate color reproduction quickly, and the color in the photo isn't quite as accurate as in real life, although it's quite close. I'll try to make every effort to capture the color in the photo as realistically as possible.
The photos below were taken with a Fujifilm X-T4 and an XF-16-55mm f2.8 lens.
View attachment 631214
The deck in the background (if you remember) is the lower deck of the second hull, which I coated with oil and bitumen long ago. And as you can see, the grating matches the color and is almost identical to the one already coated with bitumen. And that's good, because now I don't need to heavily shade it with bitumen, but only create contour accents and aging spots.
View attachment 631215
View attachment 631216
View attachment 631218
Ich verstehe, dass nicht jeder diesen Stil schätzt und nicht jeder den museumsartigen Look mag… aber ich mag diesen Stil wirklich sehr. Er fängt den Zeitgeist ein, das Antike, das Vintage… und sie sehen überhaupt nicht wie hübsches Spielzeug aus, sondern eher wie Kunstwerke, genau das, was ich anstrebe. Und obwohl ich sehr selbstkritisch bin und meine Modelle nicht als solche betrachte, freue ich mich über diese Farben, diesen Look und diese Atmosphäre, die diese Holzfiguren ausstrahlen.







. I hope you and your family are staying safe my friend. Cheers Grant.