• Ships of Scale has incorportated an extra level of security when you log In. Please follow on-screen prompts to acknowledge that you are not a robot via a "Check Box" or a "Pictorial Check Box Puzzle". This is needed due to higher level of AI Activity Security.
  • SUBSCRIBE TO SHIPS IN SCALE TODAY!

    The beloved Ships in Scale Magazine is back and charting a new course for 2026!
    Discover new skills, new techniques, and new inspirations in every issue.

    NOTE THAT OUR NEXT ISSUE WILL BE July/August 2026
  • Win a Free Custom Engraved Brass Coin!!!
    As a way to introduce our brass coins to the community, we will raffle off a free coin during the month of August. Follow link ABOVE for instructions for entering.

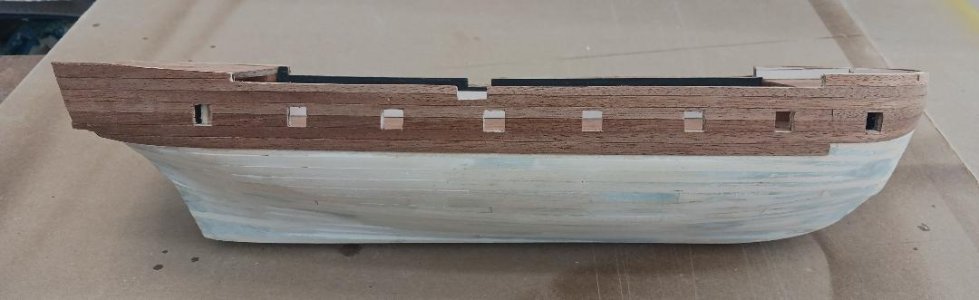
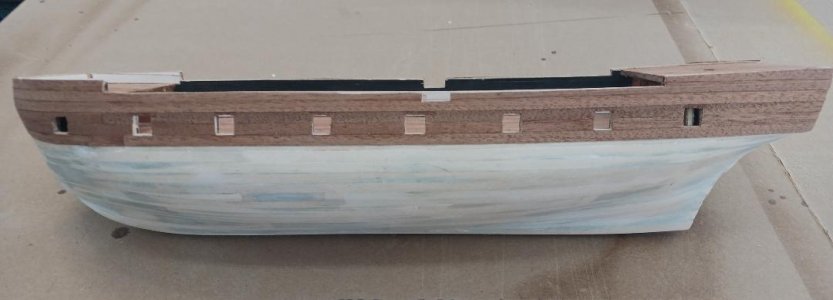
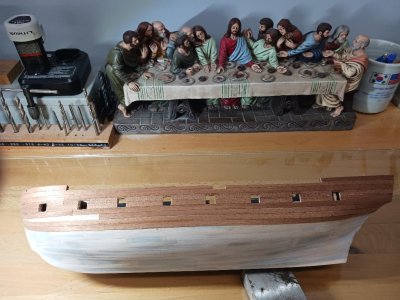
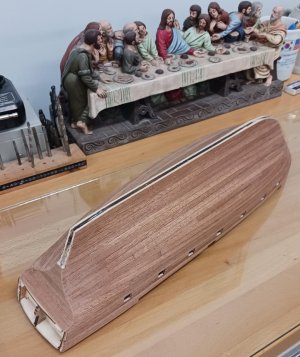
HMS Beagle - Steve's Occre Kit

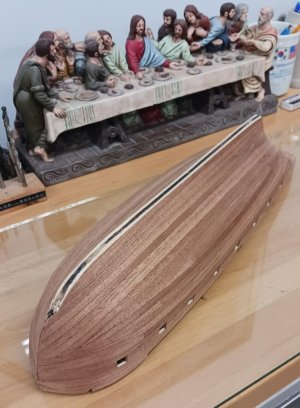
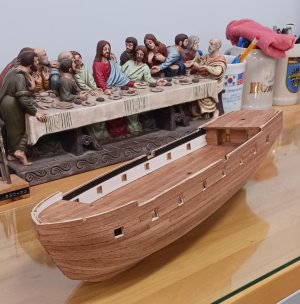
Started to study the first finish plank.
I am thinking that PVA would be the best choice for adhesive.
I am concerned that CA would make a mess of the finish side of the wood.
The use of PVA would take some more time allowing it to dry but this project is not on any time schedule.
Do you fella's agree with that approach?

View attachment 641546
Looking good. I'm tending to favour PVA, but I'm still learning :),
 
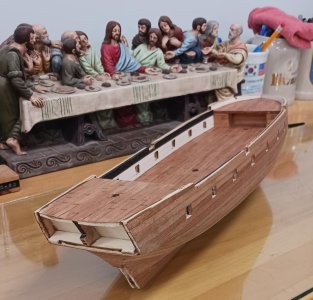
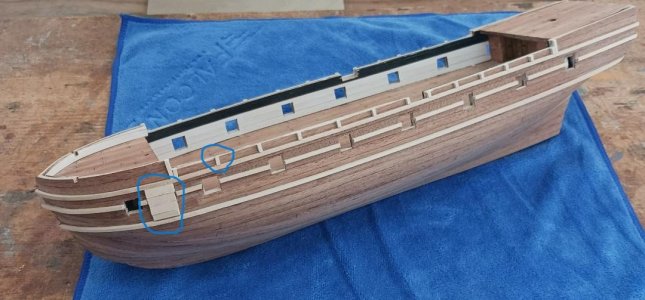
Some additional details have been added.
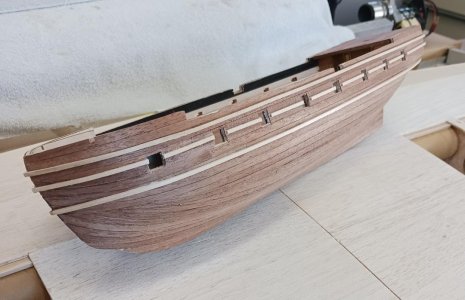
Being new to ship building can anyone tell me the names of the circled items and their purpose.

upper smalls.jpg
 
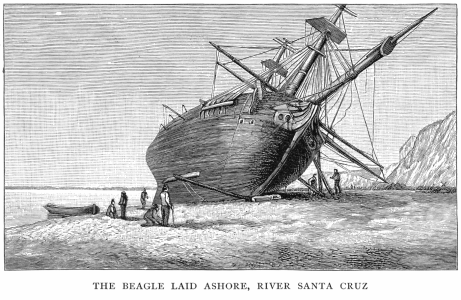
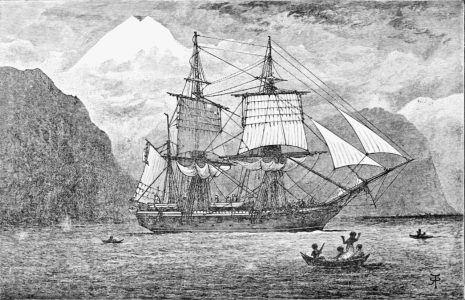
If you are interested in what the ship really looked like there are some contemporary drawings you may find interesting. For example, the two drawings by Pritchett and Martens show no anchor lining.
1792664050178.png

The stanchions may actually be cranes for hammocks.
1792664150443.png
Do you plan to paint or copper the bottom below the LWL?
Allan
 
Thanks again Allan.
I really have a lot to learn.
What i have been planning on is to just use varnish below the LWL.
 
Steven,
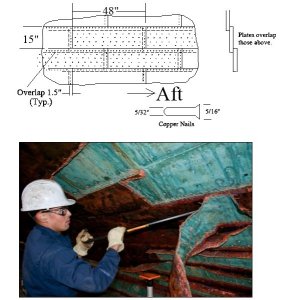
If you want to use copper, at 1:60 (assuming that is the scale of your kit), copper tape is a good option. The plates on British ships were about 48" X 15" with a 1.5" overlap going on from the keel and working up. The nails used to attach them were very small so tiny pin prick can be used to simulate the nails. Many plates that can be purchased have giant rivet like bumps and are much too thick to look realistic. Painting a copper color was used on contemporary models so may be a choice if YOU like the look.
1792669052758.jpeg

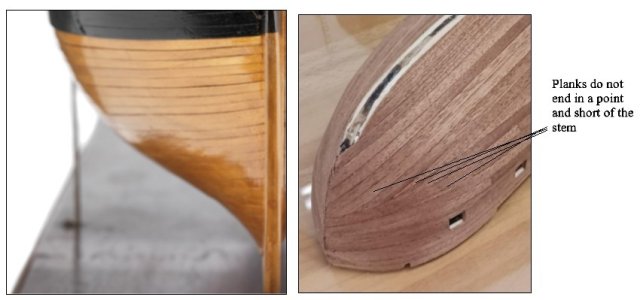
Based on the way the hull is planked it is a good idea to cover it with something. The planking on your model is the fault of the kit manufacturer, not yours. On a real ship, with the exception of a drop strake or two, the planks tapered from the dead flat to the stem to no less than half the full breadth so they could all end in the rabbet of the stem. They did not come to a point This is part of the learning curve but sadly OcCre, AL, and some others have the models planked incorrectly. Again, if it is to be covered, it is really not a concern. It is too late for this project but something to learn about for the future if this kind of thing is important to you. High quality kits usually have the planking done correctly and some even have spiled planks which makes things much easier. The picture below shows the difference better than words. If you study the Passaro Youtube four part video on planking you can see that it is not difficult to do.
Allan

1792670177370.jpeg
 
Thank you so much Allan.
Live and learn!
I have some thinking and studying to do, I will watch the YouTube videos later today.
 
Back
Top