With the appearance of the deck it is really a question of personal taste.
The photo you show as a reference is the so called HongKong Bounty Chi Ming, originally from Australia, which was there used a pleasure trip ship
View attachment 200552
I do not know, if it is the best, to use such a ship as a reference, if you want to build a ship model of the original HMAV Bounty.
I think also, that the deck on your photo was still
wet from rain, also possible to recognize, that the crew has still the tent as protection against rain
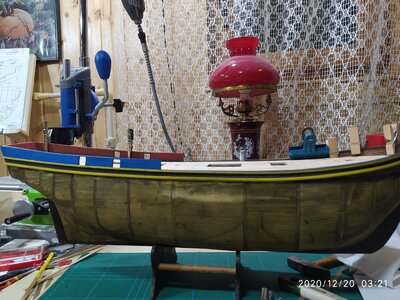
As I mentioned in the beginning it is a question of personal taste, but for me the deck of your model is too dark and too weathered.
The original Bounty was a Her Majesty's Ship , so I guess that the deck was usually well cleaned. Only a suggestion.....
Or you show her after a rainfall in Tahiti
")
after Fletcher took command


")