Last edited by a moderator:
-

Win a Free Custom Engraved Brass Coin!!!
As a way to introduce our brass coins to the community, we will raffle off a free coin during the month of August. Follow link ABOVE for instructions for entering.
-

PRE-ORDER SHIPS IN SCALE TODAY!
The beloved Ships in Scale Magazine is back and charting a new course for 2026!
Discover new skills, new techniques, and new inspirations in every issue.
NOTE THAT OUR FIRST ISSUE WILL BE JAN/FEB 2026
You are using an out of date browser. It may not display this or other websites correctly.
You should upgrade or use an alternative browser.
You should upgrade or use an alternative browser.
HMS Discovery 1789 scratch build in 1:48
- Thread starter Don Case
- Start date
- Watchers 25
-
- Tags
- 1789 discovery discovery 1789
Still messing with the transom and stuff. A question has come up. In this pic is the area marked with the shaky red line supposed to be planked. I've looked at all my books and the Swan series builds and it looks like it wasn't planked but that just doesn't seem right, It is the lower deck (berthing deck?). Is there a normal? Maybe a reason why it wasn't planked?
Thanks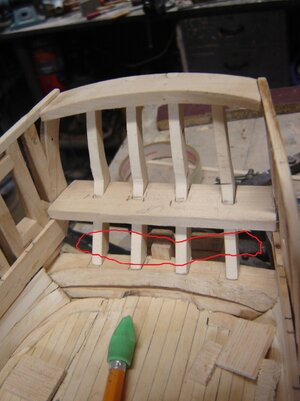
Thanks

Important for a decision to make an inside planking or not was usually only the purpose of the room / area. Timber was expensive and every kg less timber made the ship lighter.Still messing with the transom and stuff. A question has come up. In this pic is the area marked with the shaky red line supposed to be planked. I've looked at all my books and the Swan series builds and it looks like it wasn't planked but that just doesn't seem right, It is the lower deck (berthing deck?). Is there a normal? Maybe a reason why it wasn't planked?
ThanksView attachment 263746
F.e. also often the frames were also often inside not completely planked. Often at the Orlop deck some planks were not installed, also because there was the carpenters walk, so he could check the outside planking and to find out if somewhere water is coming in.....
So, maybe you know, which kind of room was at this location.....
Last edited:
Thanks Uwek For the time in her life I'm concerned with the drawings don't show what the rooms are. The later drawings when she was being converted to a bomb have some rooms labeled but still not the ones against the transom. Guess I'll have to make an executive decision.
Very good progress - will you also install the necessary hanging and laying knees?
I continue to be amazed by the detail of your work.
Yes but I'm dreading it. It looks like this deck every beam has two hanging and lodging knees. And then all those ledgesVery good progress - will you also install the necessary hanging and laying knees?
Thank you very much. I know it's a waste of time as no one will see it but for some reason I just have to do it. I'm limited by my shaky hands and, well, just lack of knowledge as to how to do some things but we'll get there.I continue to be amazed by the detail of your work.
being afraid of wolves, do not go to the forest! Eyes are afraid, but hands are doing... (Russian proverbs)Yes but I'm dreading it. It looks like this deck every beam has two hanging and lodging knees. And then all those ledges
I'll go with "eyes are afraid but hands are doing"
I just realized that I also have to make the upper well bulkheads. I'm hoping I can use my stair making jig.
I just realized that I also have to make the upper well bulkheads. I'm hoping I can use my stair making jig.
Thanks JohannFantastic work !
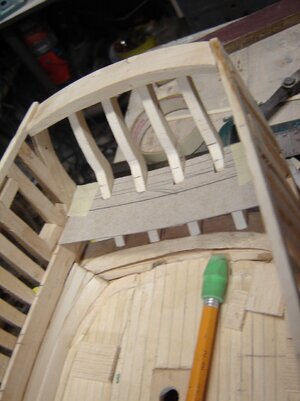
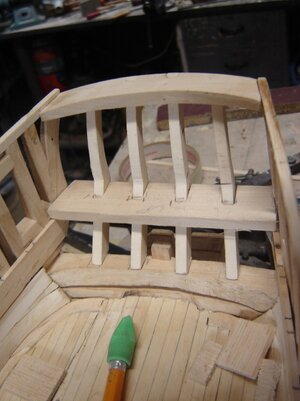
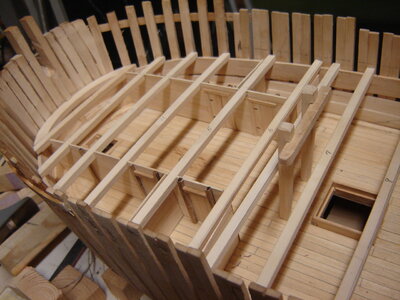
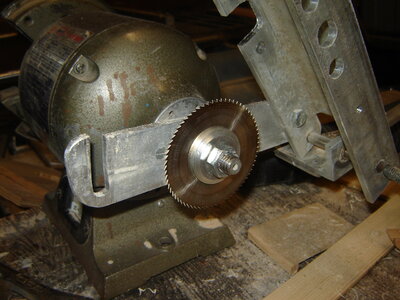
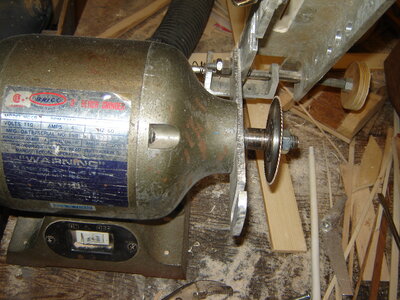
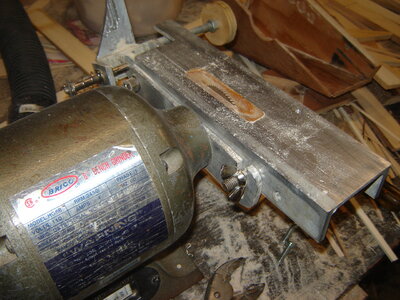
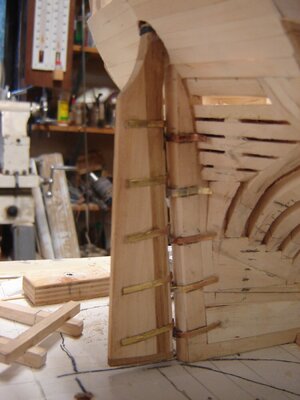
This is the upper well. It was the most difficult part so far. I made a jig to cut the slots. It took a full day to get it tuned so that the slots on the corner posts matched up. Then I cut all the pieces and it took another day to assemble it. Not an easy job for shaky old hands but I'm happy with the way it turned out.
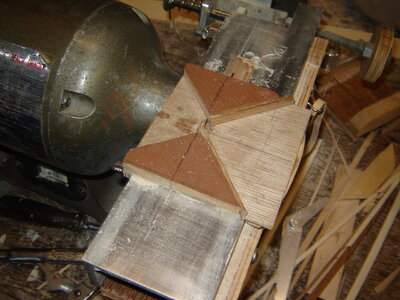
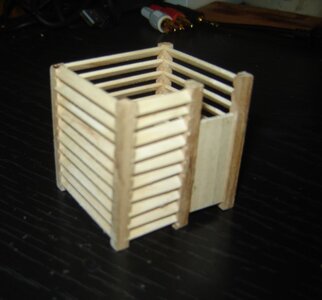


Can you elaborate on your jig to get a better idea of how it works? I am sure many of us will be happy to know.This is the upper well. It was the most difficult part so far. I made a jig to cut the slots. It took a full day to get it tuned so that the slots on the corner posts matched up. Then I cut all the pieces and it took another day to assemble it. Not an easy job for shaky old hands but I'm happy with the way it turned out.
Hi Don,This is the upper well. It was the most difficult part so far. I made a jig to cut the slots. It took a full day to get it tuned so that the slots on the corner posts matched up. Then I cut all the pieces and it took another day to assemble it. Not an easy job for shaky old hands but I'm happy with the way it turned out.
View attachment 266303View attachment 266304
I would second what Jim said.
Also is that a homemade table saw?
Cheers,
Stephen.
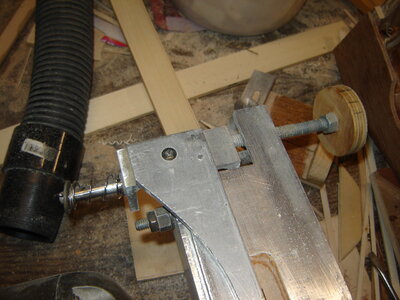
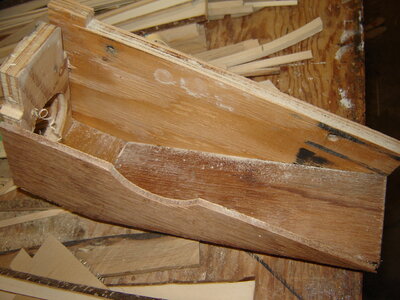
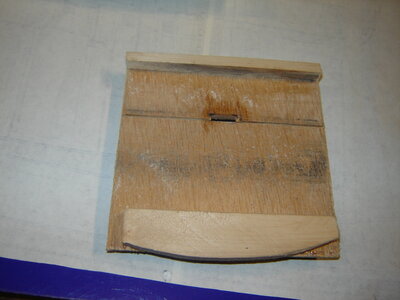
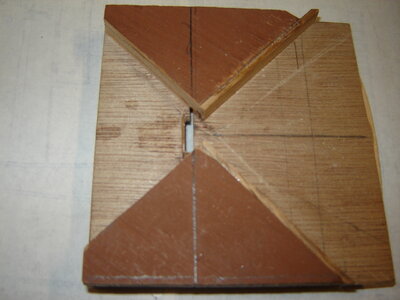
This is hard to explain . The jig is the same as what Kevin Kenny and Stuglo use for gratings. It has a locator for the kerf that is about .10" from the blade. It sits proud of the jig by about .040". You hold the work against the angled piece and slide the jig through the saw, then slide the work over until the kerf drops on to the locator. Then slide the jig through the saw for the next kerf. The two angles are for cutting the kerfs in opposite directions like for the corner posts.


OK pulled myself off my butt. We had an early Family Christmas, then real Christmas and then it got cold. It's just been the last week when the heater would get the garage up to warmish. All is good now and the snow is melted.
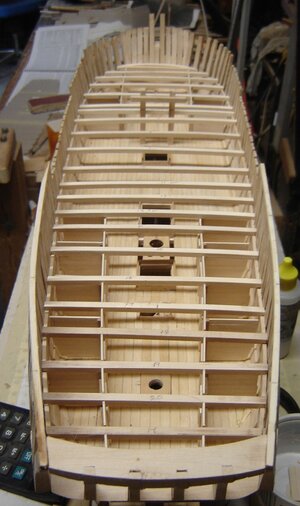
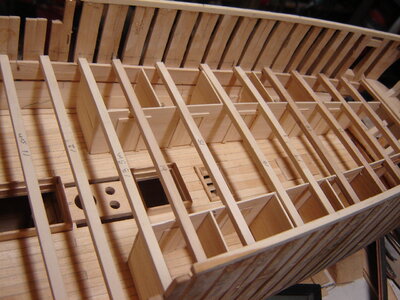
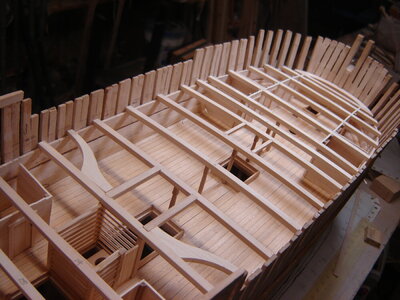
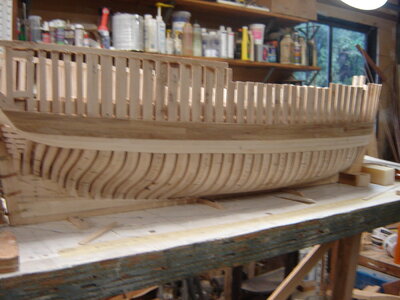
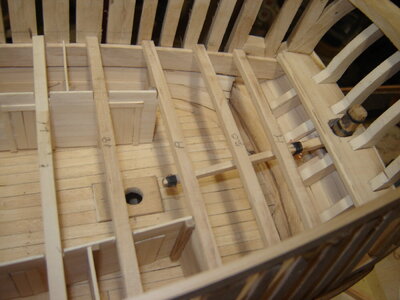
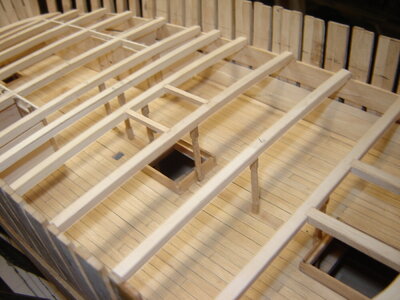
I got the wales and three strakes of lower planking done. I'm thinking I may leave it like that. Kind of the admiralty look. Makes me wonder if the real reason for the admiralty method came about just because they were sick of putting on planks. I can always add more if the feeling hits me. I had to get the rudder installed before I put the upper deck on so I forged ahead on that. I left the forward part of the gudgeons free so I can slip the planking under them if I decide to go that way. I guess I have to half rig the tiller before I do the deck so I have to order some blocks and break out the rope walk that I made(just for fun) about 10-15 years ago. I turned some pillars. I tried using my metal lathe but that didn't go well. The pillars are square top and bottom and my four jaw chuck will only close down to 1/4". I made a little adapter so I can grab 1/8" square stock in my drill. I grabbed the drill in the vice and turned the pillars with a round file and an emery board. Can anyone tell me if every beam has a pillar or if places where the beam is
partially supported by cabins or such may not need a pillar?
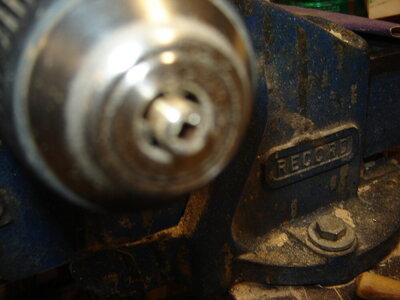
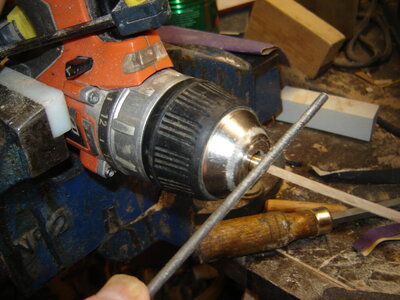


Hi Don,OK pulled myself off my butt. We had an early Family Christmas, then real Christmas and then it got cold. It's just been the last week when the heater would get the garage up to warmish. All is good now and the snow is melted.
I got the wales and three strakes of lower planking done. I'm thinking I may leave it like that. Kind of the admiralty look. Makes me wonder if the real reason for the admiralty method came about just because they were sick of putting on planks. I can always add more if the feeling hits me. I had to get the rudder installed before I put the upper deck on so I forged ahead on that. I left the forward part of the gudgeons free so I can slip the planking under them if I decide to go that way. I guess I have to half rig the tiller before I do the deck so I have to order some blocks and break out the rope walk that I made(just for fun) about 10-15 years ago. I turned some pillars. I tried using my metal lathe but that didn't go well. The pillars are square top and bottom and my four jaw chuck will only close down to 1/4". I made a little adapter so I can grab 1/8" square stock in my drill. I grabbed the drill in the vice and turned the pillars with a round file and an emery board. Can anyone tell me if every beam has a pillar or if places where the beam is
partially supported by cabins or such may not need a pillar?
View attachment 282627View attachment 282628View attachment 282629View attachment 282630View attachment 282631View attachment 282632View attachment 282633
Your model is looking good to me, sorry I cannot help with the question, keep that workshop warm.
Cheers,
Stephen.


