I've been triple vaccinated so it was just like the flu. I've had worse hangovers. Well, the hangover did't last a week thoughHi Don,
I hope you are feeling better from your Covid bout.
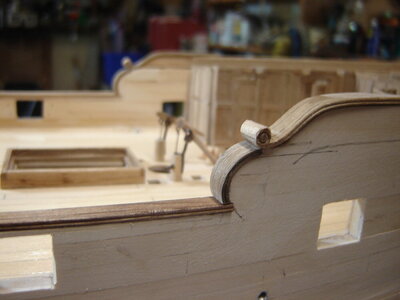
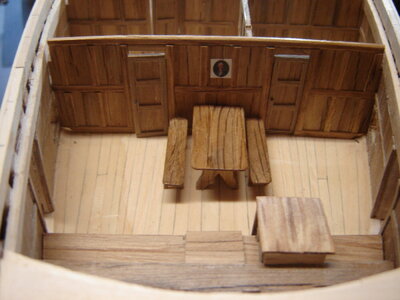
Your bulkheads / cabin screens look great.
Cheers,
Stephen.
-

Win a Free Custom Engraved Brass Coin!!!
As a way to introduce our brass coins to the community, we will raffle off a free coin during the month of August. Follow link ABOVE for instructions for entering.
-

PRE-ORDER SHIPS IN SCALE TODAY!
The beloved Ships in Scale Magazine is back and charting a new course for 2026!
Discover new skills, new techniques, and new inspirations in every issue.
NOTE THAT OUR FIRST ISSUE WILL BE JAN/FEB 2026
You are using an out of date browser. It may not display this or other websites correctly.
You should upgrade or use an alternative browser.
You should upgrade or use an alternative browser.
HMS Discovery 1789 scratch build in 1:48
- Thread starter Don Case
- Start date
- Watchers 25
-
- Tags
- 1789 discovery discovery 1789
I thought I posted that last post weeks ago.
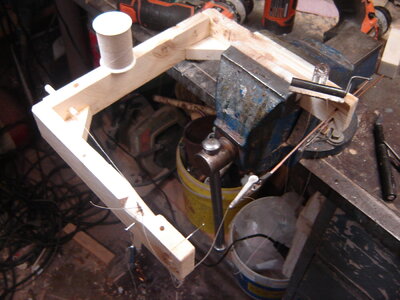
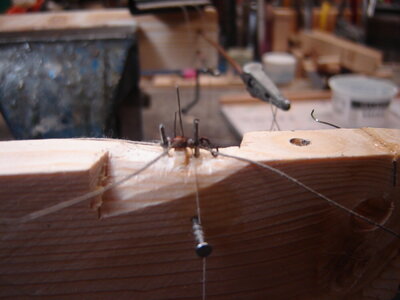
Anyway I've been teaching myself how to strop blocks and it's been a slow learn. I made this jig to hold things from every possible direction. So far I've made a breech rope and two side tackles on it. Now I just have to train the rigging to drape like real rope.
Now I just have to remember to hit "PostReply"
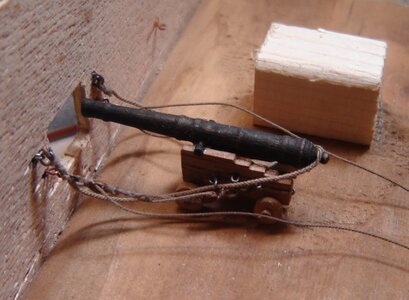


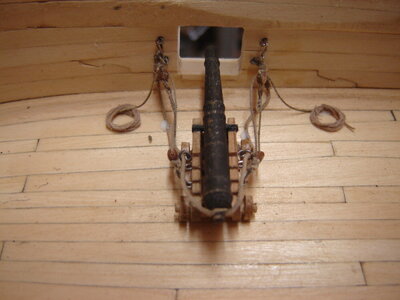
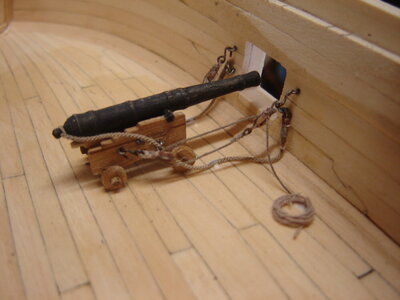
Great progress Don,I've installed the the two guns that will be under(in??) the forecastle. I won't be able to get at them when it's decked. I still have to put in the tackle to pull the gun in, whatever that's called. Can you see anything obviously wrong?
View attachment 316549View attachment 316550
To my untrained eye the guns and tackle look great, only thing I am wondering is there some sort of finish applied to the wood already?
Cheers,
Stephen.
Good point. There is one coat of shellac on the carriages. I can get away with that on these guns because you can't see them that well. I will do better on the rest. Thanks
Thank you everyone for the "likes". I'm not used to looking for them. They are appreciated.
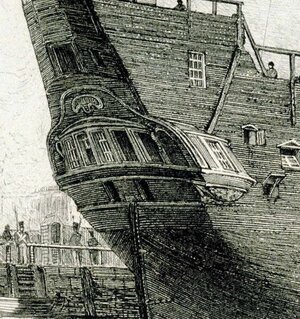
I'll try a question on here. I'm working on the stern and I noticed on this contemporary pen and ink drawing that there is quite a curve in the stern lights across the ship. I think this drawing is quite a bit vertically exaggerated. So the question is does the curve on the windows match the round up on the deck?

G'day Don, here is a link to my build of the Invetigator that shows the Transom, it might help you, scroll down to the bottom of the page, post 26,
best regards John,
best regards John,
Hms Investigator, 1800, 1/48 scale built by neptune from plans by Robert Sexton.
I made a moulding for the break of the quarter deck, ( I think that is the right terminology ), so I cut a profile into a piece of stainless steel, see pic. Moulding in place next were the hancing pieces for the side rails, I cut and filed these to shape out of a piece of hardwood...
shipsofscale.com
Thanks John. That helps. I also really like your brass windows. I may do that. The wooden ones I made keep bothering me.
No worries Don, glad that I could help,
Best regards John,
Best regards John,
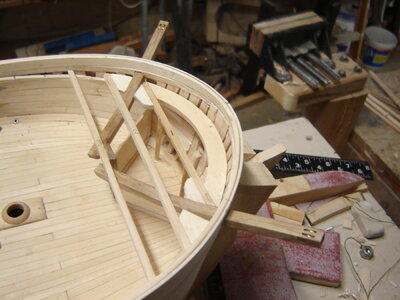
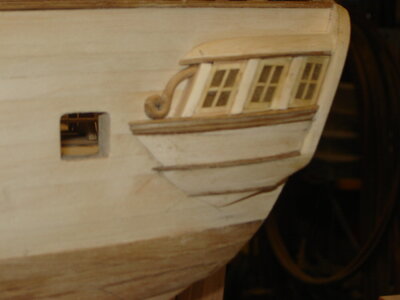
I've been puttering around more with the stern/quarter galleries. I was thinking that I was going to have to make a drawing of the stern but my drawings never seem to help me much. Once the idea is in my head it doesn't seem to help much to put a copy on a piece of paper. So I started carving out pieces. I made the lower stool and lower finishing as one piece. Then I sawed it in two and glued it back together with a Hazel heartwood insert to simulate a molding. Then I glued it on the ship. Then I had to make the most convoluted part of the whole build so far. I guess it would be called the taffarel. It's the blue arrow on the picture. I steam bent the outside pieces as one bend and then cut it in half. The actual taffarel I steam bent into the shape you would see looking from the stern. Then after it was set I used a heat gun very carefully to bend in the curve of the stern. Then I had to join the three pieces with two scarfs. I temporarily held the parts in place with bamboo pins while I was sorting out the scarfs. It all went together quite well but I did have to use the heat gun just a bit to twist the whole assembly slightly. Then I glued that on and pinned the joint between the taffarel and the stool. Then I made the rear panels of the quarter galleries and fit them in. This didn't go as well as I hoped but I think wood filler and sanding will sort that out. If not, they can be re done. I'm reasonably pleased with how it turned out. If it isn't right at least it seems to be symmetrical 
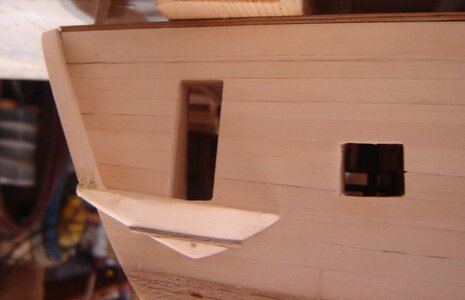
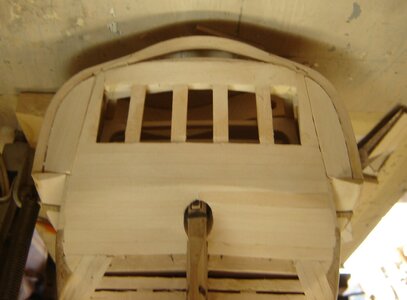
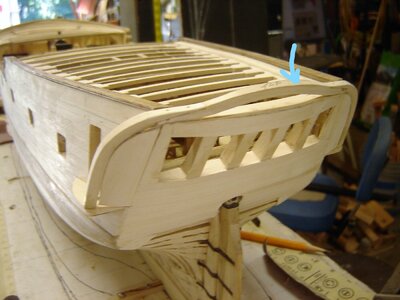
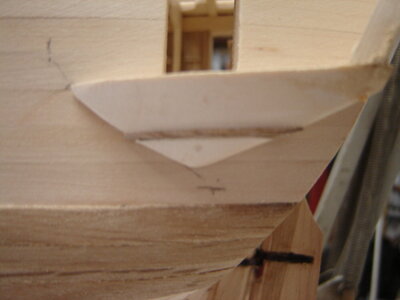


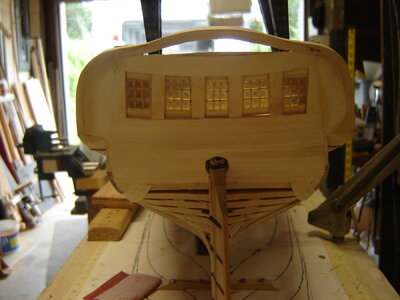
Got the quarter galleries finished and the stern lights in. I used epoxy for the glass. 24 hour for the stern lights and 5 min for the quarter gallery. 24 hour worked way better.
View attachment 323216View attachment 323217
She's looking good Don, I like them at this stage before painting I like the look of the raw wood, just like they were when being built, looking forward to more of your build,
Best regards John
I'm not sure if I will paint it. Maybe couple of accents but we'll see.


