You are using an out of date browser. It may not display this or other websites correctly.
You should upgrade or use an alternative browser.
You should upgrade or use an alternative browser.
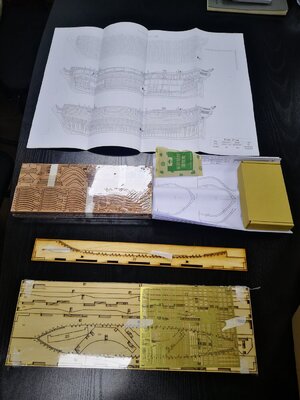
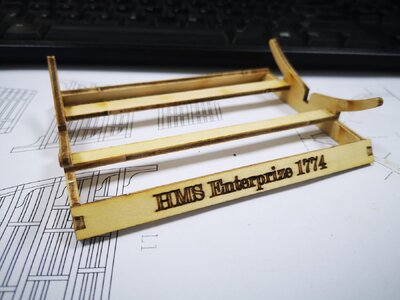
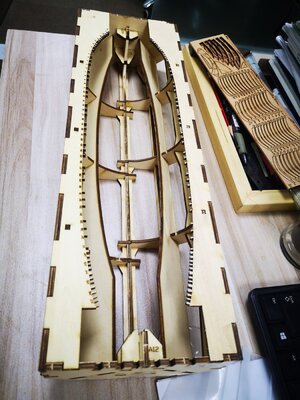
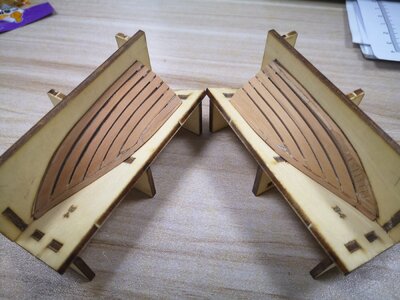
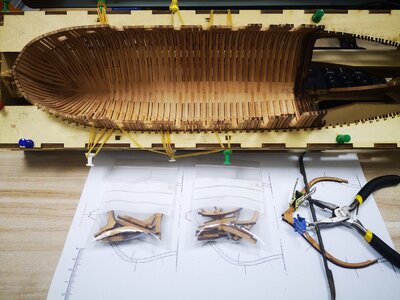
1.第一步船台的拼合,厂家的设计不错,不同的拼装卡位,可以不用图纸就正确的拼装完成
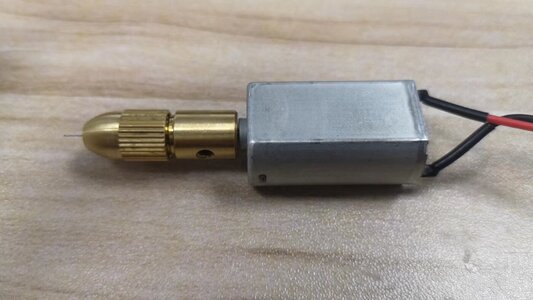
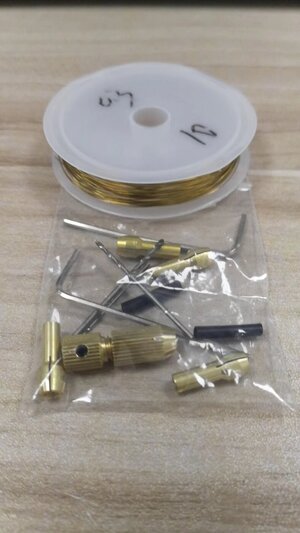
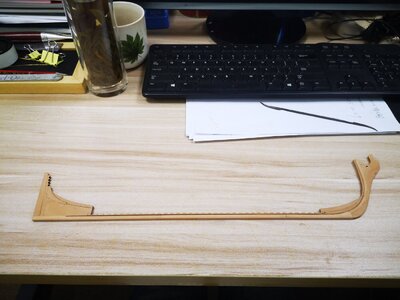
2.龙骨拼接,板件连接的地方设计了定位孔,用铜丝固定,按套材提供的模板可以简单的完成这些工作
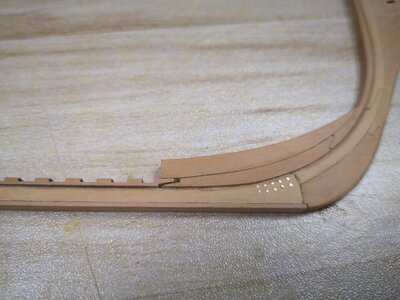
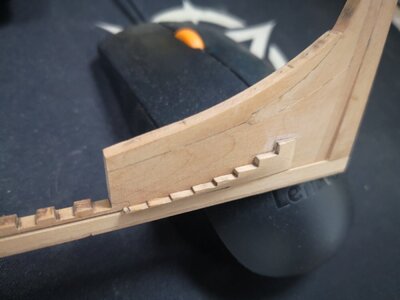
3.接下来船头的拼接,有模板的的帮助下完成拼接,就是打磨线有点迷惑,第一个零件打磨方向做错了,做了补丁
1. The first step is to assemble the slipway. The manufacturer’s design is good. Different assembly positions can be assembled correctly without drawings.
2. Positioning holes are designed for keel splicing and plate connection, and are fixed with copper wires. These tasks can be easily completed according to the template provided in the kit.
3. Next, the splicing of the bow was completed with the help of templates. However, the polishing line was a bit confusing. The first part was polished in the wrong direction, so I made a patch.


Last edited by a moderator:
加油
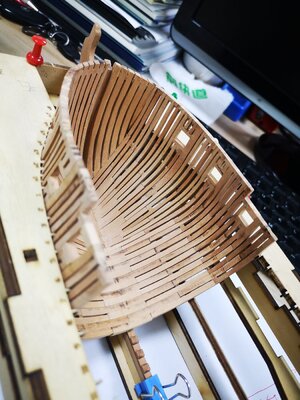
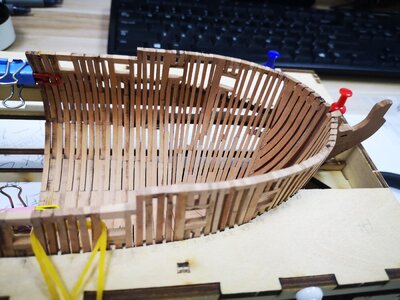
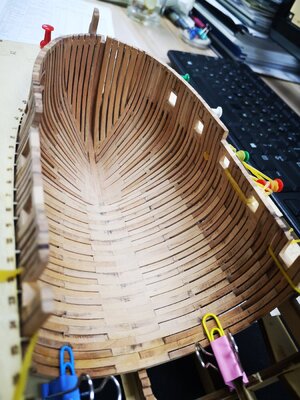
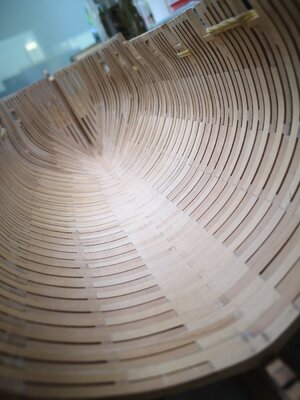
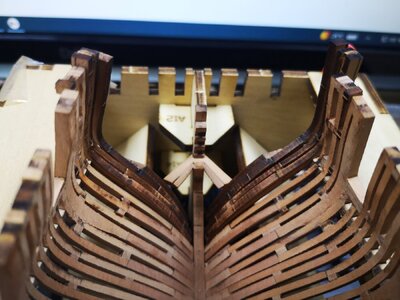
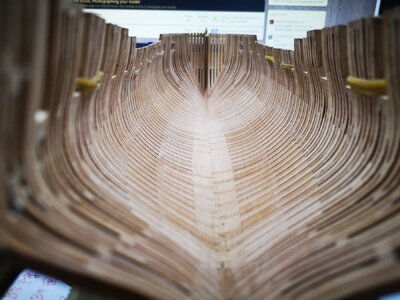
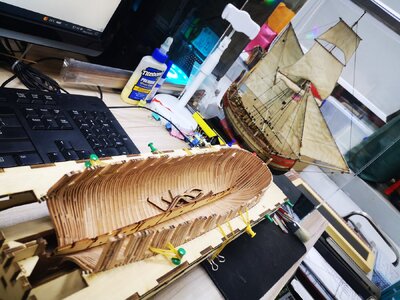
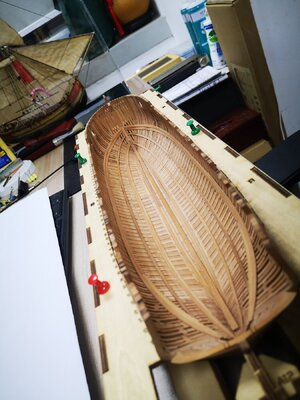
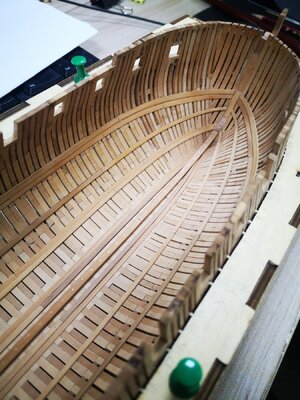
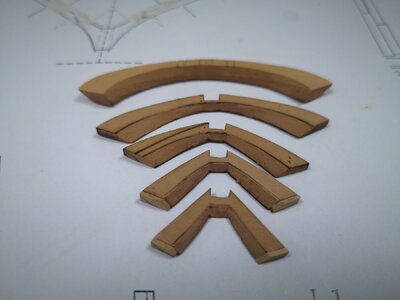
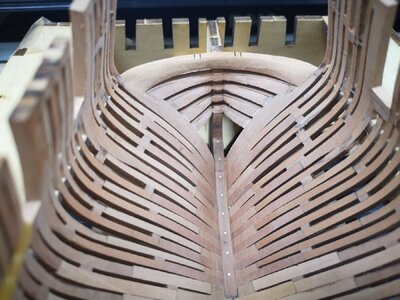
今天更新一些进度,主要是肋骨的制作,套材中的每一条肋骨分A,B两根组合而成,每一根用不同厚度的板件拼接,这样的设计已经很接近真实了,后面接下来就是船头斜肋的安装,这里出现了一些错误,船头呆木的位置靠后了,导致后面的斜肋跟龙骨粘接的位置要打薄做修正,一直到斜肋结束的地方才回归到正确的位置
Today I will update some progress, mainly on the production of ribs. Each rib in the kit is composed of two parts, A and B. Each rib is spliced with plates of different thicknesses. This design is very close to reality, and will be followed later. The next step is to install the bow diagrid. There are some mistakes here. The position of the dead wood on the bow is too far back. As a result, the bonding position between the rear diaphragm and the keel needs to be thinned and corrected until the end of the diaphragm. return to correct position
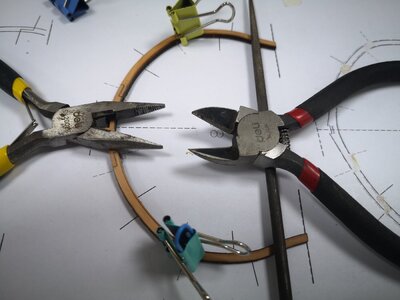
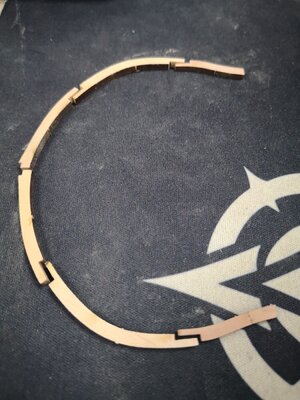
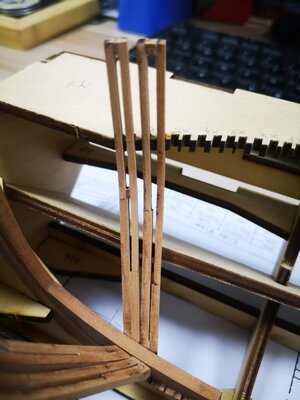
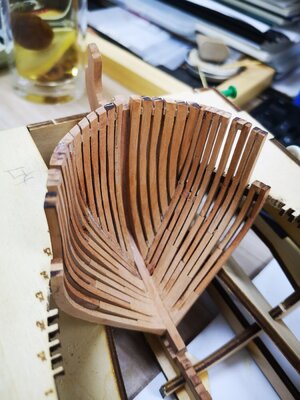
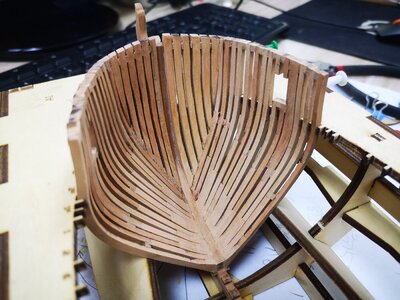
Today I will update some progress, mainly on the production of ribs. Each rib in the kit is composed of two parts, A and B. Each rib is spliced with plates of different thicknesses. This design is very close to reality, and will be followed later. The next step is to install the bow diagrid. There are some mistakes here. The position of the dead wood on the bow is too far back. As a result, the bonding position between the rear diaphragm and the keel needs to be thinned and corrected until the end of the diaphragm. return to correct position


Last edited by a moderator:
Very good work on the bow structure - and accurate work 

Superb work!!
I like these perspective views inside such a hull structure - your work is looking very good 
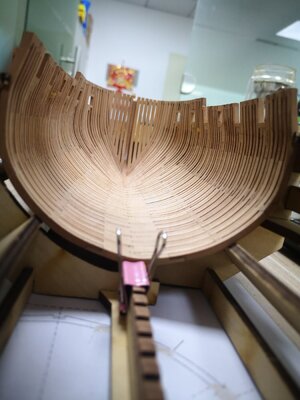
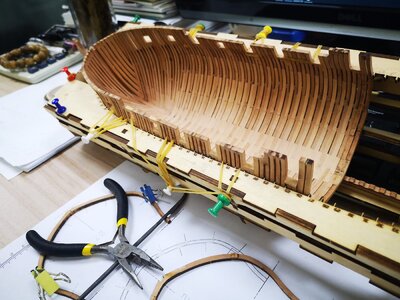
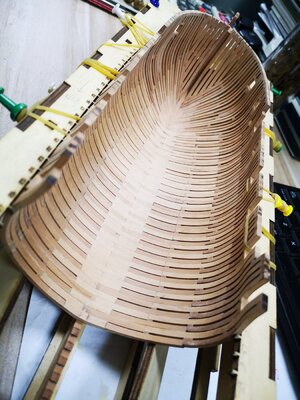
What is your opinion of the wood quality and cut? I ask this because I have never had or heard of Modelship Dockyard.今天继续发一下近期完成的图片,主要是肋骨的拼接,粘接和内部的初步打磨
Today I will continue to post some recently completed pictures, mainly the splicing, bonding and internal polishing of the ribs.
View attachment 408954
View attachment 408955
View attachment 408956
View attachment 408957
View attachment 408958
View attachment 408959
View attachment 408960
- Joined
- Jun 13, 2022
- Messages
- 238
- Points
- 143

Excellent work
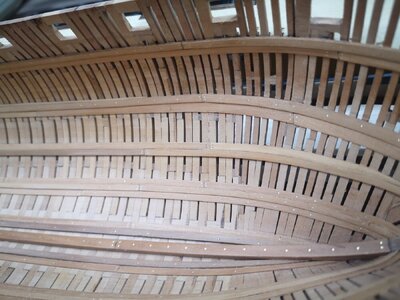
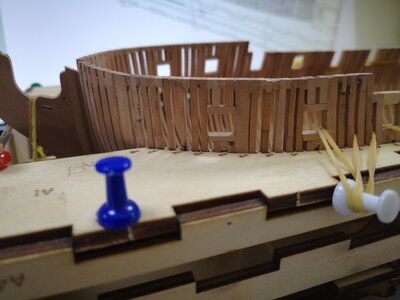
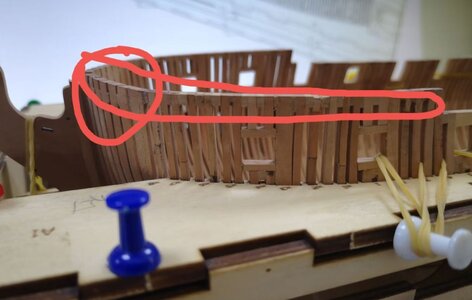
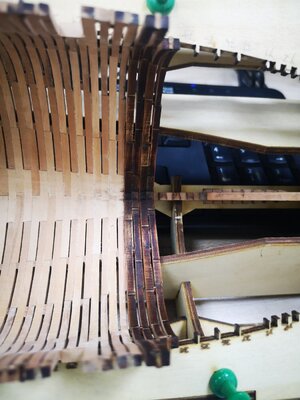
11月29日继续跟新进度,发现一个错误,船头肋骨安装高度低了,导致船头部分的船舷弧度跟后面的不协调,跟厂家沟通后给出了解决方案,套材提供了补件,后面可以根据甲板位置调整高度,这是个不错的设计
接下来继续肋骨的制作,直肋部分接近完成了,下周开始做船尾斜肋
On November 29, I continued to follow up on the new progress and found an error. The installation height of the bow ribs was low, which caused the curvature of the bow part to be inconsistent with the rear. After communicating with the manufacturer, a solution was given, and the kit provided replacement parts. , the height can be adjusted at the back according to the position of the deck, which is a good design
Next, continue to make the ribs. The straight rib part is almost completed. Next week, we will start making the stern diaphragm ribs.


Last edited by a moderator:
12月21日,明天是东至了,中国南方讲究东至打过年,要全家团聚,今天更新进取的进度
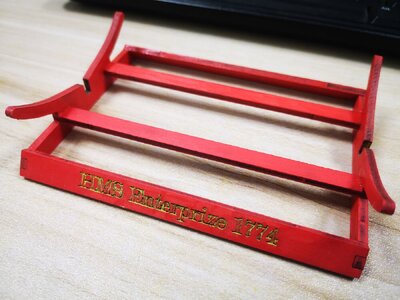
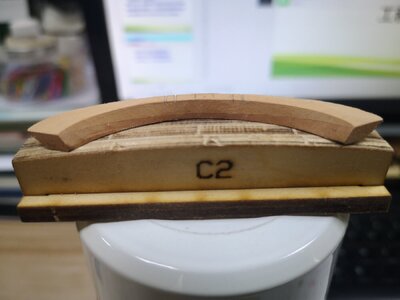
尾横梁弧度打磨,厂家提供了模板,尾横梁安装固定,抽空给支架上色
尾部横梁完成,尾呆木完成,呆木和肋骨外部等下船台后统一打磨。
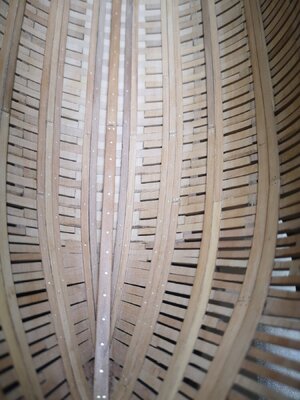
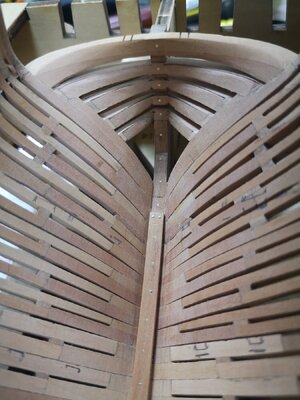
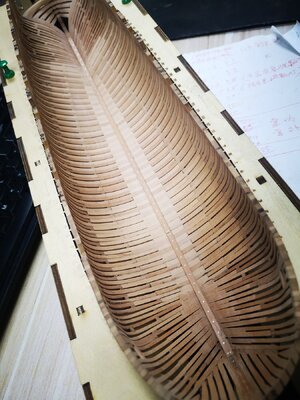
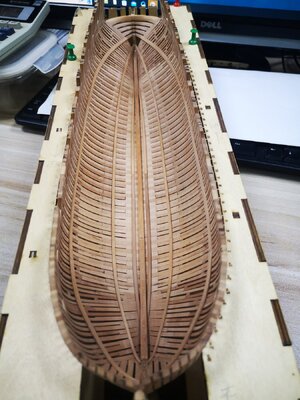
内龙骨完成,用0.6铜丝打钉
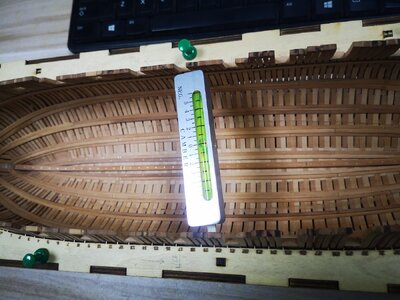
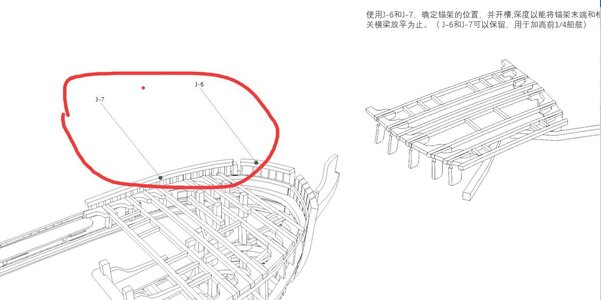
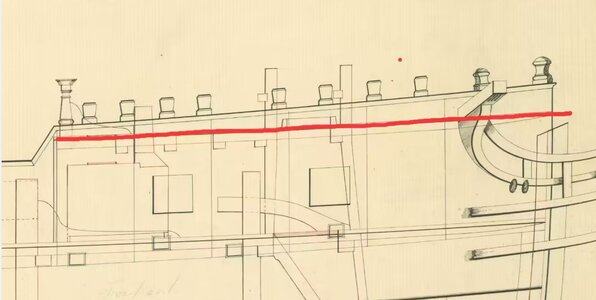
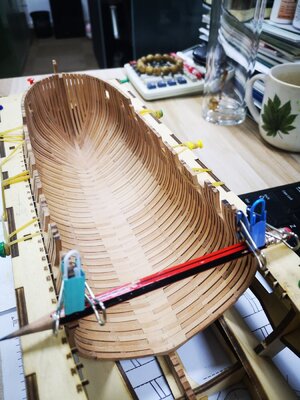
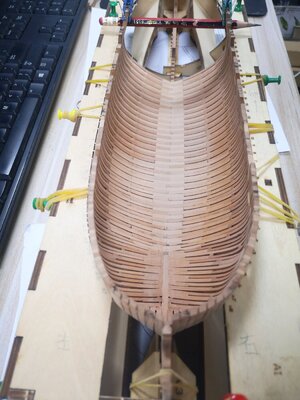
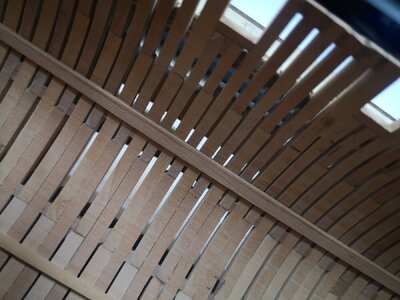
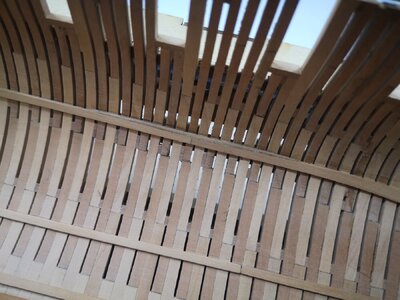
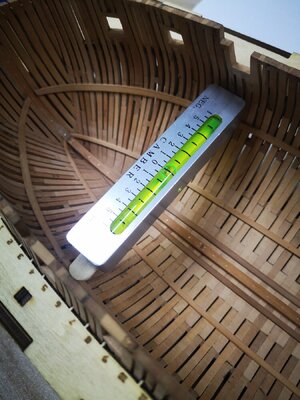
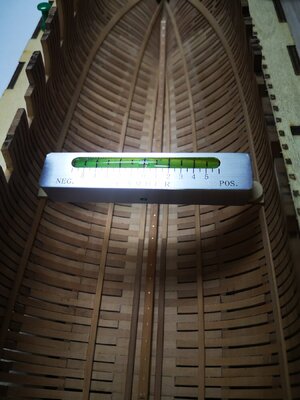
开始做内部甲板横梁支撑边条,生活甲板安装完成后发现整体弧度有问题,而且两边高度不水平,用木条补了一下,调整到水平
Google translation:
December 21st, tomorrow is the Eastern Solstice. Southern China pays attention to the Eastern Solstice to celebrate the New Year and reunite the whole family. Today we will update the progress of the progress.
The arc of the tail beam was polished. The manufacturer provided a template. The tail beam was installed and fixed. I took the time to paint the bracket.
The tail beam is completed, the tail wood is completed, and the wood and the outside of the ribs are polished together after getting off the slipway.
The inner keel is completed and nailed with 0.6 copper wire
I started to make the internal deck beam support side strips. After the installation of the living deck was completed, I found that there was a problem with the overall curvature, and the height on both sides was not level. I used wooden strips to make up for it and adjusted it to the level.
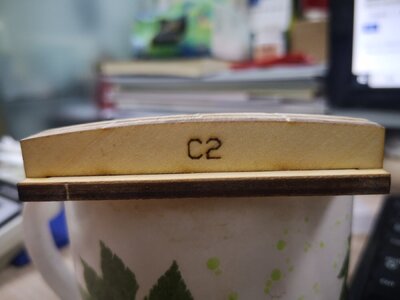
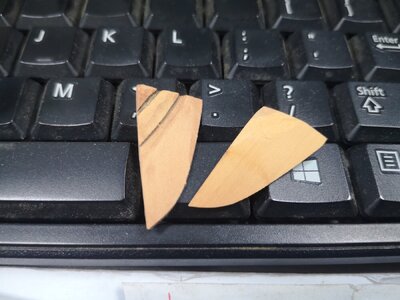


Last edited by a moderator:
WOW - what a very good progress and accurate work - looking very good ->BRAVO !


