HMS Enterprize 1/96 by Modelship Dockyard

Joined
Oct 28, 2018
Messages
170
Points
253

Location
Kansas City, Missouri
Hello!

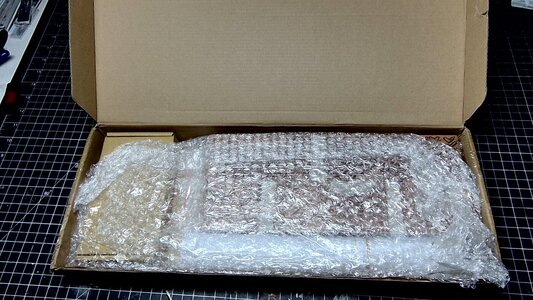
It has been a long time. I have yet to make any progress on my L'Egyptaine, I just don't have the time currently to sit down and do a full scratch build. So I was extremely excited when I saw this little kit announced. I immediately pre-ordered it and it arrived about a week ago. I'm getting started right away!

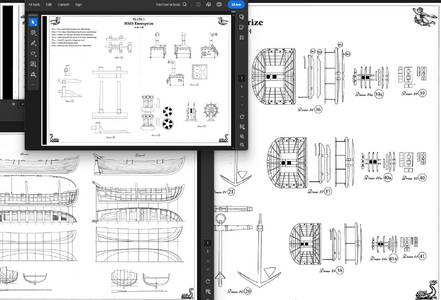
One thing I will be altering is I will be using plates from Shipyard Models plans to scratch build the rest of the ship that doesn't come with the kit. Which from I understand is only going to be the masting and rigging.

It was extremely difficult to find these plans in the states and ultimately was able to order them from a small shop in the UK.
Screenshot 2023-12-22 232345.png

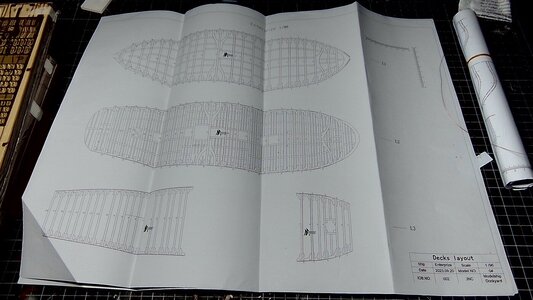
I've already got them scanned in as they will need resizing. I've never seen plates like this before where different sections are in different scales. And interestingly these plans don't come with any ribs despite having 36 plates included. That's alright though because the kit comes with a full account of all ribs.
WIN_20231222_14_39_49_Pro.jpg

After an inventory only one piece broke, disappointing of course but impressive none the less.
WIN_20231222_14_41_48_Pro.jpg

WIN_20231222_14_42_13_Pro.jpg

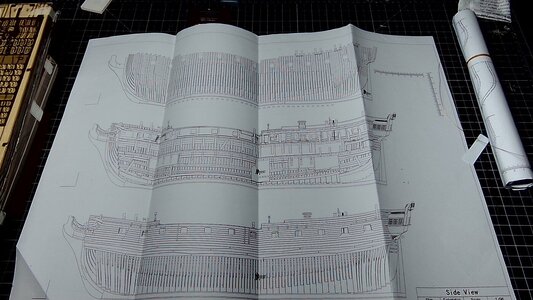
The plans are nice enough. I didn't realize the instructions are located on the website, you have to download them separately, the PDF booklet is over 150 pages long. The detailing looks like it might be a little sparse on the instructions but we'll see. I was able to figure out the platform after a few minutes.
WIN_20231222_14_44_19_Pro.jpg

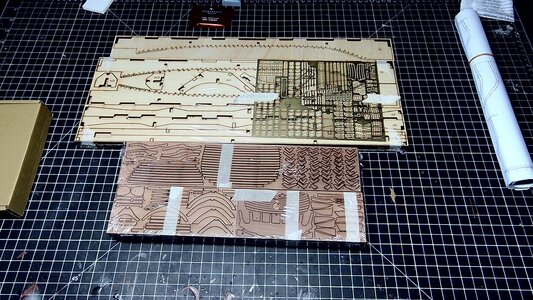
I ordered the pearwood version, everything looks great out of the box.
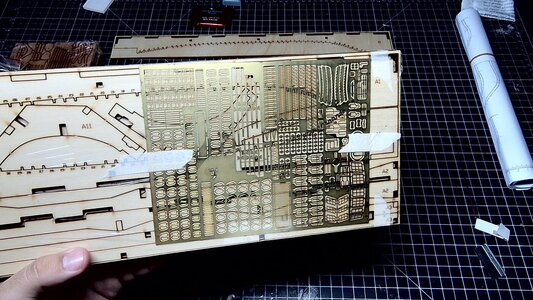
WIN_20231222_14_48_26_Pro.jpg

I'm not sure how I feel about so much photoetch in a wooden boat kit, but I imagine it makes things much easier. I'm sure once the sheet is cleaned, the gold removed, and the parts tarnished black they'll look great.
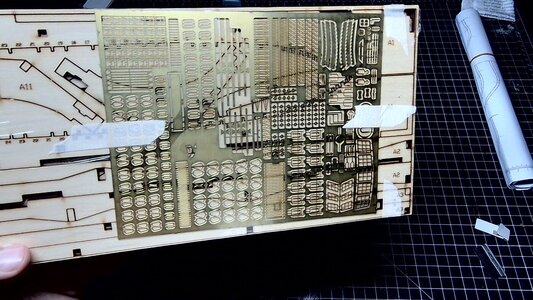
WIN_20231222_14_48_39_Pro.jpg

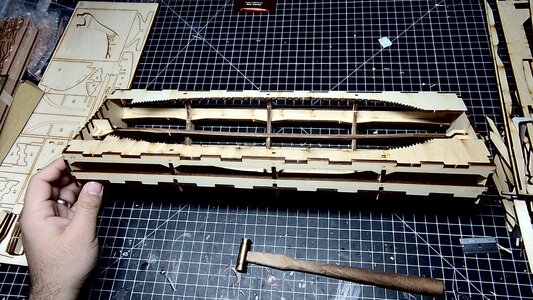
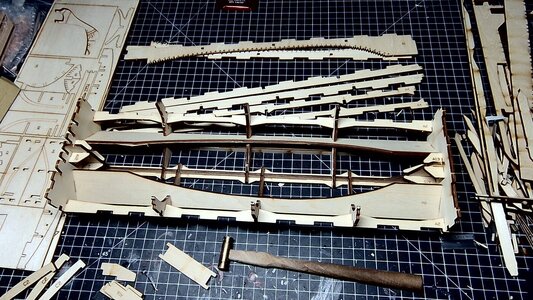
The platform parts came out fairly easy, the laser cutting is smooth and everything fits together surprisingly well.
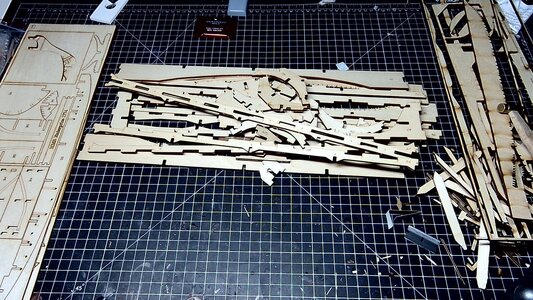
WIN_20231222_21_31_56_Pro.jpg

WIN_20231222_21_54_50_Pro.jpg

WIN_20231222_22_05_18_Pro.jpg

I'm not sure if I did something wrong but my top pieces didn't fit right if the writing was face up. So all of the nice numbering is hidden underneath. I followed the diagrams but I'm guessing that one of the first diagrams is wrong. The cradle pieces are backwards I think. I could take it all apart and fix it, which I might do. The whole thing sits together nicely but will likely need to be glued together. The instructions recommend tiny nails, but I think I'll stick with superglue.

Anyway, that is complete and next time we'll start breaking out the pearwood. Starting with the keel.
 
Hi, congrats on starting your new build! The numbers are facing downwards likely because you placed the "Z-A5" part facing downwards during the build, so that the two sides went in reversed. But it won't affect your following build so you can choose not to take them apart. I have attached a numbering file so that you can use it to put numbers on the platform.
 

Attachments

  • Numbering.pdf
    10.1 KB · Views: 28
Hi, congrats on starting your new build! The numbers are facing downwards likely because you placed the "Z-A5" part facing downwards during the build, so that the two sides went in reversed. But it won't affect your following build so you can choose not to take them apart. I have attached a numbering file so that you can use it to put numbers on the platform.
Thanks!

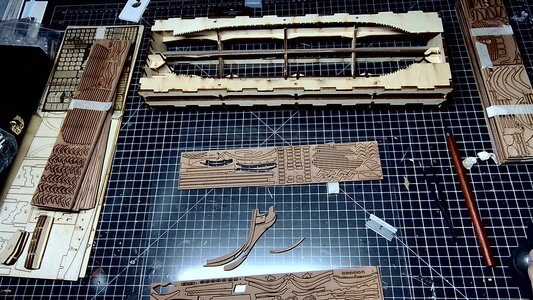
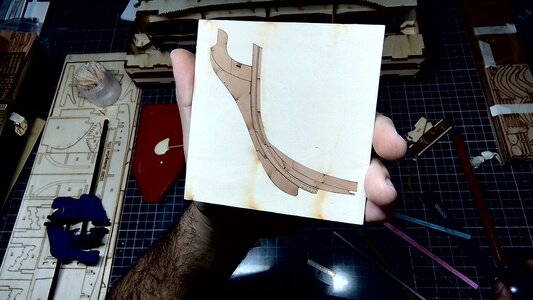
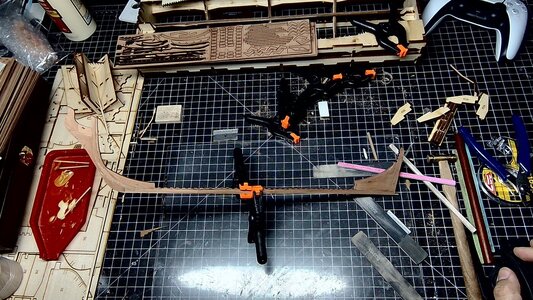
And we're off, spent the night working on the bow. All the pieces popped out of the board without much issue. Everything fits very well together so far. The only real work is cleaning off or at least reducing the char from the laser.

WIN_20231223_21_45_49_Pro.jpg

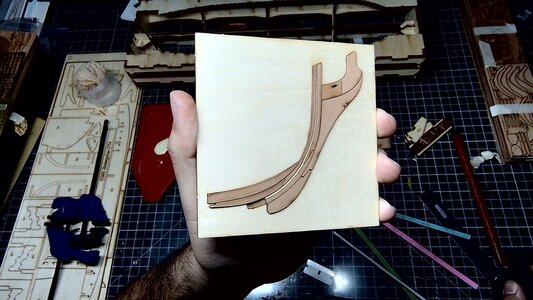
All pieces cleaned, the rabbit line cut and sanded down to the proper angle. Here is a test fit, glueing will be tomorrow.

WIN_20231223_23_34_51_Pro.jpg

WIN_20231223_23_35_03_Pro.jpg

Once the glue is dry I'll take a larger sponge sand stick, probably around 100 grit and go over both sides to clean them up and even out the colouring.
 
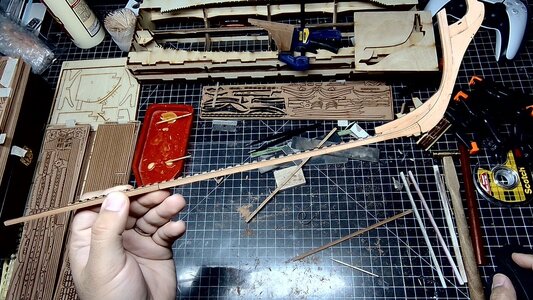
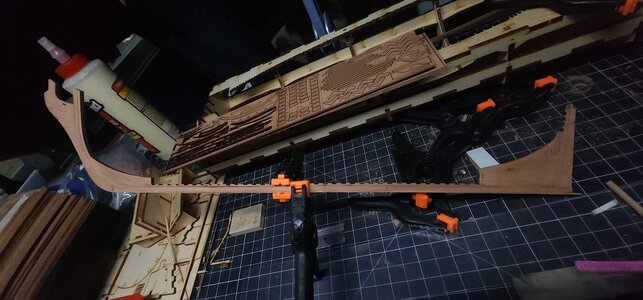
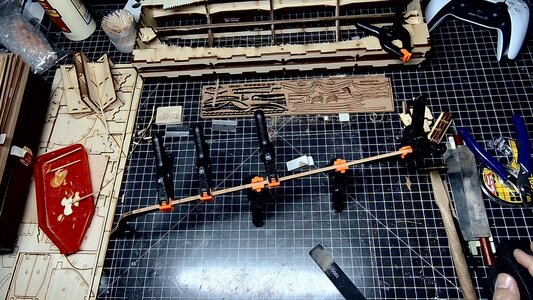
My joiner skills are a little rusty. In an attempt to clean off some of the char I inadvertently created some gaps in the joints. Not too terrible but more than you'd like.

WIN_20231225_10_53_40_Pro.jpg
20231225_153658.jpg
WIN_20231225_14_18_03_Pro.jpg
WIN_20231225_15_37_50_Pro.jpg

It's actually really nice having the rabbit line engraved on the keel, makes for a very nice and even sanding.

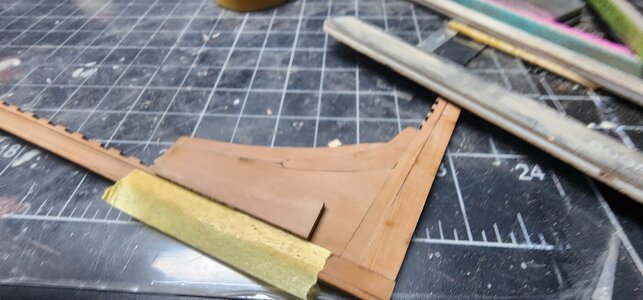
I don't have many photos of installing the steps on both sides and then on the bow and stern. Took a ton of sanding down to get the final width correct with the right angle. I have to take photos next of the finished product later.

20231225_230033.jpg
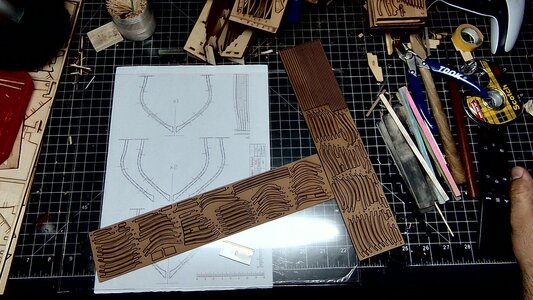
With all that together and sanded its finally time to start making the ribs. And I think I already messed up lol
I started with the first plate with x1 - x3 which is not as I found out the cant frames at the furthest point of the bow. From the bow to stern it's actually X8 to X1, with X1 leading into frame 1 of the body. No sanding has been so no big deal, it was good to realize that now.
WIN_20231227_21_43_54_Pro.jpg
WIN_20231227_22_28_30_Pro.jpg

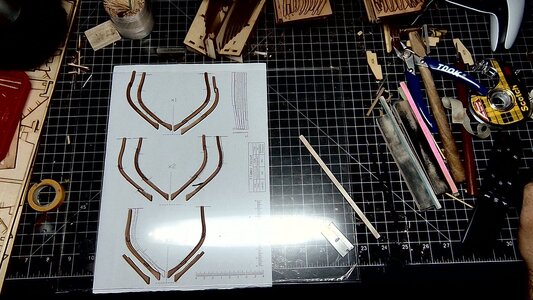
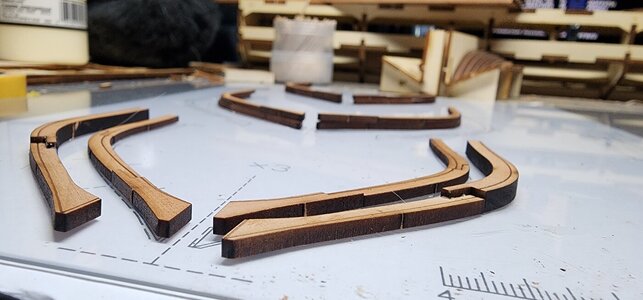
The issue I think I have is I think I may have glued them incorrectly. So you'll notice that some of the frames are thicker than others. This is to create the wonderful spacing you see on the final model. The trouble is I glued all of the frames with the sanding lines face up as you see them. I don't think that's correct. Looking at the diagram after I glued them I think some frames should have been glued with the thickest part flush with the top instead of the bottom of the frames.

20231227_231022.jpg

The glue is dry but if it needs to be fixed I think it's still fixable.
 
Thanks!

And we're off, spent the night working on the bow. All the pieces popped out of the board without much issue. Everything fits very well together so far. The only real work is cleaning off or at least reducing the char from the laser.

View attachment 416060

All pieces cleaned, the rabbit line cut and sanded down to the proper angle. Here is a test fit, glueing will be tomorrow.

View attachment 416059

View attachment 416057

Once the glue is dry I'll take a larger sponge sand stick, probably around 100 grit and go over both sides to clean them up and even out the colouring.
WELL DONE MATE. The bow part is an excellent build-up.
 
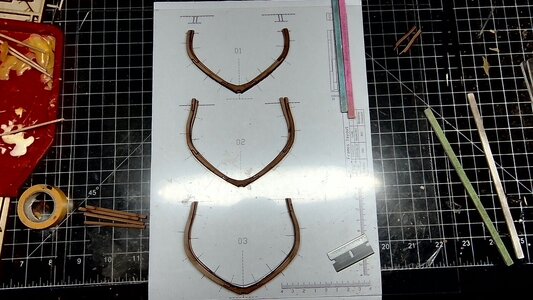
So I'm a little concerned/confused. The frames don't line up with each other. On paper they were all the correct pieces and they glued together fine. But when it comes time to join them they are not aligning.

IS this because when they are sanded they create a specific shape? So frame 01 if you sand across the sanding line it would give you a diagonal of the frames. I think thats confusing to try to explain. Basically if I glue them together as they are shown now and then sand across the two frames with the correct angle I think that would leave each individual frame perfectly flush with its sister frame?

WIN_20231228_23_45_06_Pro.jpgWIN_20231228_23_46_26_Pro.jpg
 
The sister frame must be fully aligned

Victor will update the video production tutorial on social media later

I'm not sure where I went wrong then. There is some give in the sister frames. For example 03 is pretty close and if it's held with a clip whole gluing I'm sure they would overlap. But on 02 I broke the bottom piece trying to stretch the frame to match the other.
 
Hi Gventura,
When making the frames, make sure the frame outline is aligned with the drawing of the given number. What seems to be happening is that some of your frames are not aligned with the drawing while putting togehter. You can put them onto the corresponding drawings individually and check the shape, and then adjust the incorrect frames. Hope this helps.

That is what I did, when the glue dries they seemed to curl inward.

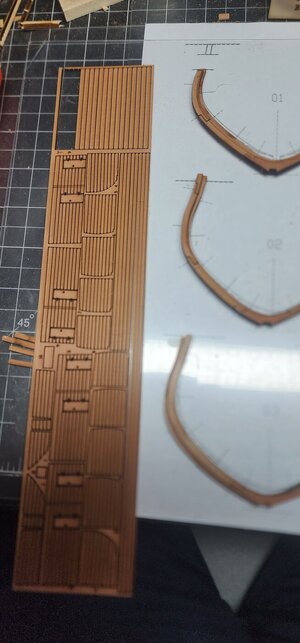
Also when it talks about the spacers from board T is that the smaller ones or the wider ones that I've already pooped out? And is there any reference to where they should be glued or just generally at the top?

20231229_073937.jpg

Thanks!
 
Hi here's a video instruction of the frame part, hope this helps:

These videos were helpful to understand how the frames are meant to be put together.

I will say it was extremely frustrating trying to fix frames 02 and 03. And by fix I mean completely destroy.
WIN_20231230_17_48_03_Pro.jpg

I'm not sure they will be repairable. The wood is so easily broken that many of them broke, most without a clean break that would be repairable. These frames are ruined, I may have to end up scratch building them. Of course they'll likely come out completely different than what I have so I'm not sure what the solution will be. Frame 02 was so wrong on shape that I thought that I must have mixed up pieces from 02 and 03.

WIN_20231230_16_40_01_Pro.jpg

So instead of leaving 03 alone, after it has been completely assembled, I took it apart, destroying the pieces in the process and ruining two frames. It's been great.


Anyway.


After moving on from the frustration that was 02/03 I moved on. Or back as it were, to 01

WIN_20231230_17_51_46_Pro.jpg

After being out together property it was shaped. My own problem now is getting the char off. I can't seem to find a good grit to clean them with. I've tried 80/160/240/600/1000/2000 with little success. You'll see what I mean below.

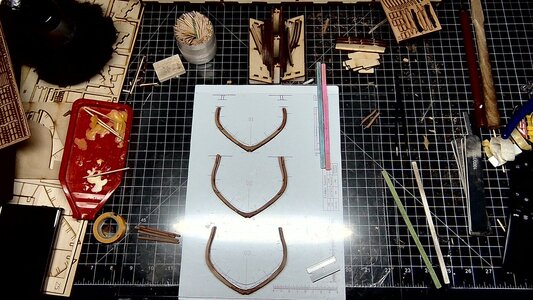
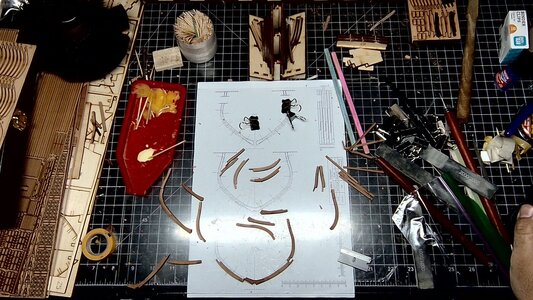
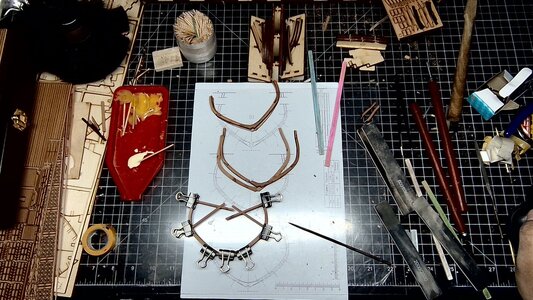
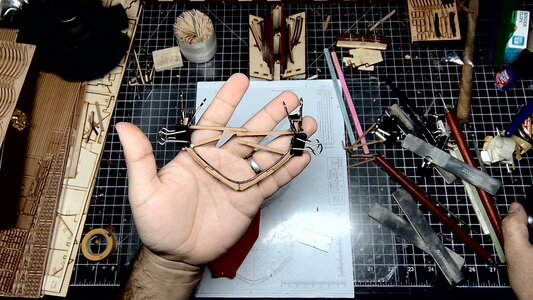
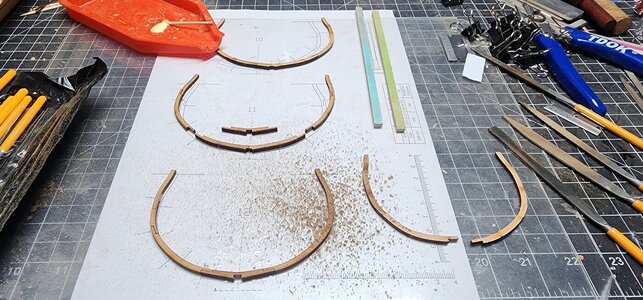
I have three frames roughly shaped, and lots of char to remove.

20240101_101638.jpg

It's not been a good time so far.
 
Hi Gventura, What I recommend is that you can continue with your build, and see if you got issues with other fames. If after shaping and sanding, till the step you need to put the frames onto the ship, these are the only frames you got trouble with, then you can decide if you want to fix them, scratch build them, or replace them from us. Or if sadly you got troubles with other frames, you can then choose to replace them from us all together. As part of our after sale service, replacement of parts would be free of charge (unless very high quantity or expensive e.g. wood carvings) with a shpping cost might apply. PoF kits are indeed challenging, even i make mistake sometimes. So just don't rush, pay more attention to the instructions, videos, and drawings. They will help you a lot. But at the same time, we also hope you can rest assured that our after-sales service will provide continuous support during your challenge.
 
That is what I did, when the glue dries they seemed to curl inward.

Also when it talks about the spacers from board T is that the smaller ones or the wider ones that I've already pooped out? And is there any reference to where they should be glued or just generally at the top?

View attachment 417302

Thanks!
Good morning Gventura , I wonder, have you suppraposed the drawings of the frames?Frank
 
These videos were helpful to understand how the frames are meant to be put together.

I will say it was extremely frustrating trying to fix frames 02 and 03. And by fix I mean completely destroy.
View attachment 418134

I'm not sure they will be repairable. The wood is so easily broken that many of them broke, most without a clean break that would be repairable. These frames are ruined, I may have to end up scratch building them. Of course they'll likely come out completely different than what I have so I'm not sure what the solution will be. Frame 02 was so wrong on shape that I thought that I must have mixed up pieces from 02 and 03.

View attachment 418135

So instead of leaving 03 alone, after it has been completely assembled, I took it apart, destroying the pieces in the process and ruining two frames. It's been great.


Anyway.


After moving on from the frustration that was 02/03 I moved on. Or back as it were, to 01

View attachment 418133

After being out together property it was shaped. My own problem now is getting the char off. I can't seem to find a good grit to clean them with. I've tried 80/160/240/600/1000/2000 with little success. You'll see what I mean below.

I have three frames roughly shaped, and lots of char to remove.

View attachment 418132

It's not been a good time so far.
Hi, I don’t know if it may help but I have shown detailed step by step photos of how to make the ribs on my Modelship Dockyard HMS Blandford, they turned out quite successful. My log is on the forum. Ken
 
Hi Gventura, What I recommend is that you can continue with your build, and see if you got issues with other fames. If after shaping and sanding, till the step you need to put the frames onto the ship, these are the only frames you got trouble with, then you can decide if you want to fix them, scratch build them, or replace them from us. Or if sadly you got troubles with other frames, you can then choose to replace them from us all together. As part of our after sale service, replacement of parts would be free of charge (unless very high quantity or expensive e.g. wood carvings) with a shpping cost might apply. PoF kits are indeed challenging, even i make mistake sometimes. So just don't rush, pay more attention to the instructions, videos, and drawings. They will help you a lot. But at the same time, we also hope you can rest assured that our after-sales service will provide continuous support during your challenge.

Thank you. So far the other frames seem to be behaving, so I look forward to finishing them and seeing where things stand. If it's possible to buy replacement 02 and 03 frames I may just do that because those aren't looking to great.

Hi, I don’t know if it may help but I have shown detailed step by step photos of how to make the ribs on my Modelship Dockyard HMS Blandford, they turned out quite successful. My log is on the forum. Ken

Thanks Ken! I think it was more a matter of getting started correctly. Once I confirmed how they go together with the video posted about it's been going better.
 
Moving right along. Had to wait for some new files, these work much better. Also got a new sharpening stone because I have a number of tools in dire need of a good sharpening.

20240106_160415.jpg

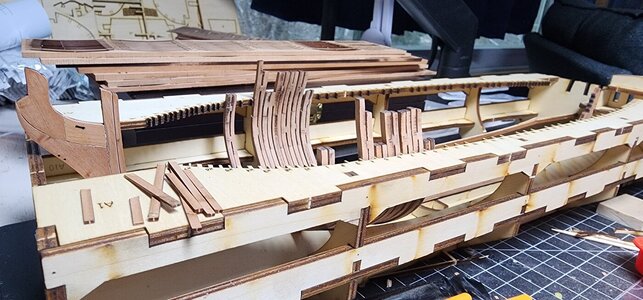
Once we got our of the first two frames things have gone well.

20240106_160356.jpg

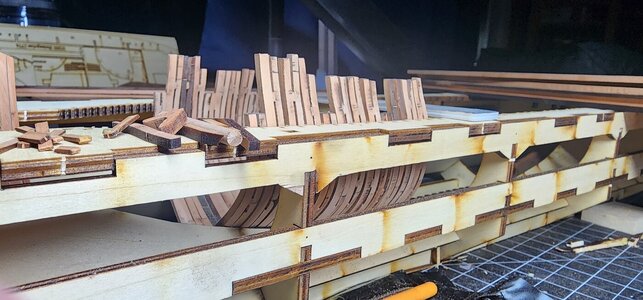
She's starting to take shape. Still lots of finishing work to do on them but I find it easier to get them roughly close and keep building them I'll go back later and finishes them up before gluing.
 
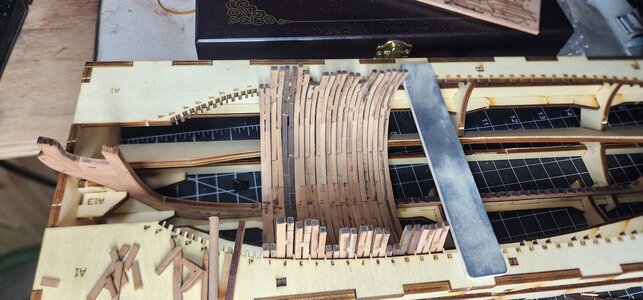
Was able to "repair" ribs 02 and 03. They don't look pretty but they cleaned up and made the right profile. They fit into the jig correctly, more or less, and don't look too out of place. I'm hopeful they'll be fine. Once the wales and some planking goes on it'll probably never be noticeable.
20240107_234346.jpg

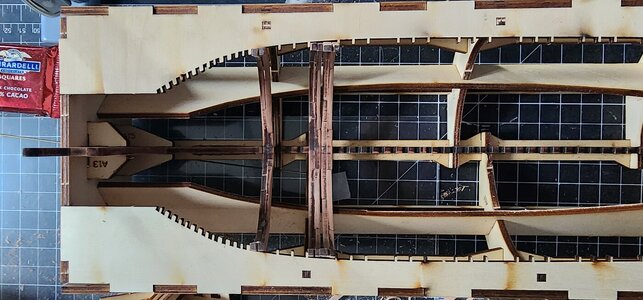
Up to 13 ribs now, moving right along.

20240107_234336.jpg

Trying to save some of the .5mm planks because I realized that I'll need to glue them between the ribs as well to create enough stability to sand and finish the hull.
 
Back
Top