Well - I've just gone back to my construction posts and found the last one was in early June!
Unfortunately, SWMBO has not been well over the last few months and I've found myself going from 'assistance' to a 24/7 full-time carer.
Those of you in a similar situation will know what that entails, and how it cuts down on your modelling time.
Never mind, I have managed some work, so will bring you up to date.
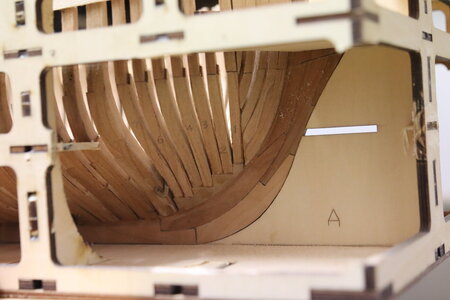
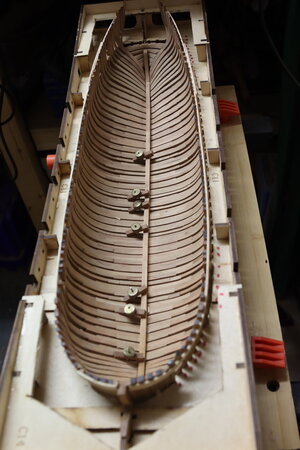
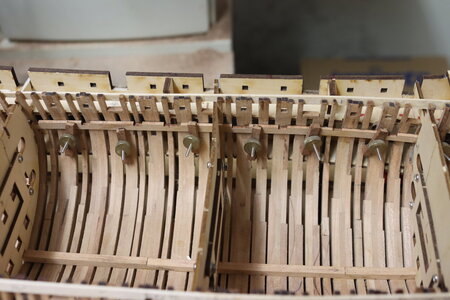
Since I last posted, I have completed the sanding/fairing of the inside of the frames.
You will no doubt be horrified to learn I used a small flap wheel in the Dremel.
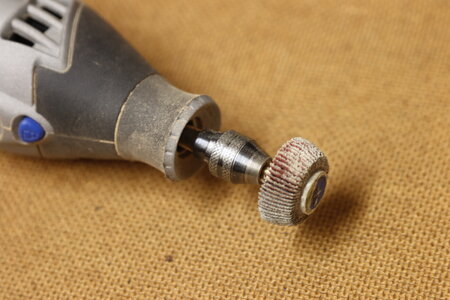 It's not a technique I would advise for a beginner, but if you know what you are doing it saves a lot of time! The flap wheel was about 40mm, and was first run against a stone wall to round the front edge.
The secret of using a flap wheel is to never stop moving it around - never stop moving for a moment, or you will get hollows forming.
After roughly taking the surface down by eye, I then use a 5 x 1.0 x 200mm strip of wood laid fore and aft in the hull to detect high spots. Your fingers are very touch sensitive, and when run lightly over the length of the strip will detect any undulations from one rib to the next. The strip needs to be fairly robust - I use a boxwood strip, which is flexible enough to deflect and detect level changes, but not to dip into the gaps between the ribs. You will feel which ribs are still slightly high and can use a soft pencil to mark them. You will also be able to 'rock' the strip over high points. Then use the flapwheel to bring down your marked high spots, and repeat the process again. I usually find about four repititions will bring everything down to a level surface.
Where the angle of the ribs at the stem and stern are too tight to let the flapwheel enter, I use a Proxxon sanding pen.
I probably spent about four to five hours sanding in total.
More to follow shortly
Ted
Unfortunately, SWMBO has not been well over the last few months and I've found myself going from 'assistance' to a 24/7 full-time carer.
Those of you in a similar situation will know what that entails, and how it cuts down on your modelling time.
Never mind, I have managed some work, so will bring you up to date.
Since I last posted, I have completed the sanding/fairing of the inside of the frames.
You will no doubt be horrified to learn I used a small flap wheel in the Dremel.
 It's not a technique I would advise for a beginner, but if you know what you are doing it saves a lot of time! The flap wheel was about 40mm, and was first run against a stone wall to round the front edge.
The secret of using a flap wheel is to never stop moving it around - never stop moving for a moment, or you will get hollows forming.
After roughly taking the surface down by eye, I then use a 5 x 1.0 x 200mm strip of wood laid fore and aft in the hull to detect high spots. Your fingers are very touch sensitive, and when run lightly over the length of the strip will detect any undulations from one rib to the next. The strip needs to be fairly robust - I use a boxwood strip, which is flexible enough to deflect and detect level changes, but not to dip into the gaps between the ribs. You will feel which ribs are still slightly high and can use a soft pencil to mark them. You will also be able to 'rock' the strip over high points. Then use the flapwheel to bring down your marked high spots, and repeat the process again. I usually find about four repititions will bring everything down to a level surface.
Where the angle of the ribs at the stem and stern are too tight to let the flapwheel enter, I use a Proxxon sanding pen.
I probably spent about four to five hours sanding in total.
More to follow shortly
Ted


