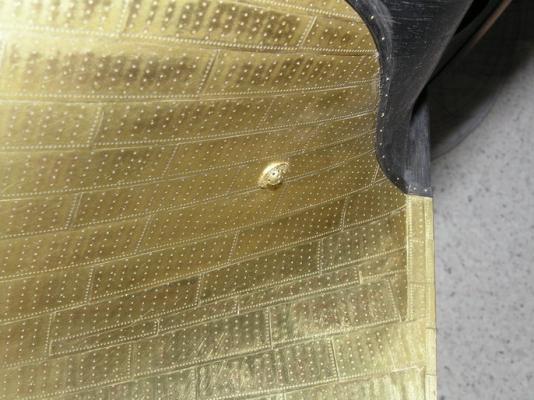
Hi all
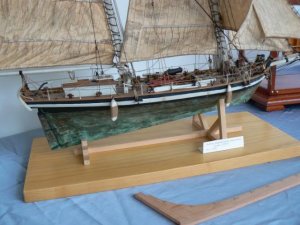
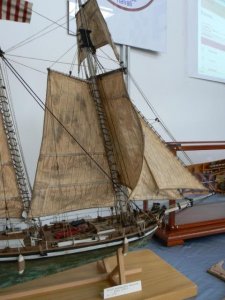
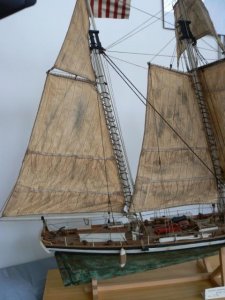
as I promised, I’m able to show the completely coppered hull.
Firstly a couple of pictures at an earlier stage, when the plates covering the keel thickness are still missing.
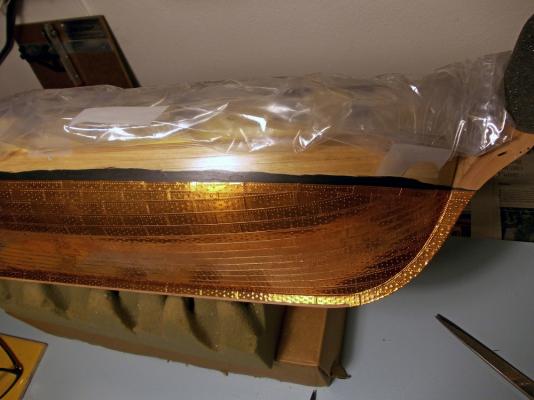
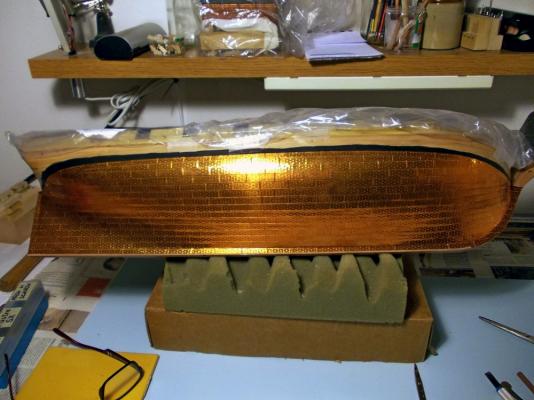
I tried to adjust the color rendering so to match the real color of new copper, which is amazingly bright and shiny.
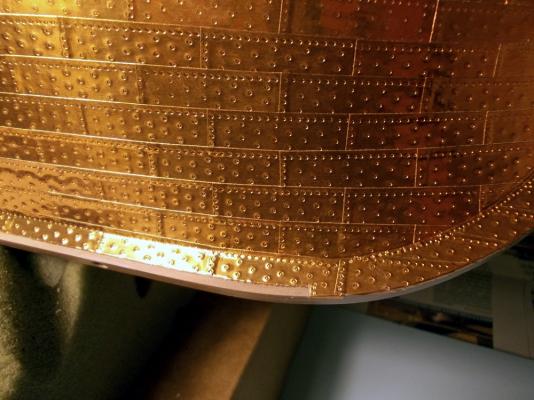
The following pictures show how I set the copper foil into the narrow and shallow groove that separates the keel from the false-keel... I don’t know if the picture manages to render the effect... well it is not exactly like if the copper continues between the two parts, but is looking almost as I wanted.
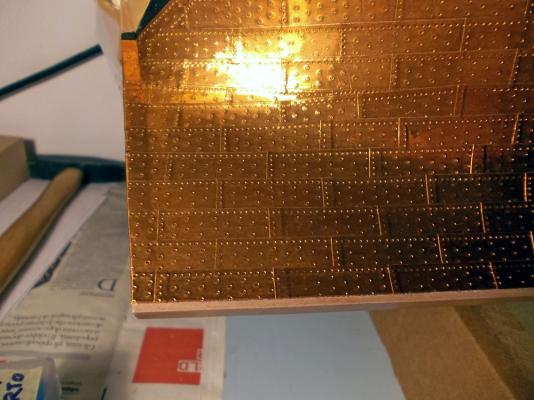
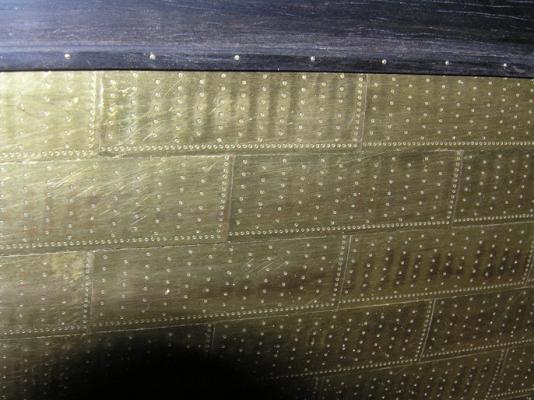
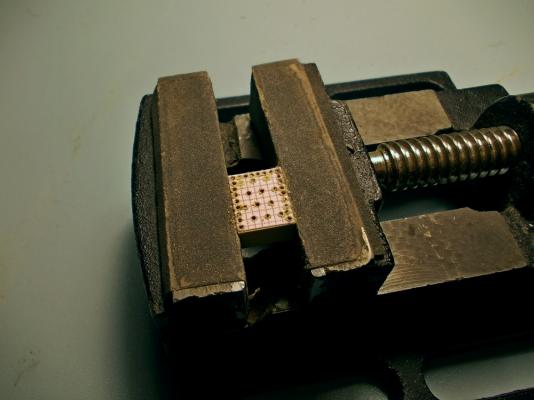
Next picture is how I prepared the stamp for the plates covering the keel width. The holes will house the steel needles used to stamp the simulated nails on the copper tape.
There is no detail about these plates in the Ancre monography, but I needed a greater width to have some margin for bending each plate to the sides of the keel timbers. The keel is 7mm thick, as I wrote above, and I managed to find a copper tape 12.7mm wide.
The layout of the nails is the same as for the other plates, just extended to the larger width of these plates. But, differently from the hull plates, I added another row of nails to the side edge, so that both left and right edges look correctly.
I imagined that the curvature of the bow timbers profile would have caused the plates to wrinkle at the sides of keel. To minimize this, I decided to reduce the plates length to about a half of the length of the hull plates: I firstly tried with 20mm length, but the wrinkles were still present and quite difficult to avoid. At 15mm length (instead of the standard 33mm) I managed to avoid the buildup of these wrinkles. So the final size I chose is 12.7mm width and 15mm length.
As for the hull plates, I started producing a small batch of plates for testing how they looked. When I laid the new plates on the side of those I’ve used for the first test, my heart almost missed a beat... OMG, the color was very different!!! More pinkish, as you can see in the following picture:
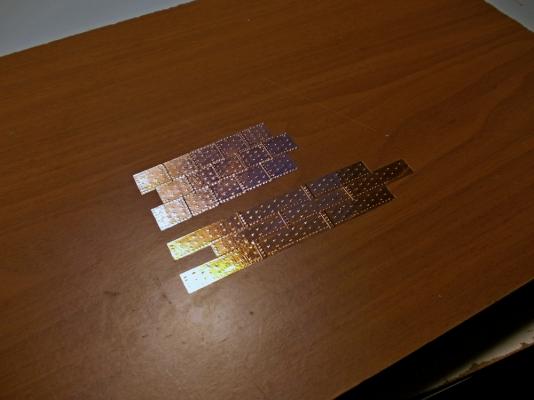
Probably a different brand of copper, or a different surface finish, or whatever... I didn’t know what to think!
I stopped working for a couple of days, thinking at what to do to fix this problem. Then just tried: degreased both copper types with acetone (nail polisher), then rubbed them with very fine steel wool ... and the miracle happened!
I don’t know what the reason was, I cannot believe the older plates had already oxidized ... well I didn’t care: now both plates types showed the same color.
Ok, let’s go forward: the amount of wide plates was not much, just about 20. So it was a job quickly done.
The next two pictures show the final plates installed on bow timber and stern post... you can see that the colors are still different, I fixed it later.
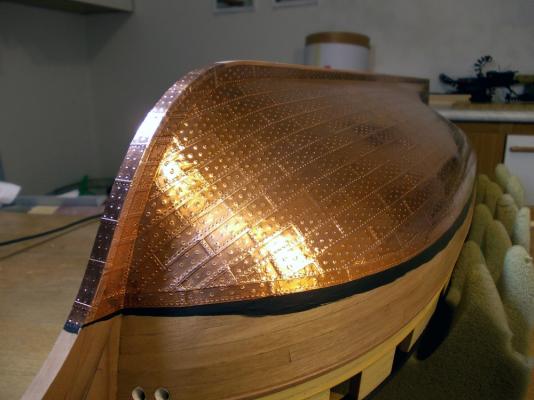
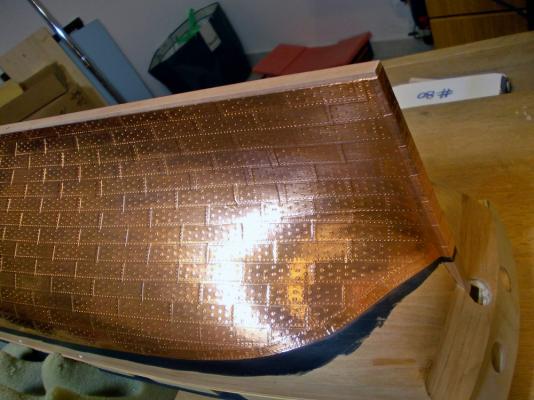
The last step of coppering was to try reducing the excessive shining of new copper by applying a weathering patina, so to simulate the natural ageing of copper.
I used the recipe suggested by Dirk (Dubz), a mixture of vinegar and salt, with as much salt as can be added to the solution before it starts to fall to the bottom of the pot. I also heated the vinegar to melt a bit more salt... a super-saturated solution I think it’s called.
Again, I used the tester plates to check the effect:
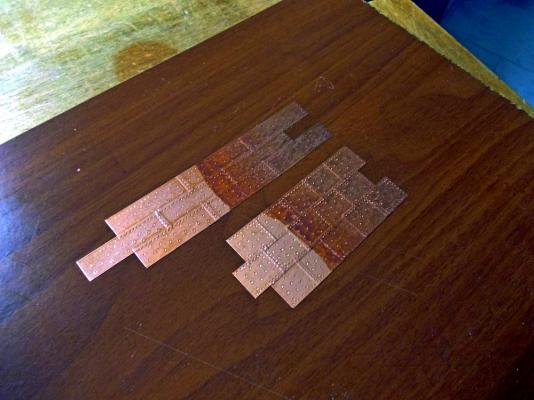
What above picture is showing is much more than the real effect, but I wanted to show it because three different areas are visible: to the left is the original copper, in the middle is the copper just covered with some mixture and to the right is the copper after the mixture has dried.
To be honest, I saw this result on the hull before, then I checked on the testers and noticed that a white patina had developed... in other words I was impatient to test the new technique and did not left enough time to the chemicals to complete their effects.
The effect of the mixture was treble: immediately the copper changed color, taking a more brownish tone. Then it lost great part of its shine. And finally the white patina appeared, probably a side effect of the excess of salt in the mixture...
Back to the hull: before applying the mixture I thoroughly degreased the entire hull with acetone, then passed all the plates with very fine steel wool... and the copper colors harmonized.
Then applied the mixture in several coats, using a ragged piece of fabric that I dipped into the solution: in this way I tried to avoid leaving any excessive amount of the stuff on the copper.
And this is the final effect:
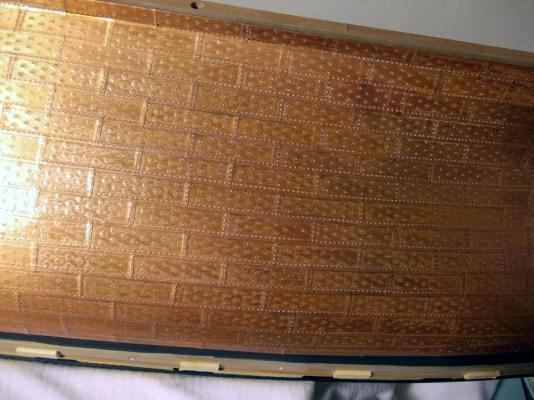
I’m now thinking at how to face this patina, even though I admit that I’m not disliking the final look ...
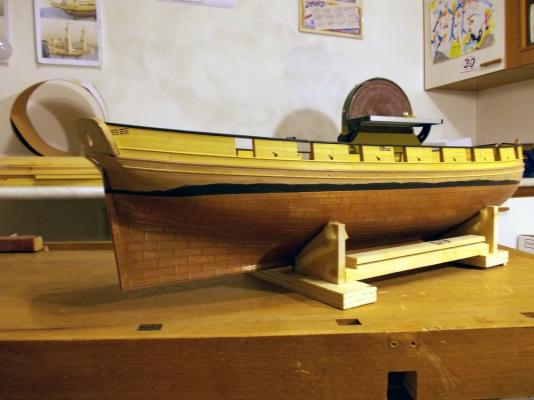
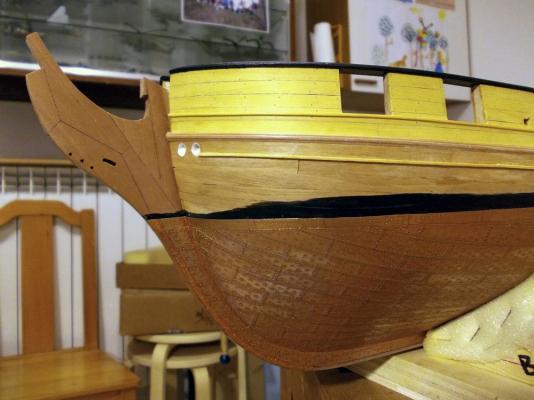
A couple more shots of the coppered hull how as it is right now, before the shipyard was closed for Christmas holidays.
I used a different camera, with much lower performance, and this is the reason for such different color rendering...
You may see that I also added a third molding strip just below the water scuppers, an addition of the very last minutes. I’ve missed it during all my previous analysis of the plans, but discovered it when checking for the next job.
I’ve used Yellowheart wood strips that I had available in the scrap parts box: don’t be surprised for the strange color matching, because all this area will be painted black.
To set these strips I temporarily glued several 4.5mm wide spacers below the main molding (they are visible in the above picture), then used them as a guide for laying the new molding.


 wrote last year following the ship’s last underway before the repairs.


