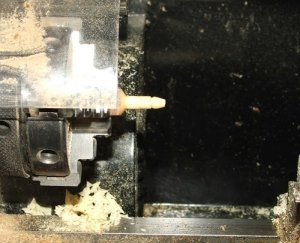
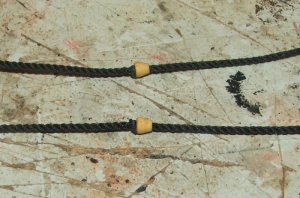
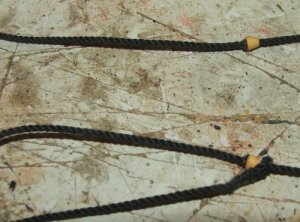
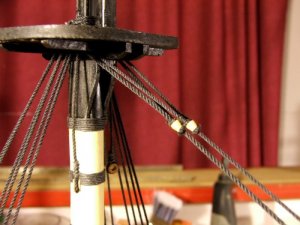
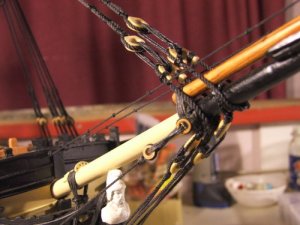
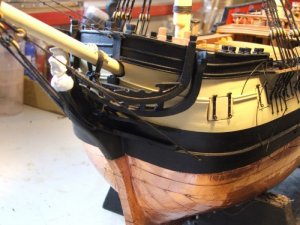
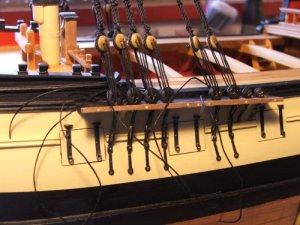
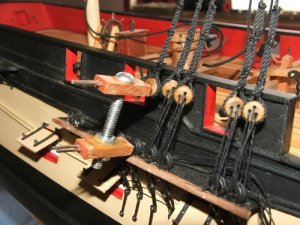
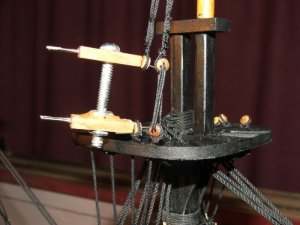
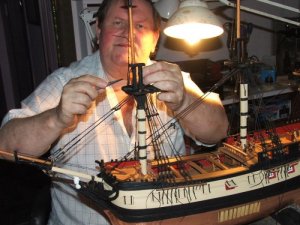
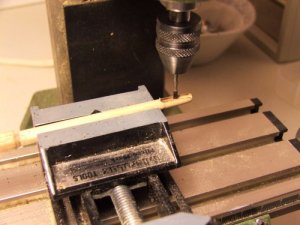
G'day Graham, I'm sorry I deleted your email by mistake thinking there would be a reply on the forum, I hope you see this, I just put the pins in the jar with the solution and gave it a shake every now and then to stir them up and after approx 10 minutes they were done, best regards John.
-

Win a Free Custom Engraved Brass Coin!!!
As a way to introduce our brass coins to the community, we will raffle off a free coin during the month of August. Follow link ABOVE for instructions for entering.
-

PRE-ORDER SHIPS IN SCALE TODAY!
The beloved Ships in Scale Magazine is back and charting a new course for 2026!
Discover new skills, new techniques, and new inspirations in every issue.
NOTE THAT OUR FIRST ISSUE WILL BE JAN/FEB 2026
You are using an out of date browser. It may not display this or other websites correctly.
You should upgrade or use an alternative browser.
You should upgrade or use an alternative browser.
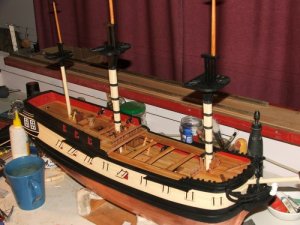
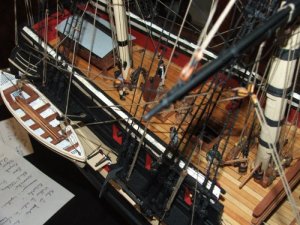
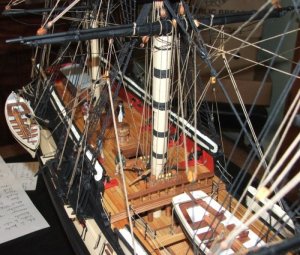
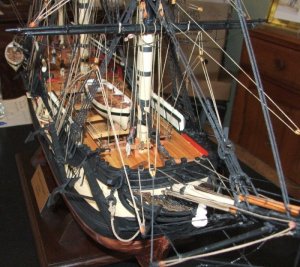
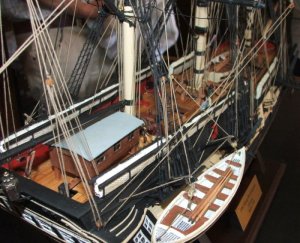
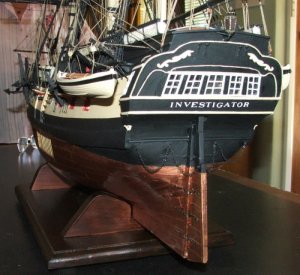
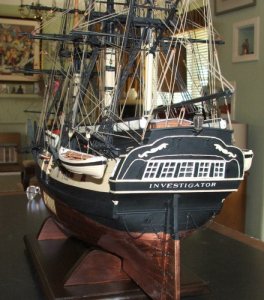
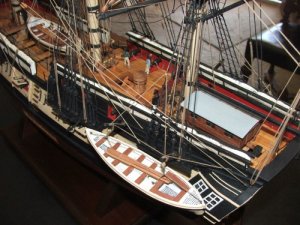
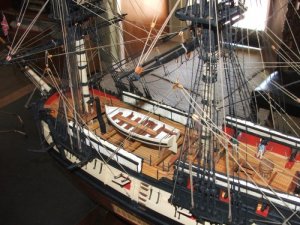
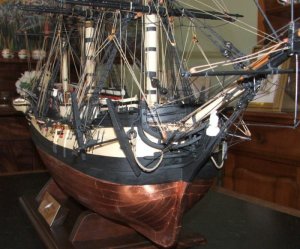
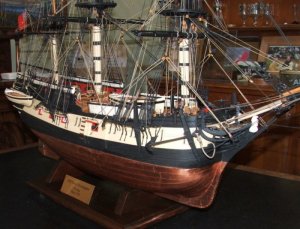
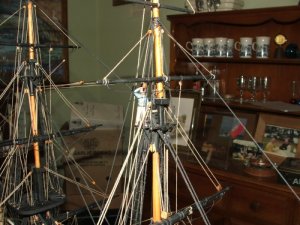
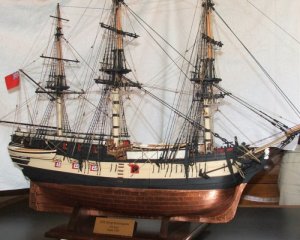
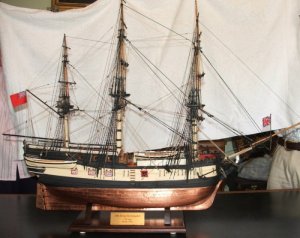
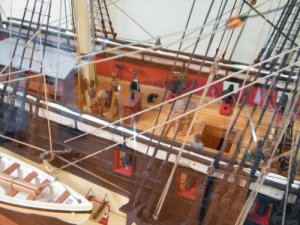
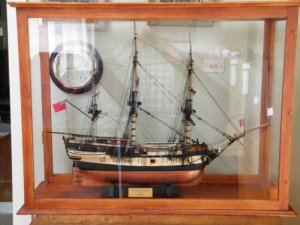
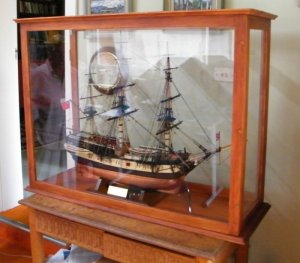
Hms Investigator, 1800, 1/48 scale built by neptune from plans by Robert Sexton.
beautiful work John. Keep the photos coming please.
Thank you Brian,
best regards John.
best regards John.
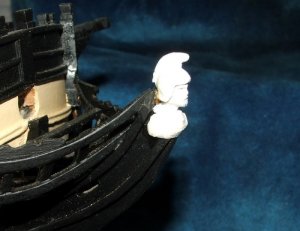
figure head, this came off a pewter chess figure that was the right size,
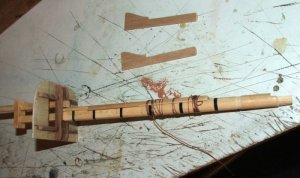
making the masts fitting the rubbing paunch,
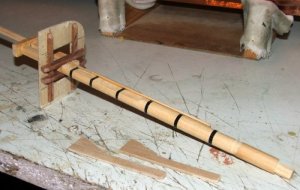
preparing to attach the cheeks, sorry I do'nt have any more inf, these pics were all I could salvage,
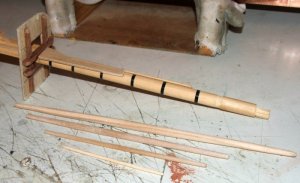
the cheeks in place with the yards for this mast sitting in front, I turned the yards on the lathe,
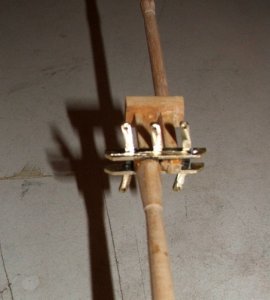
upper trestle tree's were made from brass for strength,
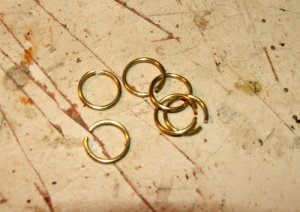
rings for deadeyes, I soldered them and then squeezed them around the deadeyes,
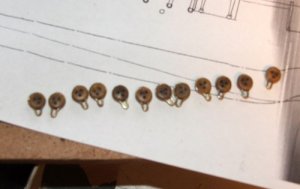
The deadeyes with rings attached,
.
Last edited:
great work as usual John. Would be interested to see your ropewalk set up when you have time to post it.
Brian077 said:great work as usual John. Would be interested to see your ropewalk set up when you have time to post it.
No worries Brian, as soon as I get my work desk cleared I will do a separate post on it,
best regards John
Happy birthday John!!
Thank you Zoltan for the birthday wishes,
best regards John.
best regards John.
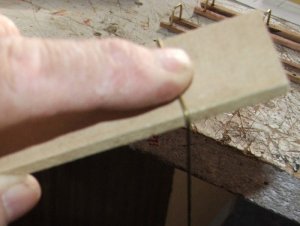
making the hammock holders, I cut a piece of wood to the inside profile to help with bending
to shape,
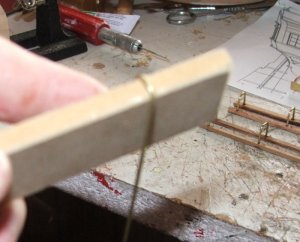
bending to shape,
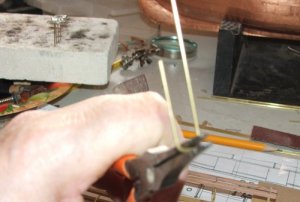
squaring up the bent wire,
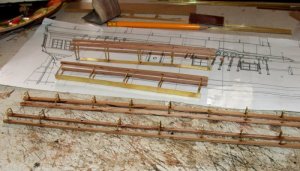
I drilled and glued the wooden rails on the top and soldered a thin strip of brass on the bottom,
which I drilled holes through for fixing to the top of the bulwark,
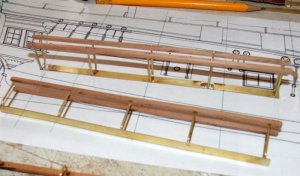
close up view,
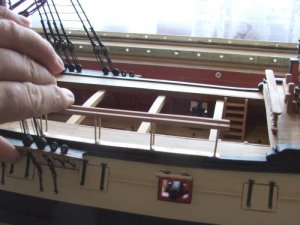
larger view showing where the part will go,
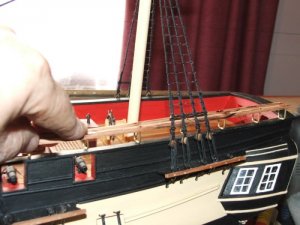
showing where the quarter deck part will go,
.
Last edited:
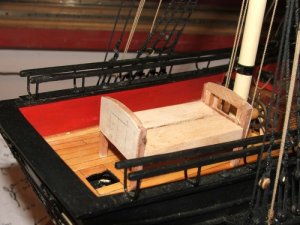
So they could protect specimens of flora that they collected on the voyage they carried on board
a prefabricated type of green house, this they erected on the after end behind the mizzen mast
and straddling the tiller, the fifth pic shows the admiralty plans for it, this is the main carcass,
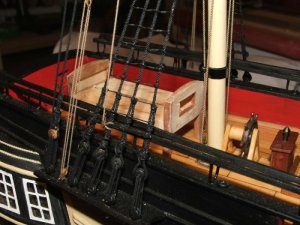
view from forward,
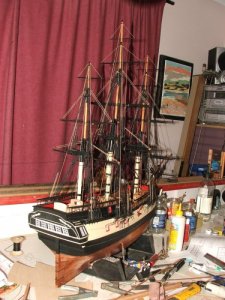
View from aft,
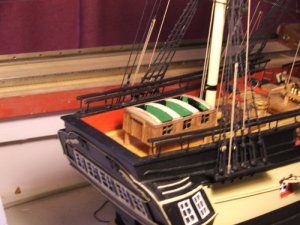
Showing the windows and the reinforcing sections,
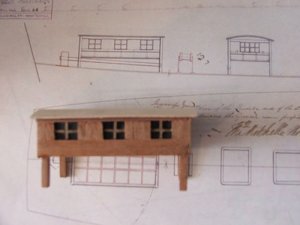
sitting over the Admiralty plans,
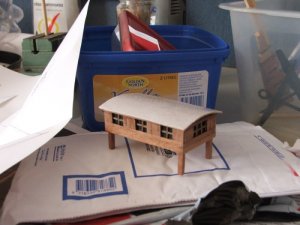
quarter view, I made it with brass pins in two of the legs that go into holes drilled in the deck to
hold it secure, or alternatively it can be left off,
.
Last edited:
Hi John,
Very nice looking build. I wish I steadier hand. :text-woo:
:music-rockout: :handgestures-salute:
Very nice looking build. I wish I steadier hand. :text-woo:
:music-rockout: :handgestures-salute:
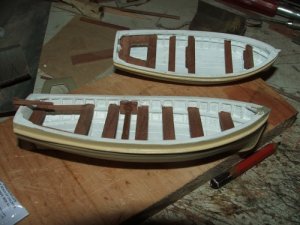
The ships boats are by Quay craft, I discarded their resin seats and made some out of wood,
the boats are neatly moulded and just need a bit of a clean up,
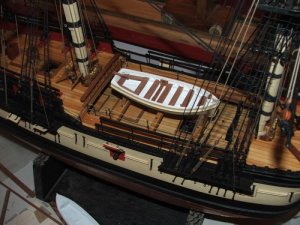
on the skids,
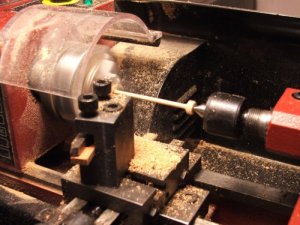
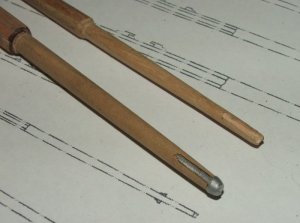
next three pics show the making of the oars, this one is turning the shaft,
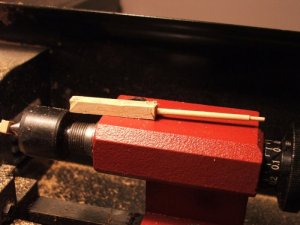
shaft and handle turned,
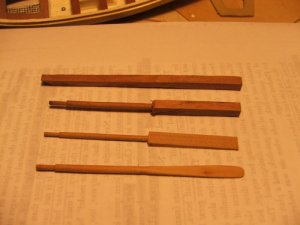
The four steps to making the oars,
.
Last edited:
Nice looking ship. I am enjoying the way you show how you created the pieces like the oars. What seems like a daunting task seems like something I could do once you showed how.


