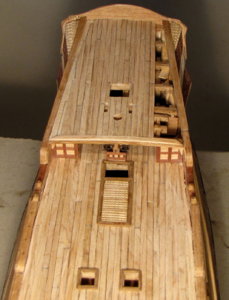
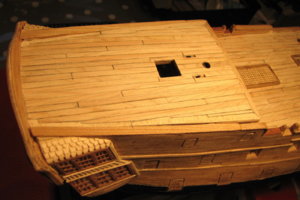
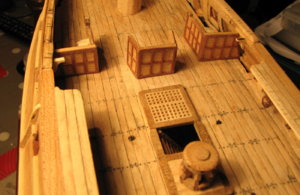
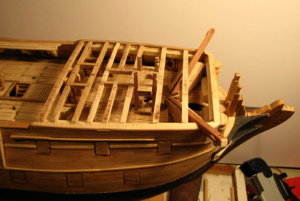
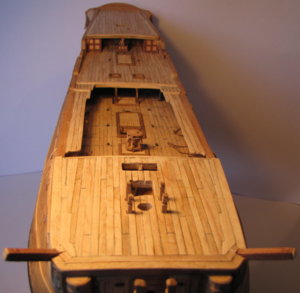
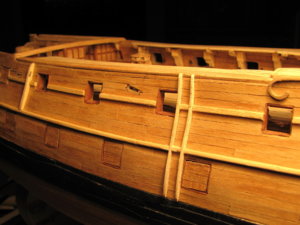
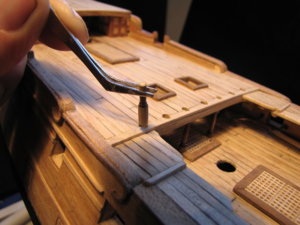
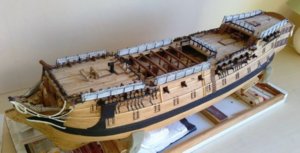
HMS Leopard; 50 Gun 4th Rate; 1790 - Scratch build 1:80

Joined
Dec 15, 2019
Messages
99
Points
143

Because of a post I made in 'General Topics' section, Uwe asked me to post more photos of my build. This won't be a 'full-on' build log but rather, a series of photos from my build.
When I started the build back in 2010 I wasn't even aware of any ship modelling forums and had no idea about making a build log so there are no photos of the very earliest parts of the build.
For as long as I can remember I have always loved sailing ships and this was my first ever attempt at building a model. I had considered building a wooden kit but I found the cost of any kit I wanted to build was very high and couldn't justify the outlay. I then discovered Rif Winfield's 50 Gun Ship book containing some plans and drawings by John McKay for a reasonable price. The plans and drawings aren't nearly as comprehensive as other plans but I felt they were adequate to guide me through a scratch build. I had the plans/drawings scaled up a little to 1:80 from their original 1:96 and after a lot of photocopying of the body plan was able to draft out the shape of the bulkheads - - - and as you will all know . . . there are not two bulkheads that are the same shape!
The 25 bulkheads were cut on my bandsaw from 6mm plywood as was the 'central spine' onto which the bulkheads would be mounted. As most English ships of the time were built mainly from Oak I just had to include some in my own build. The rudder, stern post, keel, false keel and all beakhead timbers from the gripe up, were also made from Oak.
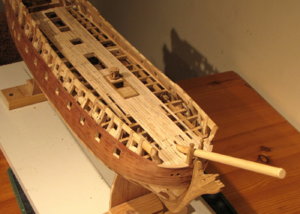
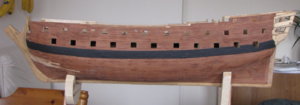
This is the earliest photo I have after all the bulkheads had been attached to the 'spine/keel'
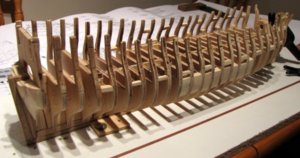
Fss.jpg
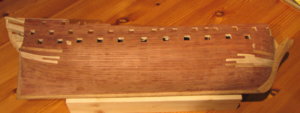
I had no real appreciation for the sequence in which certain parts of the build should be carried out, so I proceeded to mark out the lower level of the gunports on all 3 decks then frame the ports before any hull planking began.
Doing this may not be 'standard practice' but it worked well for me when hull planking time arrived.Fgpfs.jpg
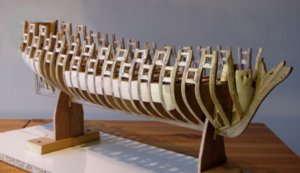
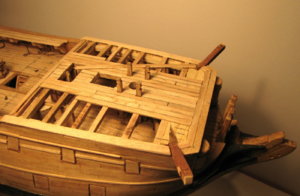
You've probably noticed that there is something missing in both the photos above. There are no stern timbers present on the ship and the main reason for that was that I had no idea how to construct them at that time, and those stern quarters would cause me considerable grief a few years into the build.

. . . and now I'll have to trawl through my old laptop, hoping to find some historic photos that I can't find in this one!
 
As nine years have passed since the early days of the build I can't remember the exact sequence in which I 'did things'. The few photos I have should help put some of these things in their place.
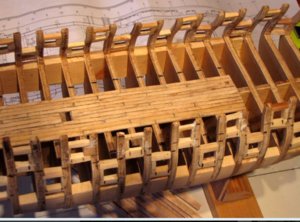
First thing I appear to have done after the bulkheads were fitted and faired was to lay some planking on the lower gun deck. As I intended the ship to be fully planked, hardly any of the insides of the lower deck would eventually be seen so I only planked along the middle of that deck in the area of the waist where some of the deck may later be seen down through the companionways.

0001.jpg
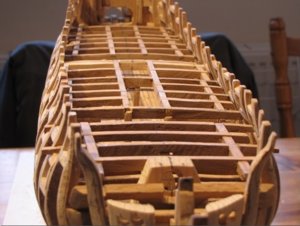
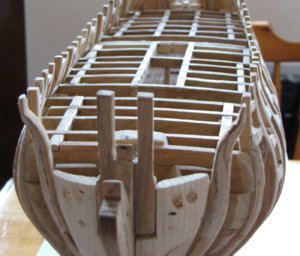
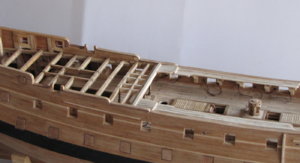
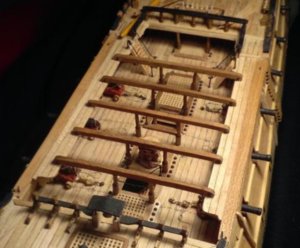
After that planking, the upper deck beams were fitted. The plans show nothing of the configuration of the deck beams so they were fitted 'my way' in order to support the planking while leaving voids for gratings and companionways.
0002.jpg
0003.JPG

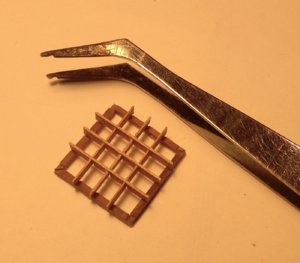
Then the l-o-n-g tedious planking began. I intended to do double planking since I had never tackled such a task before and wanted to use this as a bit of a 'practice session' before doing the final planking. There's only one photo of the first planking and although this may appear to have been done quickly, it took around 3 - 4 months as I kept diverting to 'more interesting' projects for the ship just to get a break from the tedium. A few gratings and a capstan were among the other projects (while I DID try to make my own gratings I eventually bought the self-assembly items).
0005.JPG
0006.JPG
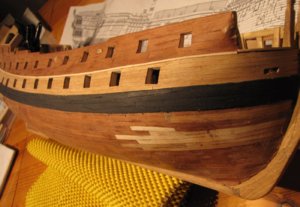
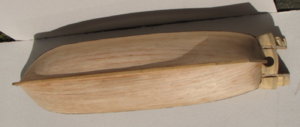
The first planking was done with 5mm X 0.7mm Mahogany strips. The next photo shows the finished (first) planking with the "high dependency" areas in paler wood as I had to use slightly wider strips in these tightly curved areas.
0004.JPG
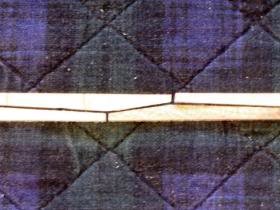
The plans show the wales as hook and butt configuration, but while I tried to create these I was having more breakages than successes so I eventually opted to go with top and butt as these were easier.
0910.jpg
These were made from some Maple I had left over from a 'life-size' woodworking project. I cut them down to a thickness of around 1.5mm and proceeded to fit them on top of the first planking. When the second planking of 0.7mm thickness would be fitted the wales would be proud of that by around 0.8mm.
0007.JPG
0008.JPG
I opted to go with painted wales instead of trying to obtain Ebony for various reasons. Ebony is fairly expensive and I found it almost impossible to source anywhere near me. I understand it is also very messy to work with - unpleasant sawdust.
0009.JPG
0010.jpg

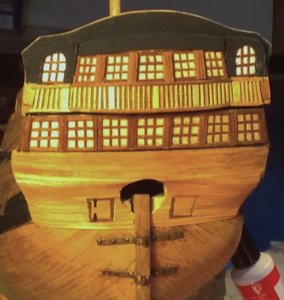
Five of the photos above have revealed a very strange 'object' sticking on the stern of the ship - - - I'll try to make some kind of explanation of that in a further post.
 
OKAY - I'll make an attempt at trying to explain that weird looking "thing" at the stern.
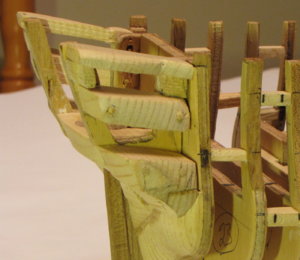
Back then, 2010 - 2011 I had no idea of 'stern timbers' -- the plans I have show no details of how the frames at the stern were configured and what is seen in these photos is (I think) my 3rd attempt at getting something that would work for me to get that 'back end' of the ship eventually looking ship-shape.
Here is a brutal close-up (and very embarrassing) photo of the stern as it stayed for a long time before I took a deep breath and decided to try to make something of it.022-1.jpg
Even after I tried to make it look something like it is meant to look, it still took another 3 attempts to get it to about as close as I was going to get it to be acceptable.
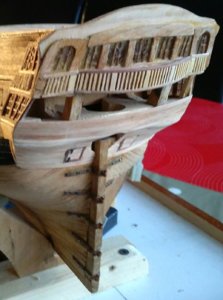
The photo below shows it closer to becoming acceptable although that gaping hole where the upper deck windows should be stayed open for a long time until I eventually got the inclination to re-try again.
_20160210_190354.JPG
Getting closer . . . . .
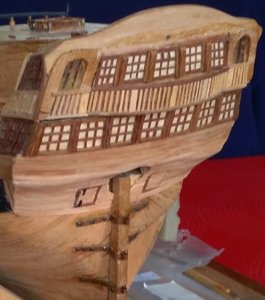
IMG_20160803_190902.jpg
Still not perfect. When I started out, my desire was to end up with an acceptable model and in the nine years I learned a whole lot of stuff - - - and one thing I learned was that I would have to accept that my efforts wouldn't come close to the incredible models I was beginning to see on forums a few years after I started my build.
 
Last edited:
If you (in general) have the wish to improve your skills and knowledge, if you want to make better models and not only models,
a very important part is self-criticism.
And this you show very good - you wanted to improve the stern of the model and tried it again and again - and it is now much much better.
And also important are friends and other modelers, which share their knowledge and experience, to see what others are doing, to discuss your own and other models, to learn from others and with others...... and this a forum like SOS can and will provide and offer.
Many Thanks for sharing with us your hard way of experience with your model :cool:
 
Jim
I echo Uwe's remarks.I will add that I have spent hundreds of hours learning from the work of others over the years.We all start somewhere and I remember having the attitude,not "I can/can't do that" but "I want to learn how to be able to do that".Many aspects of this hobby can be picked up from others,when you gain knowledge and experience,occasionally you do come up with things that nobody has done before,but that is only occasionally.

Kind Regards

Nigel
 
Thanks Uwe and Nigel for your comments and the others for the likes.
Yes, over the time I spent building Leopard I learned a lot - some stuff I figured out for myself (and sometimes I got it right the first time!); some stuff I eventually got right (or close) after mistakes and several attempts . . . and a lot of stuff from others posts on forums like this one.
Since I've started on the stern quarters in my previous post I may as well continue it here.
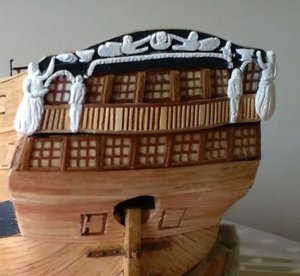
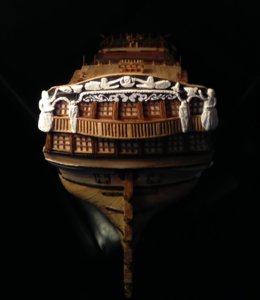
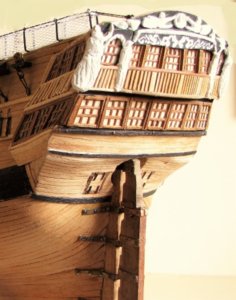
That 'rear end' slowly evolved as in the following photos >
IMG_20160811_192625.jpg
I had never before done any carving of any kind but now had come the time to find out if I had any ability to do so. At the scale I was building I couldn't imagine that I could carve anything of the stern figures in wood so I opted to try air drying modelling clay. I was surprised that I found it easier than I had feared beforehand. Again, I knew I couldn't replicate the quality of some carvings I was beginning to see on forums but as a beginner I accepted 'my own level' and glued them on the ship.
IMG_20160826_105448.jpg
While the carvings above were made from clay, the tiny extra 'carvings' below were too small for me to make from clay so for these ones I used white acrylic paint on black paper then glued the paper onto the stern>
IMG_20160907_192442.jpg
Slw.jpg
 
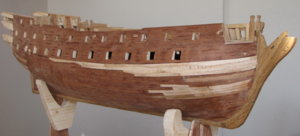
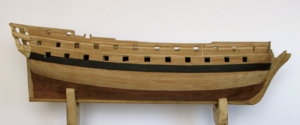
Back to hull planking. The final planking was commenced above the wales after they had been fitted and painted. An equal amount of planking was done on each side of the hull - around 5 or six strakes each side at a time. For the final planking I used 3mm wide X 0.7mm thick Anegre strips. I would have been happier with 4mm wide strips as these were more in scale with the ship but 3mm was all that I could obtain. (I would also have been a fair bit quicker if they had been 4mm wide!)
0011.JPG
0012.JPG
Then, about 4 or 5 months later - - - hull planking finished . . .
0013.JPG

0014.JPG
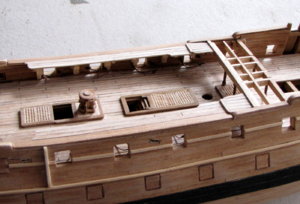
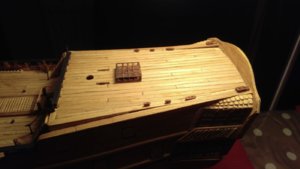
By the time I finished the hull I had also finished the upper deck planking, then both gangboards were fitted and a start made to the quarterdeck beams.
IMG_4746.JPG
This was much more 'fun' than the tedious hull planking had been and I pressed on and got the remainder of the Q/deck beams done.
IMG_4761.JPG
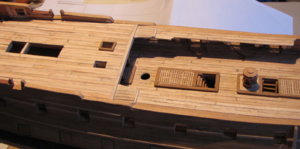
As with the previous deck planking, all planking was cut from some Maple I had left over from a wood working project. After several months of hull planking I was just so pleased to be getting on with something that didn't feel like it was taking forever. After the Q/deck beams were laid I just went straight on and planked the deck.
IMG_4769.JPG
The coamings for the gratings, companionways, hatches etc. I made from some Makore I also had left over. (Timber is like wine -- there is really no such thing as left-over timber . . . at least none that gets thrown out - - - I always find a use for it!)
Makore is a very stable and easy-to-work timber and it is about the right colour for the coamings.
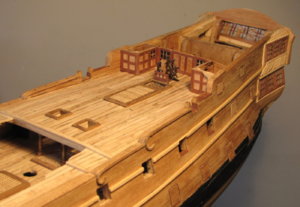
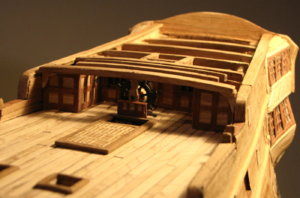
Before installing the poop deck beams there were some partitions to be made and fitted. The ship's wheels were also fitted at this time. The wheels were bought items from a model shop. At this scale I wouldn't have had a clue as to how to make ship's wheels.
IMG_4793.JPG
IMG_4805-1.jpg
IMG_4821.JPG

IMG_4840 - 1 (6).JPG
 
In the past week our golden wedding celebrations have been going on so I haven't been much online. Back here to post a few more photos.
Since I had started the deck planking I just moved on and fitted the partitions under where the foredeck would eventually be.IMG_5014.JPGIMG_5069.JPG
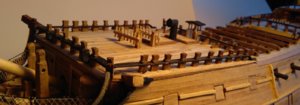
The photo above reveals that at least some gunport lids had been fitted by that time as well as some work done up at the beakhead. The catheads had to be secured in position before the forecastle deck planking was done.IMG_5101.JPGIMG_5135.JPG
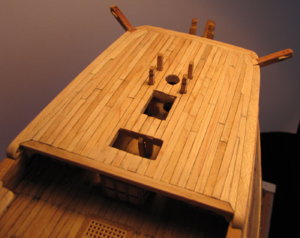
All planking now complete.
rsz_img_5144.jpg
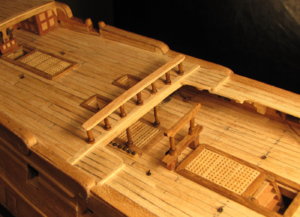
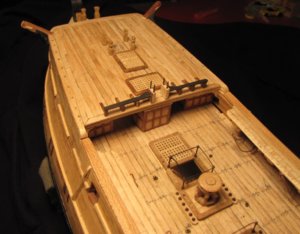
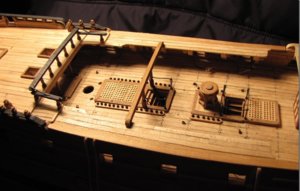
Time now for all the deck furniture/fittings, ladders, rails, skid beams, hammock cranes etc. etc.
. . . and fiddly little things like fenders and chesstrees.rsz_img_4999.jpg
rsz_img_5006.jpg
Already mentioned gunport lids. From the beginning I intended to have the ship "closed" -- meaning that all ports would be shown in the closed position. At only around 8mm I would have found it more than a little fiddly to try to create the hinges for these tiny lids . . . also, it would have required another 34 guns and carriages so I was happy just to go with the 18 "open" guns in the waist area and the quarter deck and bow chasers.
A start on the Q/deck rail.
rsz 4840 - 1 3.jpgrsz 4840-1 4.jpg
Main jeer bitts also fitted.IMG_4915.JPG
Frame for poop deck sky light.00041 (1).jpg00041 (2).jpg00041 (6).jpg00061  2.jpg
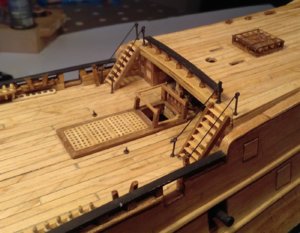
That photo above shows the poop rail and ladders in position. Here's a clearer photo of these.
00051 1.jpg
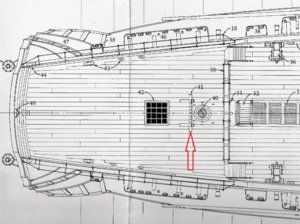
These 50 gun ships (at least these Portland Class examples) had no bulwarks on the poop deck -- only hammock cranes, and the plan shows only one pinrail containing only 7 belaying pins located behind the mizzen mast. Much later in the build, at rigging time, this woeful shortage of belaying points would prove a little troublesome.
0068.jpg
 
Thanks for the comment, Jim and to the others for the likes.

So many things to make and fit to the completed hull. As a result of viewing so many build logs, by 2015 (about five years into the build) I realised the value of a milling machine. It may not be essential, but it surely is very helpful!
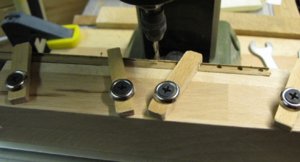
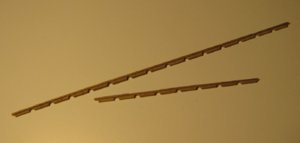
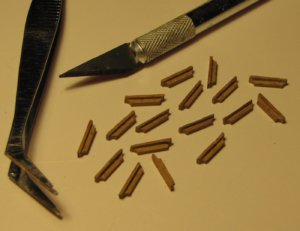
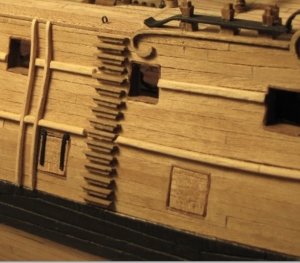
Since then there have been numerous projects done on the machine. One of these was the preparation of the hull boarding steps.6521.jpg6526.JPG6528.JPGSteps.jpg
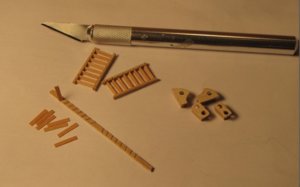
The mortices for the treads in the ship's ladders were done on the machine - after I created a jig. (Since the build, I now have a fairly large box full of jigs that were created for so many of the ship's projects.)
6224 -.jpg
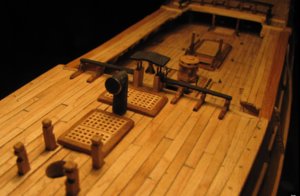
Foredeck gratings, rail and a start of the belfry.Belfry 1.jpg
Belfry and stove chimney.
Belfry 2.jpg
Fife rail and foredeck side rails before timberhead tops were installed.
6465.jpg
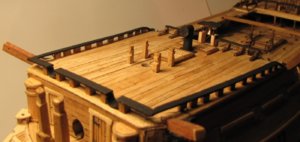
Quarterdeck rail and side (bulwark) rails with timberheads and the first of the skid beams in position.
6376.jpg
I didn't want to be messing with trying to rig the waist guns with the five skid beams in place, so I rigged one gun on each side, fitted the skid beam then moved on to the next until all five beams, and ten guns were in place.
Beam - 05.jpg
 
Foredeck timberheads and pinrails fitted. The drawings show only two rails, each with 8 pins for belaying all of the rigging up at the 'front end'. When it came to rigging time I had to add a further 8 pins along the aft forecastle rail and a further 10 along the fiferail. Even these were not enough and I also had to use the fiferail timberheads to which to make off some lines.
IMG_20160512_200703.jpg

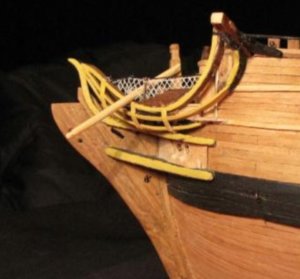
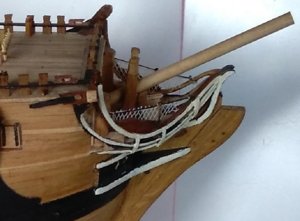
While the stern quarter galleries and lights had proved very troublesome for me as already mentioned above in an earlier post, the head timbers proved to be just as much "fun".
There are no photos of my first two attempts as that would have been too embarrassing!
The photos below are of my third attempt, by which time I had come to accept that this was going to be as close as I was probably going to get.
This first picture was after I had painted the timbers a horrible yellow colour -- I hated it and soon changed it to white.
HT003.jpg
HT001.jpg
The boomkins shown in the photo (2 above) went in the 'safe box' until much later in the build. I didn't want them sticking out the front there, and even after fitting them a long time later they both suffered damage at a clumsy modelmaker's hands!
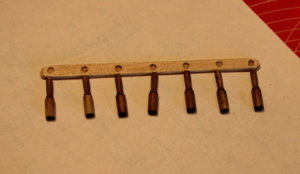
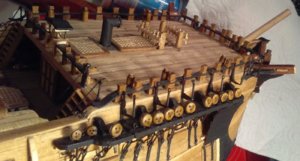
My first attempt at hammock cranes were the six for the starboard side of the forecastle. Only these foredeck ones had "legs" so I was able to glue and nail them onto the hull side. (These 6 cranes shown in the company of the fore channel)
HN001 (2).jpg
Then it was time to try for some netting. I did try to 'weave' my own netting but the results were nothing like netting!
So, it was time to reach for the garlic >>>
GN001.jpg
The mesh containers for these supermarket garlic bulbs was about perfect for hammock netting in the scale of my ship.
GN002.jpg
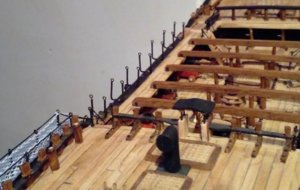
The cranes for the other parts of the ship have no 'legs' and are attached down onto flat surfaces in various positions around the ship.
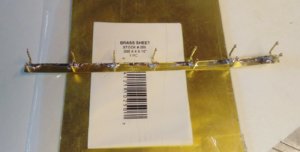
I could see that may create a problem trying to get them all perpendicular to the waterline and evenly spaced and parallel to each other. So, I soldered them onto thin brass (0.005") sheets then attached the sheets directly onto their respective positions around the ship.
HN004.jpg
The soldering looks much worse in the photo above than in reality, and after blackening, it is virtually invisible.HC001.jpg
Then, after some considerable time --- all 8 sections of hammock cranes and nettings are done.HC005.jpg
 
Last edited:
Thanks for the comment, Uwe, and to the others for the likes.

You're right Uwe ~~~ I haven't seen any vampires around here in a long time!
 
Hallo Jim, alias @The Doc ,
we wish you all the BEST and a HAPPY BIRTHDAY
Enjoy your day
Birthday-Cake
Hope to see much more work from you .....
 
Thank you, Uwe and Jim for your comments!
** Just a note:- several weeks back I noticed that my birthdate (and year) had been entered incorrectly when I first registered. When I noticed that, I sent a message to admin pointing this out and giving my correct D.o.B. but so far it hasn't been changed.
This has do be done by @Donnie ....... sorry for the late Birthday wishes Birthday-Cake
 
Hi Uwe,

When I saw the mistake I also saw this:-
"Once your birthday has been entered, it cannot be changed. Please contact an administrator if it is incorrect."

I could only see the "Contact Us" and clicked on that and used the messaging service there -- so, how do I do it by "@Donnie" ?
 
Back
Top