• Win a Free Custom Engraved Brass Coin!!!
    As a way to introduce our brass coins to the community, we will raffle off a free coin during the month of August. Follow link ABOVE for instructions for entering.

HMS Sovereign of the Seas - Bashing DeAgostini Beyond Believable Boundaries

Kurt,
I didn't worry too much about the correctness of the decorations as I built my SoS, but I have to admit, this way is much better! Congratulations!
Janos
 
Kurt,
I didn't worry too much about the correctness of the decorations as I built my SoS, but I have to admit, this way is much better! Congratulations!
Janos
Thanks, Janos!

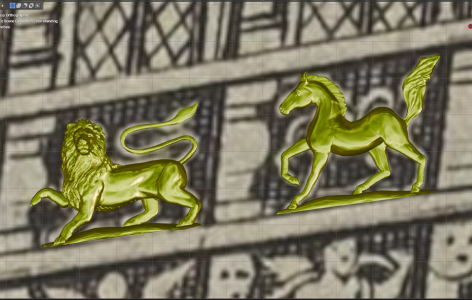
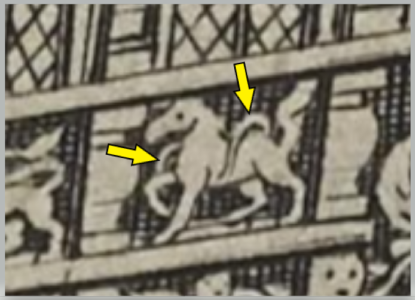
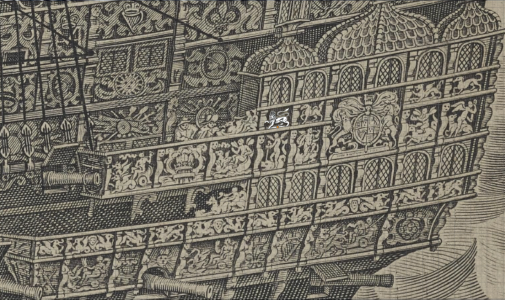
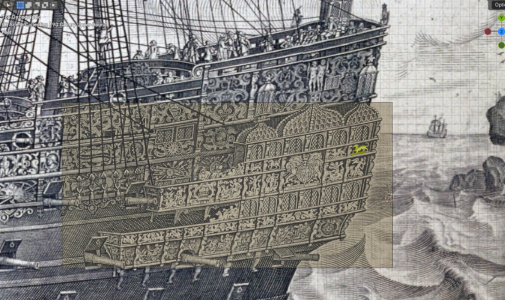
I understand. When you are hand carving all the decorations, many shortcuts have to be made. The detail of the carvings is so small that even fine boxwood has limitations on how small the details can get before they crumble. When I first started this model, it was with the intention of just building the kit as-is right out of the box. However, the disapppointment of learning just how many details were incorrect forced me to start the long kit bashing (modification) process, which very soon turned the model into a full scratch build just after the hull framing was assembled. The decorations just had to be replaced since no kit options were even remotely accurate. Having the Payne engraving and the painting of Peter Pett and the Sovereign as sources provide as nearly a complete picture of what the decorations should look like as one could hope for, giving the lack of information typical for ships this old.

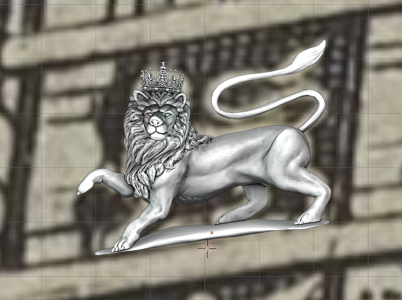
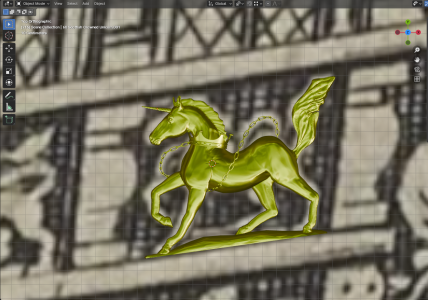
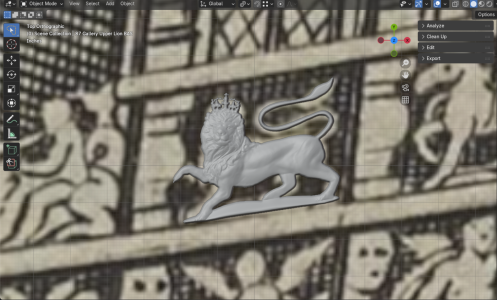
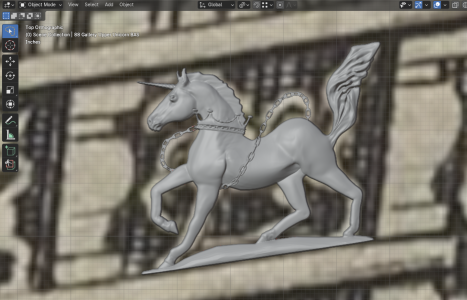
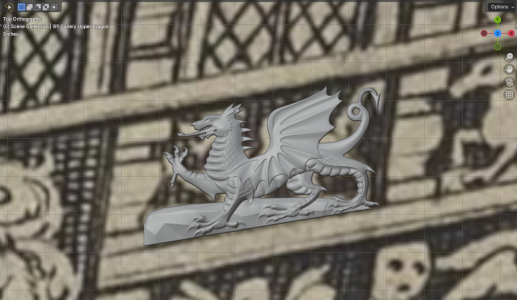
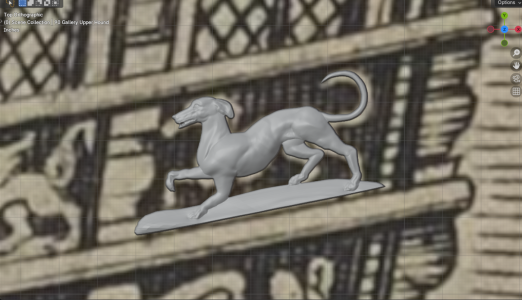
Ship model like yours and Wolfgang Rotter's were the inspiration that started me on this long effort to create better decorations. Even so, some shortcuts were made. All of the decorations, particularly the earliest made ones, could use more work. My skills in Blender have grown from nothing to what you see now, but I still rely largely on modified assests from other artists. Only the ones that do not contain human figures and animals were wholely ccreated by me. That doesn't bother me, because the entire ship model project is a best effort from an intermediate skill level. Keep in mind, this is my second wooden model ship. It's like climbing the Matterhorn without any experience. The learning curve is quite steep! :D
 
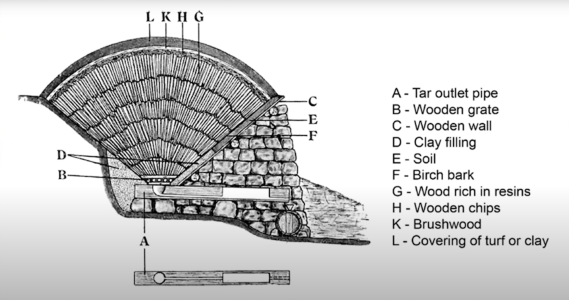
I came across a wood preserving video today and it discussed how to make pine tar, which was used for centuries. LINK. I have a bottle of it which I used to stain the sails on my previous model. You can still buy it today, even on Amazon.com. The useful picture shows now they made it. The wood chips and brushwood at the top were lit on fire, which would burn slowly because the covering limited the amount of air that could reach the fire. This provided heat that melted the resins in the wood (G), which would be collected at the bottom from the outlet pipe. Pine tar smells like smoke from a campfire. If you leave some out in a bowl, open to the air, the whole room smells of wood smoke in a hour. Even my sealed bottle makes the utility room it is stored it have a slight smoky smell. Imagine how a tarry sailor with this stuff on his shirt and hands smelled.
1760794185477.png
 
Thanks, Janos!

I understand. When you are hand carving all the decorations, many shortcuts have to be made. The detail of the carvings is so small that even fine boxwood has limitations on how small the details can get before they crumble. When I first started this model, it was with the intention of just building the kit as-is right out of the box. However, the disapppointment of learning just how many details were incorrect forced me to start the long kit bashing (modification) process, which very soon turned the model into a full scratch build just after the hull framing was assembled. The decorations just had to be replaced since no kit options were even remotely accurate. Having the Payne engraving and the painting of Peter Pett and the Sovereign as sources provide as nearly a complete picture of what the decorations should look like as one could hope for, giving the lack of information typical for ships this old.

Ship model like yours and Wolfgang Rotter's were the inspiration that started me on this long effort to create better decorations. Even so, some shortcuts were made. All of the decorations, particularly the earliest made ones, could use more work. My skills in Blender have grown from nothing to what you see now, but I still rely largely on modified assests from other artists. Only the ones that do not contain human figures and animals were wholely ccreated by me. That doesn't bother me, because the entire ship model project is a best effort from an intermediate skill level. Keep in mind, this is my second wooden model ship. It's like climbing the Matterhorn without any experience. The learning curve is quite steep! :D
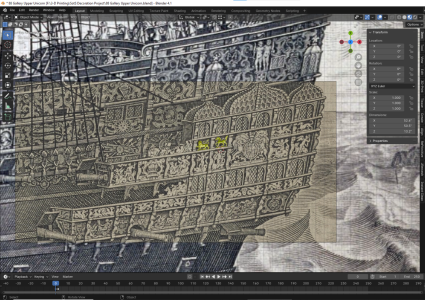
After you get these all done, I could see a little cottage industry popping up in your garage. I'm sure there would be many builders interested in purchasing either your digital models or fully printed ones. Scaling them differently would be a piece of cake also.
 
After you get these all done, I could see a little cottage industry popping up in your garage. I'm sure there would be many builders interested in purchasing either your digital models or fully printed ones. Scaling them differently would be a piece of cake also.
Oh no! I have no interest in going into production with my tiny 3-D printer. There simply isn't enough time. The models will be made available inexpensively to other builders, but I have to prove they will print first. This whole adventure into 3-D printing is solely for completing the model of HMS Sovereign of the Seas.
 
Disaster!
1761014793343.png
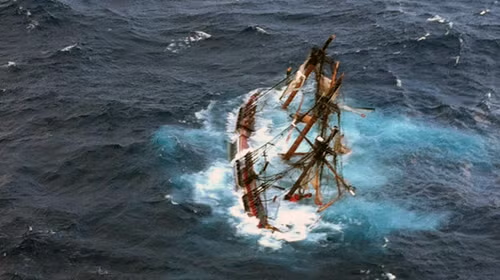
On Friday. my hard drive containing the "Tall Ships" directory crashed and was not accessible. It took all of my research material, pictures, logs, book, EVERYTHING with it! The 3-D models were also wiped out but I had backups of those on another drive. I've been shipwrecked, mates! Recovery of the build log photos from both of my model builds from IMGBB, and some PDF books I posted on Google Drive for @dockattner and others was done, but all my research notes and pictures of ship features are gone. All the folders containing files for at least two dozen of other ships are also gone. It's a sad day.
:(

Hard Drive Rescued!
After two days of trying to salvage files, I managed to use a hard drive rescue method that restored my security permissions, which was the reason why the drive would not mount, and the files were made invisible. Lesson learned: time to buy a new drive and make backups of 5.7 terrabytes of data! OMG, I am SO relieved!
:rolleyes:
 
Last edited:
Hey Kurt,

I was really shocked when I read that your hard drive crashed. I know the feeling and have had bad experiences myself with a hard drive crashing. Unfortunately, mine was unrecoverable. That's why I only use external hard drives and they are not encrypted so that they are easier to restore if necessary. But I always have ×2, otherwise there's no point ... Great work you're doing and I'm a big fan of your project. It's nice how you do it. I have absolutely no idea about Blender. But I just have to get to grips with it. I think you just have to get started with Blender and then the routine comes ... I would love to have your Blender skills ... Just great ... Thumbsup
 
That was one HELLUVA scare. Redface The old drive is working at the moment, and I have a new 8TB internal drive on order, and will fill it up as a backup as soon as I plug it in. Apparently, portable hard drives are susceptible to this sort of failure, where the drive security permissions are erased such that you not only can't see the files, a drive letter isn't even assigned to the drive when you plug it back in! In my case, the drive was plugged in the night before, and I was using it to finish and save the last three decoration models. Then, the next day, i powered up the computer and the drive was inaccessible. WTF! Suspiciously, that happened right after I install the latest Windows 11 update 25H2. However, I don't think there is a connection between the two.

This is how I fixed it and saved the drive:
 
Last edited:
Back
Top