-

Win a Free Custom Engraved Brass Coin!!!
As a way to introduce our brass coins to the community, we will raffle off a free coin during the month of August. Follow link ABOVE for instructions for entering.
-

PRE-ORDER SHIPS IN SCALE TODAY!
The beloved Ships in Scale Magazine is back and charting a new course for 2026!
Discover new skills, new techniques, and new inspirations in every issue.
NOTE THAT OUR FIRST ISSUE WILL BE JAN/FEB 2026
You are using an out of date browser. It may not display this or other websites correctly.
You should upgrade or use an alternative browser.
You should upgrade or use an alternative browser.
- Joined
- Mar 27, 2019
- Messages
- 823
- Points
- 403

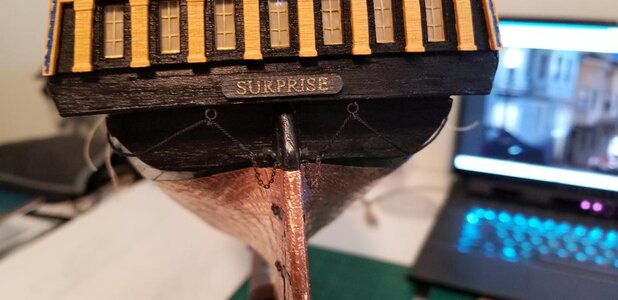
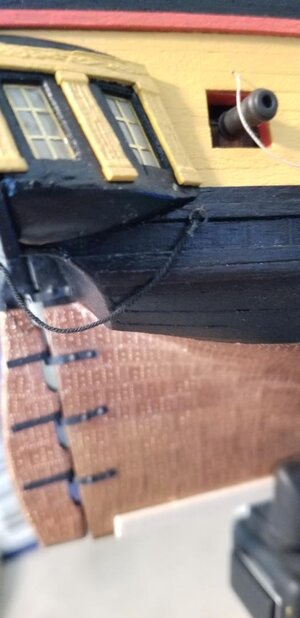
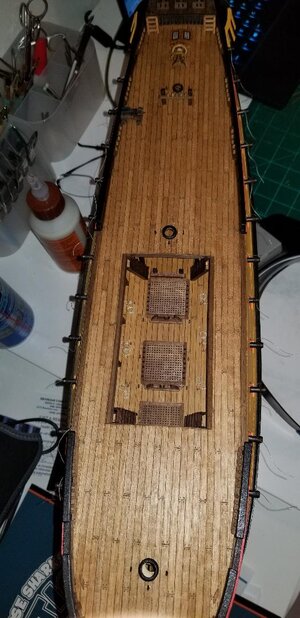
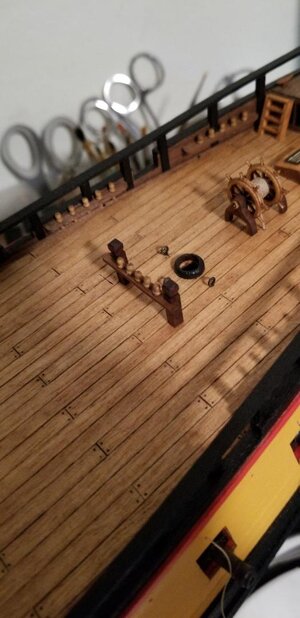
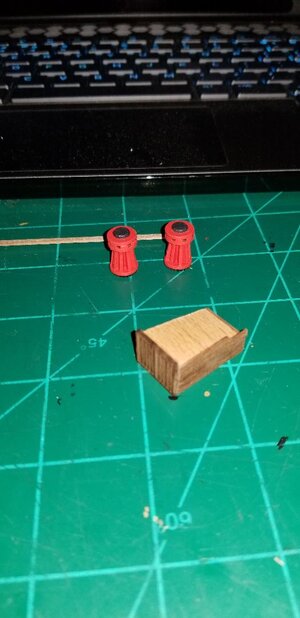
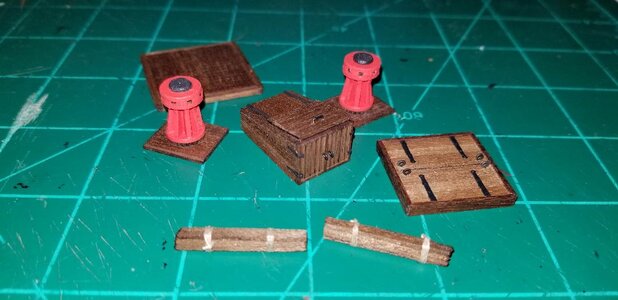
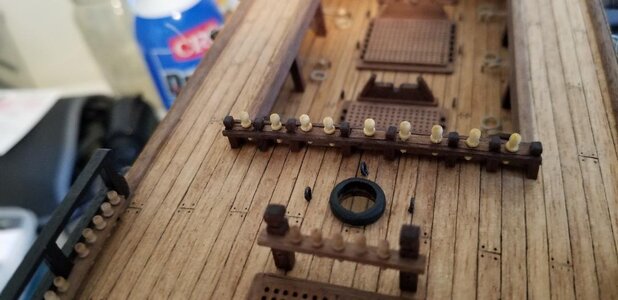
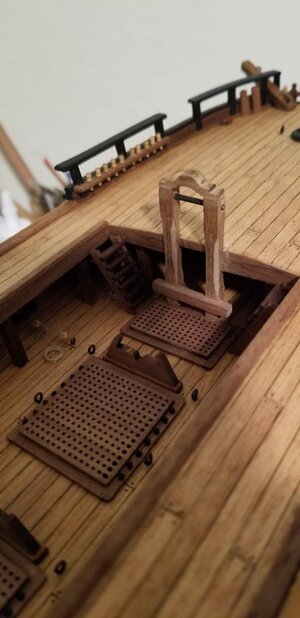
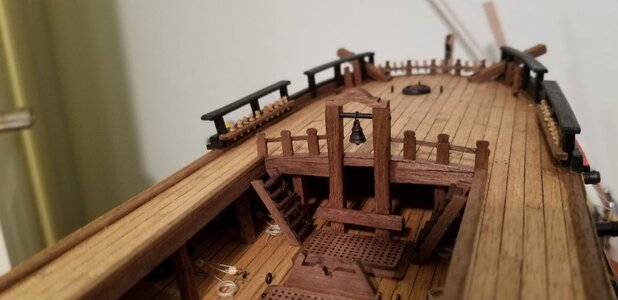
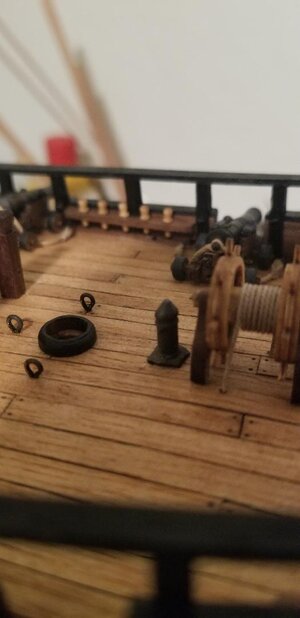
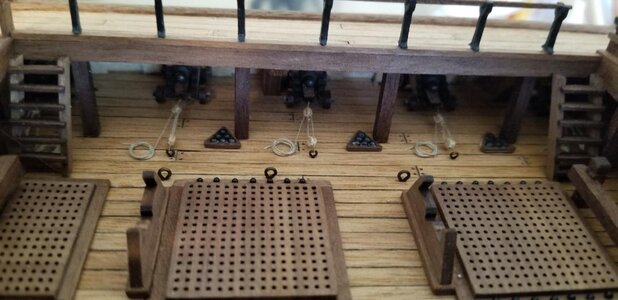
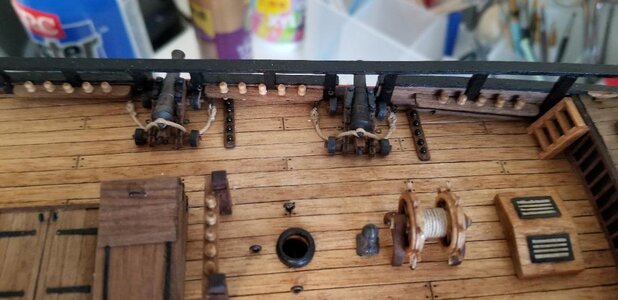
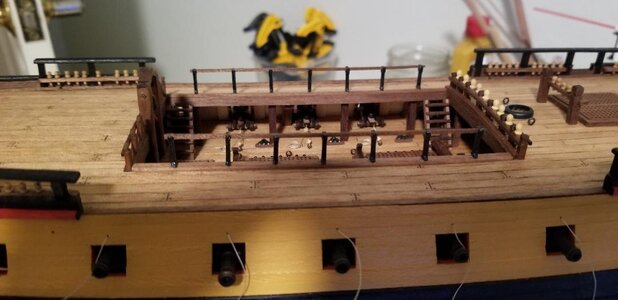
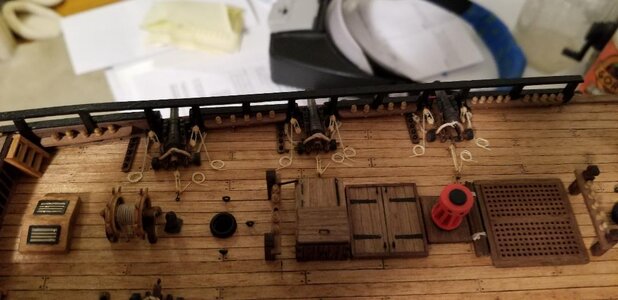
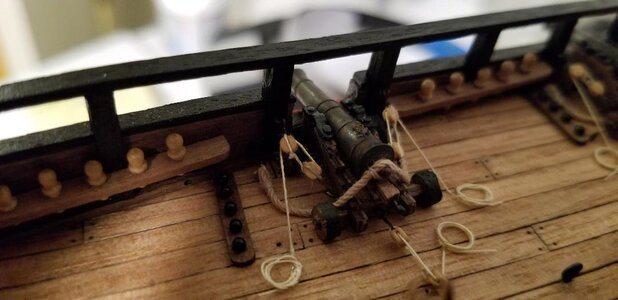
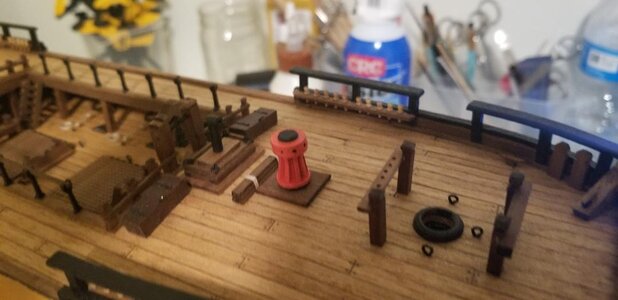
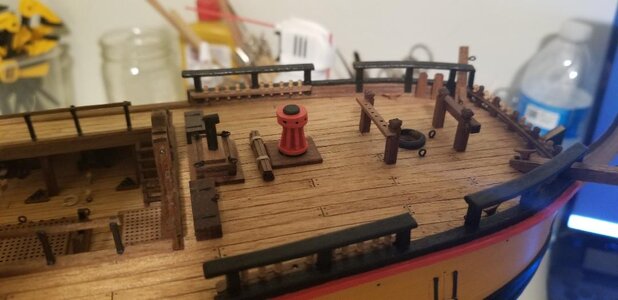
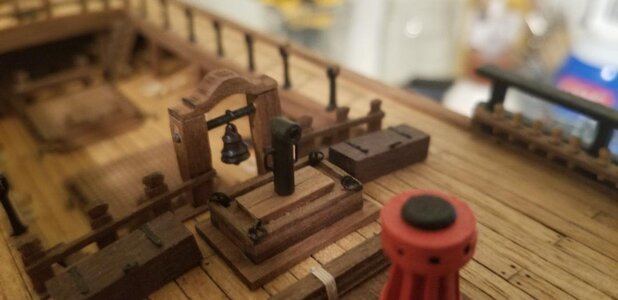
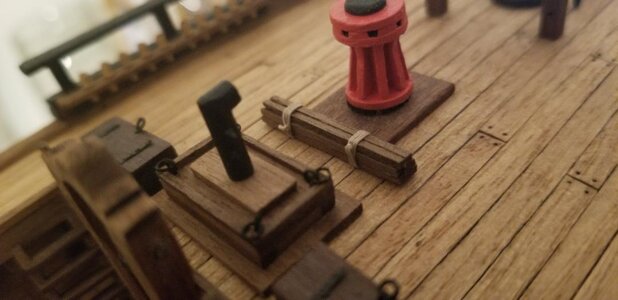
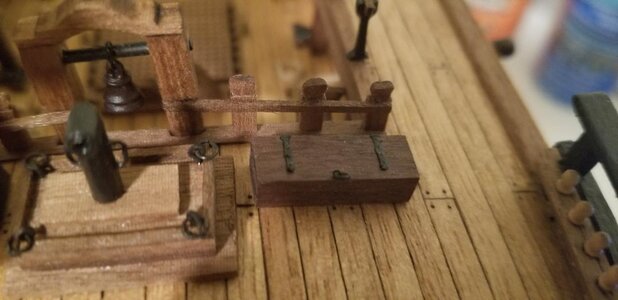
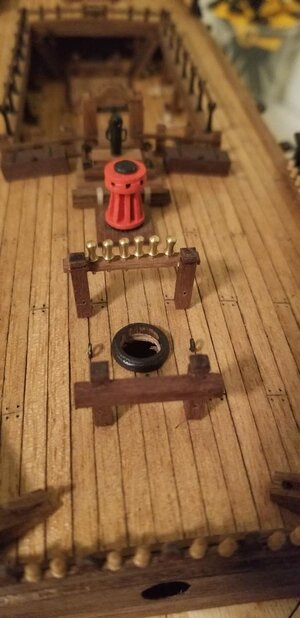
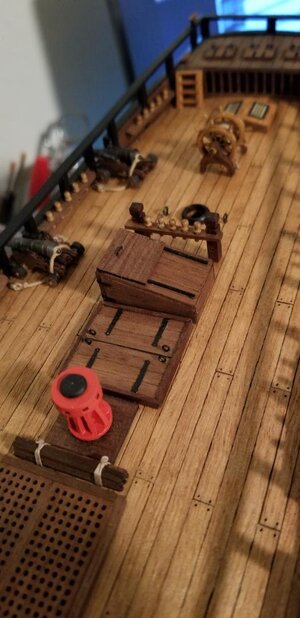
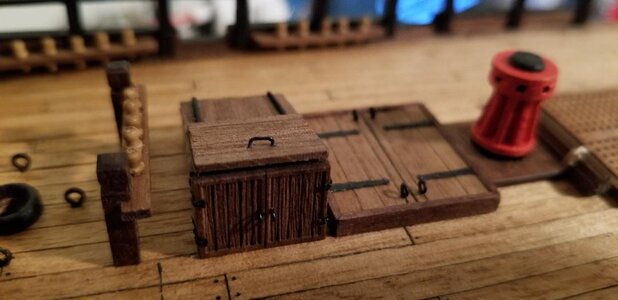
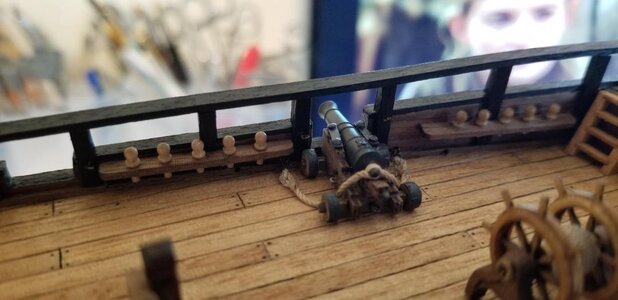
OK all those items I finished over the last couple of days I mounted, except for the forward capstan. I also mounted two of the cannon on the larboard side with breech lines. All my Passaro blocks are at my other residence so I'll rig them out completely next month. Wow, with the Covid I'm getting so much time in with Surprise that I'll be done with all the deck furniture way ahead of schedule. I won't be surprised if I don't start with the masting by March at the latest.


- Joined
- Mar 27, 2019
- Messages
- 823
- Points
- 403

that's beautiful... other residence.? Must be nice...
- Joined
- Mar 27, 2019
- Messages
- 823
- Points
- 403

that's beautiful... other residence.? Must be nice...
Yeah it's good and bad also. I get to get out of the house and do some actual work but I have to leave the family behind for a couple of weeks. And I have to get multiple Covid tests and quarantine once I return home. Good and bad.
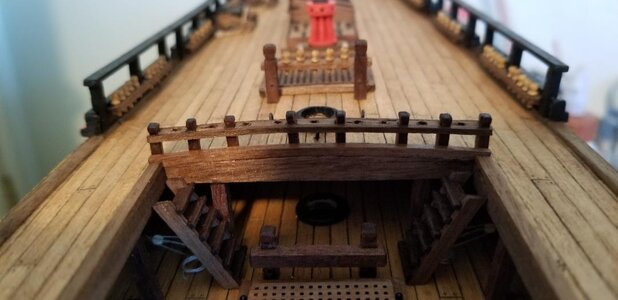
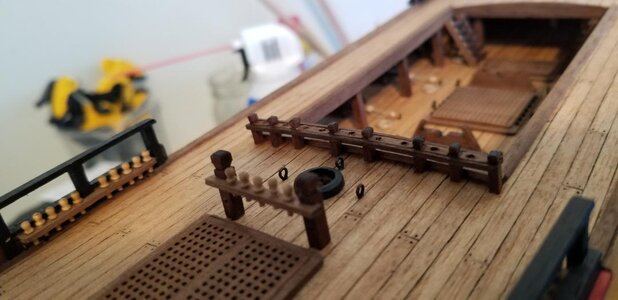
Yes, I agree, that 21.5 mm post really makes quite the camber on the deck. Unfortunately, I did follow the directions and did mine to that height. We'll see if it comes out okay later. I, too, am building the Mamoli 1:75 HMS Surprise kit.I finished up the three gratings that go on the gun deck underneath the longboat as well at the longboat cradle. All these pieces are made from Walnut so even with a neutral clear stain they are of a very dark hue. When placed on top of the gun deck the starkness in colors between the deck planking and the gratings was extreme and I didn't like it one bit. So I "watered down" some Minwax Golden Oak and applied another coat on the deck planking. I sure Forrest Gumped my way through this part of the project, the end result I really like. I also added some shot racks along the side of each large grating, this feature is not on the plans. I'll install the cannon balls after planking the hull and Surprise is right side up again.
The second picture is the kit provided cast longboat which I won't use. I just ordered another Falconet longboat that I just finished for my Rattlesnake build, this is picture three. It's 5mm longer than the kit provided boat but it'll fit just perfect in the longboat cradle.
The last picture is an example of the supports for the deck immediately above the gundeck, forecastle up front and quarterdeck in the rear, notice the camber that the false deck and then deck planks will follow. The plans call for the center pillar being 21.5mm long. I found the camber to be very pronounced and so I shaved a bit off that central pillar, it's more like 20mm long now.
View attachment 170088View attachment 170089View attachment 170091View attachment 170092
I am at the point ot installing the (impossible to make) gunports. How did you determine the correct locations for the ports, as the directions say nothing, and the main drawings are actually not to the correct scale.Four rows of planks from the gun ports moving down installed. I'm being more mathematical this time, instead of eyeballing the narrowing fore and aft of hull planks I'm measuring and cutting more precisely than I have in the past. So far I'm amazed at how smoothly it's going. The planking from the gun ports up is very simple. I'm almost at the point where the coppering will begin and move towards the keel and so far no big gaps or bumps. Maybe I've learned something from my previous four builds and it's easier this time....
I also lept ahead a bit in the plans and installed the aft most two gun ports on the larboard side just to see how the process works. The gun ports are solidly installed and will be trimmed up so the protruding wood will be cut off and/or sanded off flush. Then the second planking will neaten the look of the gun port nicely in my opinion. The way the plans/practicum has the order of things, however, was to install the main false deck first, then begin the hull planking, THEN install the gun ports. Again, easy enough to cut/sand flush the protruding wood of the gun ports but the problem is two-fold: First, there is going to be massive amounts of sanding to get the first planking ready for the second planking/coppering. All that dust is going to end up in the now closed up gun deck because the main deck false deck is now installed. Somehow I must get all that sand dust out of the closed up gun deck. Secondly, the 13 completed (I'm working on them between installing hull planks) gun carriages complete with cannon MUST be installed prior to closing up the upper hull and sanding as the false deck is irreparably installed . These are not false cannon plugging the gun port holes, they are complete carriages. I'm not detailing too much of the carriages other than iron straps to hold down the cannon mounting points but they will still be sticking out proud when I begin trimming the protruding wood of the gun ports and sanding like a maniac. If I did this model again I would have installed the cannons first,THEN installed the main deck. Food for thought for those coming up behind me.
View attachment 172812View attachment 172813
- Joined
- Mar 27, 2019
- Messages
- 823
- Points
- 403

I am at the point ot installing the (impossible to make) gunports. How did you determine the correct locations for the ports, as the directions say nothing, and the main drawings are actually not to the correct scale.
I started with the aft most gun port, then the forward most gunport, measured the total distance and divided by the number of gun ports. This gives the basic distance between each port. In practice it doesn't work exactly because there are bulkheads in at least two locations that are right in the middle of the gun port and obviously that just doesn't work. So I fudged a bit here and a bit there when needed. The end result is uneven spacing between some of the ports but the difference isn't enough to detect.
Thanks for the info. It is also good to check out ALL the plansheets while working on this. I finally found a sheet in the Rigging plans that has the ports shadowed on. Of course, the plansheet is not to the same scale as the actual ship, so I fudged a factor to use in getting the distances. Sounds like we both had fun with this step!I started with the aft most gun port, then the forward most gunport, measured the total distance and divided by the number of gun ports. This gives the basic distance between each port. In practice it doesn't work exactly because there are bulkheads in at least two locations that are right in the middle of the gun port and obviously that just doesn't work. So I fudged a bit here and a bit there when needed. The end result is uneven spacing between some of the ports but the difference isn't enough to detect.
How did you deal with the gunports? It looks like there is a little support that is supposed to go through the deck in "special holes", but I cannot find anything in the plans that call for setting those up. I an adding a 3mm brace at the inside edge of the lower portion of the gunport.
- Joined
- Mar 27, 2019
- Messages
- 823
- Points
- 403

How did you deal with the gunports? It looks like there is a little support that is supposed to go through the deck in "special holes", but I cannot find anything in the plans that call for setting those up. I an adding a 3mm brace at the inside edge of the lower portion of the gunport.
I placed a piece of wood (I used leftover first planking lime strips) on either side of the square gun ports. I made sure to follow the curve of the hull and the end result was a very nice point on either side of the gun port to glue down the first planking strip. So, first plank from the line flush with the lower edge of the gun ports down to the keel. Then install the gun ports. Then plank up to the wales. Make sense?

