HMS Victory 1765 kit 1:200

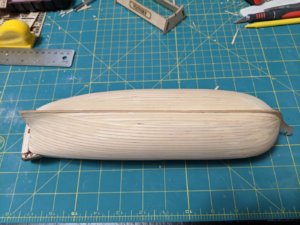
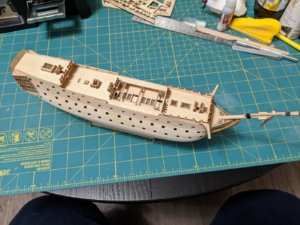
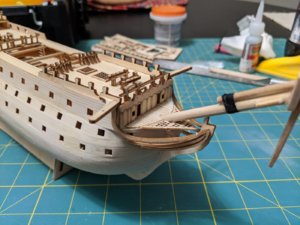
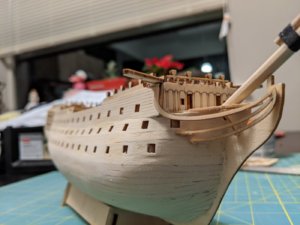
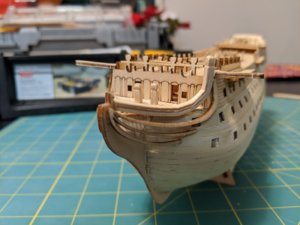
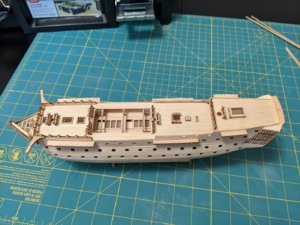
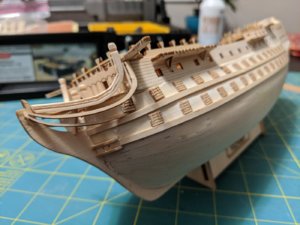
Lower hull planking is COMPLETE!! I need to let the wood dry overnight, as the last laid planks are still damp from bending and fitting, but I must say, it is starting to look like ship. And boy is she a fat bottom girl!
IMG_20200107_192723[1].jpgIMG_20200107_192739[1].jpgIMG_20200107_192814[1].jpg

While the hull is drying out, I started on the stern galleries also:
IMG_20200107_193447[1].jpg

Thanks for the support, much appreciated!

Brian
 
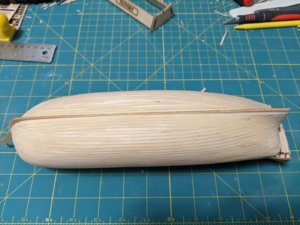
Small update, got the hull filled and sanded,and I'm pretty happy with the results so far. Looks pretty good to me , especially for my first try at planking/building in wood.IMG_20200109_213037.jpgIMG_20200109_213012.jpg

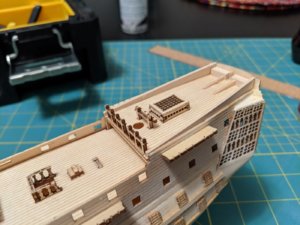
Started work on the stern gallery and support, more work needed here for sure.
IMG_20200109_213053.jpg

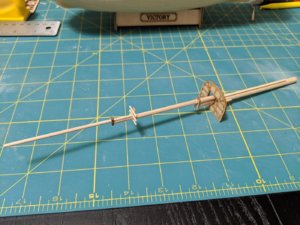
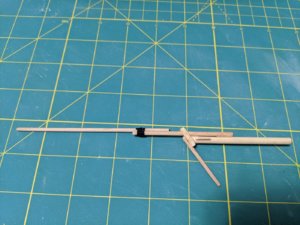
While things were drying,I have also done some work on the main mast and now sprit.
IMG_20200109_213138.jpgIMG_20200109_213122.jpg

Moving forward, I need to finish the stern gallery, work on the bow. Also need to make some decisions regarding how I plan to finish this, either paint or stain and order rigging supplies, as this kit has nothing but some cheap thread for rigging.

Thanks
 
Thanks Uwe, I actually enjoyed the planking, it was a fun challenge to try and take what I've learned looking at other people's work and apply it to this kit. As I've mentioned, this kit has almost nothing for directions, and that seems daunting at times, but there is so much info here at SOS and online, I can find what I need and make up the rest. The lack of direction from the kit is a free hand to be creative instead.

Granted, my next build will be from a highly reputable MFG and come with copious instructions!!

Thanks again
Brian
 
Last edited:
Thanks Max, I appreciate the support. I've been watching your build with interest also.

Progress on my build will slow down aw now, as my wife is home now after spending some time with our daughter and our new grand baby! Had to clean up the shipyard so she could have her kitchen table back, and won't be spending 2-3 hours a night working on it.

But, for fun, here's a pic of our newest ensign!
11879.jpeg
 
Last edited:
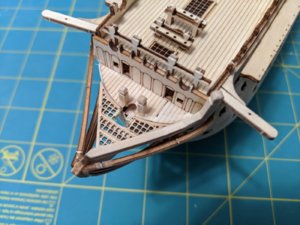
Slow progress, but still progress. I got the stern gallery base/support structure built out, still needs a little fill and sanding. More work on the bow, bow sprit and deck furniture, just about done there.IMG_20200115_194312.jpgIMG_20200115_194321.jpgIMG_20200115_194331.jpg

Still need to fit something for the hawse holes support. No provision for this in the kit, so I'll have to Fab something, along with at least the first main whale down the side of the hull.

Still trying to decide if I want to go to the expense to order in the correct copper plates for the hull, or paint or stain the hull as well as painting the upper hull black and ocher. Thoughts?

I've ordered the parts I need, better rigging line, single and double blocks,and dead eyes along with the black and ocher paints needed to finish up the hull.

Side note, as a birthday present to myself, I've ordered MS Syren while ModelExpo has a big sale going this month, should be arriving in a few weeks. I picked this for my next build after I finish here, as there are copious amounts of info, details, build logs etc to help with that project. Very excited to take a long time to do that kit right.

Brian
 
Hallo Brian,
we from SOS wish you all the BEST and a HAPPY BIRTHDAY
Enjoy your day

Birthday-Cake
 
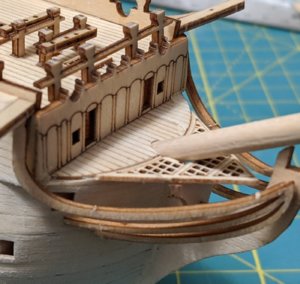
So, minor update, I realized that the way I glued the head rails on the bow is off, as they were intended as the post next to and fore of the cat heads, and would like next to and support the crating on the bow. Instead I set them attached below the cat head, as there is also a secondary head rails that starts there also.
IMG_20200115_194321~2.jpg

I decided to forego tearing these off, and starting over as I'm afraid these parts and the sections the rails are CA glued to are to fragile to just hack and slash them off now. But I do want to install the main head rails starting from the posts next to the cat heads and lying next to the bow grating, so I'll have to Fab something myself.

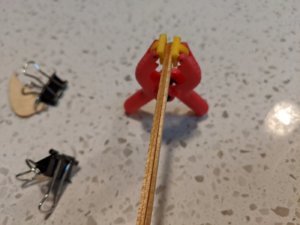
I started with some 1/16 square basswood stock from the local hobby store, a but try as I might I could not get it to bend without buckling. So I decided to take 3 of the leftover planks supplied with the kit, as these bent pretty easy once soaked in hot water. I started by tacking 3 together right at one end with CA and letting this dry.
IMG_20200120_202222.jpg

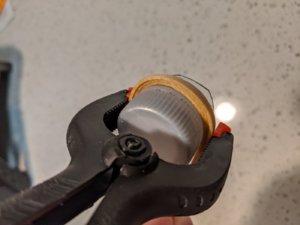
Once this dried, I soaked in hot water and then bent around the bottle cap former I used for the hull planking
IMG_20200120_203213.jpg
IMG_20200120_203334.jpg
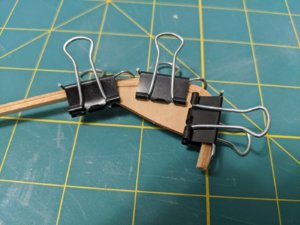
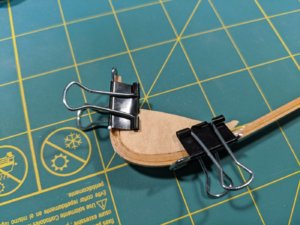
Once this sat for 30min to take the shape and relax the fibers, I then took a piece of the plywood sprue the kit head rails came out of to use as my form. I added the PVA glue to the planks and wrapped them around this form, clamping this to set my laminate rail to dry.
IMG_20200120_203515.jpg

Once this dries tomorrow, I'll unclamp and see what results I got and if I can for this to my needs for the main head rails. Then duplicate for a matched pair.

If this works, it won't be perfect and historic, but I think this is the best option I have for this kit and the materials provided.

Crossing my fingers this works

Brian
 
Last edited:
Very accurate work and also good fitting parts of the kit, visible in the close-up photo)
- looking very good, especially to keep in mind the very small scale :cool:
 
Thanks Uwek for the kind words.

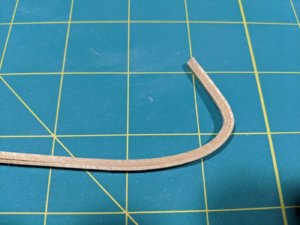
Seems my idea worked better than I thought, I popped the new head rail out of the clamps and form and my laminate looks pretty good. Not sure what the wood is that was included with the kit, no info at all, but it sure bends better than the junk basswood from the hobby store.
IMG_20200121_050413.jpg
I'll trim it, and start to sand and fit it to the hull while I glue another one together tonight.

Brian
 
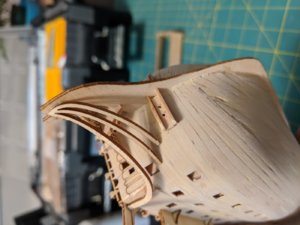
More work done, while the second head rail laminate is drying in the form, I have the first fit to the bow.
IMG_20200122_200753.jpgIMG_20200122_200813.jpgIMG_20200122_200818.jpg

I also started on the hawse holes support, and will be working basic scroll work up the side of the stem, and have also fit the chain rails.
IMG_20200122_202405.jpgIMG_20200122_200833.jpg

I think next before fitting the gun port covers I need to final sand the hull to smooth out some of the sanding marks and finish the final prep of the stern gallery.

Have any used a sanding sealer on their models before the final 300-400 fine grit sanding? Is it worth it?

Once the gun port covers are on, and my order from Model Expo arrives, I'll paint the hull and begin the prep work to mount the masts.

Thanks for following along and the kind words and suggestions.

Brian
 
I would sand flat, fill as necessary, sand flat, seal and then a final rub down with a fine wire wool. But be aware that using a sealer will change the colour slightly, so wet a small area to see what you will get before you decide to use it.
 
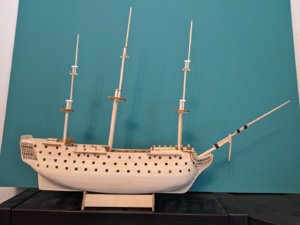
More work in the ship yard, the carpenter and his mates have managed to sway up the top masts and top gallant masts.

IMG_20200125_145139.jpg

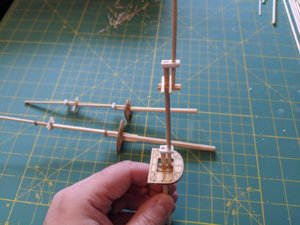
You can see the mast caps on the fore and mizzen masts are made from white polystyrene, as the Lazer cut versions the kit came with we're just junk. Polystyrene was the best option I could find locally that I could easily drill the holes in and still have any strength left to glue masts together.

The masts are not glued in yet, that will wait till I have the hull complete and I'm ready to start rigging.

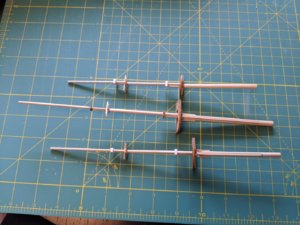
Here's a few more pics of the mast details,
IMG_20200125_144507.jpgIMG_20200125_144522.jpg

Also, here's a pic of the bow head rails in place.
IMG_20200123_210107.jpg

Funny note, the seller on Amazon the the Admiral bought this kit from, they now list this kit as a 3D puzzle.

Thanks again to all for following along and offering support and advice.

Brian
 
3D puzzle!!! I imagine some very confused faces and a lot of returns. Interesting use of polystyrene and I will store that one in my ever decreasing memory bank. What I have done in the past is turn to balsa sheet and lacquer it a couple of times - the lacquer soaks into the grain and gives a lot more strength to enable shaping it. Nice looking build so far, bet you are looking forward to starting a new chapter with the rigging.
 
Thanks Graham, getting closer to starting the rigging, but need to finish the hull first.

Have the first two rows of gun port lid in place, as well as the first two wales.
IMG_20200130_205941.jpgIMG_20200130_205952.jpg

Sadly, this kit did not come with enough gun port lids to cover all 102 gun ports, so I'll have to make about 20 or so to finish them off.

I also added to the side bulwarks on the stern quarter deck, as well as blocks to represent the signal flag lockers.
IMG_20200130_210021.jpg

Still waiting on Model Expo to finish up producing more Syren kits so they can ship my order that includes the block and paint for this project also.

Thanks
Brian
 
Last edited:
Back
Top