- Joined
- Jun 2, 2025
- Messages
- 229
- Points
- 143

Thanks GrantTylerNicely done
 |
As a way to introduce our brass coins to the community, we will raffle off a free coin during the month of August. Follow link ABOVE for instructions for entering. |
 |
 |
The beloved Ships in Scale Magazine is back and charting a new course for 2026! Discover new skills, new techniques, and new inspirations in every issue. NOTE THAT OUR FIRST ISSUE WILL BE JAN/FEB 2026 |
 |

Thanks GrantTylerNicely done

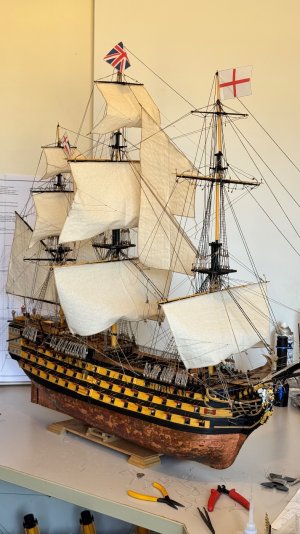
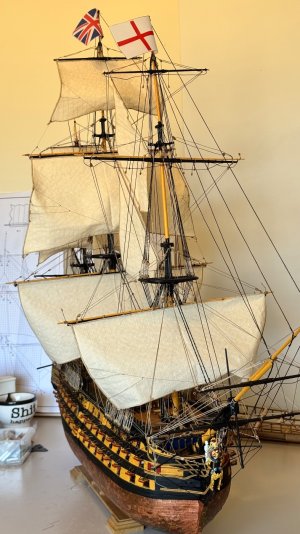
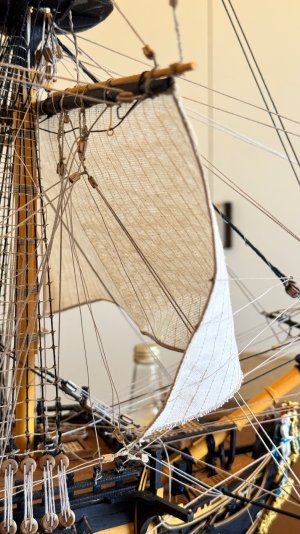
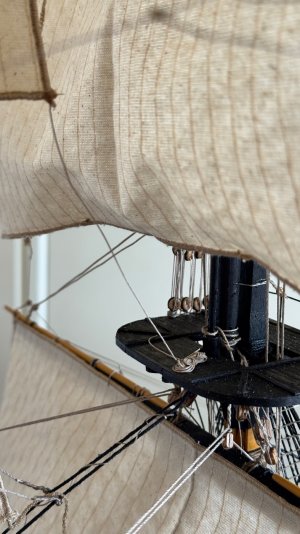
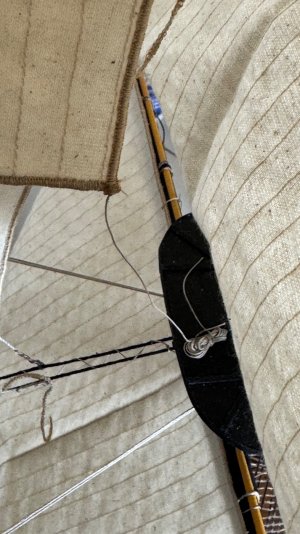

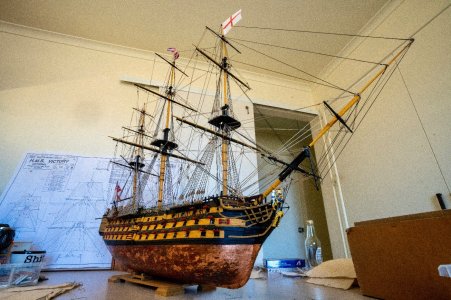
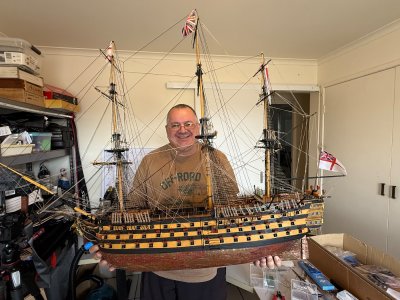

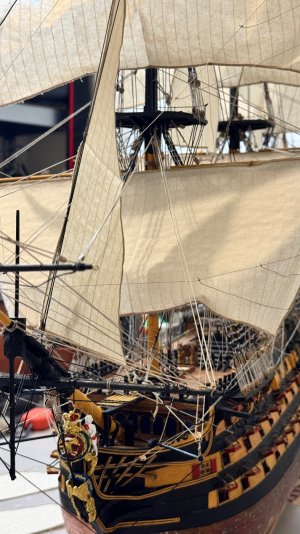
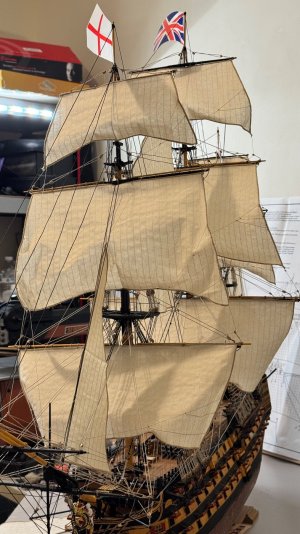
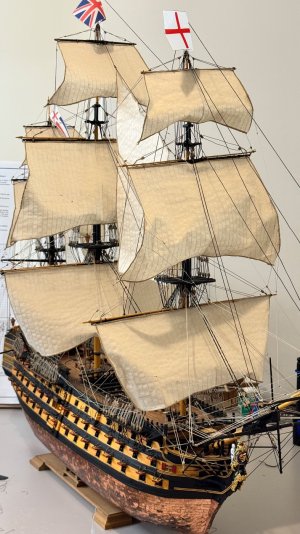
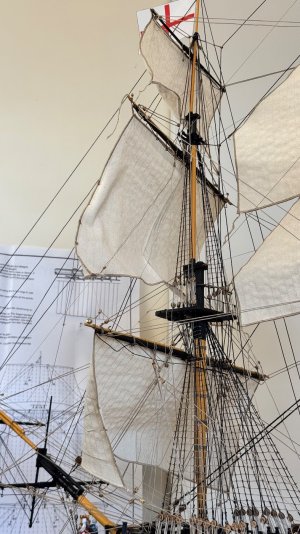
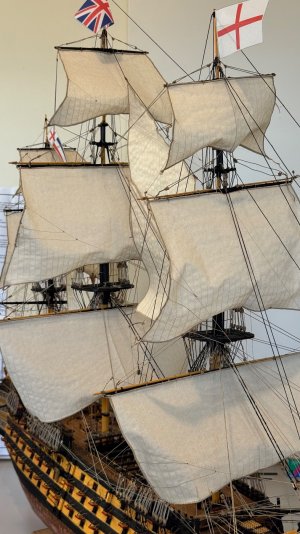
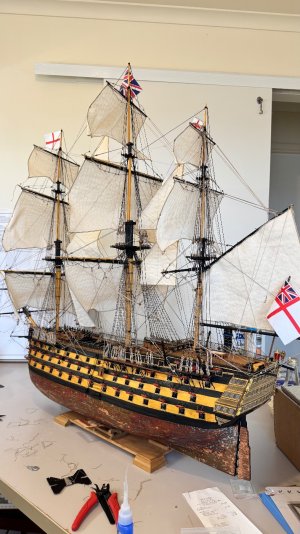
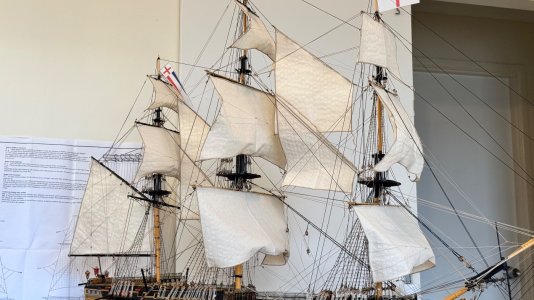
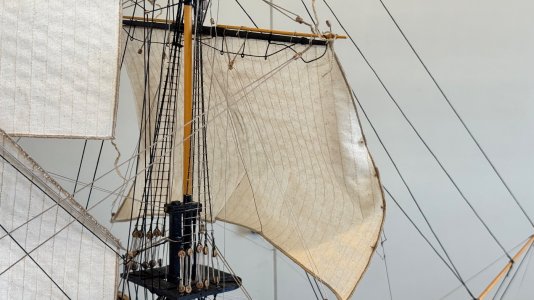
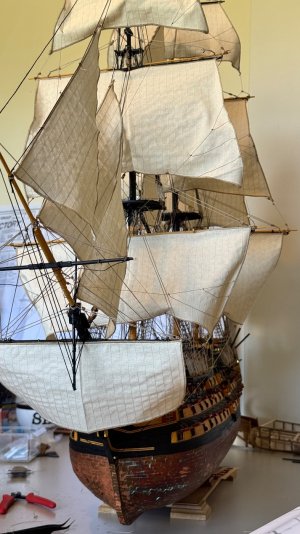
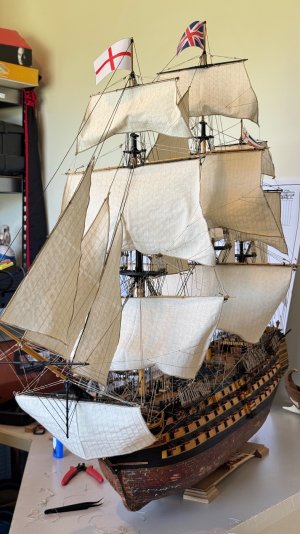
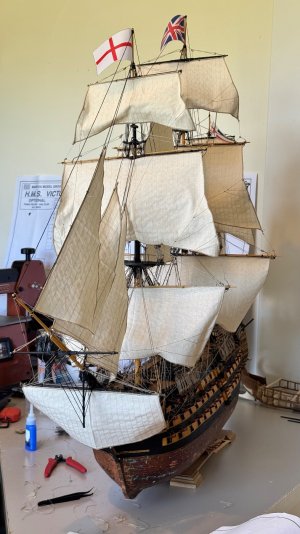
Good morning Phillip.Another Big Milestone on the HMS Victory!
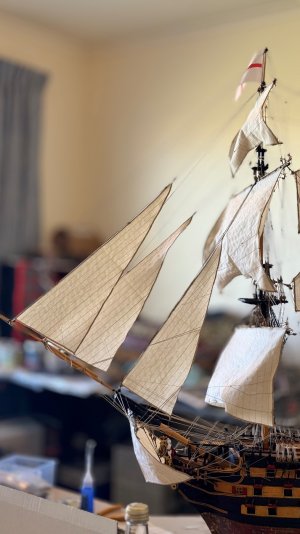
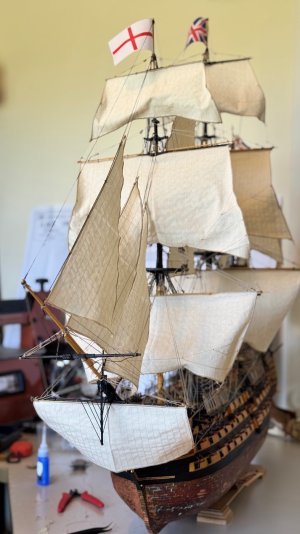
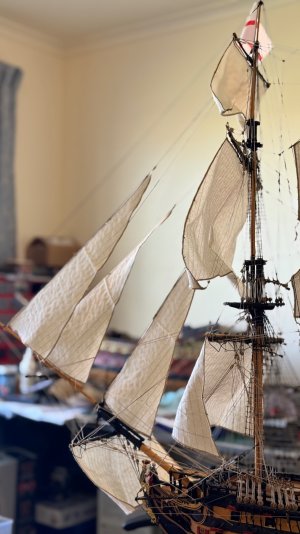
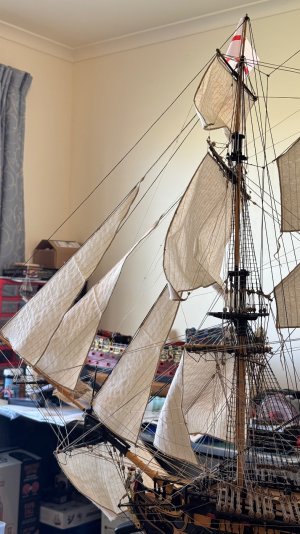
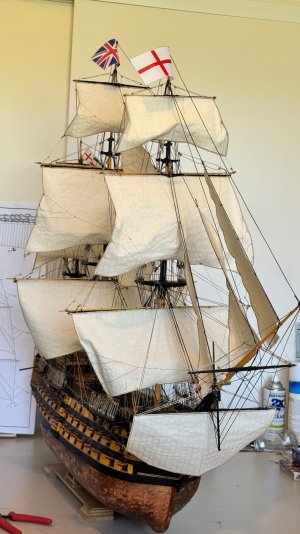
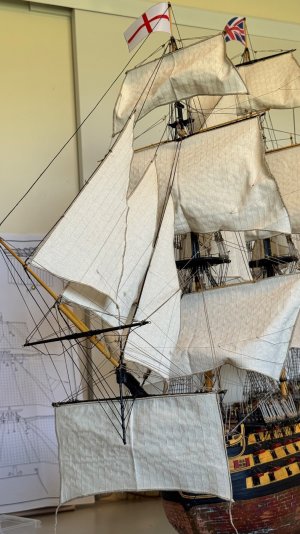
Another two sails tied today — and with that, the entire foremast is now complete!
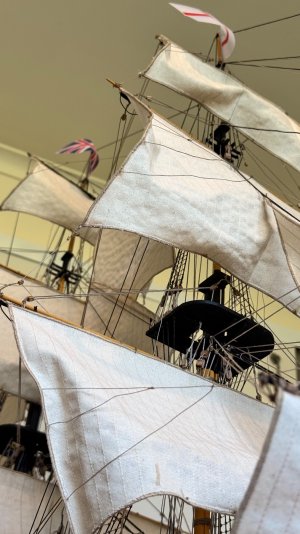
This one was a serious effort; there’s so much going on up front with all the lines, blocks, and braces converging around the bowsprit and lower yards. Every single rope needed to be positioned just right to keep the sails set as if they’re catching a light wind.
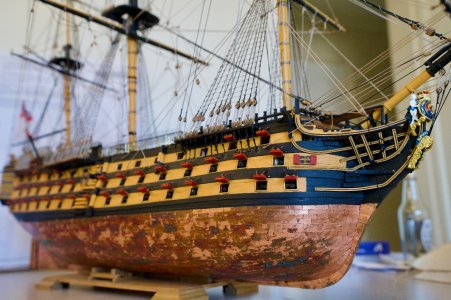
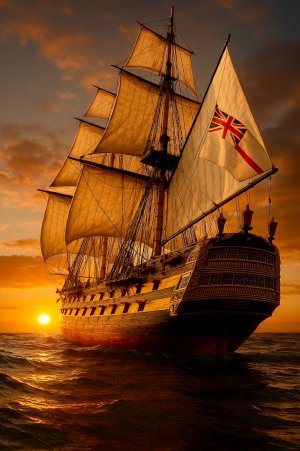
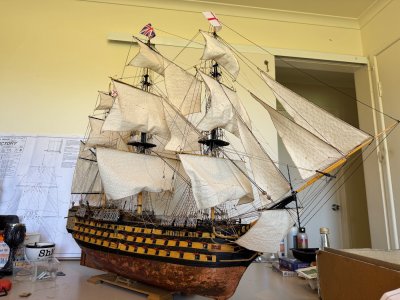
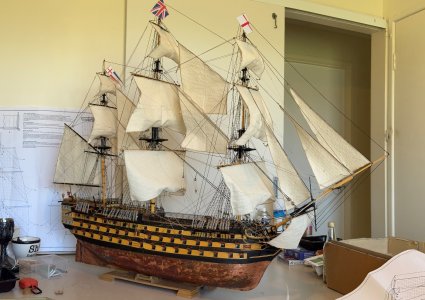
It’s honestly one of the most rewarding parts of the build so far — seeing the Victory take on that powerful, full-sail look that she’s famous for. The contrast between the natural sail cloth, the black-and-yellow hull, and the coppered bottom really makes her come alive.
Looking at her now, it’s hard to believe how far this build has come — from the first keel plank to this moment, with the sails stretched out and the rigging webbed like a real working ship. There’s still more to do, but she’s so close to completion now.
It’s been a long and detailed journey, but I can’t help standing back and thinking, “What a magnificent sight she must have been in full sail on the open sea.”
Next up — finishing the remaining sails on the mizzen masts, then final touches like coiled ropes, anchors, and display prep. Not long now before she’s ready for her display case and the spotlight she deserves!
Proudly flying the Cross of St George and the Union Jack — the HMS Victory stands tall once again!
View attachment 553091
View attachment 553092
View attachment 553093
View attachment 553094
View attachment 553095
View attachment 553096
View attachment 553097
View attachment 553098
Good morning Phillip. Lovely job on those sails. I like the way you got the loose look and feel - nice. Having built the same model I know what a beast of a ship she is. A very cool model to display. Cheers GrantAnother Big Milestone on the HMS Victory!
Another two sails tied today — and with that, the entire foremast is now complete!
This one was a serious effort; there’s so much going on up front with all the lines, blocks, and braces converging around the bowsprit and lower yards. Every single rope needed to be positioned just right to keep the sails set as if they’re catching a light wind.
It’s honestly one of the most rewarding parts of the build so far — seeing the Victory take on that powerful, full-sail look that she’s famous for. The contrast between the natural sail cloth, the black-and-yellow hull, and the coppered bottom really makes her come alive.
Looking at her now, it’s hard to believe how far this build has come — from the first keel plank to this moment, with the sails stretched out and the rigging webbed like a real working ship. There’s still more to do, but she’s so close to completion now.
It’s been a long and detailed journey, but I can’t help standing back and thinking, “What a magnificent sight she must have been in full sail on the open sea.”
Next up — finishing the remaining sails on the mizzen masts, then final touches like coiled ropes, anchors, and display prep. Not long now before she’s ready for her display case and the spotlight she deserves!
Proudly flying the Cross of St George and the Union Jack — the HMS Victory stands tall once again!
View attachment 553091
View attachment 553092
View attachment 553093
View attachment 553094
View attachment 553095
View attachment 553096
View attachment 553097
View attachment 553098

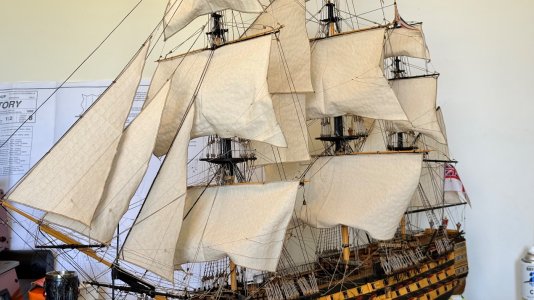
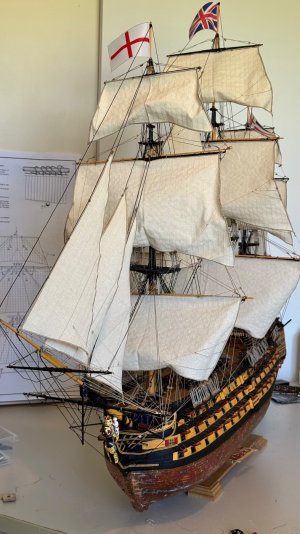
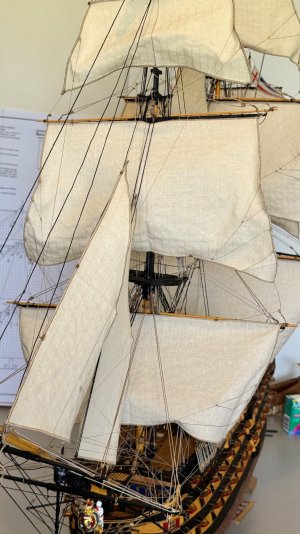

Congrats Phil. Those sails really make the ship. Cheers Grant
HMS Victory Build – A Milestone Reached!
After many months of dedication, patience, and late nights in the workshop, I’ve finally reached a huge milestone — the sails are now fully completed and mounted on my Mantua HMS Victory (1:78)!
That’s 17 sails tied, shaped, and rigged by hand — each one adjusted carefully with the running rigging to capture that perfect “wind-filled” look. It’s taken an enormous amount of time to get every line and sheet tensioned just right, but the end result was absolutely worth it. The way the sails billow gives this model such a sense of life and movement, as if she’s about to sail out of my workshop.
This build has been a real labour of love from day one. From the first plank on the hull to the last block on the rigging, every stage has been both a challenge and a joy. The copper-plated hull, the complex masts and yards, the maze of rigging — all came together piece by piece over months of careful work.
While I’m building two other ships alongside this one, this Victory will actually be my first full completion, and that makes it even more special. She’s the ship that’s taught me more than any other — about patience, precision, and historical detail.
There are still a few finishing touches to go — the anchors need to be fitted, and I’ll be adding the chain and linkage to the rudder — but she’s nearly there. Once complete, I’ll finally be able to call her finished, and that will be an amazing moment after such a long journey.
Every time I look at her now, sitting proudly with all sails set, I can’t help but feel proud. From the flags flying high to the fine web of rigging, she truly captures the spirit of Nelson’s flagship.
It’s been a long road — measured not just in months, but in thousands of knots, dozens of lines, and endless cups of coffee — but I’ve loved every part of it.
View attachment 555182
View attachment 555183
View attachment 555184
View attachment 555185
View attachment 555186
View attachment 555187
View attachment 555188
View attachment 555189
View attachment 555190
View attachment 555191
View attachment 555192
View attachment 555193
Yes Phil, you can be proud with this amazing result. It looks great.
HMS Victory Build – A Milestone Reached!
After many months of dedication, patience, and late nights in the workshop, I’ve finally reached a huge milestone — the sails are now fully completed and mounted on my Mantua HMS Victory (1:78)!
That’s 17 sails tied, shaped, and rigged by hand — each one adjusted carefully with the running rigging to capture that perfect “wind-filled” look. It’s taken an enormous amount of time to get every line and sheet tensioned just right, but the end result was absolutely worth it. The way the sails billow gives this model such a sense of life and movement, as if she’s about to sail out of my workshop.
This build has been a real labour of love from day one. From the first plank on the hull to the last block on the rigging, every stage has been both a challenge and a joy. The copper-plated hull, the complex masts and yards, the maze of rigging — all came together piece by piece over months of careful work.
While I’m building two other ships alongside this one, this Victory will actually be my first full completion, and that makes it even more special. She’s the ship that’s taught me more than any other — about patience, precision, and historical detail.
There are still a few finishing touches to go — the anchors need to be fitted, and I’ll be adding the chain and linkage to the rudder — but she’s nearly there. Once complete, I’ll finally be able to call her finished, and that will be an amazing moment after such a long journey.
Every time I look at her now, sitting proudly with all sails set, I can’t help but feel proud. From the flags flying high to the fine web of rigging, she truly captures the spirit of Nelson’s flagship.
It’s been a long road — measured not just in months, but in thousands of knots, dozens of lines, and endless cups of coffee — but I’ve loved every part of it.
View attachment 555182
View attachment 555183
View attachment 555184
View attachment 555185
View attachment 555186
View attachment 555187
View attachment 555188
View attachment 555189
View attachment 555190
View attachment 555191
View attachment 555192
View attachment 555193


Phillip,HMS Victory – Sail Mounting Progress Update
After taking a well-earned week’s rest, I’m back at the workbench — and what a sight she’s becoming! The HMS Victory is really coming to life now with her sails tied and catching that “imaginary wind.” I’ve only got six more sails left to mount, but already she looks absolutely magnificent.
It’s incredible how much character and movement the sails add — the whole ship now feels like she’s under full canvas, ready to engage at Trafalgar. Each sail has been carefully shaped and tensioned with the rigging to give it a natural billow, as though filled by the sea breeze. Every line and pulley has a job to do, and there’s something deeply satisfying about seeing it all come together after months of intricate rigging.
I did run out of rigging blocks (again!), so another order went in — there’s just no shortcut when you want accuracy and authenticity. The additional blocks will allow me to finish off the remaining sails and some of the finer control lines around the yards.
The copper-plated hull still shines beautifully beneath the rigging, a reminder of how far this build has come — from bare timber frames to a fully-rigged warship of history’s greatest era. Standing here looking at her, it’s hard not to imagine the decks alive with sailors, the creak of timbers, and the wind filling those creamy canvas sails.
Every stage of this build teaches me something new about the craftsmanship and genius behind these great ships. I can’t wait to see her fully rigged — and once the last sail is tied, she’ll be one step closer to her grand display case.
Six sails to go… and the Victory will truly live up to her name.
Stay tuned — the final reveal isn’t far away!
View attachment 552390
View attachment 552391
View attachment 552392
View attachment 552393
View attachment 552394


 . Cheers Grant
