• Ships of Scale has incorportated an extra level of security when you log In. Please follow on-screen prompts to acknowledge that you are not a robot via a "Check Box" or a "Pictorial Check Box Puzzle". This is needed due to higher level of AI Activity Security.
  • SUBSCRIBE TO SHIPS IN SCALE TODAY!

    The beloved Ships in Scale Magazine is back and charting a new course for 2026!
    Discover new skills, new techniques, and new inspirations in every issue.

    NOTE THAT OUR NEXT ISSUE WILL BE July/August 2026
  • Win a Free Custom Engraved Brass Coin!!!
    As a way to introduce our brass coins to the community, we will raffle off a free coin during the month of August. Follow link ABOVE for instructions for entering.

HMS Victory - Occre by jnegrete

Joined
Jul 18, 2026
Messages
5
Points
43

Hello everyone,

I’m starting a build log for the HMS Victory by Occre. This is my first time keeping a log, so I’d appreciate some indulgence—and any advice you might have! :)

I might not be very consistent, but I’ll catch up. To be honest, I haven’t been able to dedicate much time to it, so progress is a bit slow.

So far, I haven’t run into too many difficulties; it’s been a very rewarding experience.

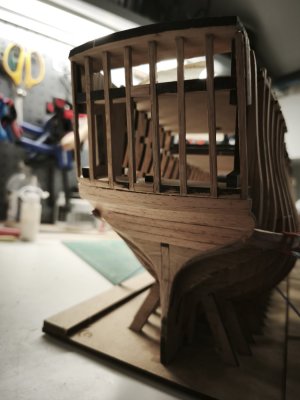
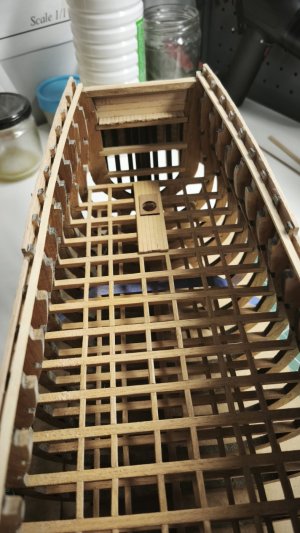
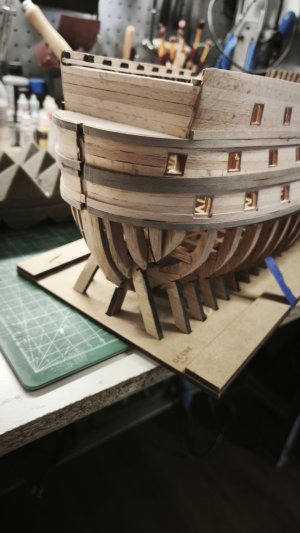
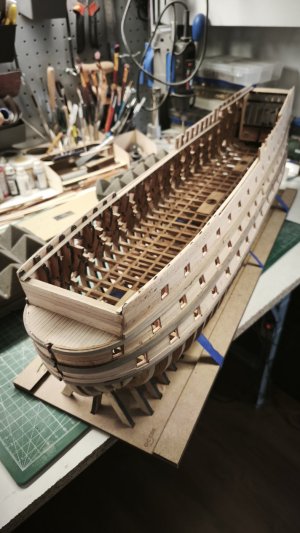
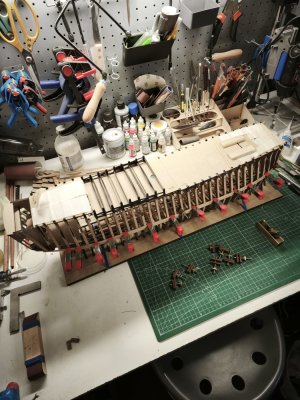
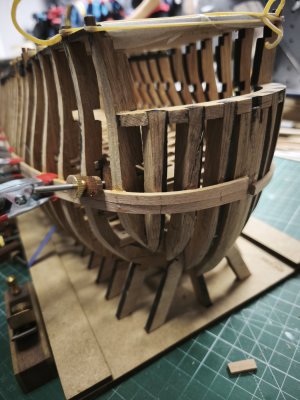
I considered planking only half of the lower hull—leaving one side open—as some others have done. In the end, however, I decided to stick to the "spirit" of the Occre kit, which features partially constructed decks (revealing the levels below) and showcases the frames, following the "arsenal" method of construction.

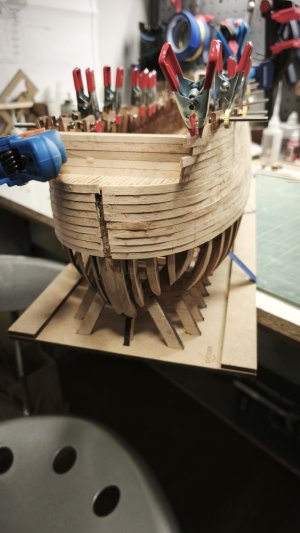
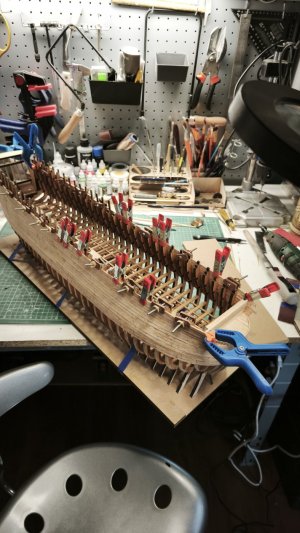
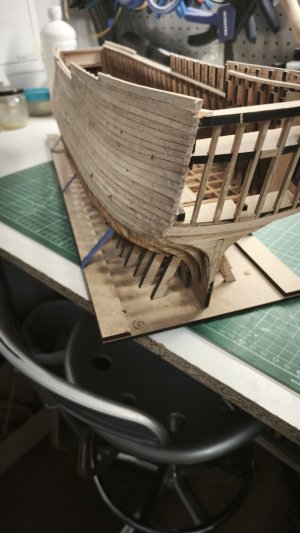
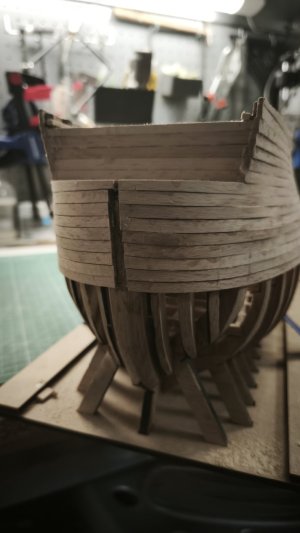
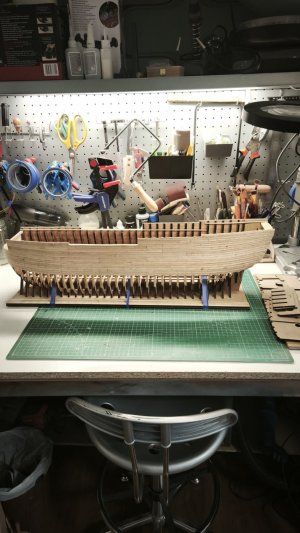
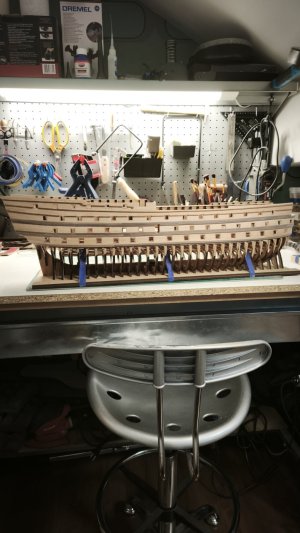
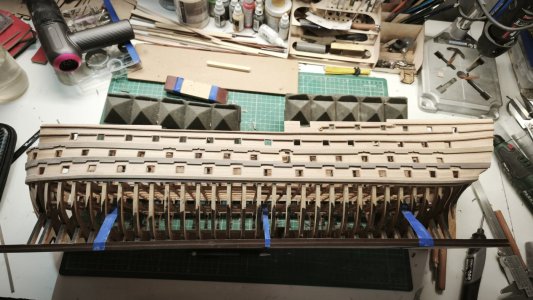
I’ve included a few photos taken since I decided to join the forum; by that point, I had already assembled the initial structure—the frames and lower decks—and was just beginning to plank the hull.
IMG_20260801_183442.jpg
IMG_20260801_183455.jpg

IMG_20260801_183510.jpg

IMG_20260801_183521.jpg

IMG_20260810_134327.jpg


IMG_20260811_130721.jpg

IMG_20260819_082721.jpg

IMG_20260819_082733.jpg


IMG_20260822_200748.jpg

IMG_20260822_200811.jpg

IMG_20260822_200801.jpg
 
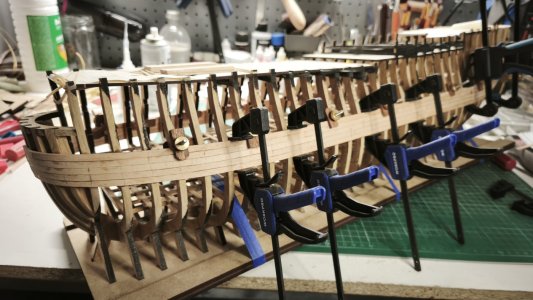
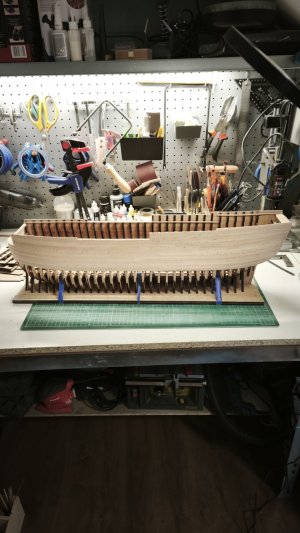
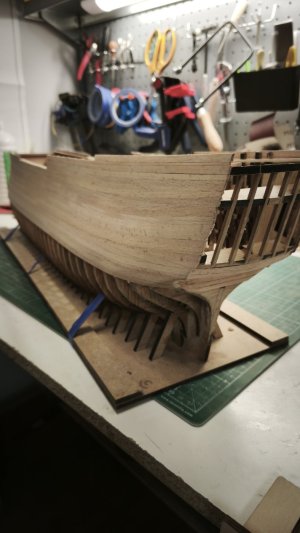
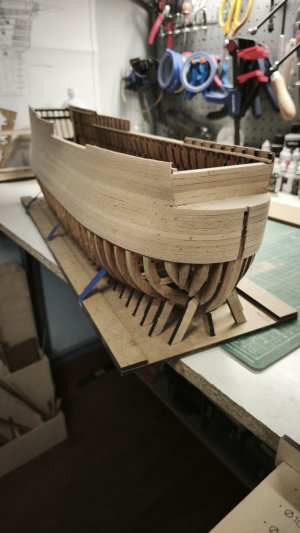
Here you can see the hull, already sheathed, both before and after sanding.
IMG_20260822_200822.jpgIMG_20260823_191257.jpgIMG_20260823_191305.jpgIMG_20260823_191324.jpg


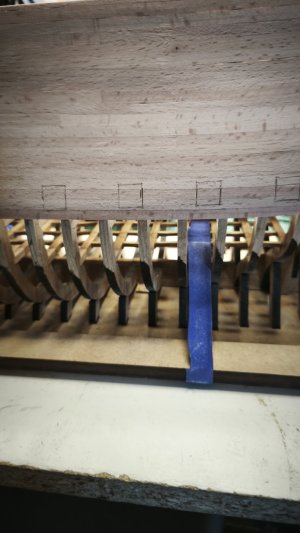
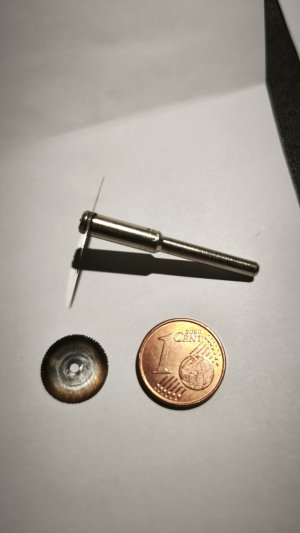
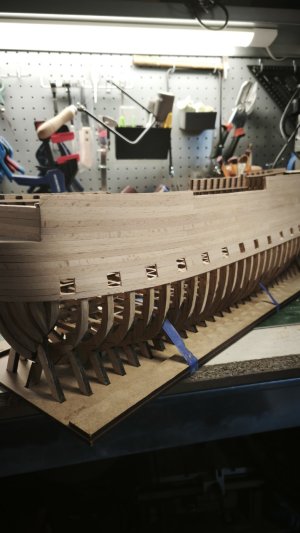
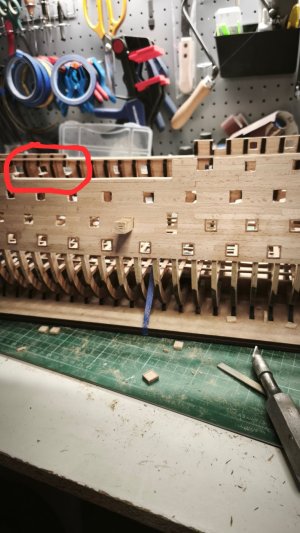
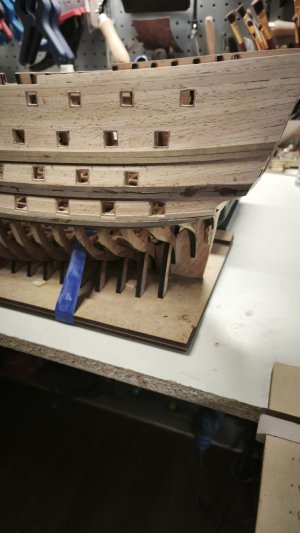
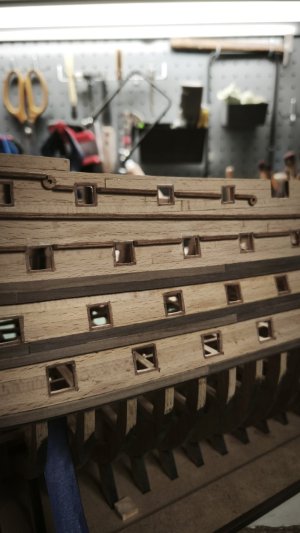
I marked the positions for the cannon ports and cut them out using very fine, small Dremel saw blades; they make the work go much faster and ensure very straight cuts—though you do need a steady hand…
For this model and using this method, many of the frames must be cut to create the cannon ports. See the detail circled in red.

IMG_20260825_165122.jpg
IMG_20260826_100323.jpg

IMG_20260825_172643_1.jpg

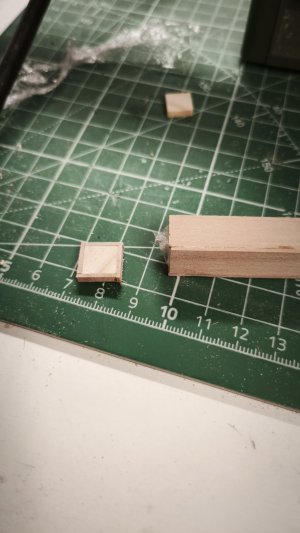
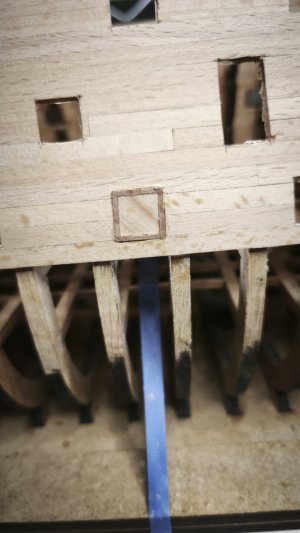
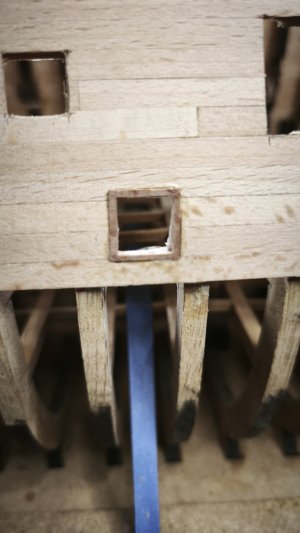
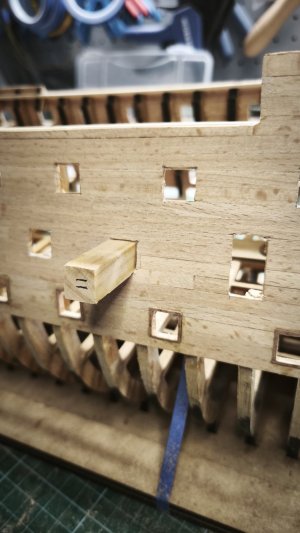
And for the internal moldings of the gun ports, I used a trick I copied from someone (CrisJaca) in the Foro Modelismo Naval —which saved me a lot of work and turned out well; I used 1 mm pearwood.
IMG_20260904_181211.jpg


IMG_20260904_183313.jpg

IMG_20260904_183326.jpg


IMG_20260907_184122.jpg

IMG_20260907_184126-EDIT.jpg
 
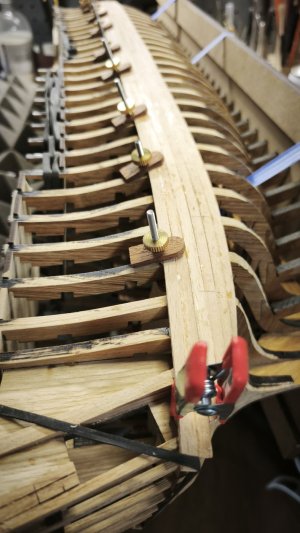
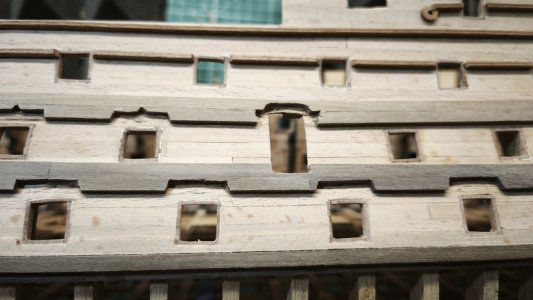
Here are some photos of the hull, first with the wales attached, and subsequently with the openings cut into the wales for the portriggles.
IMG_20260928_131844.jpg
IMG_20260928_131908.jpg

IMG_20260928_131915.jpg

IMG_20261001_184651.jpg


IMG_20261001_184702.jpg

IMG_20261003_171512.jpg

IMG_20261003_171520.jpg


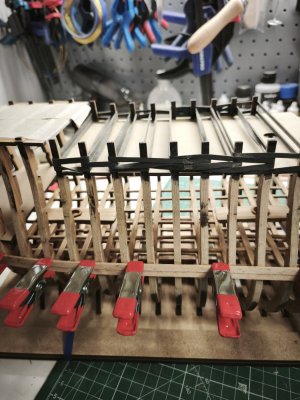
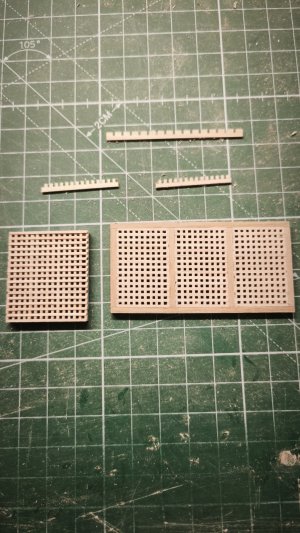
I am making the gratings using 1 mm pre-cut strips from Artesanía Latina—the closest match for the ship’s 1/86 scale. As you can see in the photo, the ones included in the kit have openings large enough for the sailors to slip right through…

IMG_20261022_165759.jpg

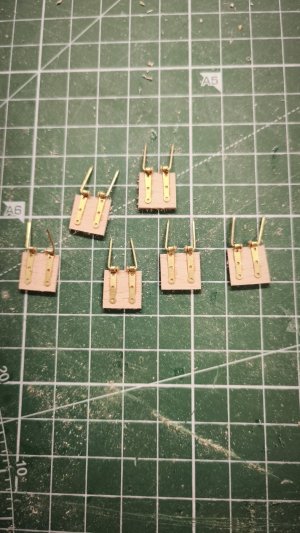
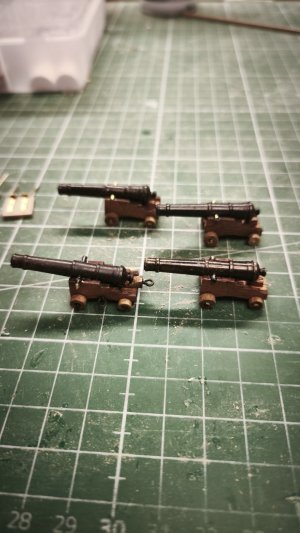
I’ve made progress on the gun ports (there are 100 of them in various sizes) and the cannons themselves.
I’ve darkened them using Brass Black—it’s my first time using it, and in some areas—even though I cleaned them with acetone—the result isn’t great. Any suggestions? Also, do you know of any other brands that offer a more affordable version of this liquid? :)
IMG_20261022_165932.jpg
IMG_20261022_165912.jpg

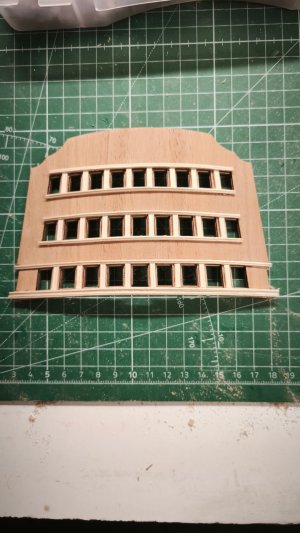
I’ve also started on the sterncastle, as you can see in the photo.
And that’s all for now. We’ll keep you posted.
Thanks for following along!

IMG_20261022_165957.jpg
 
Back
Top