The final steps.
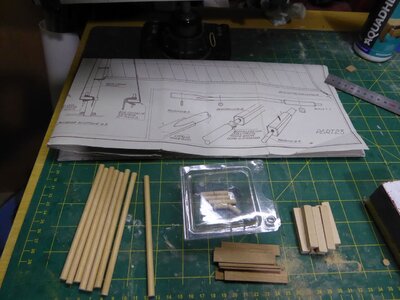
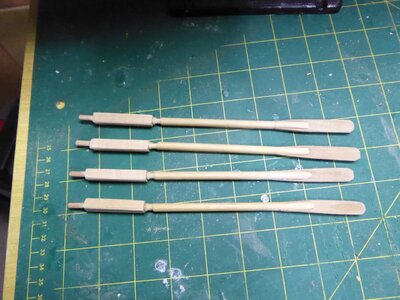
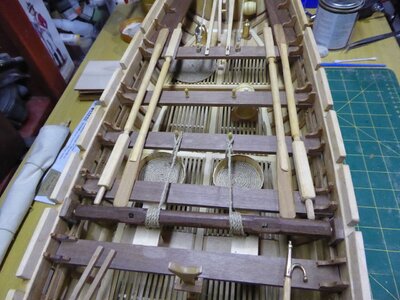
Next was the completion of the sloop oars. The kit has room for 16 oars ( 8 per side), but only enough wood for 12 of them. ( missing dowel). I considered making 8 but after completing 6 of them and testing how they looked placed in the sloop , I decided I did not like the look. I decided I wanted then displayed in a stowed position. As there is a lot of visual items in the sloop I only placed two per side on the stern side of the windlass. This then allowe dthe oerars to be displayed but did not detract or hide other items.
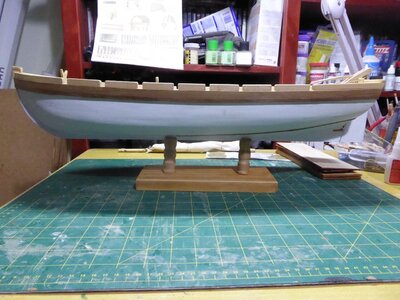
The assebly was now complete and ready for a clear fininsh. After applied & drying I built a dislay base from some old pine & 25mm hardwood dowel. The Sloop was then fitted to the base.
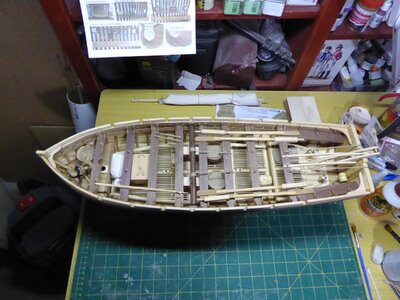
Below are completed images of the sloop showing all the furnature and additions. The final images are those with the stowed mast laid in position on the mat supports
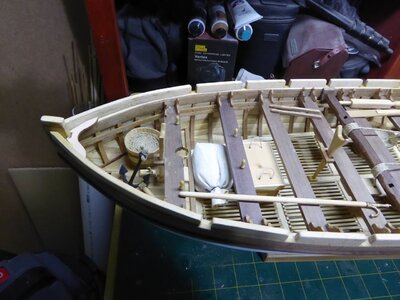
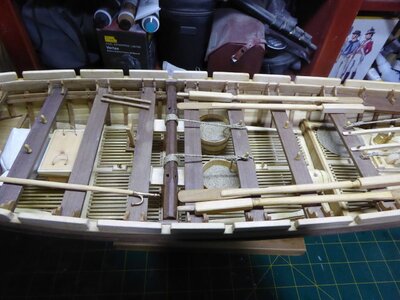
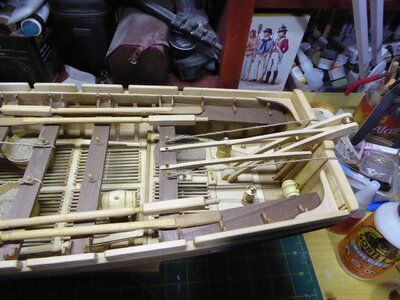
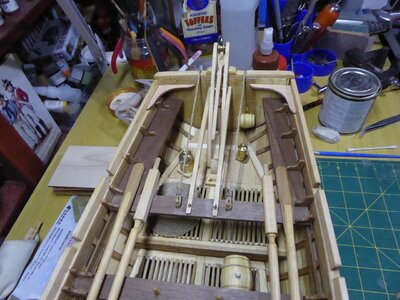

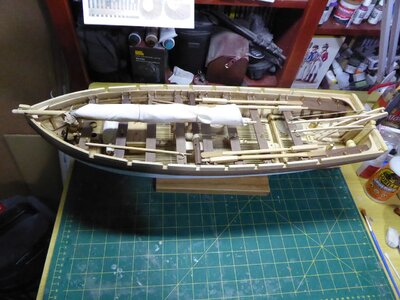
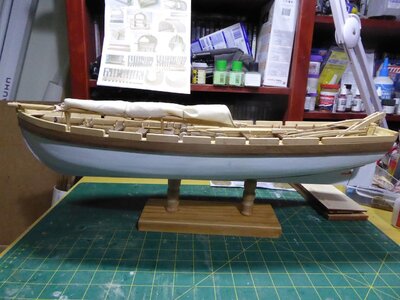
This kit was a fun project without any major issues ( if you don't count some lack of wood or minimal supply). The only real difficulty is for english only modellers as the kit plans are in italian and the supplied translation differ from the plans italian. This becomes diffucult is choosing the correct wood species to be used for each part .
The Paint & sealer used were

The glue used
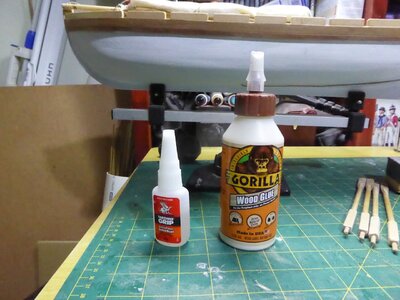
No power tools are needed ( but a Dremel helps) and apart from that I did not use any ( except for the scroll saw cutouts). I used the following tools to complete this kit.
No 11 Exacto
Pin vise & drill bits
Small saw & Mitre box
Lots of clamps
Tweezers
Small Hobby vice
Small Hobby files
Sandpaper
Metal Ruler
Pencil
Hobby hammer.
Paint brushes.
This is a fun kit to build and completes to a very nice model, It is not an expensive kit. The only real care is for the internal planking ( first layer) as it is visible and a major feature of the completed kit. The second layer is painted over and can be filled and sanded as needed, so does not need as much attention to detail when fitting. If it were to be left natural then care aligning planks must be taken.
Thks for looking in and all the nice comments.
My next venture / log will be either the Calder-craft Victory or the Calder-craft Agamemnon. As both are Very large and complex kits that I want dearly to start it will be wither a coin toss, if if you guys want to vote.....
Take care and stay safe to all at SOS.
Next was the completion of the sloop oars. The kit has room for 16 oars ( 8 per side), but only enough wood for 12 of them. ( missing dowel). I considered making 8 but after completing 6 of them and testing how they looked placed in the sloop , I decided I did not like the look. I decided I wanted then displayed in a stowed position. As there is a lot of visual items in the sloop I only placed two per side on the stern side of the windlass. This then allowe dthe oerars to be displayed but did not detract or hide other items.


The assebly was now complete and ready for a clear fininsh. After applied & drying I built a dislay base from some old pine & 25mm hardwood dowel. The Sloop was then fitted to the base.
Below are completed images of the sloop showing all the furnature and additions. The final images are those with the stowed mast laid in position on the mat supports


This kit was a fun project without any major issues ( if you don't count some lack of wood or minimal supply). The only real difficulty is for english only modellers as the kit plans are in italian and the supplied translation differ from the plans italian. This becomes diffucult is choosing the correct wood species to be used for each part .
The Paint & sealer used were

The glue used

No power tools are needed ( but a Dremel helps) and apart from that I did not use any ( except for the scroll saw cutouts). I used the following tools to complete this kit.
No 11 Exacto
Pin vise & drill bits
Small saw & Mitre box
Lots of clamps
Tweezers
Small Hobby vice
Small Hobby files
Sandpaper
Metal Ruler
Pencil
Hobby hammer.
Paint brushes.
This is a fun kit to build and completes to a very nice model, It is not an expensive kit. The only real care is for the internal planking ( first layer) as it is visible and a major feature of the completed kit. The second layer is painted over and can be filled and sanded as needed, so does not need as much attention to detail when fitting. If it were to be left natural then care aligning planks must be taken.
Thks for looking in and all the nice comments.
My next venture / log will be either the Calder-craft Victory or the Calder-craft Agamemnon. As both are Very large and complex kits that I want dearly to start it will be wither a coin toss, if if you guys want to vote.....
Take care and stay safe to all at SOS.


