Hoy, 1760

I liked Hoy very much and I find DryDock did a good job with her, don't let me be misunderstood, but IMHO Alert would have been a better choice under any respect, apart for its price. Indeed, as my very first try to POF building, I did not want to face any expensive failure. Now, my real concern is about the next project: too newbee for modelling from scratch, too sick for a further kit in badly need of bashing by replacing almost every internal part accordingly to a monograph or an original plan.
 
Last edited:
I liked Hoy very much and I find DryDock did a good job with her, don't let me be misunderstood, but IMHO Alert would have been a better choice under any respect, apart for its price. Indeed, as my very first try to POF building, I did not want to face any expensive failure. Now, my real concern is about the next project: too newbee for modelling from scratch, too sick for a further kit in badly need of bashing by replacing almost every internal part accordingly to a monograph or an original plan.
Good morning Albert. IMHO your work is quality and the step up to scratch building would be perfect for you. Cheers Grant
 
I liked Hoy very much and I find DryDock did a good job with her, don't let me be misunderstood, but IMHO Alert would have been a better choice under any respect, apart for its price. Indeed, as my very first try to POF building, I did not want to face any expensive failure. Now, my real concern is about the next project: too newbee for modelling from scratch, too sick for a further kit in badly need of bashing by replacing almost every internal part accordingly to a monograph or an original plan.
I bought my Alert second-hand. One modeler bought several kits for himself and realized that he had overdone it a bit and decided to sell a couple. So I was happy to buy this kit for 350 euros. But what I really liked about your ship is that it has excellent instructions. In Alert it is very complicated for beginners. It is good for me, but for those who have their first model there is very little information, as well as illustrations. So you made the right choice for a first model.
 
I bought my Alert second-hand. One modeler bought several kits for himself and realized that he had overdone it a bit and decided to sell a couple. So I was happy to buy this kit for 350 euros. But what I really liked about your ship is that it has excellent instructions. In Alert it is very complicated for beginners. It is good for me, but for those who have their first model there is very little information, as well as illustrations. So you made the right choice for a first model.
350€ is a huge bargain for sure!
 
I actually like the subject matter of this kit.. however I have to ask..

Is the parts laser cut, or cnc cut? have seen a few reviews of some cnc kits that required lots of work with a scroll saw to cut the "fully cnc cut parts" out, and lots of power tools needed to sand them down to actual shape.
 
I actually like the subject matter of this kit.. however I have to ask..

Is the parts laser cut, or cnc cut? have seen a few reviews of some cnc kits that required lots of work with a scroll saw to cut the "fully cnc cut parts" out, and lots of power tools needed to sand them down to actual shape.
This kit is wholly laser cut. It requires a decent amount of sanding to remove the char from the parts. The mill above in the only power tool I got, though.
Kind Regards, Alberto
 
This kit is wholly laser cut. It requires a decent amount of sanding to remove the char from the parts. The mill above in the only power tool I got, though.
Kind Regards, Alberto
the char isnt an issue... i calls it "simulated caulking"...

seen a few CNC kit builds where just about everythign needed cutting out with power tools.
 
the char isnt an issue... i calls it "simulated caulking"...

seen a few CNC kit builds where just about everythign needed cutting out with power tools.
Char has to be removed for many reasons: 1) laser cut surfaces are neither squared nor smooth 2) Char prevents glue to stuck perfectly. CNC makes parts quite often fuzzy, heavily trim needing or chipped. Both laser cut and CNC milling got a down side.
 
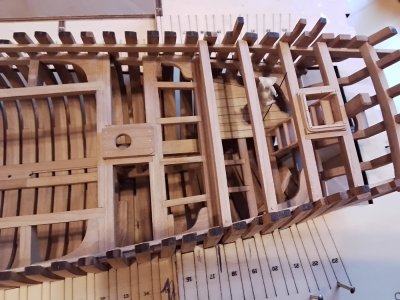
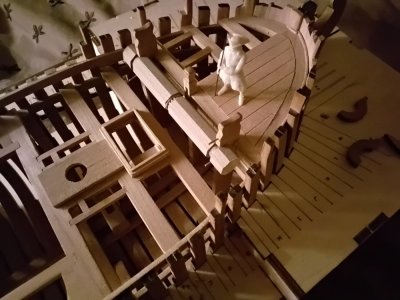
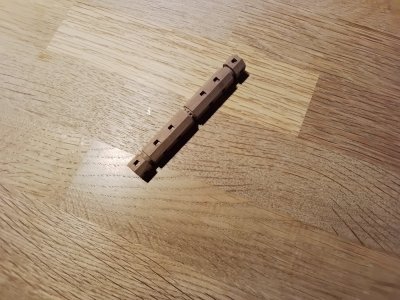
The Windlass just dry fitted. Messed it up twice untill a decent outcome. Notches for the handspikes still to come. I used the only dowel large enough I can get from the shop. It's walnut... a crap wood almost impossibile to work with, but this is it. Cheers!

17444893977504269843749646603725.jpg

17445579977096532228780559265580.jpg
 
Decent execution... . Not quite easy, though. I used the mill instead of drilling out the mortises roughly and then have them squared via chisel, as Antscherl advises. As you can see above (before the final trimming) I even went wrong with an hole, stupidly milled in the blank row, but I corked the pit with a plug hardly visible (below the same face of the octagon in full view... I like to show this kind of error. The yard in Hayling used a leftover instead of brand new expesive chock of some hard wood for the windlass drum... ).

17445598501671835692522168062260.jpg
 
Last edited:
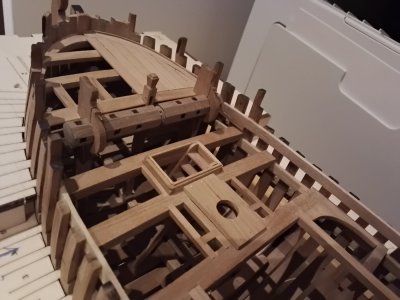
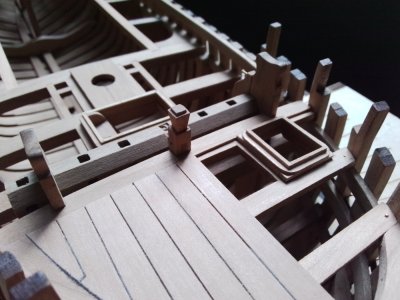
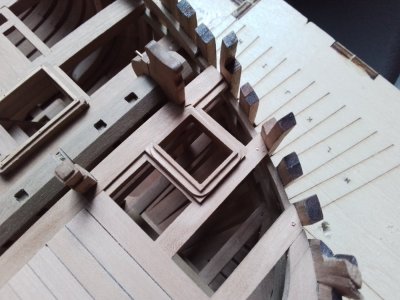
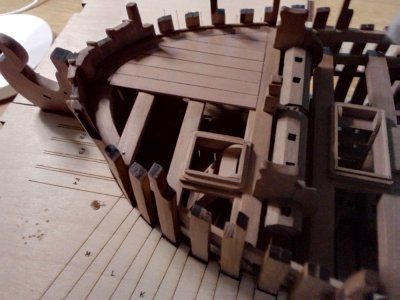
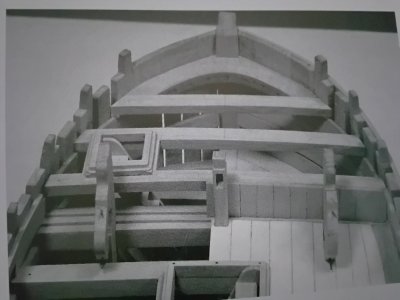
This is my very first fully milled hatch. The joinery is also as accurate as the practicum requires (see the black and white pic below). For the first two, main and quarter deck ones, I used some glued up stripes of walnut for the sealing rims. The outcome, at eye level, is pretty much the same, but the last makes me a bit prouder.
I also changed the ladder layout making her axial, where the hatch is longer due to the a slightly rectangular shape, instead of transversal as Antscherl's practicum hints. It looks like a lot our man didn't realize that ladder and hatch, as drawn, couldn't have never allowed any man, even the skinniest, to come up from that tiny hole. I did some experiments with my 1:48 figurine.
Cheers and Happy Easter!

20250419_154928.jpg

20250419_154943.jpg

20250419_174551.jpg

17451365383844565407500518066185.jpg

17451366563859173882118140142920.jpg
 
Last edited:
Back
Top