- Joined
- Feb 21, 2020
- Messages
- 102
- Points
- 58

Fabulous pictures!
 |
As a way to introduce our brass coins to the community, we will raffle off a free coin during the month of August. Follow link ABOVE for instructions for entering. |
 |
 |
The beloved Ships in Scale Magazine is back and charting a new course for 2026! Discover new skills, new techniques, and new inspirations in every issue. NOTE THAT OUR FIRST ISSUE WILL BE JAN/FEB 2026 |
 |


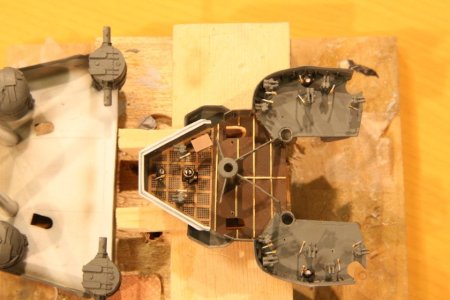
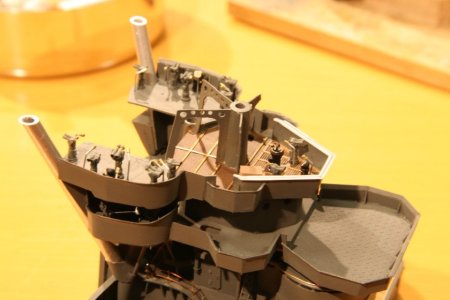
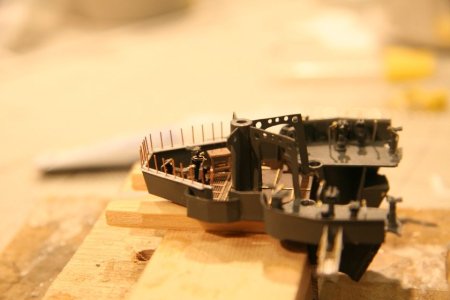
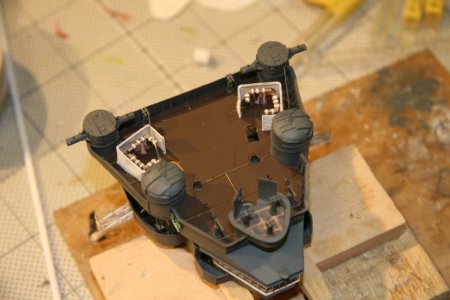
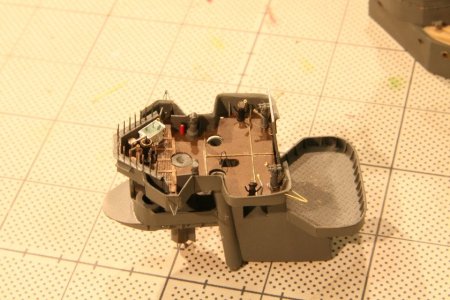

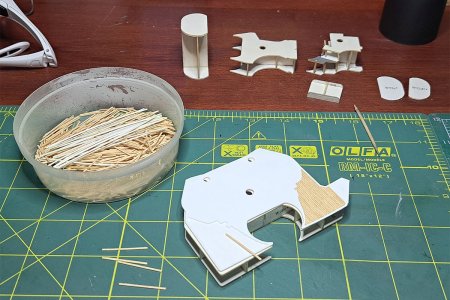
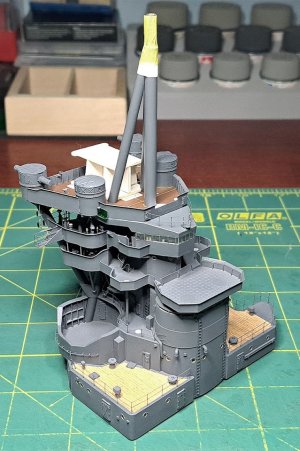
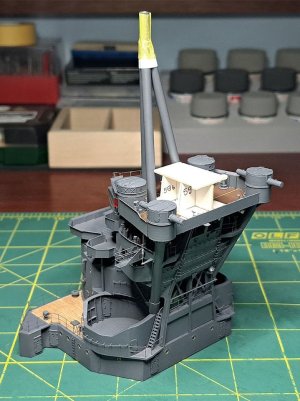
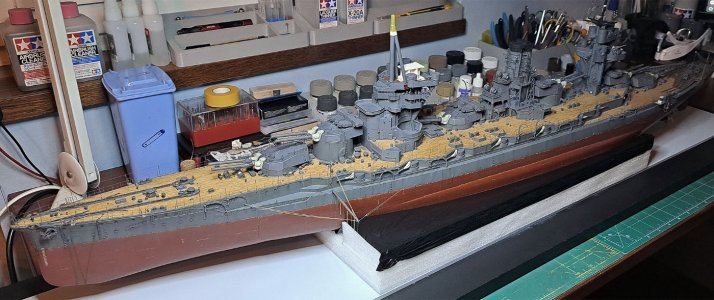
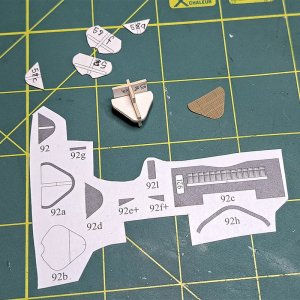


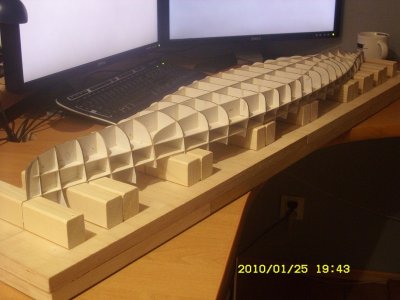
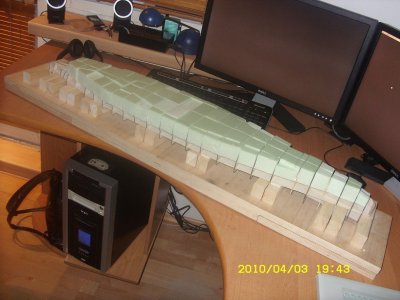
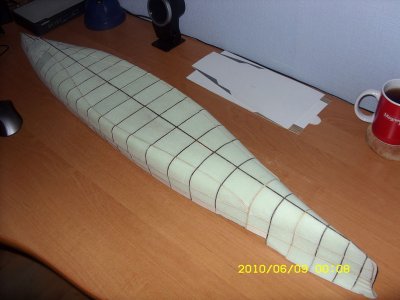
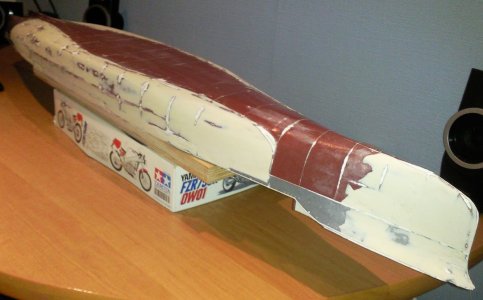
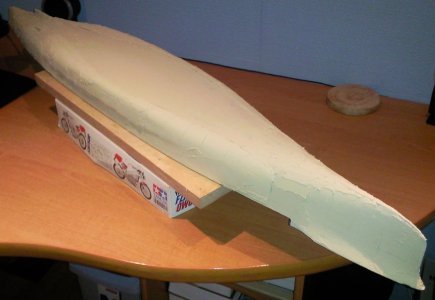
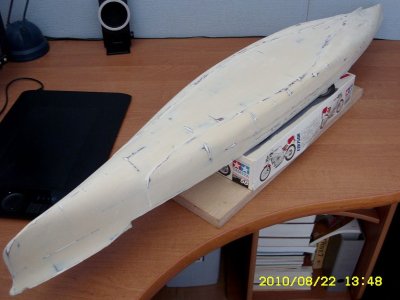
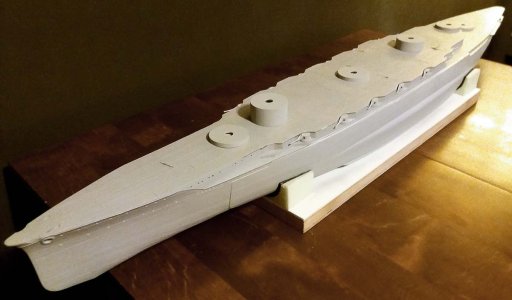
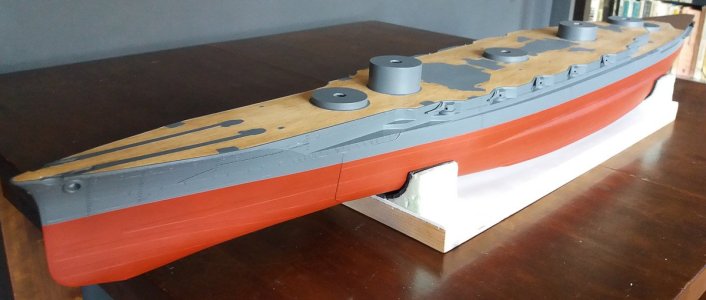
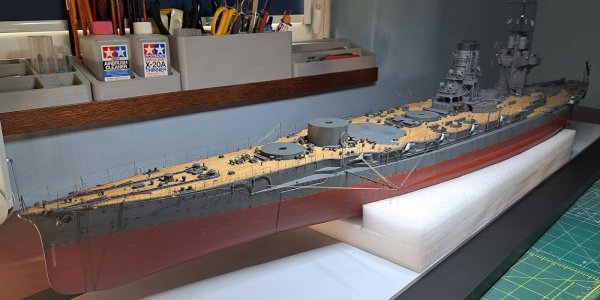
@Paulpk
I’ll try to explain this to you as clearly as I can, step by step, illustrating it with photos:
Some modelers stop at this stage — this is the so-called modeling standard for paper models. I continued working on the hull because I wanted to achieve a plastic-like effect:
- First, I built the framework that came with the kit, which had to be glued onto cardboard and cut out.
- Then I filled the spaces between the bulkheads with construction foam to avoid the so-called “cow ribs effect” when covering the frame with paper.
- Next, I covered the framework with the parts that also came in the kit.
- I put filler on the hull and then sanded it for a long time, correcting imperfections as I went.
- At this stage, I primed the hull with gray primer to make it easier to spot any flaws.
- On top of that, I glued small strips of paper that now imitate the panel joints on the hull.
- Finally, the standard steps: applying base colors and adding weathering effects such as wear and rust.
That’s it - I hope this helps.


Thanks pugwash.Wieslaw, I can't believe what I'm looking at, your skills are amazing, as is the model!
I'm not a big fan of 3D resin printing... a technique I'll never get my head around.
But how else can these details be produced?

