- Joined
- Sep 18, 2022
- Messages
- 336
- Points
- 168

With the Revell Viking Model completed yesterday, I wanted to build a kit I had not done yet – a larger scale Chinese Junk. I have an old Imai Model of the Chinese Junk; the kit went under in Hurricane Katrina (like the Viking) and had to be soaked and washed to get the dried mud from all the various parts.
The kit has been re-boxed a few times and also sold by Aoshima as a Chinese War Junk. I’m removing the machine guns and aft deck guns and filling the holes; I’m building a normal version. I’ve been doing a good bit of research on this as well. I’d like to give a shout out to a few modelers in Australia - Harry Houdini (for his excellent build up for inspiration) John Lattanzio for sending me a scanned set of instructions and some very good notes for the build.
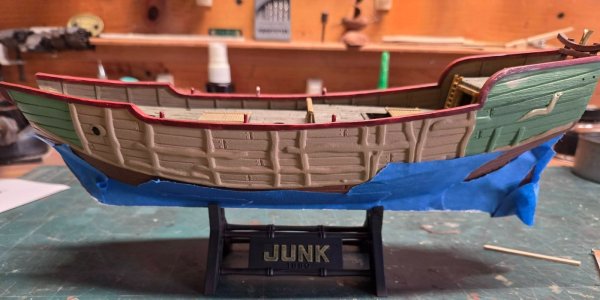
The assembly is pretty straight forward and there is little flash, but you'll still need to remove some light seems from the masts and other parts as normal. I’m going to use the stand that comes with the kit as it’s very sturdy and the name plate is part of the stand.
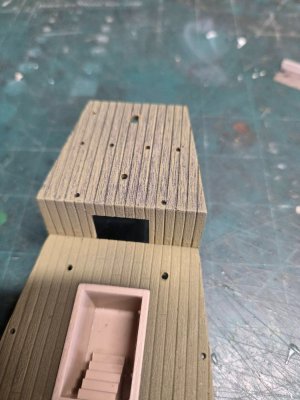
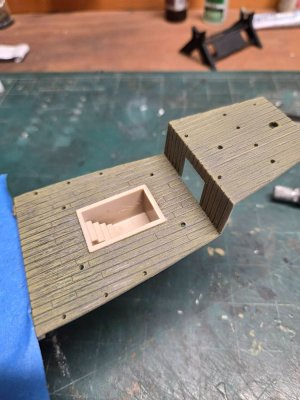
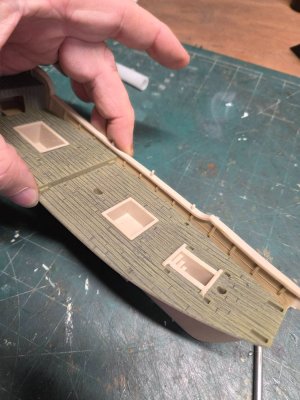
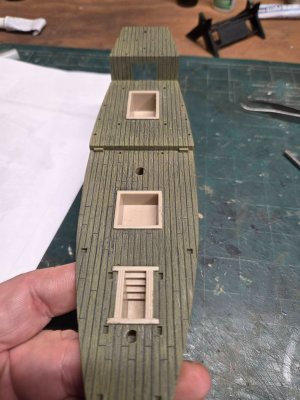
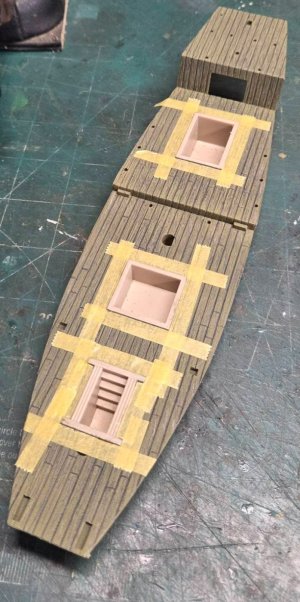
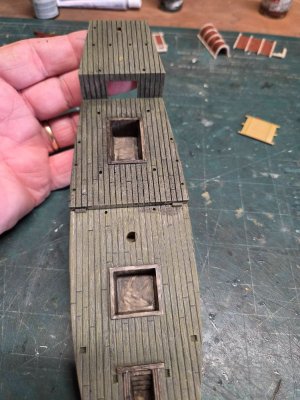
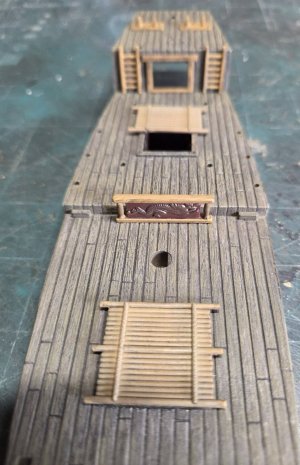
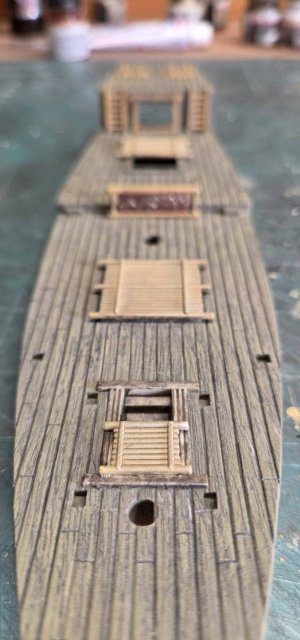
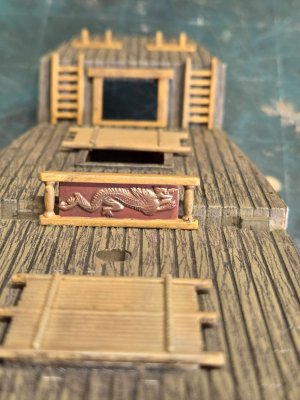
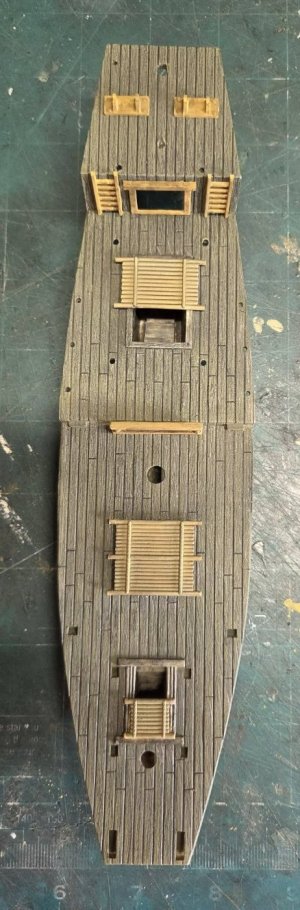
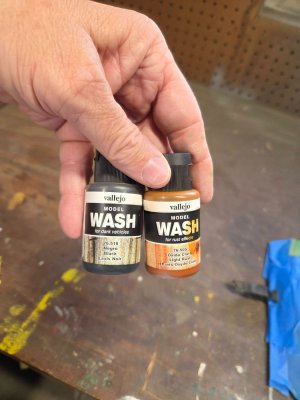
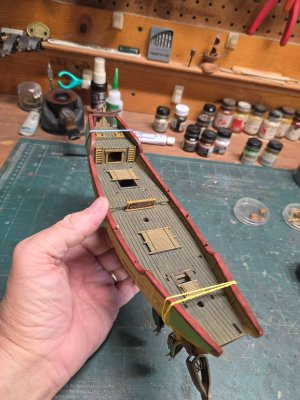
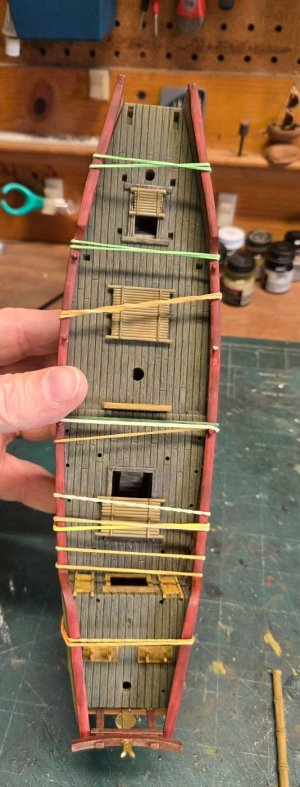
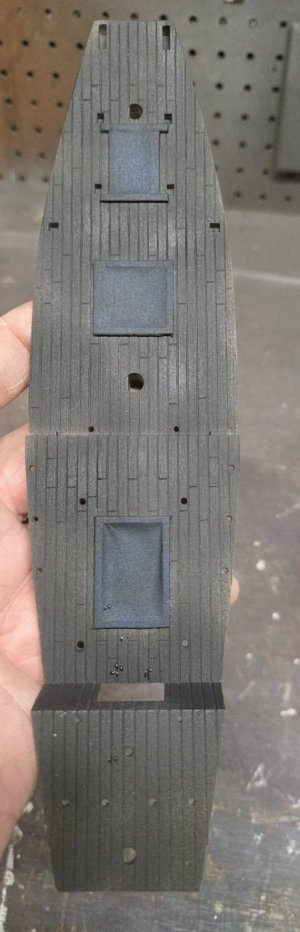
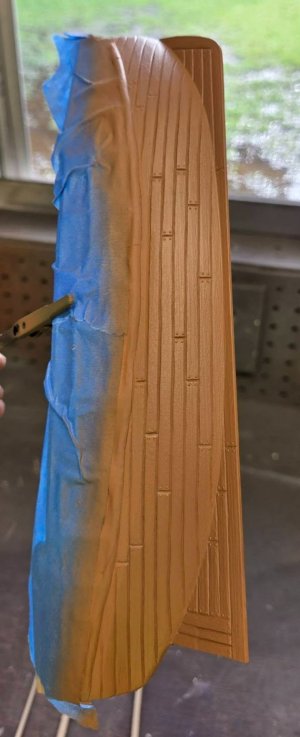
The deck treatment is the standard black base with tan topcoat, which will be lightly sanded to show the black deck grain. Because the model will represent a working Junk, it will have a heavy amount of ware and dirty washes.
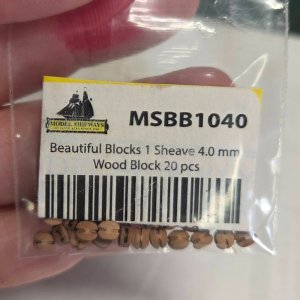
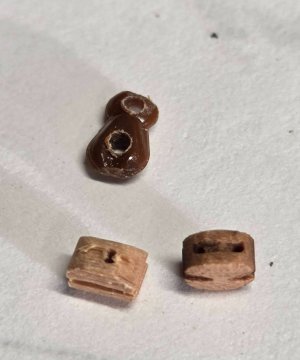
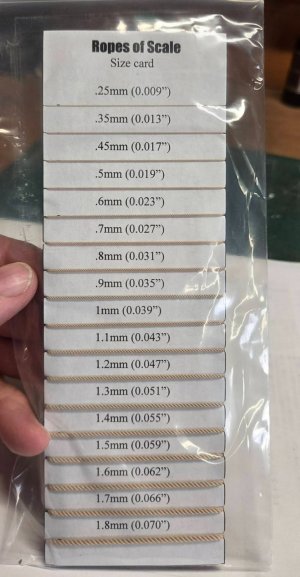
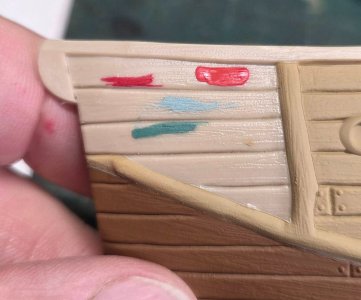
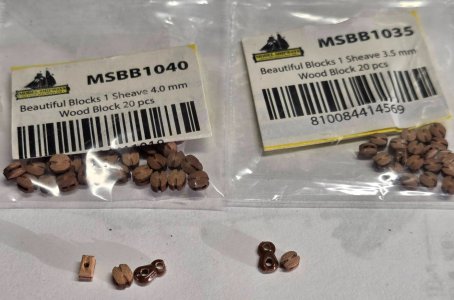
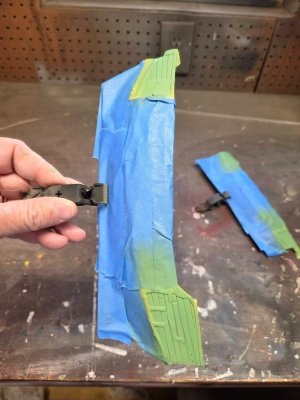
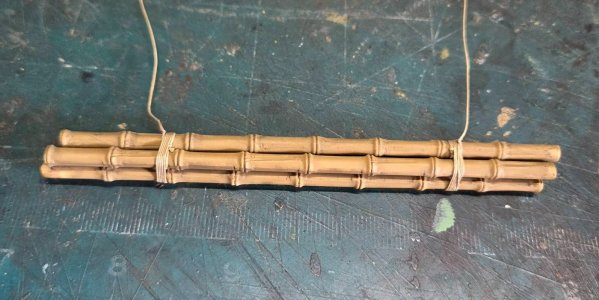
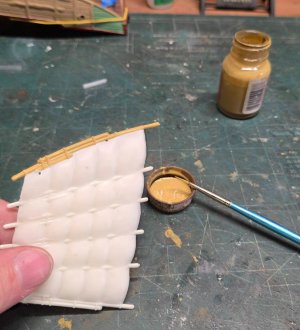
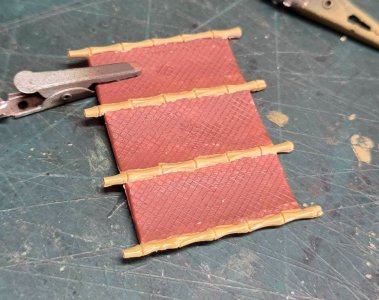
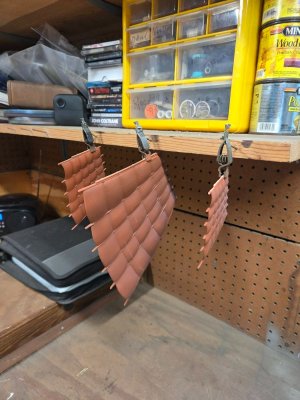
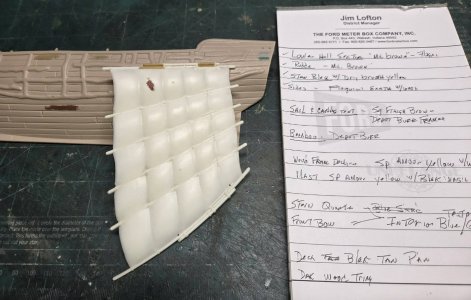
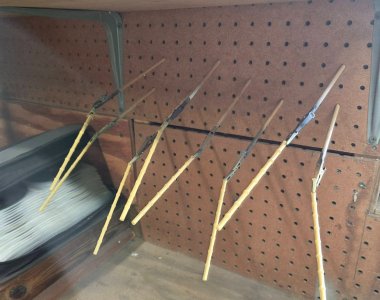
The sail treatment will be the hardest due to the contrasting colors of the dark red sail (either Tuscan or Box Car Red) and the bamboo battens, which are very light/bleached tan color. I’m going to do my best mask and airbrush these vs. hand paining if possible. The kit provided rigging blocks but I’m not too sure they are accurate, so some more research is needed.
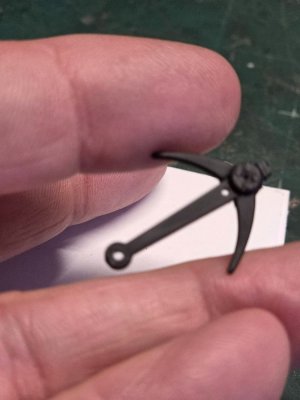
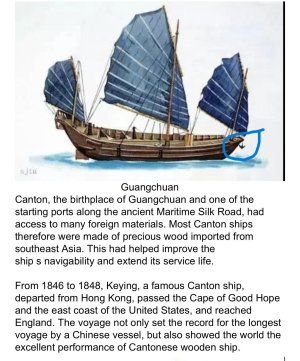
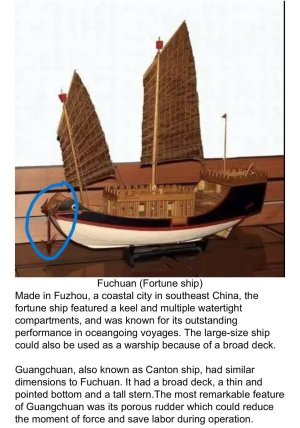
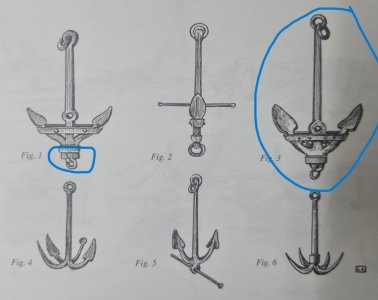
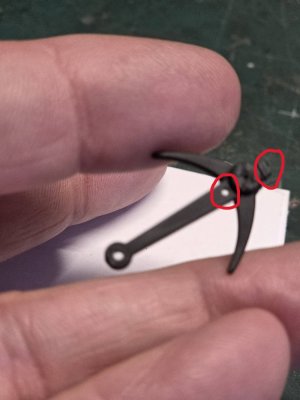
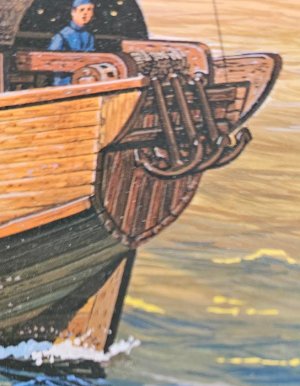
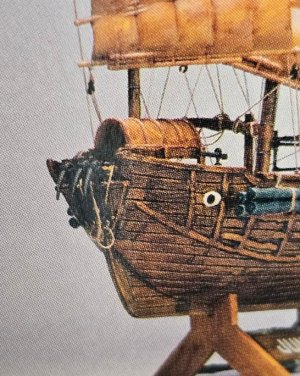
The junk has 3 bow anchors that seemingly are simple pitched over the bow when needed, I’ll build as instructed, but I’m not sure that correct.
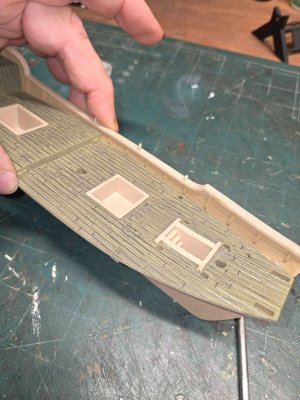
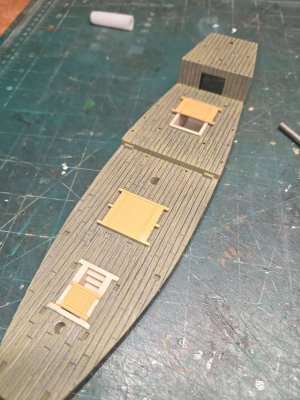
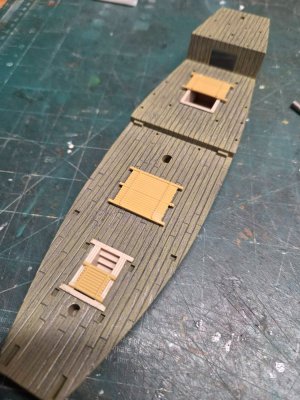
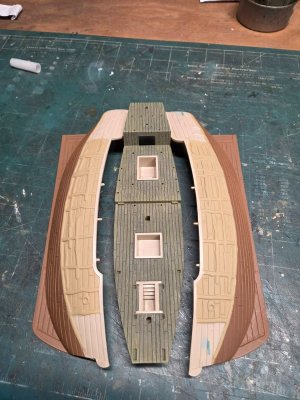
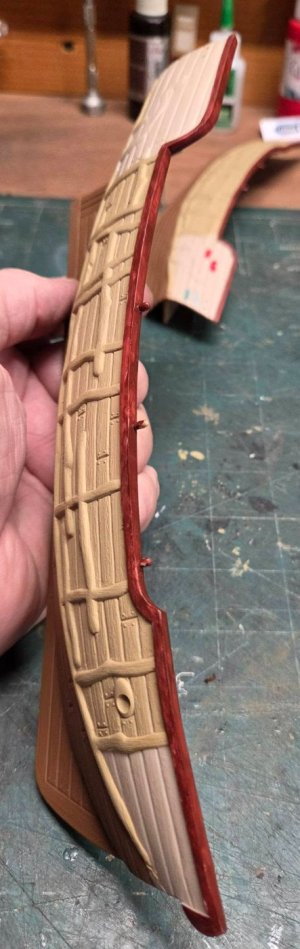
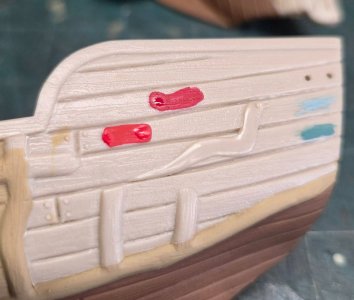
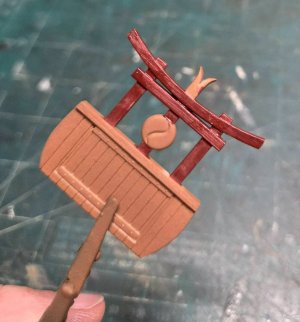
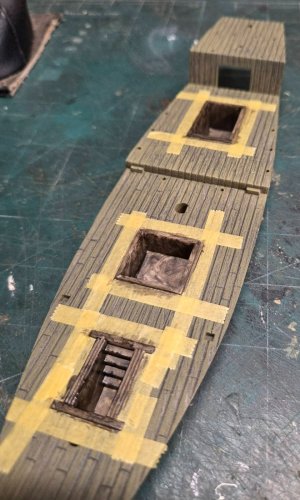
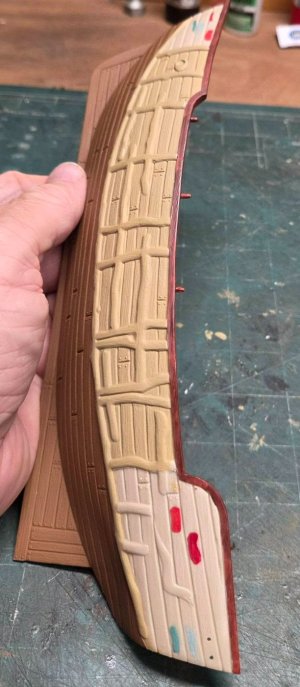
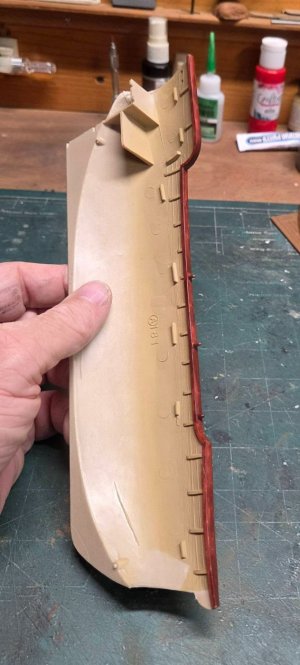
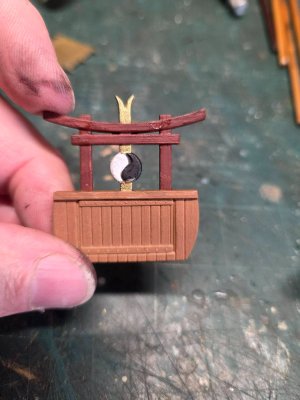
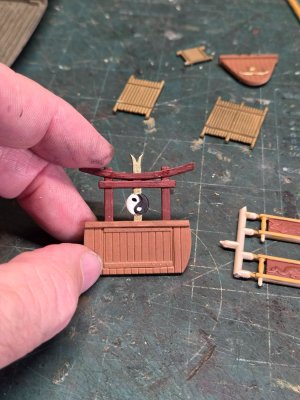
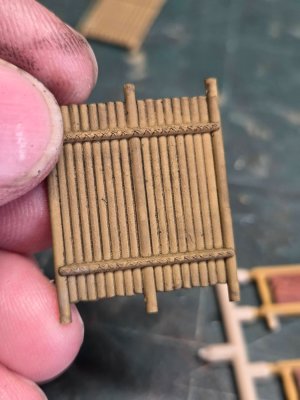
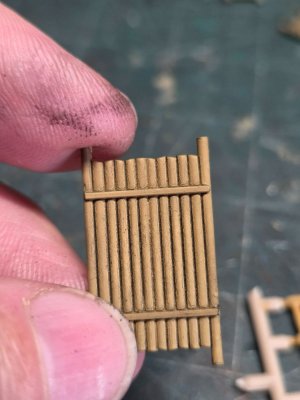
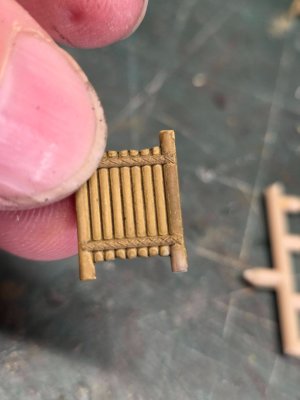
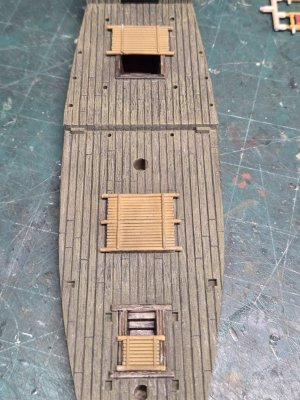
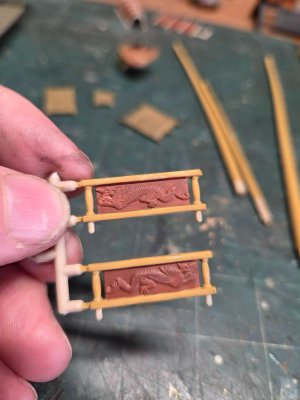
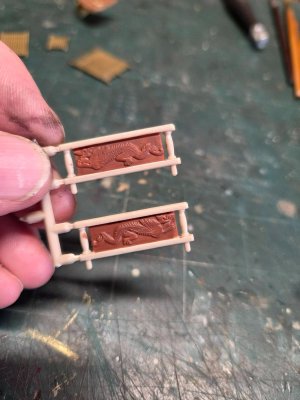
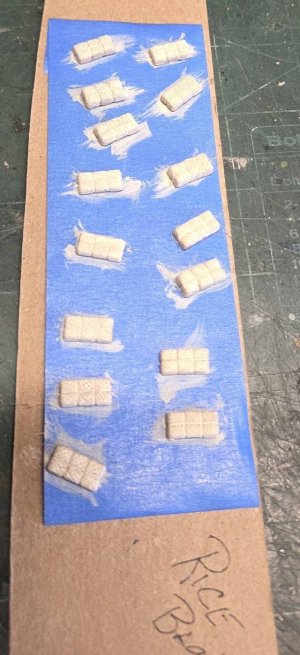
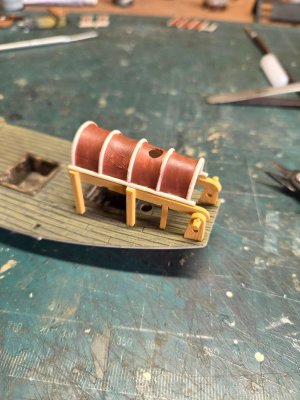
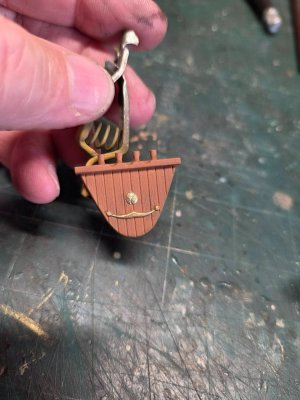
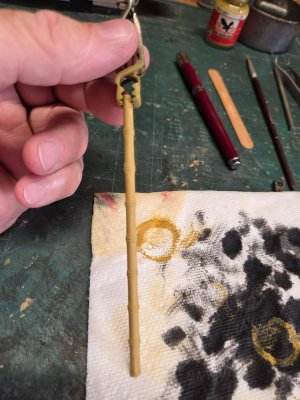
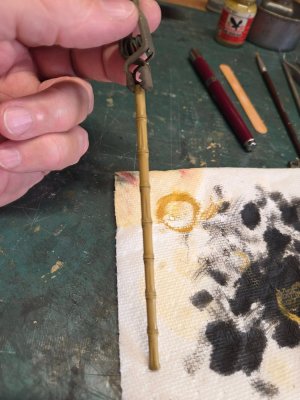
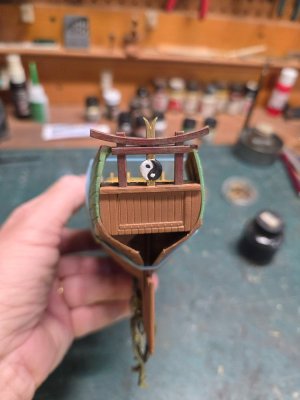
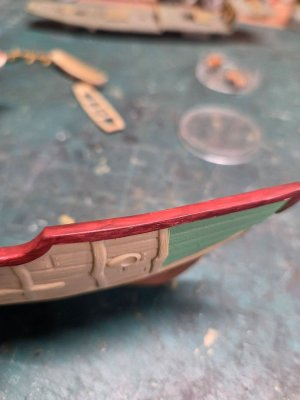
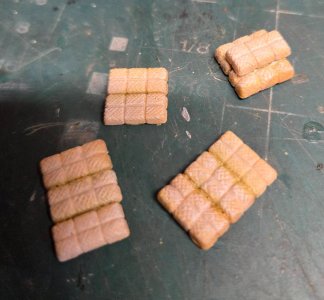
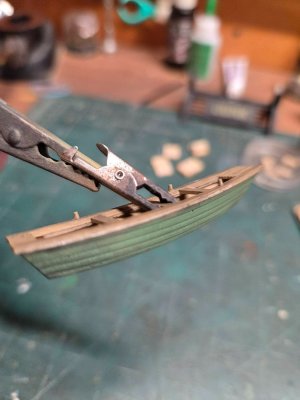
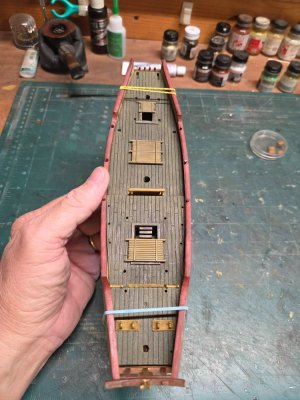
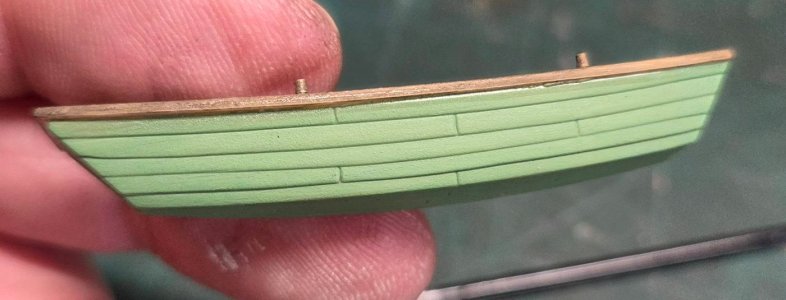
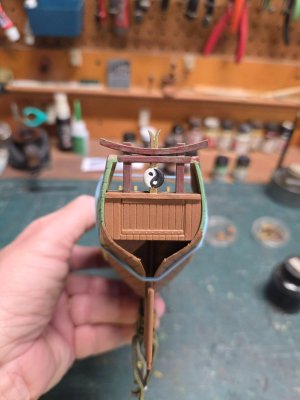
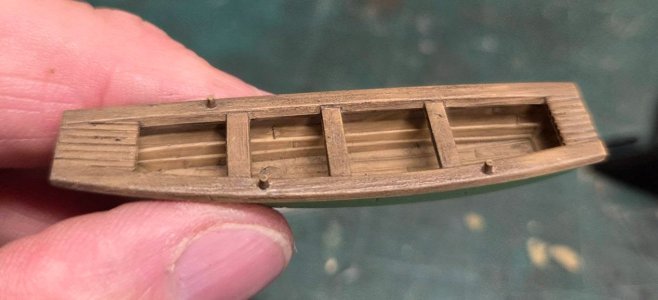
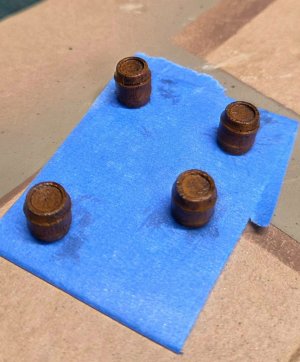
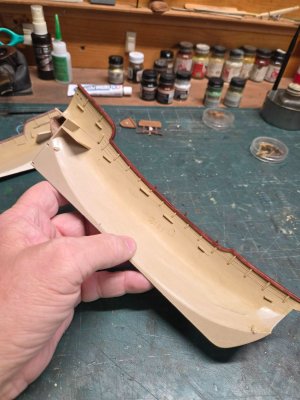
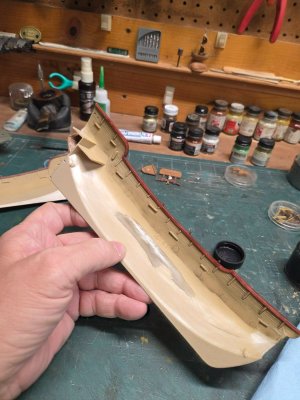
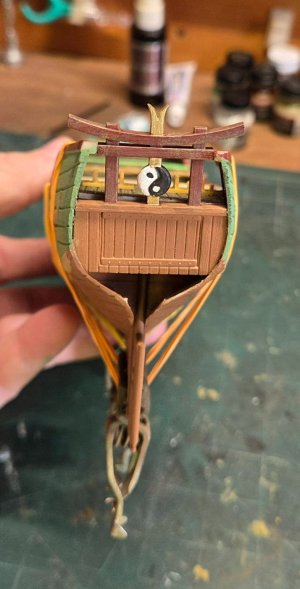
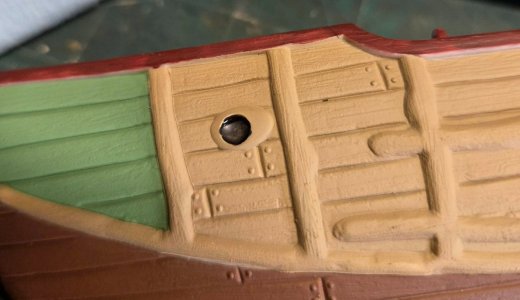
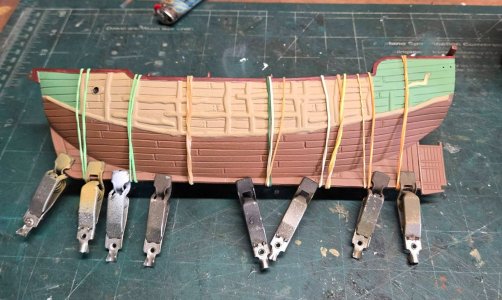
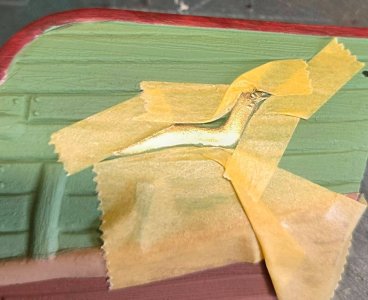
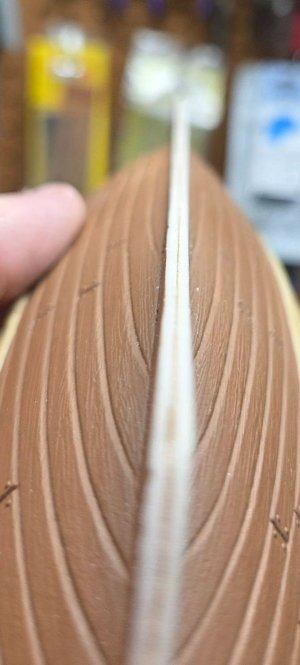
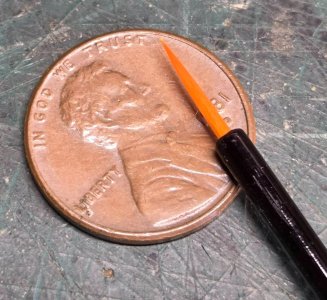
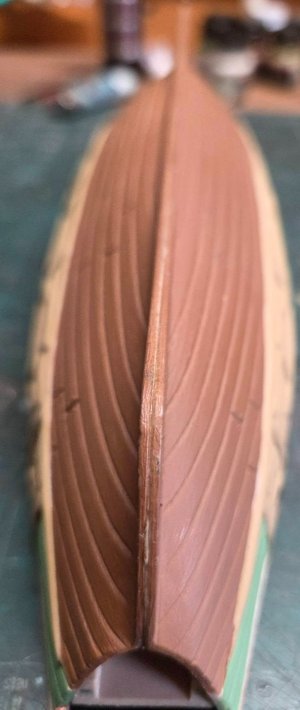
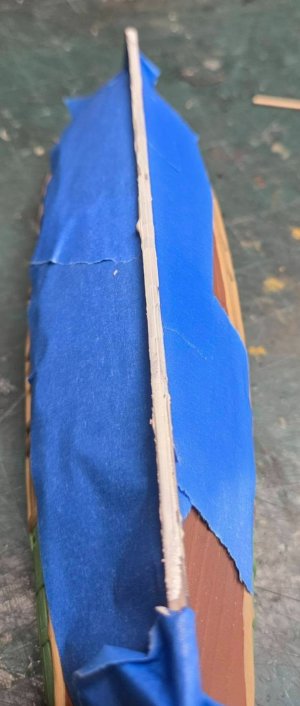
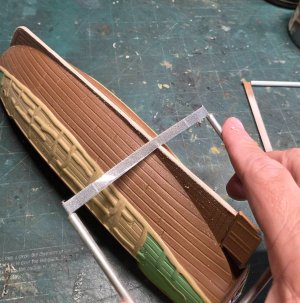
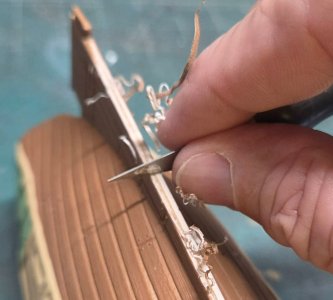
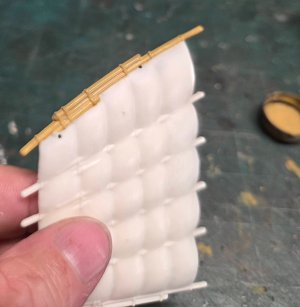
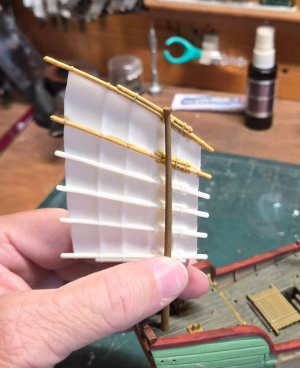
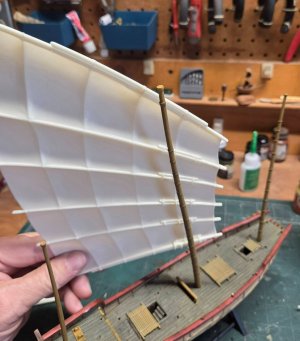
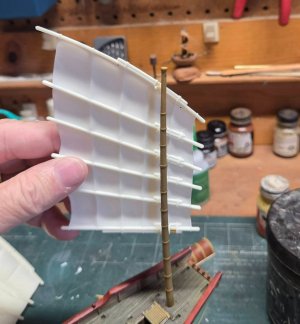
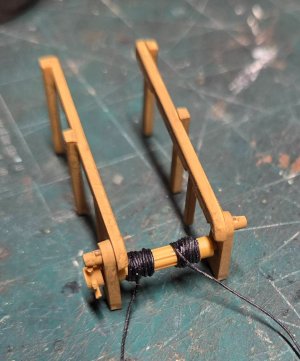
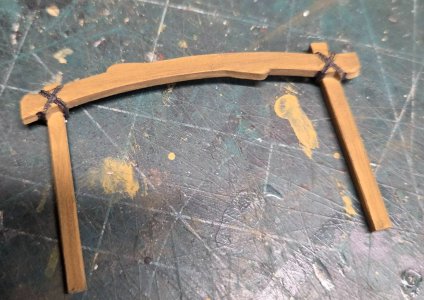
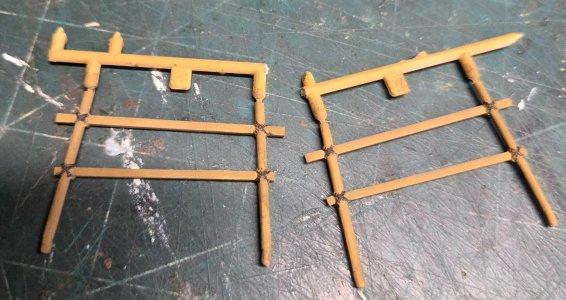
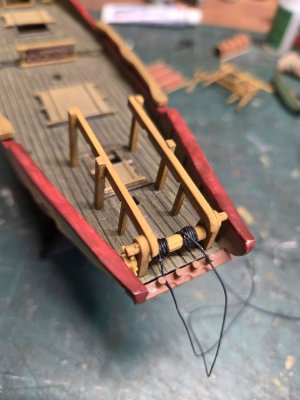
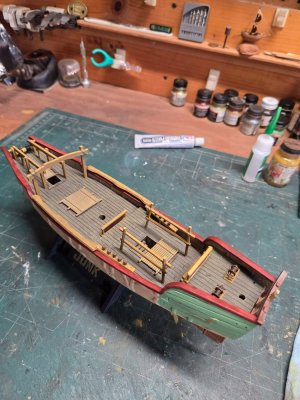
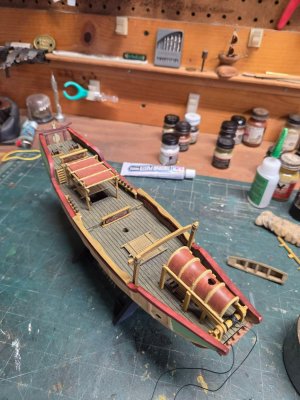
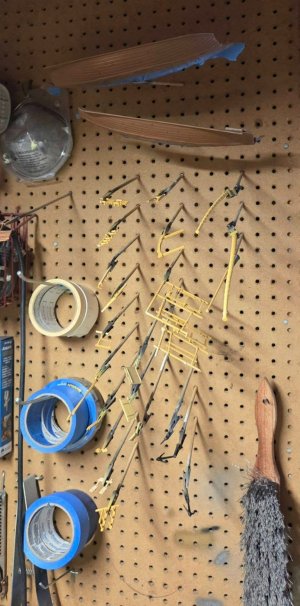
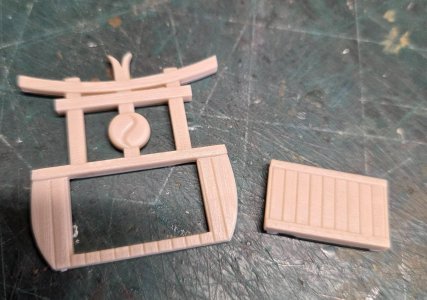
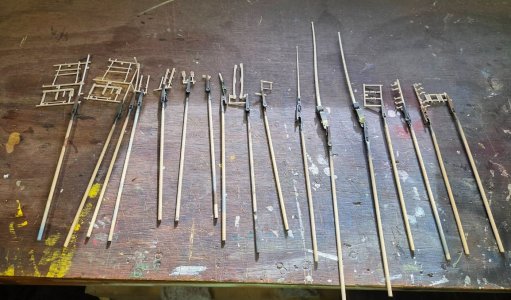
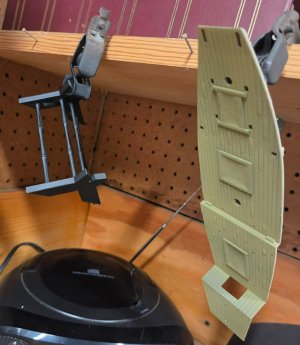
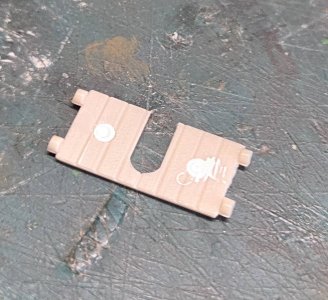
The pics below are the initial stages of parts prep. Here is a link to learn the history.

 stampaday.wordpress.com
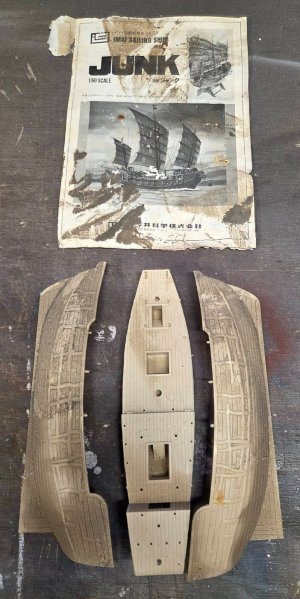
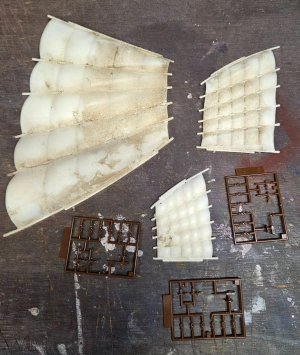
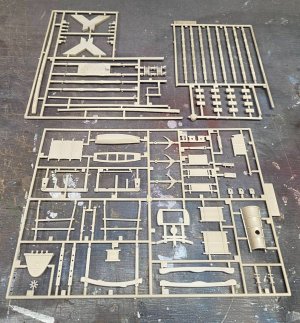
The kit has been re-boxed a few times and also sold by Aoshima as a Chinese War Junk. I’m removing the machine guns and aft deck guns and filling the holes; I’m building a normal version. I’ve been doing a good bit of research on this as well. I’d like to give a shout out to a few modelers in Australia - Harry Houdini (for his excellent build up for inspiration) John Lattanzio for sending me a scanned set of instructions and some very good notes for the build.
The assembly is pretty straight forward and there is little flash, but you'll still need to remove some light seems from the masts and other parts as normal. I’m going to use the stand that comes with the kit as it’s very sturdy and the name plate is part of the stand.
The deck treatment is the standard black base with tan topcoat, which will be lightly sanded to show the black deck grain. Because the model will represent a working Junk, it will have a heavy amount of ware and dirty washes.
The sail treatment will be the hardest due to the contrasting colors of the dark red sail (either Tuscan or Box Car Red) and the bamboo battens, which are very light/bleached tan color. I’m going to do my best mask and airbrush these vs. hand paining if possible. The kit provided rigging blocks but I’m not too sure they are accurate, so some more research is needed.
The junk has 3 bow anchors that seemingly are simple pitched over the bow when needed, I’ll build as instructed, but I’m not sure that correct.
The pics below are the initial stages of parts prep. Here is a link to learn the history.
Indo-Chinese Junk
The watercraft known as a junk seems to be — at least in the West — chiefly associated with China to the degree that the demonym “Chinese” is often used in reference to these boats and …
stampaday.wordpress.com
Last edited: