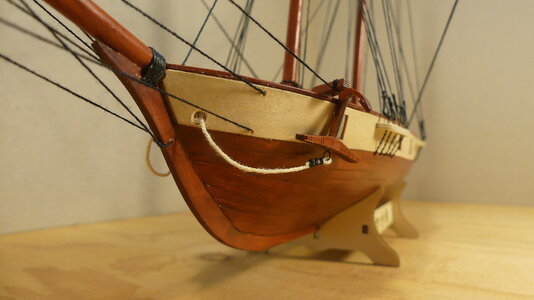
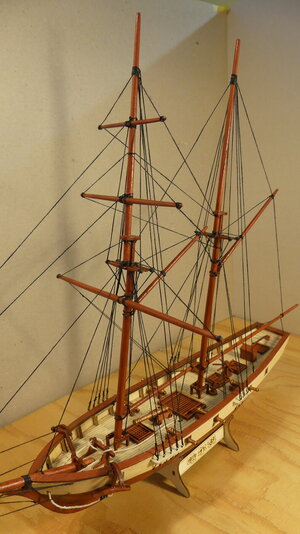
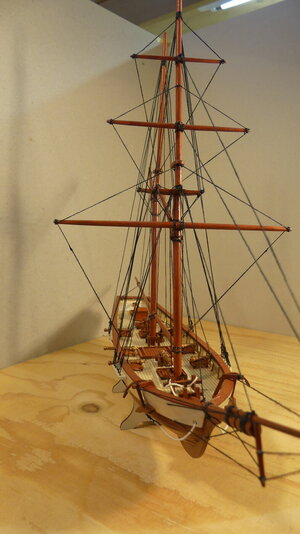
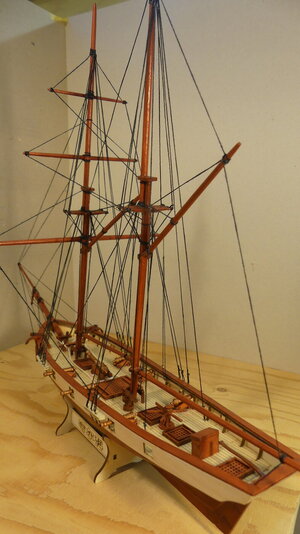
Introducing Ponytail: another Halcon-build... [COMPLETED BUILD]

Joined
Jun 24, 2023
Messages
34
Points
78

Hello people,
I'm introducing my self after some week of 'lurking' in the Forum.
What a fine place to be!
As many before I never did a wooden ship as being more interested in plastic kits, modeltrains and above all cardmodelling.
Next to that I'm volunteer/semi-professional modelbuilder at MiniWorld Rotterdam. Learned to use cadcam and lasercutting.
But my attention was drawn with the many advertisings of the little cheap Chinese kit of Halcon 1840. Something new!
After a few months laying around I recently started. And forgot too many times to make pictures...
BTW: I am form Holland, Netherlands and just over 70...

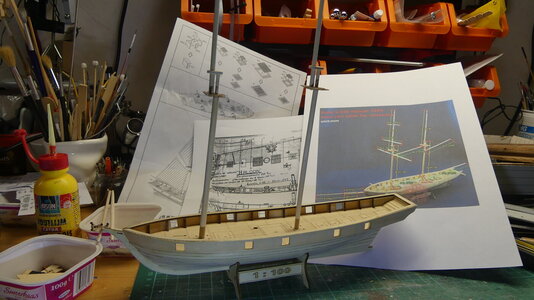
The 'easy' beginnings were the bulkheads and keel:
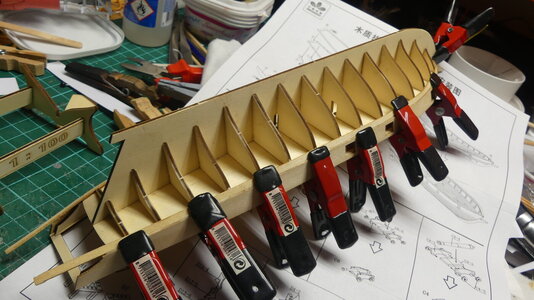
P1020935.JPG
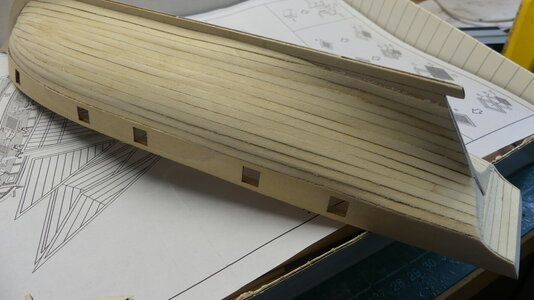
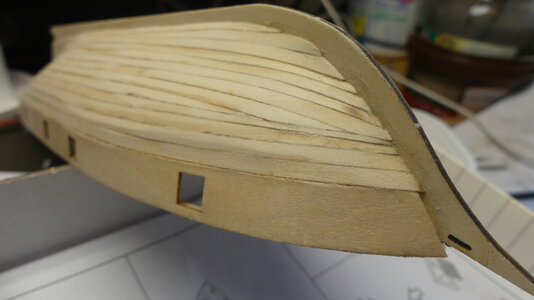
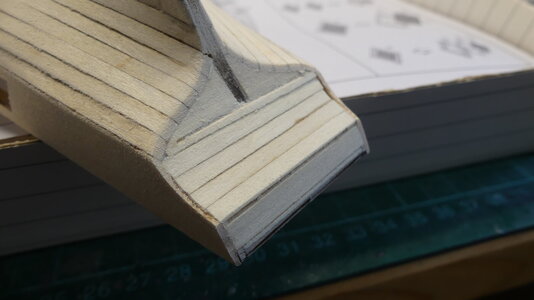
Then the planking begun.

P1020938.JPG
In the meantime I started with the details.
P1020940.JPG
My interpretation of the stern.

P1020941.JPG
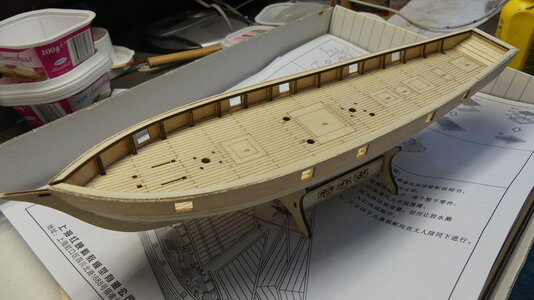
My progress sofar...

P1020943.JPGP1020939.JPG


To be continued...
 
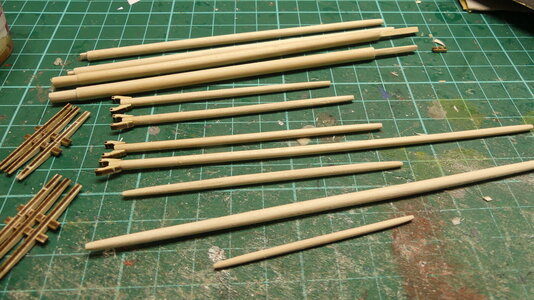
I continued the Halcon-build and it was time to do the masts.
The kit supplied various wooden rods, unfortunatly not of exact size.
I used the measures as stated on a picture I found in this forum (right on the last picture) and there was too little of 2.5 mm rod and enough of 4 mm...
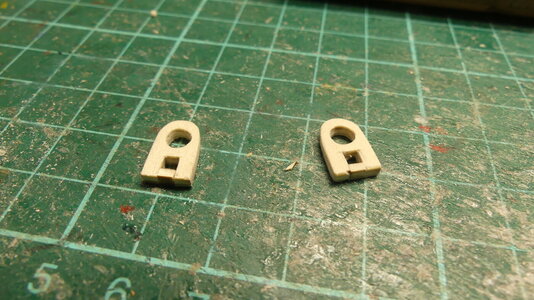
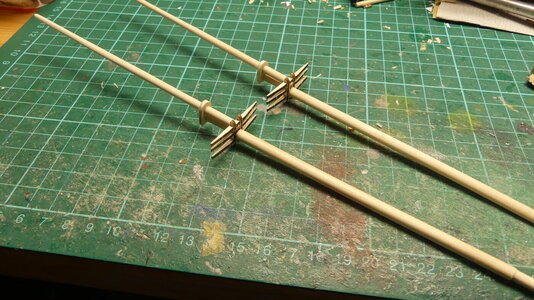
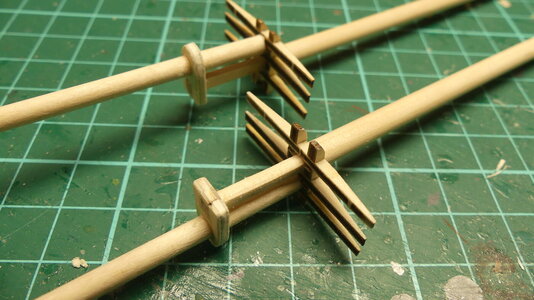
Well the sculpting went smoothly and all parts were shaped with thinner ends. Don't know what the word in english is... In dutch: verjongen.
Also 2 missing parts were made of some scrap.

P1020944.JPG

P1020945.JPG

P1020946.JPG

P1020947.JPG

P1020948.JPG
I'm happy with the outcome sofar!
 
also from my side a warm welcome here on board of our forum
Good work you are showing us
 
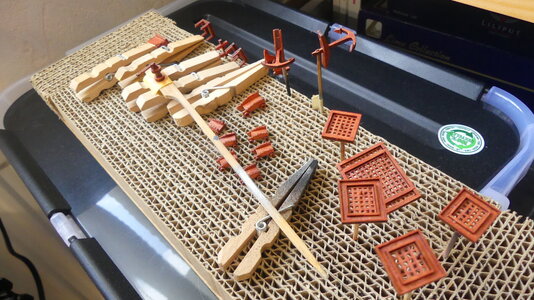
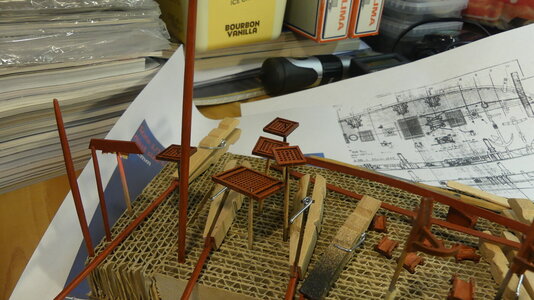
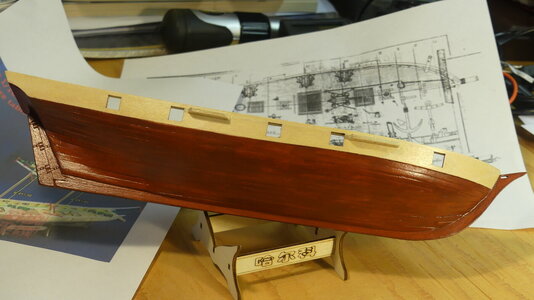
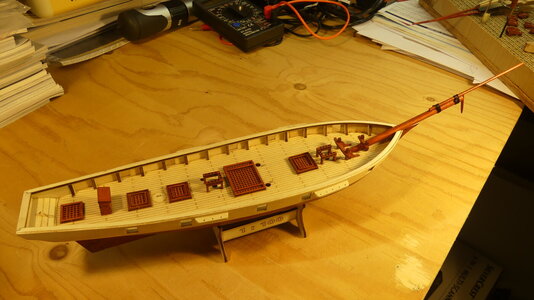
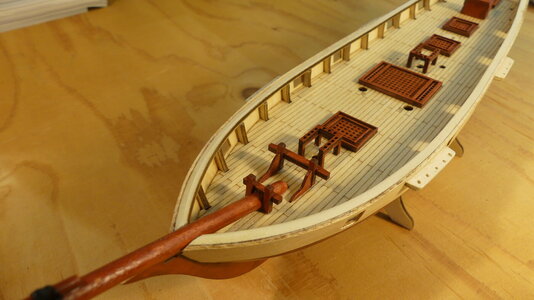
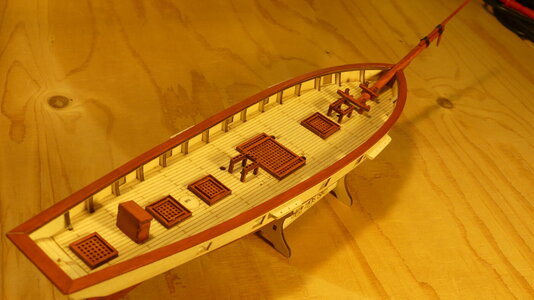
All the detailparts were glued together and given a color. Also the hull got a 2-tone colorscheme. Mahogany and clear varnish.
And the parts were set to their place. This all fitted well, allthough the bowsprite took som adjustments to get a proper fit. Also a few extra parts for the rigging wer added.
Next step will be to make the masts and do the rigging... There will be no sails!

P1030335.JPG

P1030337.JPG

P1030338.JPG

P1030340.JPG

P1030341.JPG
 
All the detailparts were glued together and given a color. Also the hull got a 2-tone colorscheme. Mahogany and clear varnish.
And the parts were set to their place. This all fitted well, allthough the bowsprite took som adjustments to get a proper fit. Also a few extra parts for the rigging wer added.
Next step will be to make the masts and do the rigging... There will be no sails!

View attachment 392602

View attachment 392603

View attachment 392604

View attachment 392605

View attachment 392606
Looking great!
 
If allowed I will continue this report in this thread... Or should I better go to the SOS Build Logs section?
 
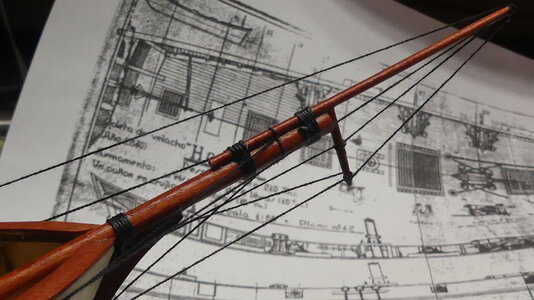
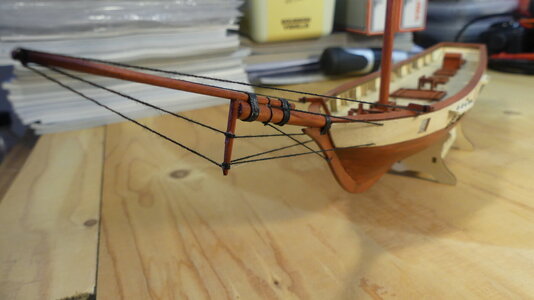
Started the ringging wit the bowsprit.
I used the thread that came with the kit and it is a bit 'furry'. The pictures show it dramatically but in real it's not that heavy looking!


P1030350.JPG

P1030354.JPG

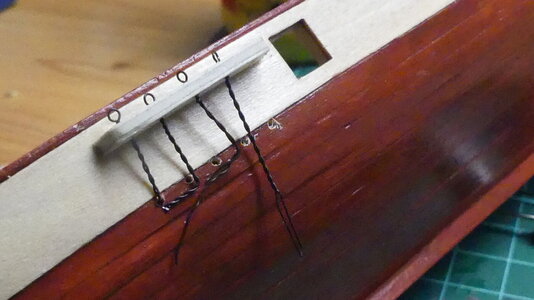
For the masts I decided to go a little more detailed by making little eyes instead of pulling the tread through the drilled holes. Picture 3 shows the various stages of making them with thin metalwire. Fixed in the holes with some varnish.

P1030349.JPG
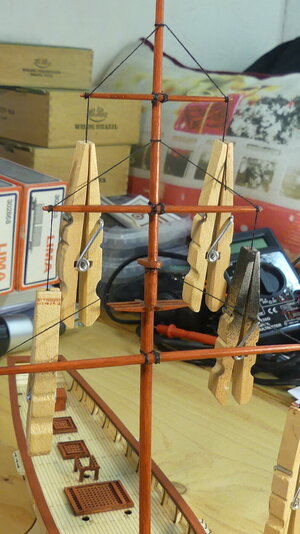
And then the mast got their turn. The parts were fixed with thread and a little drop of glue, later covered with some dilluted varnish.
To keep the threads firm with no slack I used clothespins while drying. After cutting the lose ends a drop of varnish to secure them.

P1030355.JPG
 
Last edited:
This is my very first wooden kit, so all new to me.
Also I'm know nothing about sailing ships and ther parts.
Please forgive me using wrong names of the various parts of the ship...

And now back to rigging! As a guide I use an article/thread from a neighboring forum Model Ship World
 
Last edited:
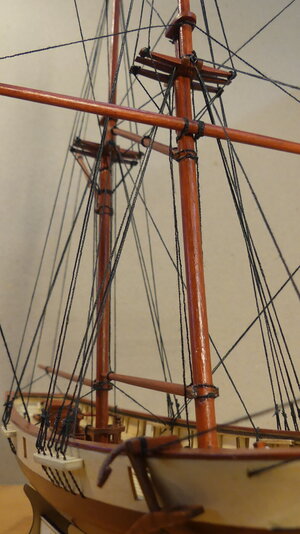
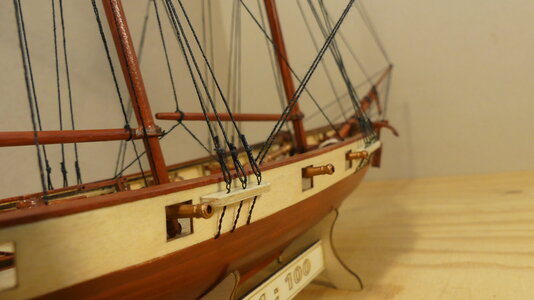
A big step: Rigging is done!
I found me a kind of wire which is some less furry.

P1030384.JPG
P1030368.JPG
In my precious message I wrote where I found how the rigging should be. I tried to use not too much of the running rigging.
My goal was to get the best impression and I'm not unhappy with the result.

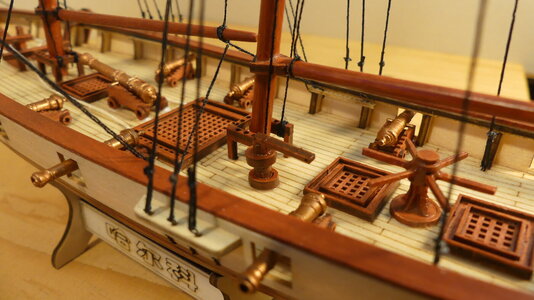
Also the last details were added: the cannons. In my box with old and spare parts of plastic kit I found barrels in the right size for the small cannons. The bigger one I had to make myself...P1030389.JPGP1030391.JPG
 
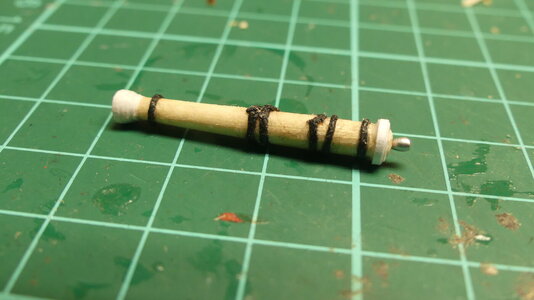
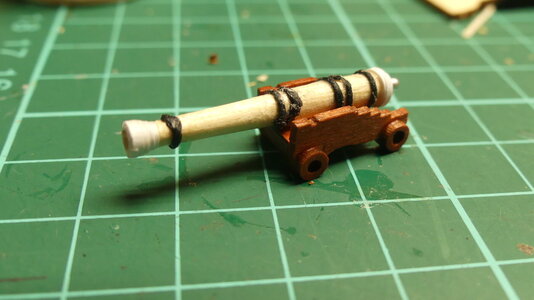
How I made the cannon:
A dowel wes sanded in the right shape.
The mouth of the barrel is formed by wrapping a traingular shaped piece of paper around the thinner side.
The other side was sanded in a round, dome, shape and a little hole drilled in the center.
With a strip of paper I formed the thick bottom-edge.
Then pieces of threadwire were knotted around on the right spot.
A pin with a big knob was glued in the bottom.

Then all is covered with thinned whiteglue. After drying the end of the wires were cutted.
Another layer of thinned whiteglue.

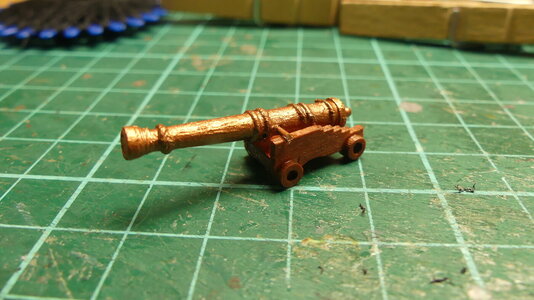
Finally I drilled a small hole for the pivot(?) and painted it with Tamiya copper-paint.

P1030376.JPG

P1030377.JPG

P1030378.JPG
 
Last edited:
This kit required some extra's and modifications, but most it was build OTB....
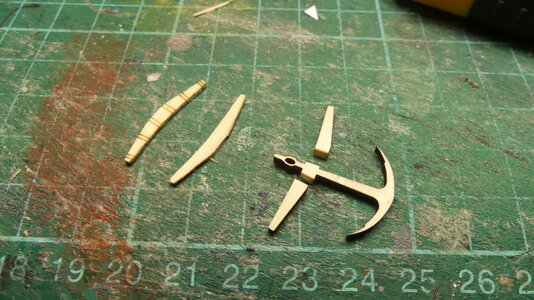
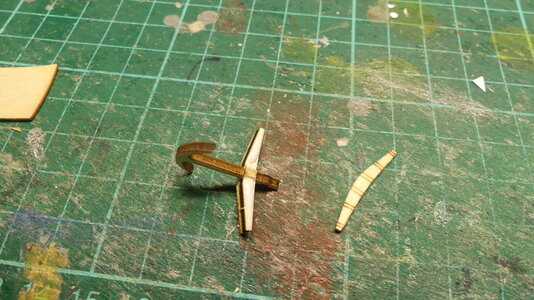
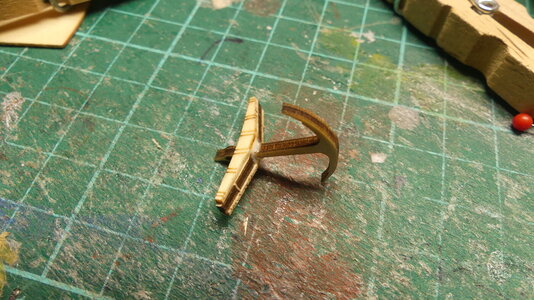
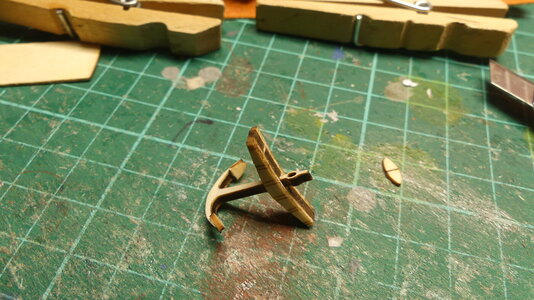
What I modified were the anchors:

Unfortunatly the holes for the rope broke by trying to get the rope through.
I replaced them by the same kind of eyes as use before at the rigging.

P1020926.JPG

P1020928.JPG

P1020929.JPG

P1020931.JPG

P1030372.JPG
 
How I made the cannon:
A dowel wes sanded in the right shape.
The mouth of the barrel is formed by wrapping a traingular shaped piece of paper around the thinner side.
The other side was sanded in a round, dome, shape and a little hole drilled in the center.
With a strip of paper I formed the thick bottom-edge.
Then pieces of threadwire were knotted around on the right spot.

The it was all covered with thinned whiteglue. After drying the end of the wires were cutted.
Another layer of thinned whiteglue.

Finally I drilled a small hole for the pivot(?) and painted it with Tamiya copper-paint.

View attachment 394965

View attachment 394966

View attachment 394967
Very creative... I like it!!
 
CONCLUSION:

These kind of chinese kits are real fun to build:
The parts fit well. The pre-lasercutting was sharp and clean (in my case anyway).
The instructions are not a very big help, but on the net are many resources!
Being not intended to make an exact model (childs-toys) the kit gives room for interpretations by the builder.

This was my very first wooden modelkit, but I build many other paper- and plastic models.
And now these things have grabbed me: 2 other ones are already in the house!

P1030384.JPG

P1030386.JPG

P1030387.JPG
 
Back
Top