Just for Fun - A Ship of a different color.

Joined
Aug 16, 2019
Messages
592
Points
308

Location
North Carolina,United States
OK. Due to popular demand I am going to start a build thread on this funky little ship kit.

IMG_0170.JPG
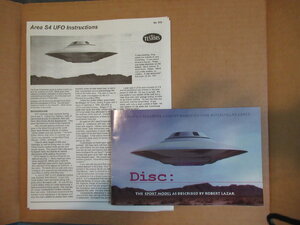
Let's start by unboxing this thing and see what we've got. First there is the 16pg booklet about the craft in Bob Lazar's own words, and a bit of the history of S4 just south of Area 51. As well as the instruction manual.
IMG_0171.JPG
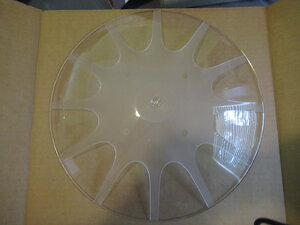
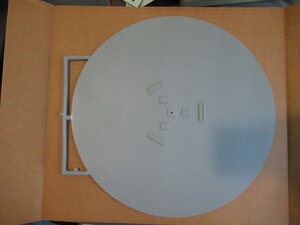
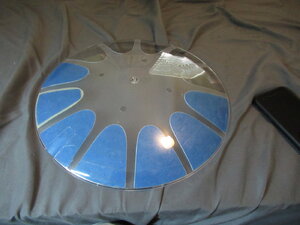
Next we have the lower half of the hull,
IMG_0172.JPG
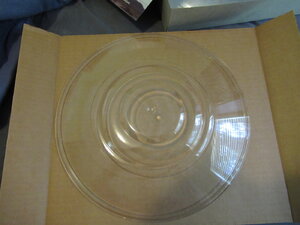
And now the upper half.IMG_0173.JPG
Next up is the deck of the shipIMG_0175.JPG
Then the "fine detail" parts including a US Soldier and 2 aliens.IMG_0174.JPG
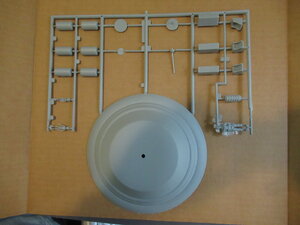
it also includes the uppermost deck of the ship.
And last, but not least, the fine detail decals for the heads-up display.IMG_0176.JPG
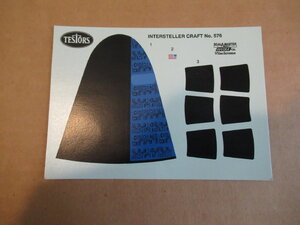
Now it's time to start painting and preparing the parts , so stay tuned. This is going to be fun!
 
Watching Bob Lazar interview with Joe Rogan about this flying saucer.
Bob said the Testers corporation approached him to build a scale model of the flying saucer to Bob's exact specifications. Bob Lazar subsequently donated all the money he was paid to science projects for school children.
 
Well, it's going to be a couple of days before I'm able to post anything more on this little project. Have to work the next couple of days. But while I'm waiting foe the primer to dry on the "detail" parts I'm going to start work on a base for the model. Bob Lazar has stated that this particular little ship doesn't have a leg to stand on - so to speak. When on the ground it is - literally - on the ground. And since I intend to light the interior, I figured I needed a way to hide wires and such, a base will be necessary. Of course it will be landscaped and I will post pictures of that as well - as I progress.
 
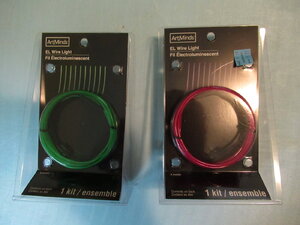
Well I was out doing some shopping today because I had to get some stuff for the house as well as for my little build here. I stopped by Michael's to pick up some plaster cloth and I found this stuff, flexible light strips. It's mainly made for coz-play outfits and such but I thiught it would be perfect for this little ship project. Whatca think?IMG_0177.JPG
 
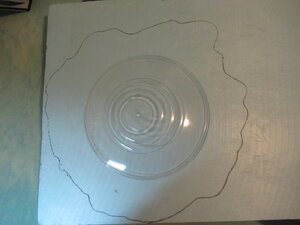
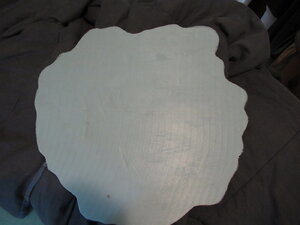
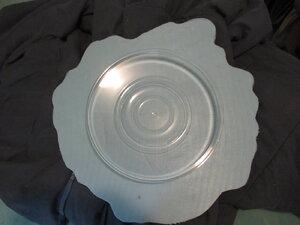
Ok. Now the fun begins. The first thing I did was grab a piece of blue insulation foam - I have a ton of it laying around - and determine how and where my ship will sit.
IMG_0178.JPG
Next, I just take a sharpie and mark out the area of the land form. Doing it square - while better suited for a shelf - would look unreal so I gave it a lot of shape.
IMG_0179.JPG
Next, taking out my X-acto knife and making sure the blade was replaced so it would be as sharp as possible, I began cutting near my lines. Not perfectly but close enough. I have found that you only need to cut about half way through with this stuff and then you can pop it right out.
IMG_0180.JPG
The final picture for right now shows how the "ship" will sit on the landscaped area S-4, just outside the mountain entrance - which you wouldn't be able to see anyway - unless the door was up - lolIMG_0181.JPG
 
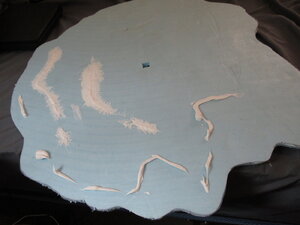
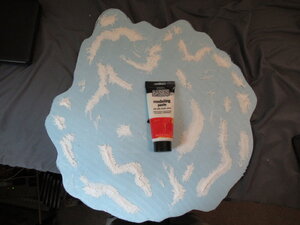
Well ok then! After deciding exactly where the ship will sit I cut a small hole so my lighting wires have a place to go, then I began terraforming my base since nowhere on earth is completely flat - the closest to true flat is the salt flats and even they aren't completely smooth. But I digress. Using acrylic modeling paste - wonderful stuff - I create raised areas.IMG_0182.JPGIMG_0183.JPG
Once this has had a chance to dry I will paint and texture the surface - but that has to wait for awhile.
While waiting for the stuff to dry I cut out the door of the ship and masked off the window areas that I want to keep clear so that you can view the inside.IMG_0185.JPG
Now it's time to spray some paint so come back soon te see what happens.AlienAlienAlienAlienAlienAlienAlienAlienAlien
 
Back
Top