• SUBSCRIBE TO SHIPS IN SCALE TODAY!

    The beloved Ships in Scale Magazine is back and charting a new course for 2026!
    Discover new skills, new techniques, and new inspirations in every issue.

    NOTE THAT OUR NEXT ISSUE WILL BE July/August 2026
  • Win a Free Custom Engraved Brass Coin!!!
    As a way to introduce our brass coins to the community, we will raffle off a free coin during the month of August. Follow link ABOVE for instructions for entering.

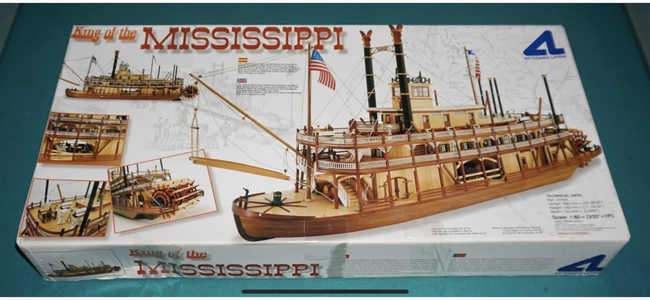
King of the Mississippi by Artesania Latina 1:80 Scale

Joined
Mar 3, 2024
Messages
25
Points
48

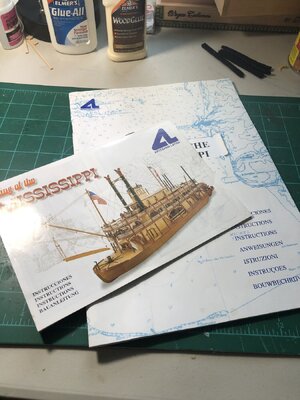
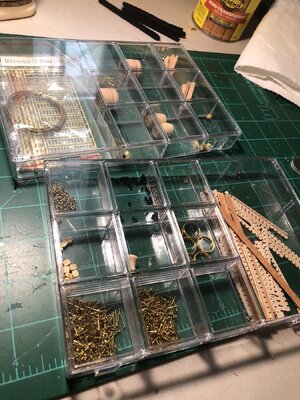
I am finally starting my build of the King of the Mississippi by Artesania Latina. I ‘ve always loved these historic steamships and I figured this would be a relatively easier build for me now that I consider myself at the intermediate stage. I’ve had this kit waiting for me in storage for about 7 years now and I had purchased it used. Looks like the previous owner started the build at the construction of the bulkhead step to never continue from there. All the parts were included with none of the provided accessories opened.

This version of the kit appears to be the prior version from the current King of the Mississippi (20515) featured on the Artesania Latina’s website.

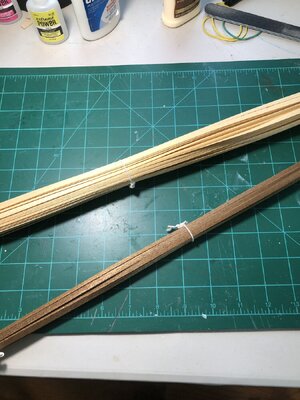
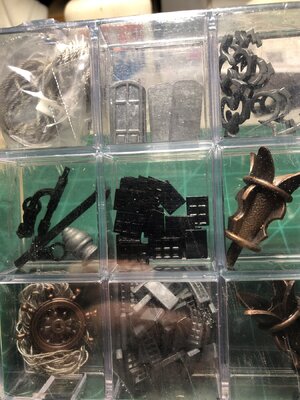
As I start this build, there are a few changes I am going to make. One of which is the color of the ship. While this kit was designed to have that “natural wood” color upon its completion, I am not a big fan as a personal choice. So, as I go through my build journey, you’re going to see my personal color scheme that I will be using. Secondly, I don’t like the metal cast windows and doors this kit comes with. Does not look natural to me so I am seriously considering scratch building those. Lastly, I am not too happy with the quality of the wood strips provided by AL. Especially the deck planking strips. There are other replacements I may consider. And those will be further explored during my build. So pull up a chair and enjoy!
IMG_1647.PNGIMG_1651.jpgIMG_1642.jpgIMG_1652.jpg


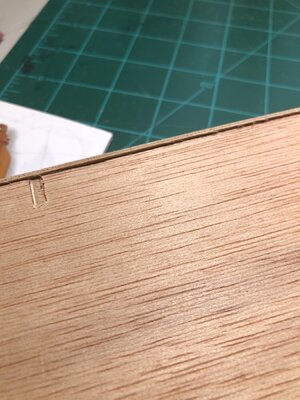
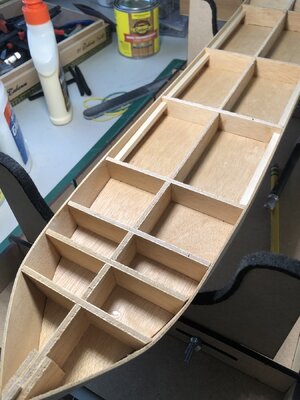
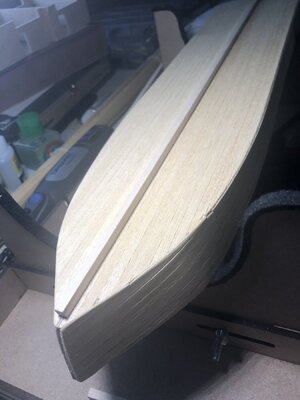
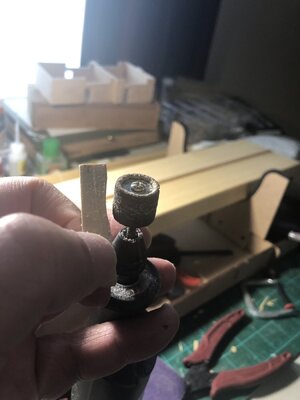
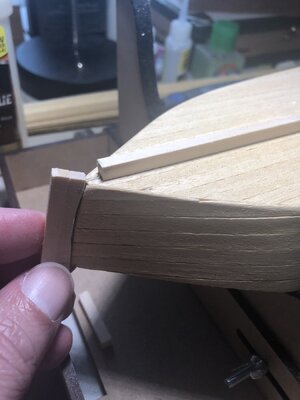
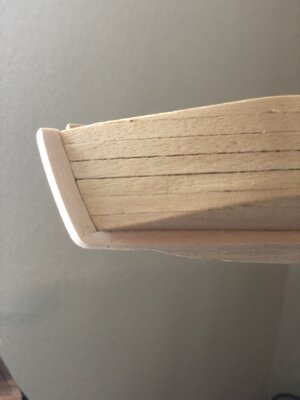
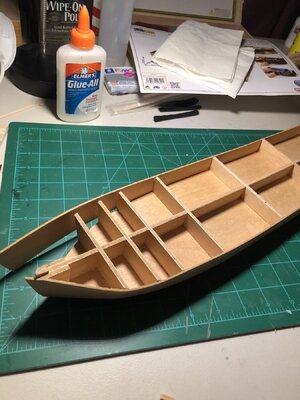
Here are a few images of where I am starting my build. As you can see there are some alignment mistakes from the previous owner. So some corrections will be required.

IMG_1640.jpgIMG_1648.jpgIMG_1649.jpg
 
I now have glued together the side plank. I've also re-enforced the larger bulkhead with some extra wood pieces. Next is to sand down the edges to level out the hull and to make sure the first deck that sit on top fits straight.

IMG_1654.jpg

In looking ahead, the kit provided some long strips of walnut for side and bottom hull planking. But since I will not be keeping the walnut color, I am considering just using the provided basswood as the hull planks instead.

From the images I've seen from other build and the size of those provided boxwood deck plank strips, they seem way out of scale. I believe someone had a post regarding the deck planks generally being out of scale on many of the model ships. Very likely I will be replacing those strips with better quality and thinner strips. Any thoughts on this?

IMG_1655.jpgIMG_1656.jpg
 
Last edited:
I am finally starting my build of the King of the Mississippi by Artesania Latina. I ‘ve always loved these historic steamships and I figured this would be a relatively easier build for me now that I consider myself at the intermediate stage. I’ve had this kit waiting for me in storage for about 7 years now and I had purchased it used. Looks like the previous owner started the build at the construction of the bulkhead step to never continue from there. All the parts were included with none of the provided accessories opened.

This version of the kit appears to be the prior version from the current King of the Mississippi (20515) featured on the Artesania Latina’s website.

As I start this build, there are a few changes I am going to make. One of which is the color of the ship. While this kit was designed to have that “natural wood” color upon its completion, I am not a big fan as a personal choice. So, as I go through my build journey, you’re going to see my personal color scheme that I will be using. Secondly, I don’t like the metal cast windows and doors this kit comes with. Does not look natural to me so I am seriously considering scratch building those. Lastly, I am not too happy with the quality of the wood strips provided by AL. Especially the deck planking strips. There are other replacements I may consider. And those will be further explored during my build. So pull up a chair and enjoy!
View attachment 435118View attachment 435119View attachment 435120View attachment 435122


Here are a few images of where I am starting my build. As you can see there are some alignment mistakes from the previous owner. So some corrections will be required.
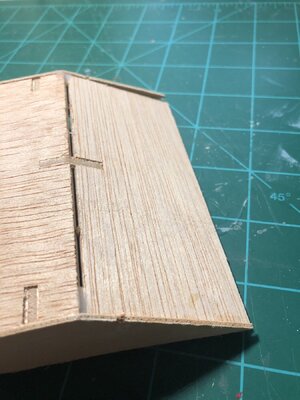
View attachment 435126View attachment 435127View attachment 435128
I now have glued together the side plank. I've also re-enforced the larger bulkhead with some extra wood pieces. Next is to sand down the edges to level out the hull and to make sure the first deck that sit on top fits straight.

View attachment 435364

In looking ahead, the kit provided some long strips of walnut for side and bottom hull planking. But since I will not be keeping the walnut color, I am considering just using the provided bass as the hull planks instead.

From the images I've seen from other build and the size of those provided boxwood deck plank strips, they seem way out of scale. I believe someone had a post regarding the deck planks generally being out of scale on many of the model ships. Very likely I will be replacing those strips with better quality and thinner strips. Any thoughts on this?

View attachment 435365View attachment 435366
Always nice to see another build of a paddle steamer. And your intention to customize different parts with scratch build part will give you great satisfaction.
Regards, Peter
 
Bonjour je vais suivre votre construction, qui me semble déjà très instructive !
Bonne continuation
Bonjour de Belgique
Tanguy
 
Bonjour je vais suivre votre construction, qui me semble déjà très instructive !
Bonne continuation
Bonjour de Belgique
Tanguy
Thank you for the follow. I've been to Belgium and love your country.

Bonjour
 
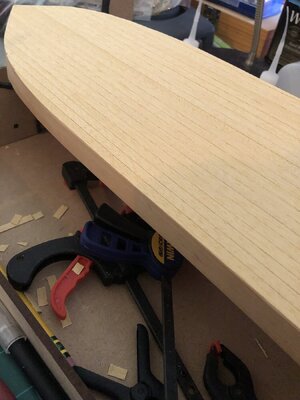
I've decided to use the kit's provided basswood for the bottom hull and side planking. For the upcoming deck planking I will be using basswood strips that are not included in the kit. So far I like the results.

IMG_1662.jpgIMG_1664.jpg

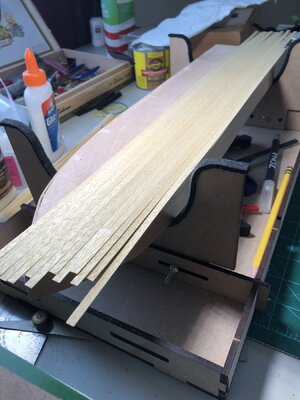
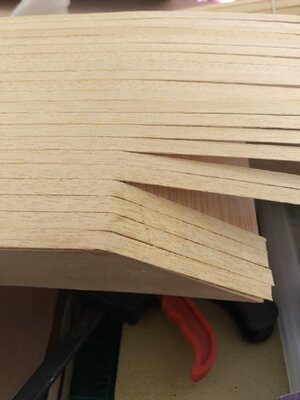
At the bottom stern I will be bending over the strips. Hopefully I don't end up with some snapped strips. I think this is a cleaner look rather then adding them individually.

IMG_1665.jpg
 
With all of the hull planking completed, I also finished up adding the false keel and shaping the sternpost. Needed to make sure the fit was as close as I can get it. I used my wireless Dremel with the band sander attachment. At low speeds I've sanded it down while consistently checking the sternpost fit. I think it came out great.

IMG_1670.jpgIMG_1671.jpgIMG_1669.jpgIMG_1674.jpg
 
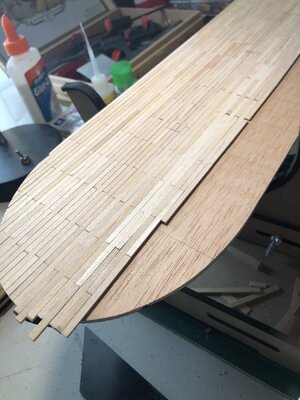
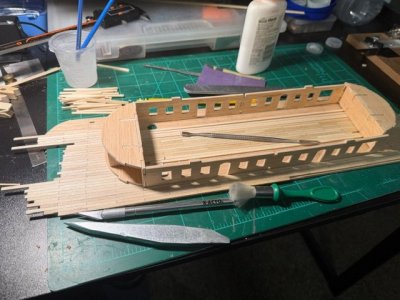
I am almost done with the deck planking. I decided to just go with the smaller scale wood strips since I think they would be more at scales. Because of the curvature of the deck some of the strips did not align to the same length. So you may see some gaps. But they will not be visible one I add in the the two housing structures. Once completed I will be adding in the simulated nails and it will be stained.

IMG_1685.jpg
 
Hello everyone.... after major life events, I am finally ready to complete what I have started. Looking forward to getting back into it.

Made some great progress. I was about to complete the deck planking and I am statisfied with the way it came out. In my opinion the smaller sized individual placks seems to be more to scale. Could be wrong but I like it. I will be using the same plank work on the upper decks which will be deviating away from the instructions.

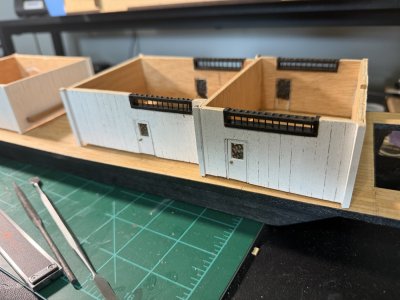
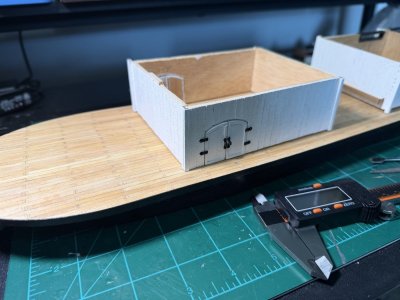
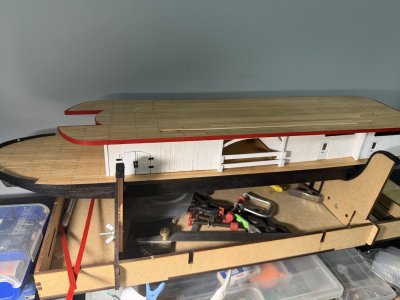
Alson completed the lower deck housing. I replaced the door rings that the instructions called for and replaced the with door knobs made from the small nail heads. I also had a few extra metal parts that I replaced the doors rings with. I think it worked out great. I also felt that the door in the insructions are out of scale and looked odd to me. So I improvised by cutting the supplied bass ones in half. Which I think are more to scale.

IMG_2509.jpegIMG_2508.jpegIMG_2510.jpeg
 
I've added the two bottom rudders and I think they came out even. One observation regarding the rudders, they seemed very thin in proportion to the hull. So I planked them both so they come out a little thicker.

IMG_2516.jpeg

IMG_2514.jpeg
 
Last edited:
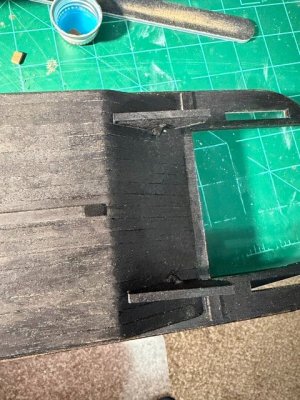
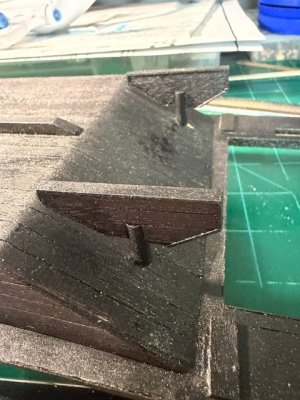
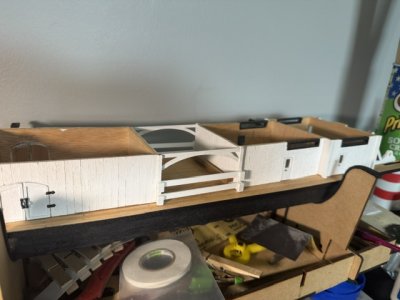
Completed the lower level housing. So far I am very satisfied with the way it's turning out. One I did notice with this older version of the model, is there were some missing pieces. Those support parts that help with the long stable bars seem to not be included based on what I am reading in the instructions. I had to scratch build them. I also noticed that this steam ship does not include any cleats. Based on some historial photos i've see there should be several at the edge of the ship. I will likely be adding those.

IMG_2527.jpeg
 
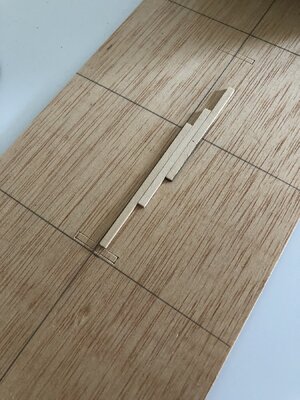
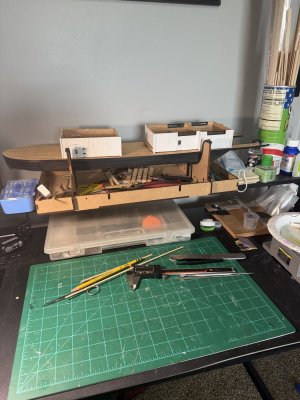
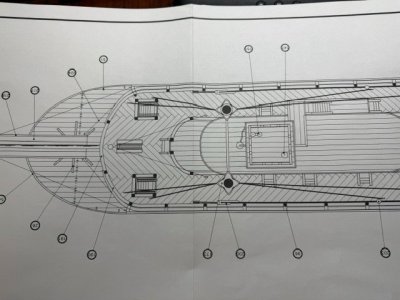
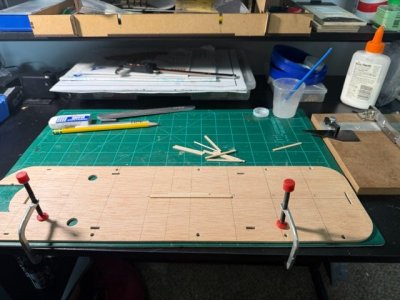
Now that the lower housing is completed, I've started on the second deck planking. My goal is to maintain the same pattern as the main deck as oppose to how it's shown criss crossed in the plan. I have not been able to see any other historical photos and examples of this type of deck planking pattern. I am finding that clamping down on the deck piece ensure it remains flat.

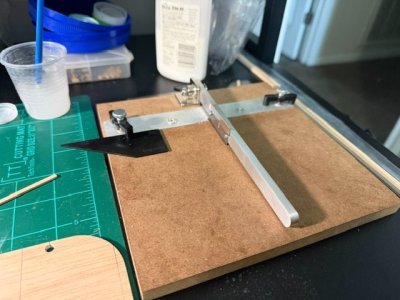
Cutting the individual planking deck strips with the chopper is a God sent. Makes cutting much easier and precise.

IMG_2526.jpeg

IMG_2524.jpeg

IMG_2525.jpeg
 
Back
Top