Follow along with the video below to see how to install our site as a web app on your home screen.
Note: This feature may not be available in some browsers.
Win a Free Custom Engraved Brass Coin!!!
As a way to introduce our brass coins to the community, we will raffle off a free coin during the month
of August. Follow link ABOVE for instructions for entering.
Expensive day yesterday. I went to print a template for laying out gun ports and my printer was broken. Went out to the garage to rough-sand a frame replacement and my spindle sander was broken (in this case I got what I paid for). Sigh...
Once again there is very little progress to report - which doesn't mean I haven't been spending time on my ship. Indeed, there has been a lot of head-scratching in terms of figuring out how to do things - and a lot of brain power spent on determining how I want the final ship to be presented (what will be covered with planking and what will be exposed).
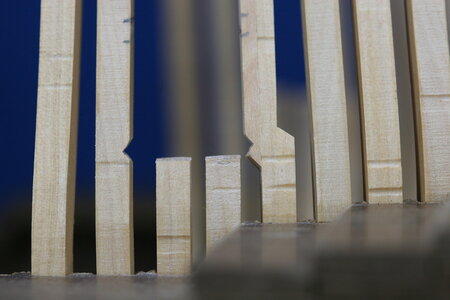
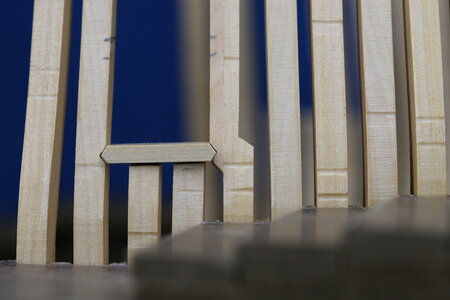
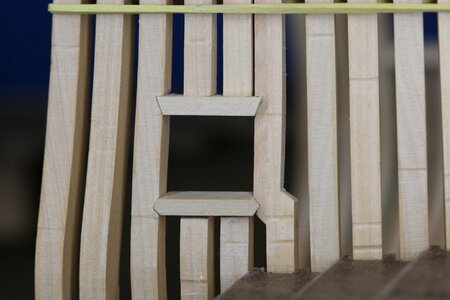
In the 'figuring out' department was how to cut the notches for the upper and lower gunport sills. After some trial runs and experimentation, I ended up using an XActo knife and files - but I can't help but wonder if in the future it would be better to make these notches off the jig using chisels (that is, cut the notches before the frames are installed). I think chisels would give me a more precise notch.
No, the upper sill is not upside down...apparently, it's supposed to be this way despite what intuition might suggest.
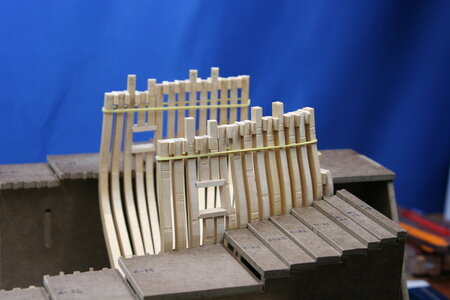
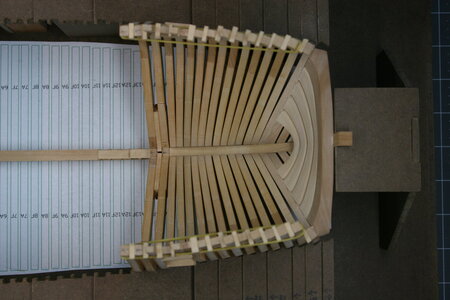
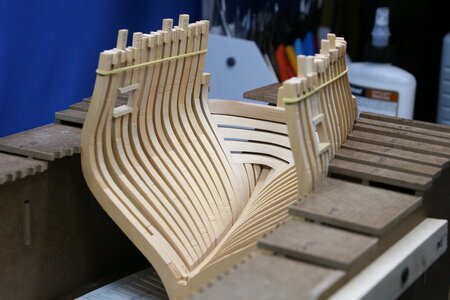
With these gunport sills in place it was now time to do some preliminary fairing - but the slight forward tipping of the cant frames was like a pea under my mattress (translation: driving me crazy) so I added two full frames and everything is now perfectly vertical.
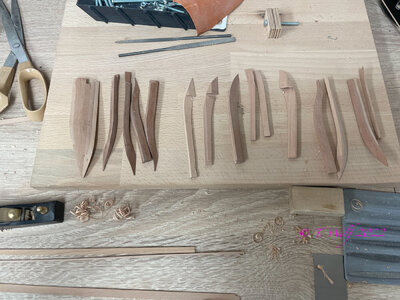
As you can see in the images that follow I have decided to add infill timbers between the frames at the floor of the ship (not a part of the kit). Right now the plan is to plank half of the ship, but I still chose to include the filling timbers on both sides because I don't know which side will show the frames - and I was also concerned about keeping the keel straight. It's not that much more work to cut out two pieces and it will give me some flexibility going forward if I end up changing my mind about planking half the hull.
Thanks for visiting!
By the way, if for some reason you haven't seen the finish photos of the Bluenose model created by Peter Voogt you're missing out. Do yourself a favor and check these out:
Rivets: There are folks who make and sell rivets on decal film for the armor/military, railroad, and aeronautical modeling hobbies. The products essentially are 3D-printed pips on clear decal film and they come in a myriad of rivet patterns appropriate to the intended prototype and scale...
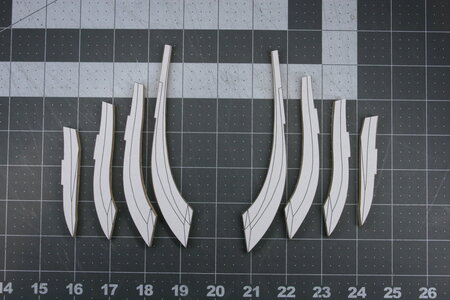
Thanks Daniel. Yes, I just had to eyeball them while simultaneously using this opportunity to partially correct the tipping (not fully resolved until the second full frame). To my eye it all turned out fine (though everything is still in the building jig waiting for glue to dry).
For the record, I am not gifted in the area of waiting for glue to dry.
Whatssamatter Paul? You have trouble seeing/ thinking/carving in 4 dimensions? I have a feeling they are going to be perfect when you are done, might take a try or three but you will nail them!
Once again there is very little progress to report - which doesn't mean I haven't been spending time on my ship. Indeed, there has been a lot of head-scratching in terms of figuring out how to do things - and a lot of brain power spent on determining how I want the final ship to be presented (what will be covered with planking and what will be exposed).
In the 'figuring out' department was how to cut the notches for the upper and lower gunport sills. After some trial runs and experimentation, I ended up using an XActo knife and files - but I can't help but wonder if in the future it would be better to make these notches off the jig using chisels (that is, cut the notches before the frames are installed). I think chisels would give me a more precise notch.
With these gunport sills in place it was now time to do some preliminary fairing - but the slight forward tipping of the cant frames was like a pea under my mattress (translation: driving me crazy) so I added two full frames and everything is now perfectly vertical.
As you can see in the images that follow I have decided to add infill timbers between the frames at the floor of the ship (not a part of the kit). Right now the plan is to plank half of the ship, but I still chose to include the filling timbers on both sides because I don't know which side will show the frames - and I was also concerned about keeping the keel straight. It's not that much more work to cut out two pieces and it will give me some flexibility going forward if I end up changing my mind about planking half the hull.
By the way, if for some reason you haven't seen the finish photos of the Bluenose model created by Peter Voogt you're missing out. Do yourself a favor and check these out:
Rivets: There are folks who make and sell rivets on decal film for the armor/military, railroad, and aeronautical modeling hobbies. The products essentially are 3D-printed pips on clear decal film and they come in a myriad of rivet patterns appropriate to the intended prototype and scale...
Hi Paul. To do ‘some head-scratching’ is always good in such a complex build. And it’s good to see the frames are line out well. It took some time, but this looks like a very solid base.
And what a privilege that you set the link in your build-log to my final photoshoot. Thanks very much for that!
Regards, Peter