• LUCZORAMA SHIPWRECK SCAVENGER HUNT GIVEAWAY. 4 Weeks of Fun • 1 Legendary Prize ((OcCre’s Fram Ship)) • Global Crew Welcome!
    **VIEW THREAD HERE**

Kinkakuji Japanese Temple by Woody Joe

Joined
Apr 20, 2020
Messages
313
Points
278

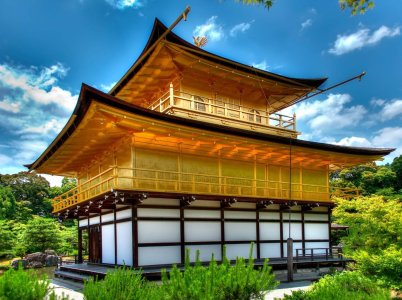
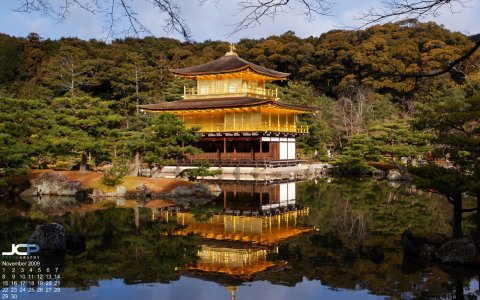
Hello friends. After over two years away from the workshop, I finally decided to return with my third project. This time, I will temporarily veer away from ship building, and instead try my hand at building a Japanese temple called Kinkakuji from Woody Joe in Japan. The temple is also called the Golden Pavilion because the structure's top two floors are gilded in gold leaf.

I realize that this project is a departure from the ship building focus of our group, but nevertheless, may I please request permission from Admin to post my build log?

Reggie
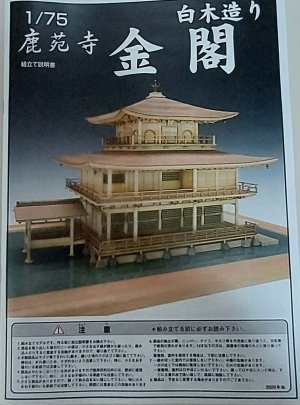
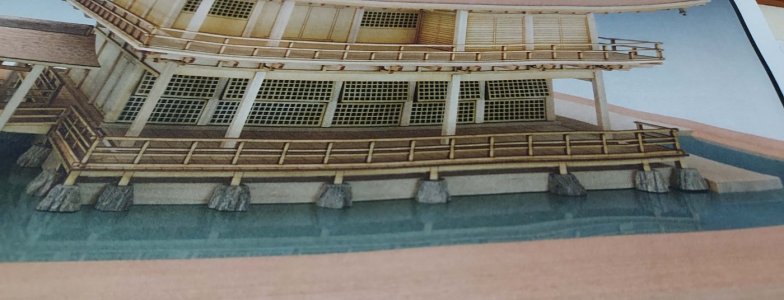
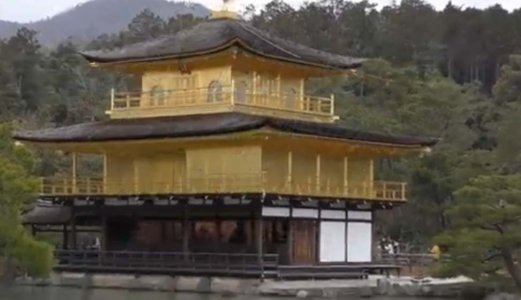
20250214_095857.jpgkinkakuji-free-desktop-calendar-1920x1200.jpg
 
You know, I have often thought I should learn to lay gold leaf so I could do some of the figureheads and trim properly. This one it almost seems like it should come with a couple dozen sheets of gold leaf by default.
 
I have had this kit in my stash for 30 years with only I minor amount of progress. I’ll be following your progress with great interest.

I have tried working with gold leaf and found that it’s actually not terribly difficult. Of course I’m not using real gold, but a product that looks and acts just like the real thing.
 
You know, I have often thought I should learn to lay gold leaf so I could do some of the figureheads and trim properly. This one it almost seems like it should come with a couple dozen sheets of gold leaf by default.
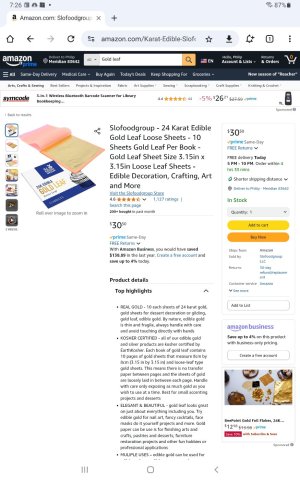
@rtwpsom2 ...I think there's 2 versions of this kit, one with and one without the gold leaf.. my kit doesn't have gold leaf as part of the kit but I was able to buy some really reasonably priced gold leaf(imitation) from online. I have about 100 sheets, so I'll have a chance to practice by trial and error beforehand. Thanks for the comment.
 
I have had this kit in my stash for 30 years with only I minor amount of progress. I’ll be following your progress with great interest.

I have tried working with gold leaf and found that it’s actually not terribly difficult. Of course I’m not using real gold, but a product that looks and acts just like the real thing.
@Namabiiru . Thank you. This will be my first time working with gold leaf, and I'm sure I'll have a lot of learnings along the way. There seems to be a lot of videos on youtube though, so hopefully I won't screw it up too much.
 
Hello again friends. My name is Reggie. I am still relatively a newbie. I've only built two ships to date... the first one was the Black Pearl https://shipsofscale.com/sosforums/...en-edition-newbie-build-completed-build.4995/ and the 2nd one was the Royal Caroline https://shipsofscale.com/sosforums/threads/royal-caroline-1-50-yuanqing-zhl-completed-build.6631/ ... I built both of these ships as legacy gifts for my two children, praying that someday, long after I'm gone, they will have something to remember me by.

For my 3rd build, I wanted to do something elegant that I could give my wife as a birthday gift this coming May. I was inspired by the beautifully done Japanese temple made by @Gijsbert whose build log I happened to see in this forum.

So, I traced back the supplier for the Japanese temple kits and found that the Woody Joe kits can be purchased online from zootoyz.jp

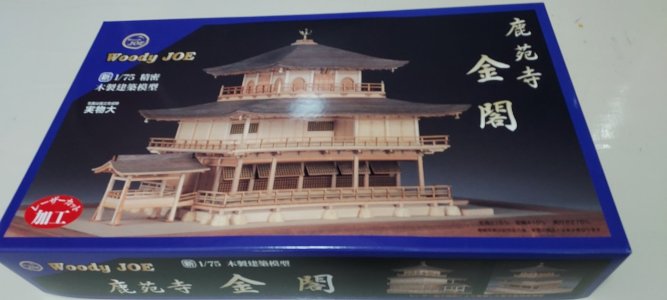
The kit that I chose is the 1:75 scale Kinkakuji temple. The temple's official name is Rokuon-ji temple, but is also more popularly called Kinkakuji or Golden Pavilion, whose name is derived from the gold leaf gilding of its entire 2nd and 3rd levels.

A brief history of the temple can be found at.... www.shokoku-ji.jp/kinkakuji/about/


As mentioned above, I bought the kit online from zootoyz.jp. I paid 32,000yen (about US$210). I added a few other diorama materials (trees, ground cover, water surface sheet) for a few dollars more. All in all, (excluding duties and taxes), it cost me about $260 with shipping to the Philippines.

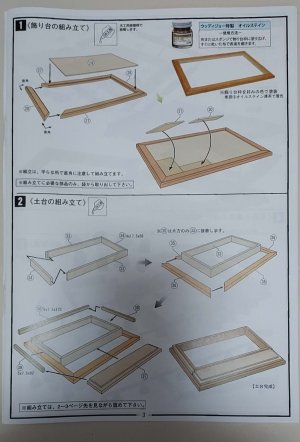
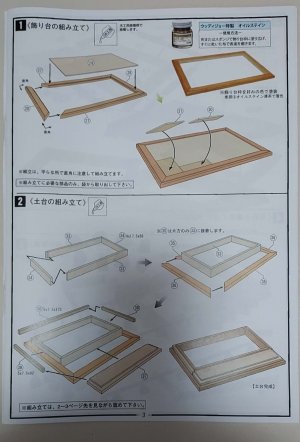
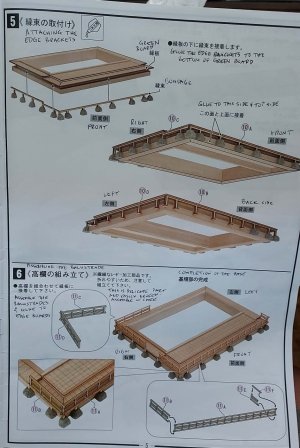
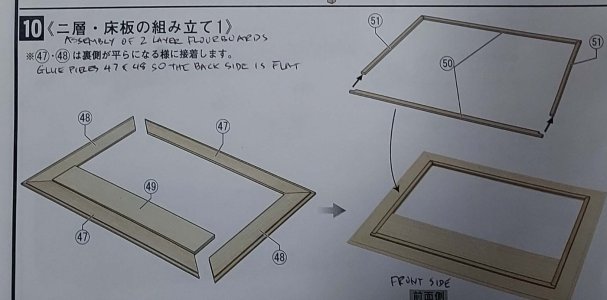
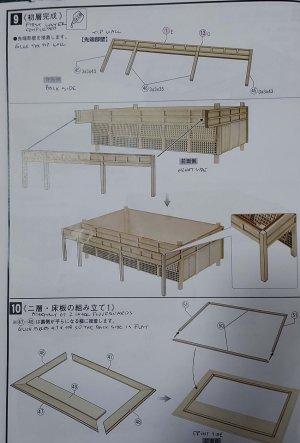
The kit came with Japanese instructions, but was easily understandable using a translate app. It has very clear illustrations and instructions.

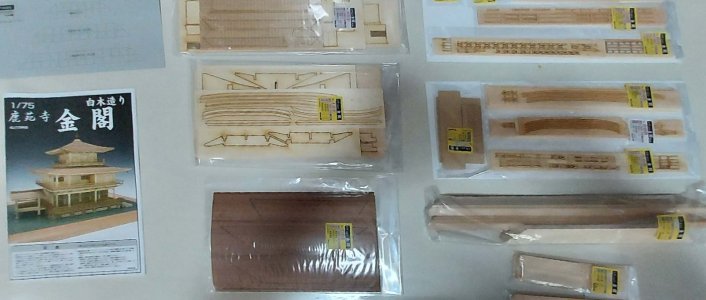
PSX_20250216_152808.jpg
PSX_20250216_153040.jpg

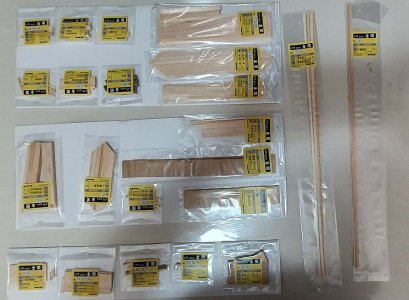
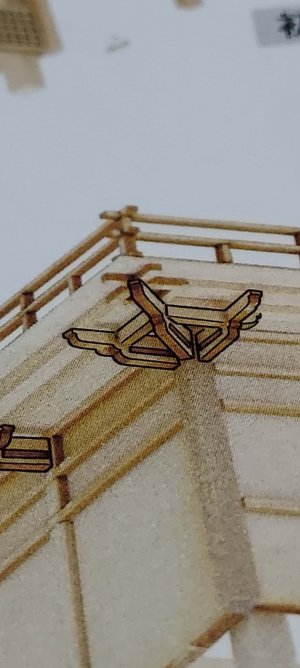
The pieces themselves came neatly packed in individual plastic packets and clearly labeled with part numbers.

PSX_20250216_151704.jpg

PSX_20250216_152102.jpg

After making sure that the pieces are complete, my next task was to review the instructions and translate the Japanese to English using a translate

Now, I think I'm ready to dive in.

Till next time... thanks for dropping by.
 
Onwards to a new adventure. Immediately, I am in awe of the quality of this kit. Everything is neatly organized. The quality of the wood and the laser cuts are first rate. When I first opened the box, the overall impression is that of a kit that is well built and well executed.

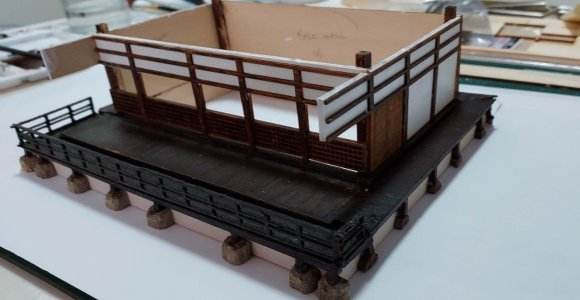
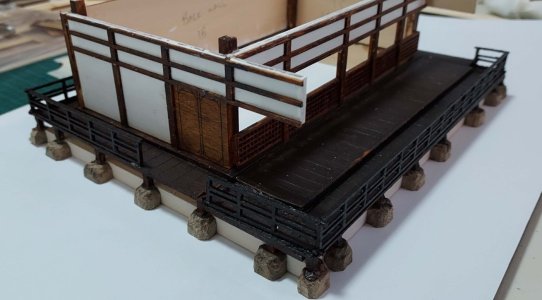
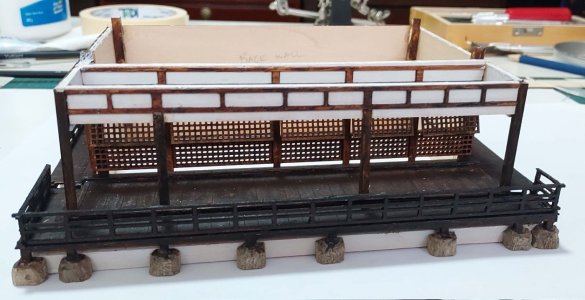
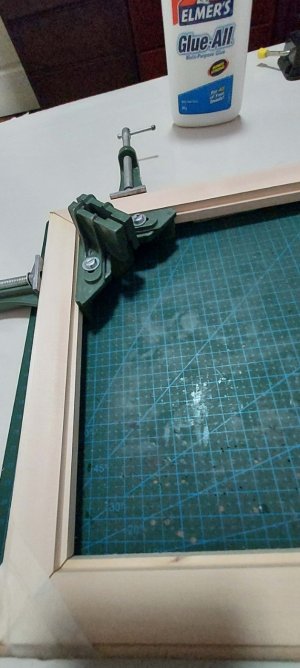
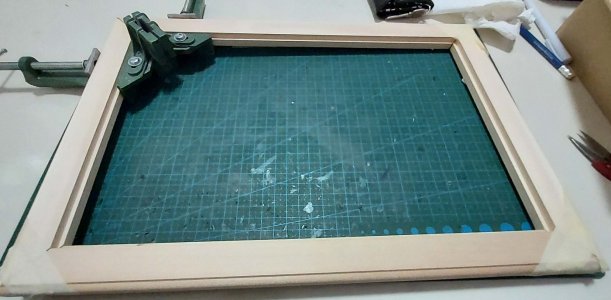
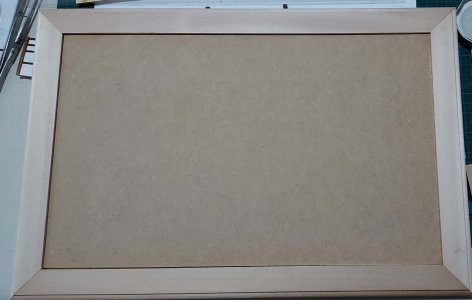
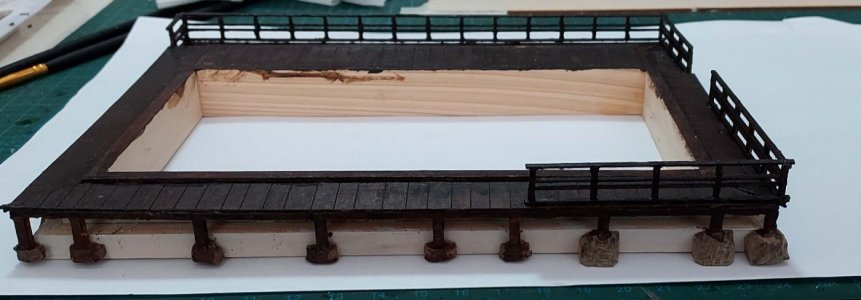
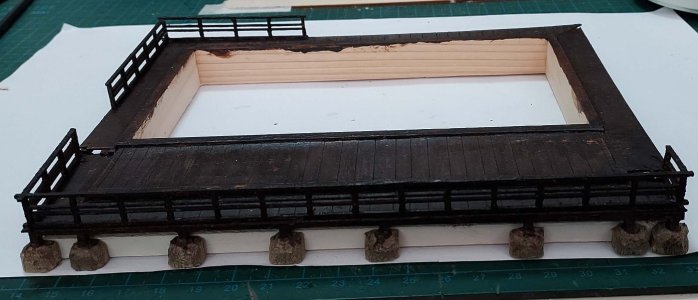
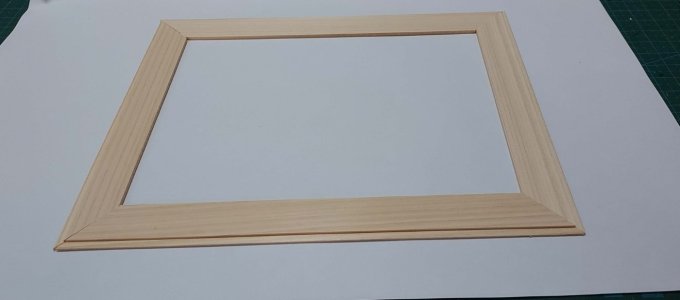
I started my build by assembling the display frame. The temple will rest on top of this platform.
PSX_20250220_190135.jpg

PSX_20250220_181042.jpg

PSX_20250220_182254.jpgPSX_20250220_192008.jpg

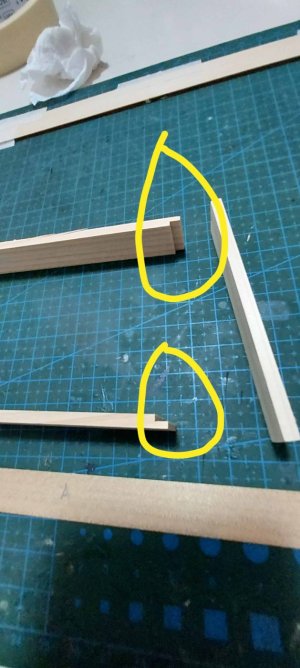
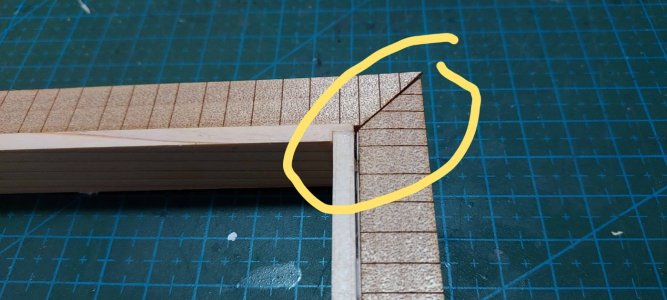
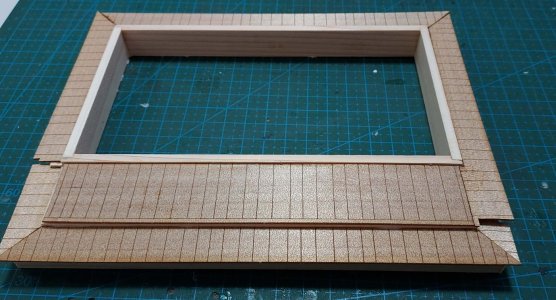
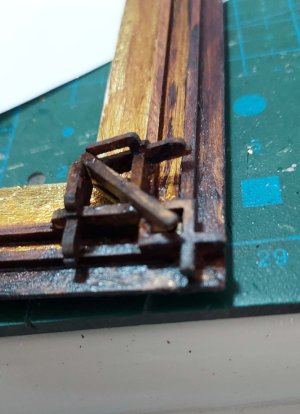
Next was building the foundation for the first level. I knew right away that I would love this kit... notice the attention to detail with something as mundane as a frame.... others would have just put 2 strips of wood together, but this manufacturer put in a rabbet joint! And notice how the lines align with each other at the corner!
PSX_20250220_182145.jpgPSX_20250220_190316.jpgPSX_20250220_192120.jpg

This piece looks large in the picture above, but in reality it's only about 7 inches x 6 inches.

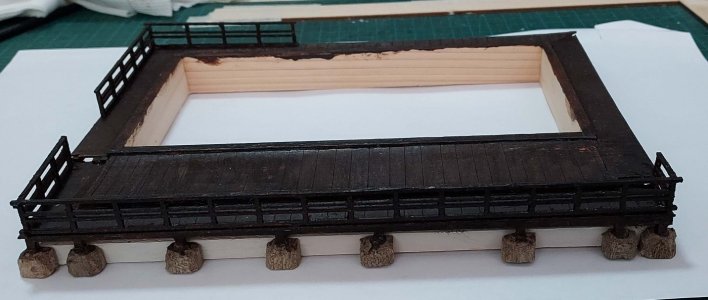
The kit has no provision for painting or finishing. So, referring to images on the internet of the actual temple, I mixed some acrilyc burnt siena and a touch of black paint to render the first level of the temple.
PSX_20250220_192413.jpg
PSX_20250220_193229.jpg

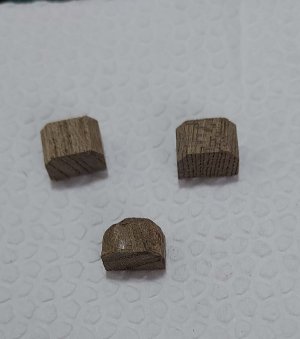
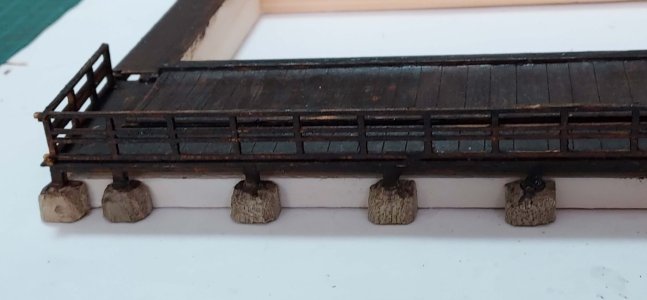
The platform rests on a foundation of large boulders. These are simulated using pieces of grayish wood pieces that are then shaped using my Dremel and some dental tips.
PSX_20250220_192511.jpg
PSX_20250220_192938.jpg

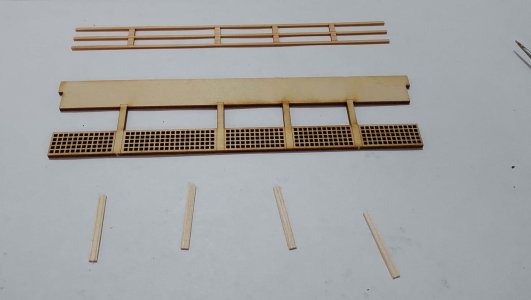
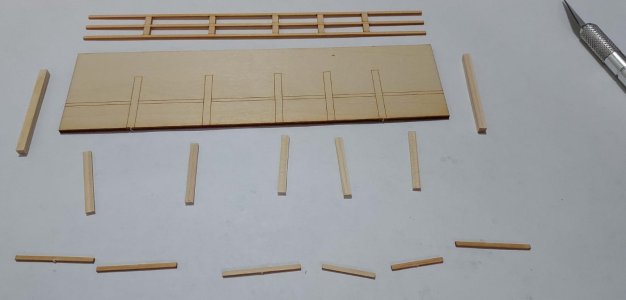
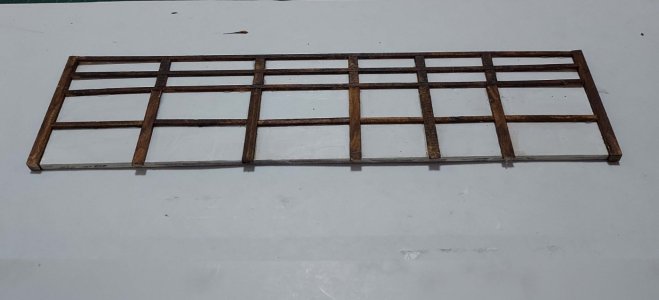
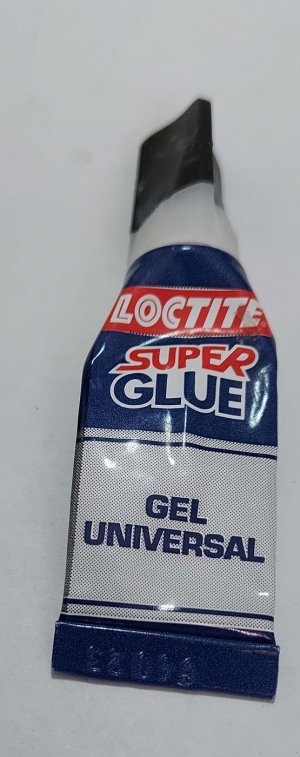
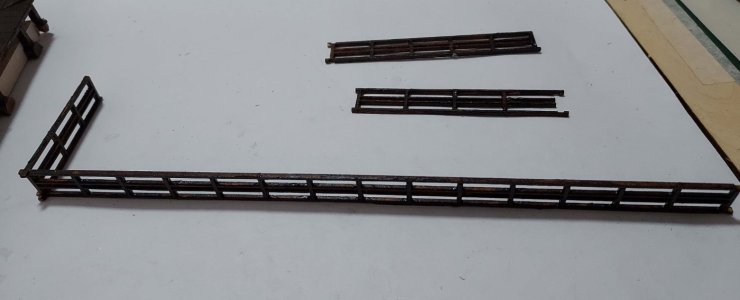
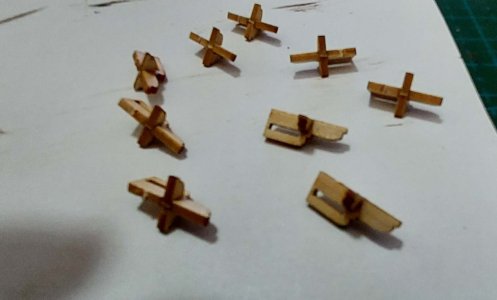
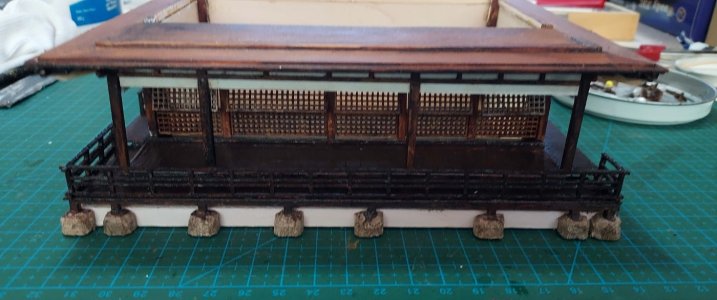
Working with the railings was a bit challenging, because the pieces are so tiny and delicate, as thin as 1mm in some areas. Expectedly, I broke a few pieces, but nothing that a bit of glue could not fix. By the way, especially for the smaller pieces, I am using gel CA glue in conjunction with basic Elmer's glue. I find that white glue does not dry fast enough for the tiny pieces to be able to set properly without clamping.

PSX_20250220_211246.jpg

PSX_20250220_192704.jpgPSX_20250220_192756.jpgPSX_20250220_193052.jpg
PSX_20250220_212025.jpg
This completes the first level foundation for the temple. So far, it hasn't been too difficult to do using the clearly illustrated instructions.

Thanks for stopping by.

PSX_20250220_192841.jpg
 
Assembling the First Level structure:

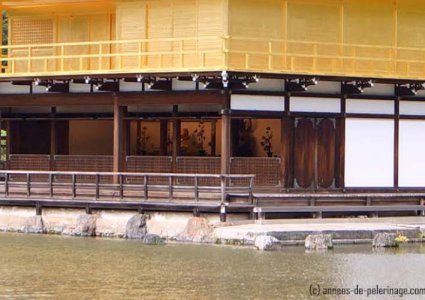
The first level of the temple is called Hossui-in, built in the Japanese architectural style called shinden-zukiri, used for noble residences and palaces during the Heian period.

Because the kit didn't have provisions or instructions for painting, I referred to images on the net. It appears the first level is finished in a dark wood tone, with walls painted white. Initially, I wanted to finish the wood tones with tung oil, but decided against it for fear that I might have problems with gluing. Instead for the wood tones, I mixed some burnt siena acrilyc with just a touch of black.
PSX_20250225_205936.jpg

PSX_20250225_205807.jpg

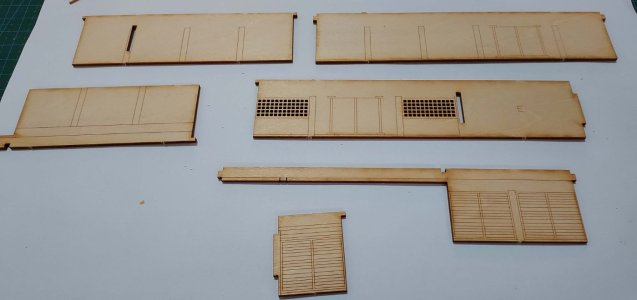
This phase of the build consists of assembling the front, rear and side walls.
As I start cutting the various parts, I can't help but repeatedly rave about the quality of this kit. The pieces are all cut precisely and fit perfectly
PSX_20250225_190843.jpg


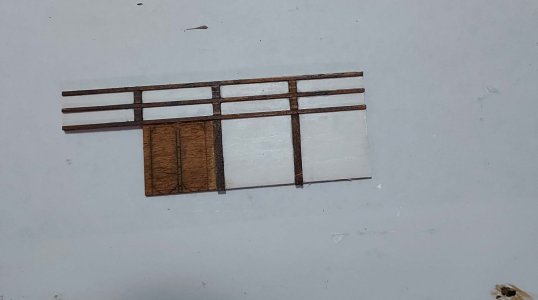
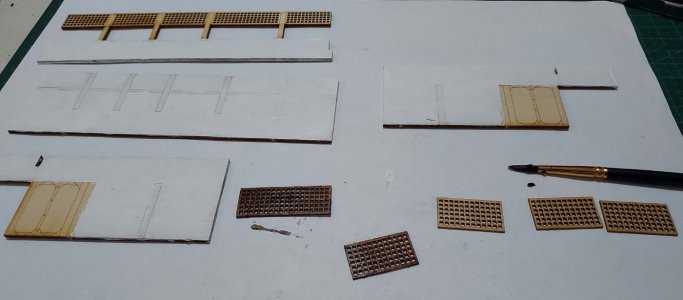
The front wall pieces:
PSX_20250225_185354.jpg

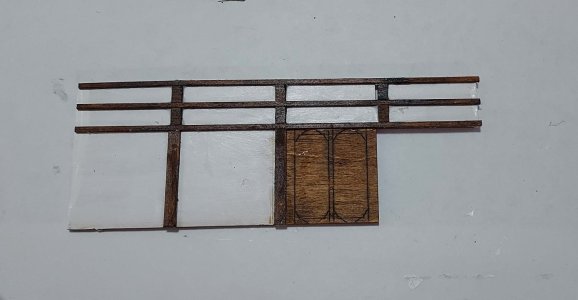
The back wall:
PSX_20250225_185155.jpg

The side walls:
PSX_20250225_202121.jpg

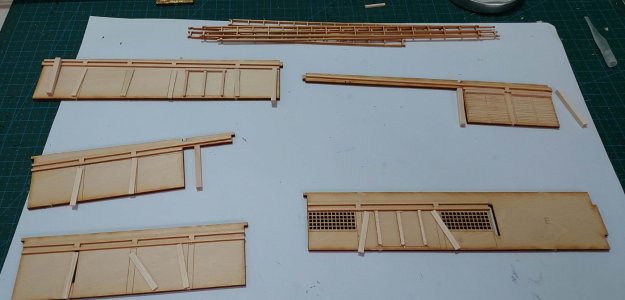
You'll notice from the above pictures that the kit really goes the extra step to achieve a much better look. Whereas other kit designers may be content with simply printing the various design elements, this kit provides glue-on pieces to give a 3d effect.

Before gluing the design pieces, I painted them first.
PSX_20250225_185548.jpg

These are the assembled wall pieces:

Front piece:
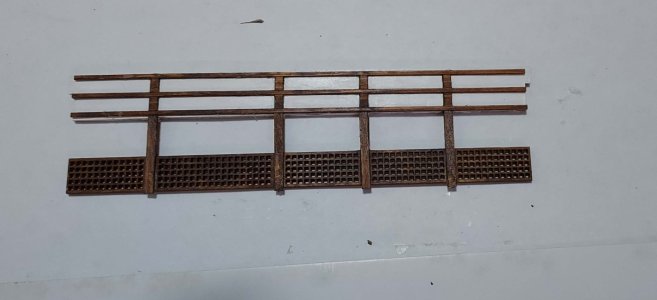
PSX_20250225_185721.jpg

Back piece:
PSX_20250225_185641.jpg

Right and left walls:
PSX_20250225_185913.jpg
PSX_20250225_185828.jpg

I then start gluing the walls together. The walls sit squarely on top of the foundation, so it makes my job easier to ensure the the corners are all squared at right angles.

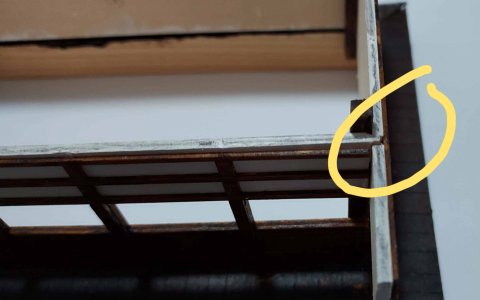
But I was intrigued by this little notch on the side walls. At first, I thought maybe it was just an error in cutting or gluing.
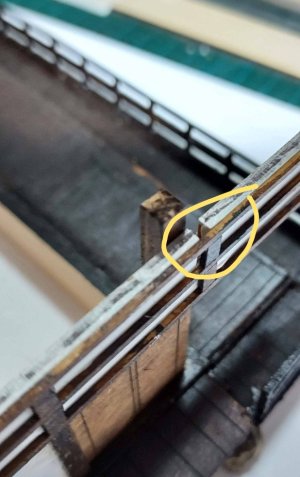
PSX_20250225_203743.jpg

But, as I started putting the walls together, I realized that this notch is there to receive a small tongue extension on the adjoining wall, to make the bond stronger. Leave it to the Japanese designers to incorporate this thoughtful element.
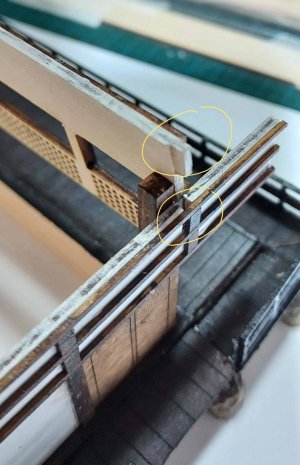
PSX_20250225_193143.jpg
PSX_20250225_193327.jpg

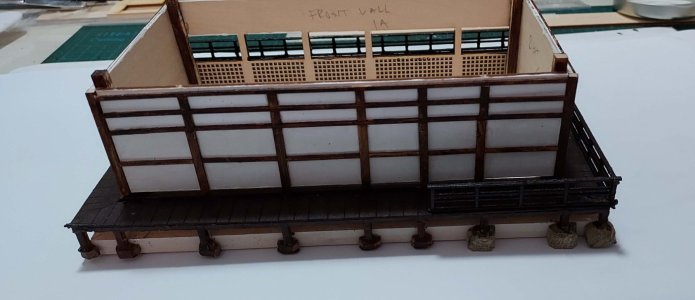
The walls are glued together:
Front:
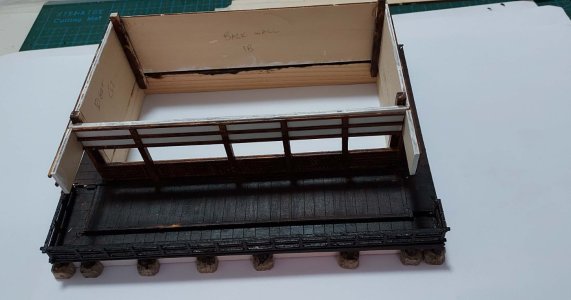
PSX_20250225_190251.jpg

Back:
PSX_20250225_190447.jpg

Side:
PSX_20250225_190358.jpg
PSX_20250225_190425.jpg

The grated window panels are glued at an angle to simulate being partly ajar:
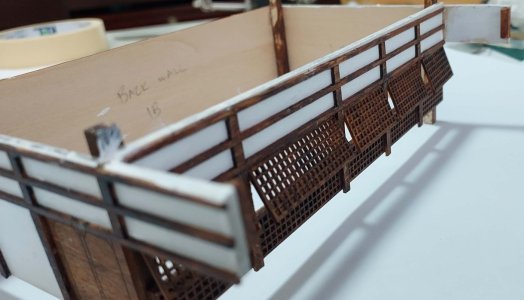
PSX_20250225_190559.jpg

And finally, the front patio extension piece is attached:
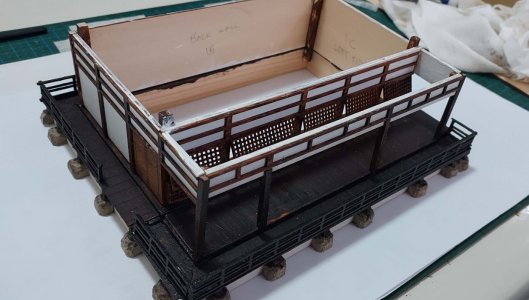
PSX_20250225_190711.jpg

PSX_20250225_190743.jpg

That's it for today, friends. Till next time.
 
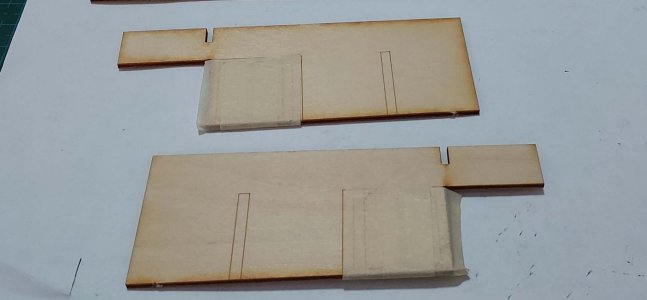
Assembling the 2nd level floorboards:

The 2nd level floorboard consists of a frame-like structure that sits right on top of the first level. Most of the work involves installing the tiny rafter pieces that sit on the underside of the structure.
PSX_20250225_190843.jpg
PSX_20250317_201926.jpgPSX_20250317_202301.jpg

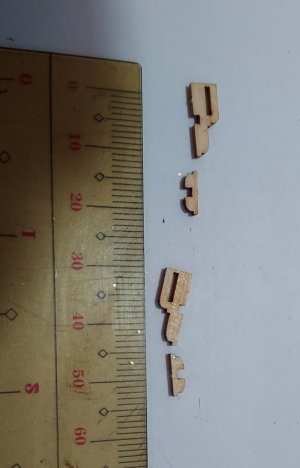
The pieces are real tiny, some as small as 10mm.
PSX_20250317_202339.jpgPSX_20250317_202426.jpgPSX_20250317_203405.jpg

After gluing all the rafters on the underside, the floorboard was painted in dark wood tone.
PSX_20250317_203445.jpg


You can barely see them in this shot, but the underside of the floorboard has rafters running all the way around it.
PSX_20250317_203608.jpg


Building the 2nd floor structure:

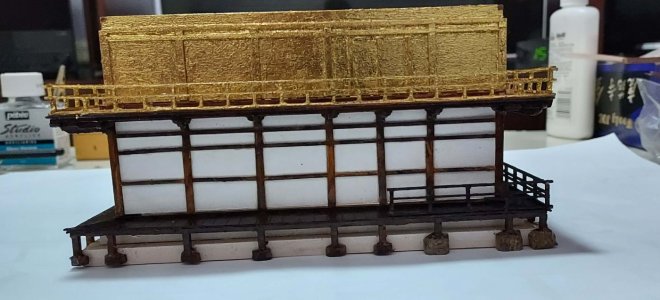
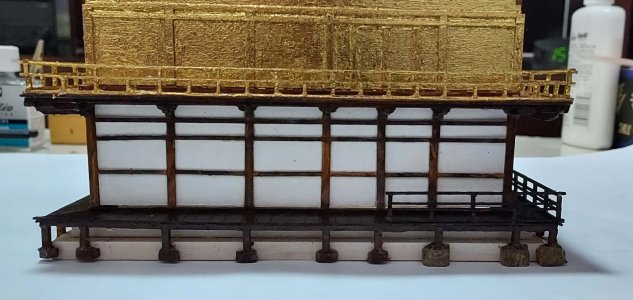
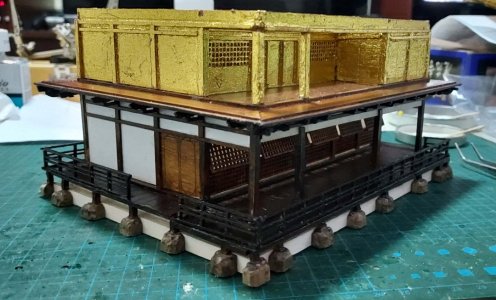
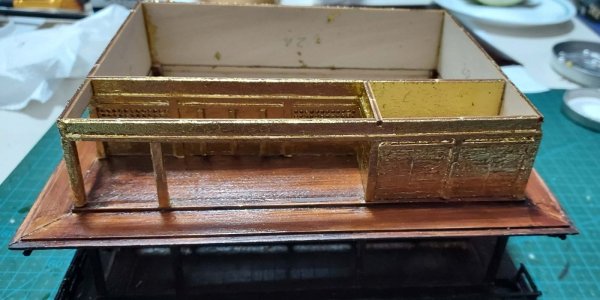
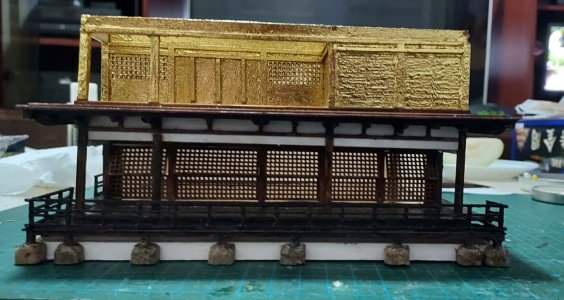
The 2nd floor of the temple is in the style popular among samurai houses during the Kamakura period. It is adorned in gold leaf.
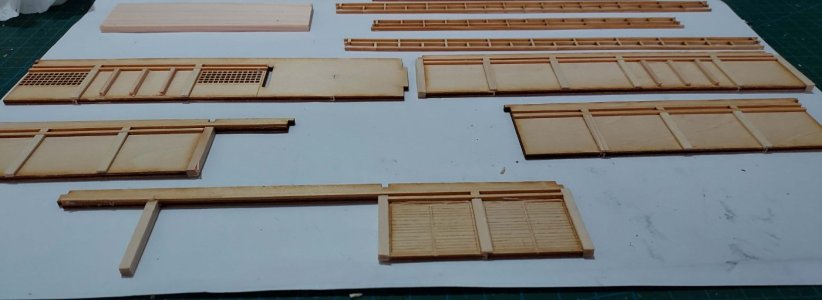
The panels are assembled and the decorative elements are glued on. As with the other pieces, these parts are all precisely cut and fit perfectly.

PSX_20250317_202537.jpgPSX_20250317_203000.jpgPSX_20250317_203031.jpg

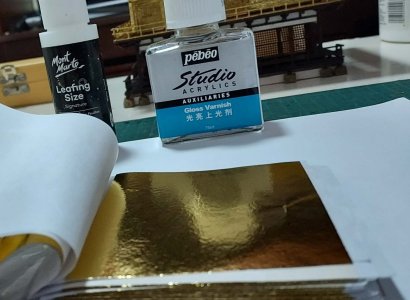
These panels are to be covered in gold leaf, a process where I have absolute zero skills and experience. From youtube, I tried to do a crash course. I bought imitation gold leaf which cost me $2.00 for 100 sheets. Also bought gilding adhesive and acrilyc varnish for around $8.00.
PSX_20250317_210308.jpg

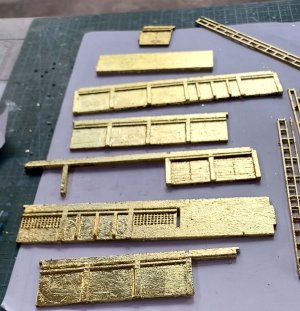
Below is my first attempt at applying gold leaf. Still a bit rough and clumsy in places, but it's the best I can do with my limited skills. I first applied the adhesive to the various panels. Let it sit for about 30 minutes until it becomes tacky...then applied the gold leaf very carefully. The leaf is very thin so naturally I ripped many of them in the process of applying. But, luckily, it is also very forgiving, for I merely applied more leaf in areas that were affected. The patches are hardly noticeable. By the way, I used a very soft brush to gently brush the leaf down into the wood. After allowing for some time to dry, I once again brushed the surface very gently to wipe away excess gold leaf.

PSX_20250317_203143.jpg

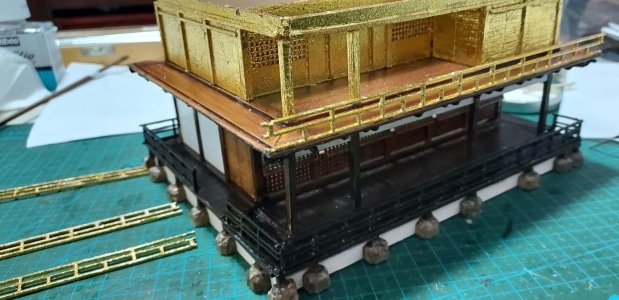
The panels are assembled and glued together.
PSX_20250317_205959.jpgPSX_20250317_205928.jpgPSX_20250317_210105.jpgPSX_20250317_205847.jpgPSX_20250317_205819.jpgPSX_20250317_205736.jpg

That's it for today, friends. Thanks for visiting.
 
Really coming together nicely. I’ve had the same kit in my stash for about 30 years with only the first floor partially assembled. You’re inspiring me to get back at it soon.

I’ve done a little bit with gold leaf on some other projects, specifically with the intent of using it for this one day. I’ve found I can use a plastic spoon or other rounded object to work the wrinkles down to being nearly invisible at a distance. Just have to be careful not to get too aggressive.
 
Gold leaf is so thin that surface preparation is as important - perhaps even more important- than it is with paint. That is the reason that 'gesso' a very old version of 'Mr. Surfacer' is used by antique restorers and picture frame makers to create a smooth surface for the leaf.
 
Back
Top