La Nina 1:65 - Amati

Joined
Dec 19, 2019
Messages
27
Points
78

Location
NJ, USA
Hi All,

I would like to show you my new build I have very recently started.
My first build was the Swift 1805 by Artesania Latina, and I decided to try a different manufacturer as I wasn't too thrilled with the instructions that were provided on my first build and i struggled with quite a few stages and ending up rushing the finish.

With that being said I am building my new La Nina by Amati 1:65 with intention. Taking my time and not rushing through or into any steps if i am not positive of the procedure.

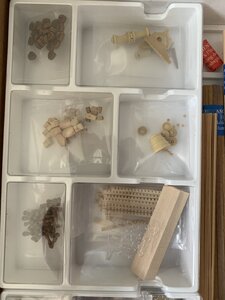
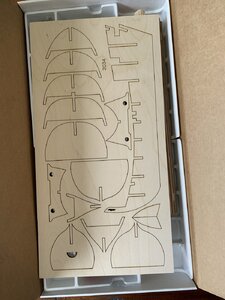
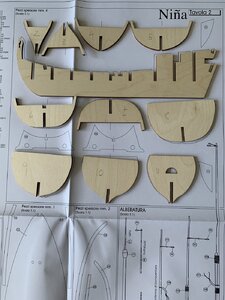
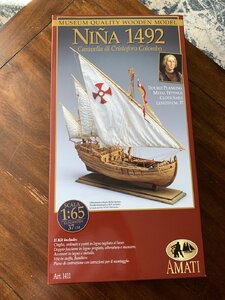
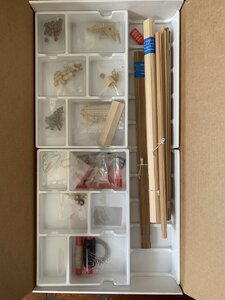
Here's the kit and how it arrived:
IMG_4188.jpg
IMG_4189.jpg

IMG_4190.jpg

IMG_4191.jpg
 
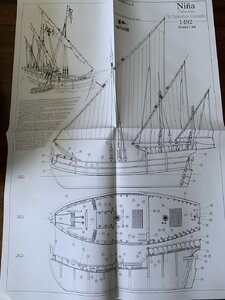
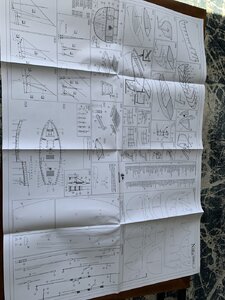
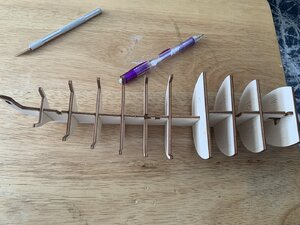
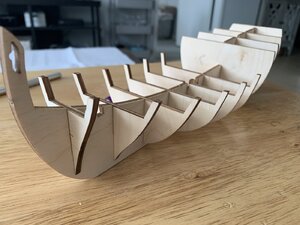
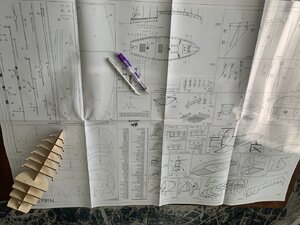
Here are some more pictures and some pictures of the plans:
IMG_4192.jpg

IMG_4193.jpg

IMG_4194.jpg


Included there is also a smaller booklet with pictures and steps in english. Also, there is a master sheet of all parts & steps instructions written out that correspond to the figures on the large plans.

Pretty neat that the plans are scaled to the model - makes it quite useful and helpful to overlay the parts, etc.

-Matt
 
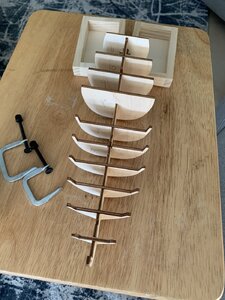
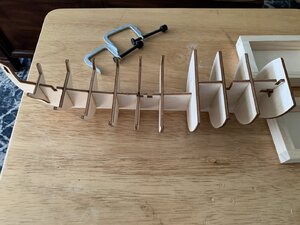
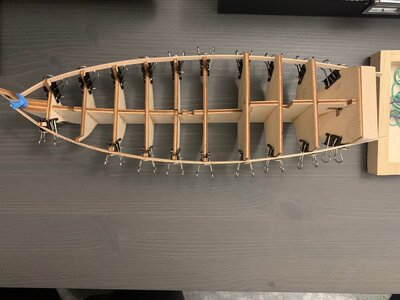
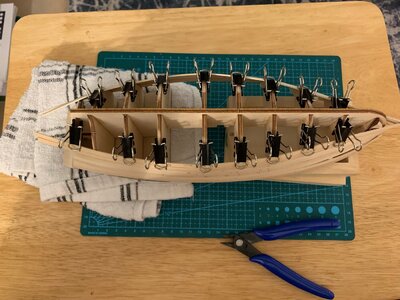
So off we went with the keel and the bulkheads:

During the dry-fit, the parts were not too tight fitting and were actually pretty loose with the amount of angle you could apply to the individual bulkheads

IMG_4195.jpg


IMG_4196.jpg


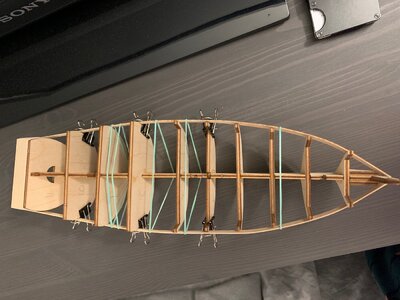
being that i was wary of the bulkhead "looseness", having them 90 deg. and parallel needed attention when glueing.

IMG_4197.jpg

IMG_4198.jpg

IMG_4199.jpg


-Matt
 
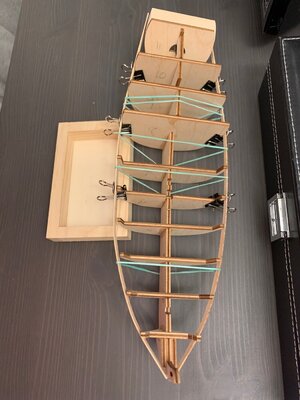
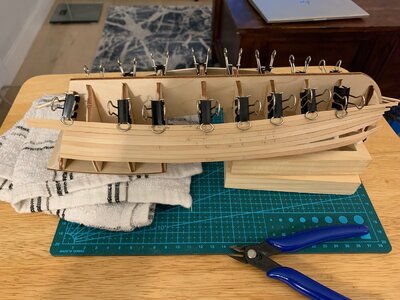
In this next picture, i just staged the clamps and the two wooden blocks behind the ship to show what I used to ensure 90 degree and parallelism.
As i advanced #1-10 on the bulkheads, i would square the wooden blocks against the keel at the same time on each side.

it worked ok, but not great. the blocks may be a little too big for future use.

IMG_4200.jpg

IMG_4201.jpg

after #1-11 were glued on, i let sit and seal for 24 hours (i may have cheated and waited 18 hours or so)
-Matt
 
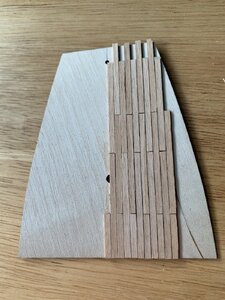
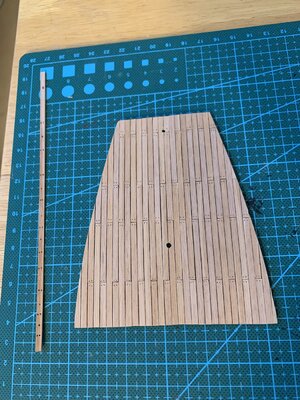
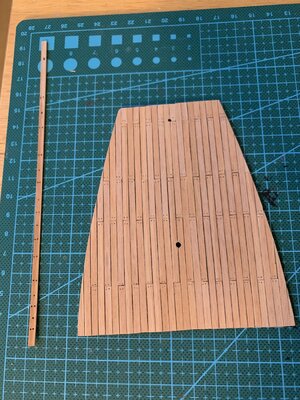
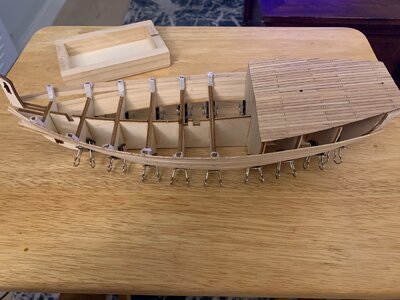
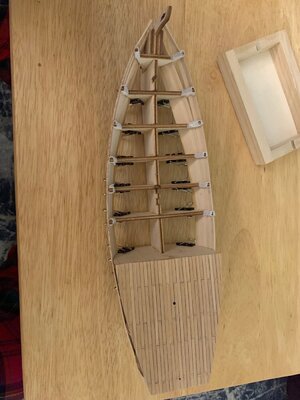
while some parts still were glueing and before i standing fairing the bulkheads, i started to plan out the deck planking for the quarterdeck.
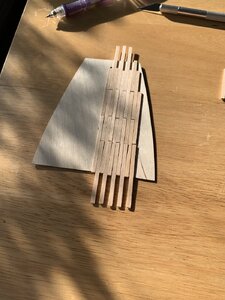
i'm going to attempt to do a 50-50 design and did a rough set up of how it would look.

i like it and the "full length" planks don't seem to be too small or too large, which is good.
the pictures are before any simulated caulking or anything, just placement for sizing and an idea.

the size for the full length planks is 52mm which would simulate, on this scale, about an 11 foot plank.
I know that's a weird number to land on as i believe they were usually 9 or 12ft for smaller boats and 16 or 25 for larger ones.


IMG_4205.jpg

IMG_4206.jpg

IMG_4207.jpg

-Matt
 
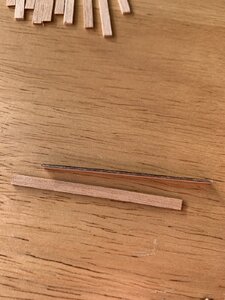
at this point, i started to experiment with what some simulated caulking would look like.

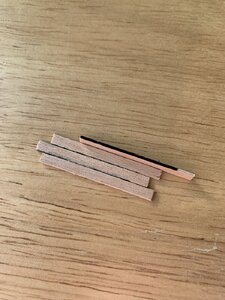
i first tried felt tip pen, but it bled too much as can be seen below:
the application is quite a bit easier than other methods, so i figured i'd give it a test, but ended up bleeding.

IMG_4209.jpg

IMG_4208.jpg

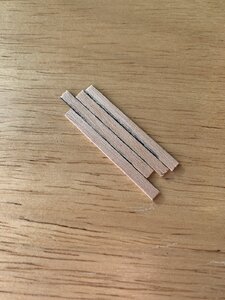
i then tried using a mechanical pencil, as other logs described, and i think this probably is the best method. no bleeding, but just takes a little more time.
here's the test for the pencil:

IMG_4210.jpg

IMG_4211.jpg

at this point, i have stopped and need some advice.

What is the best way to start the deck planking on this quarterdeck?
i drew a center line from the top to the bottom so i have the deck split But do i start by placing an edge of the plank on that line, or actually center a plank on that line?

another thing to keep in mind is that there are two holes that need to be drilled and cutout through the planking so i'm not sure whether doing it one way or another will effect how easily that is achieved.

any input would be great,

thanks!
-matt
 
thanks Don.

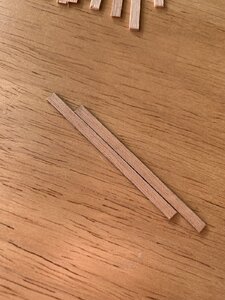
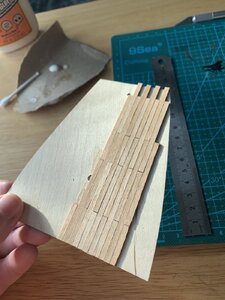
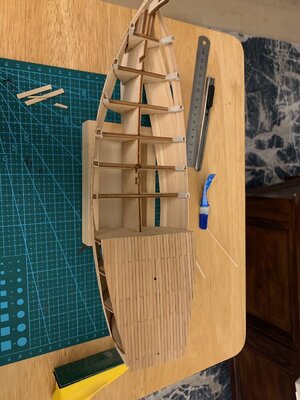
today, i started the quarterdeck planking. i used pencil to rub the lead on the side of the planks before application.
pretty happy with the progress on this so far, but it was slow going.

IMG_4221.jpg

IMG_4222.jpg

IMG_4223.jpg

i have to put some thought into how to simulate the treenails, whether to use a tiny drill bit and then fill with pencil, or just simply draw the pencil marks on there.
what do you guys think? are there any other methods?

after completion of the quarterdeck planking and sanding, do you guys recommend putting a clear coat of wood varnish on? Do you think if i use pencil to simulate the treenails, they will become smudged or bleed when the coat is applied?

thanks,
-matt
 
hi all, here's an update since my last posts back in September.

I've been taking my time with fairing the bulkheads an am slowly making progress on getting the correct gradual bend.
I'll add some pictures of the progress on the fairing in some follow up posts.

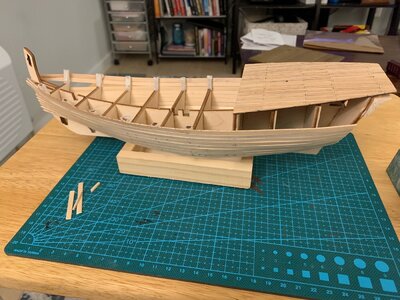
Besides the bulkhead sanding, i've been working on the quarterdeck planking.
I realized after a couple completed "lengths" of planking that I had completely screwed up my 50:50 pattern that I was oringally aiming for.

Originally, I planned for a 52mm full length plank and then the next row over would start with a 26mm plank and so on.
I accidentally used 21mm in error. This caused to the pattern to obviously not be a true 50:50 but i decided to go ahead with the messed up design.

Here it is with the planks down and treenails simulated:


IMG_4574.jpg

I still have to do some sanding on the edges and the surface to clean up some splintering.
The plank on the left is what I used to test my treenails / stains. (I haven't applied any stain to the quarterdeck yet)

I tried different sizes of holes and filling (pencil vs. pen vs. nothing) and the stains to see if would bleed.
I was pretty happy with the results on the test run so I went ahead and simulated a first round of treenails.

IMG_4573.jpg

I made small holes without too much pressure as to not splinter the wood and filled in with pencil.
 
i'm undecided on whether to add more treenails in between the existing nails.
i'm thinking maybe single nails in a row between the rows of double nails.

also need to add them at the edges of the planking.

feedback (+/-) always welcome!
thanks!
-Matt
 
Started the planking of the hull.
Taking my time. As you will see on the next post, i didn't start tapering soon enough which will now require some drop planks to fill in the space.

IMG_4583.jpgIMG_4585.jpgIMG_4586.jpg
 
Some more progress pics.

You can see the gap that formed before i started tapering the planks.
also taped the inner bulwark. i read this will make it easier to remove them at a later stage - pretty nervous about removing them already.

IMG_4672.jpgIMG_4673.jpgIMG_4674.jpgIMG_4703.jpgIMG_4704.jpg
 
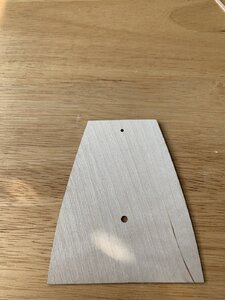
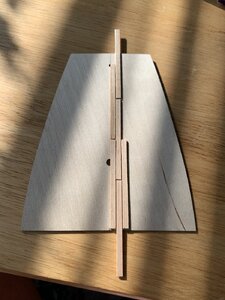
I also made a mistake with the stern block and glued it incorrectly. There's now a gap between the quarterdeck and stern block.
Shouldn't be an issue from either side of the hull but when planking the stern, i'll need to fill it somehow.
 
Hi All,

I would like to show you my new build I have very recently started.
My first build was the Swift 1805 by Artesania Latina, and I decided to try a different manufacturer as I wasn't too thrilled with the instructions that were provided on my first build and i struggled with quite a few stages and ending up rushing the finish.

With that being said I am building my new La Nina by Amati 1:65 with intention. Taking my time and not rushing through or into any steps if i am not positive of the procedure.

Here's the kit and how it arrived:
Hallo @ItsMatty123
we wish you all the BEST and a HAPPY BIRTHDAY
Birthday-Cake
Are you still working on your La Nina? Maybe you make an update, so we can see your progress on the model
 
Thanks for the birthday wishes! @Uwek, yes slowly still working on it! I'll post a few pics soon (still planking). It's been a busy couple months with getting married and house hunting!
 
Back
Top