Good morning Tom. Non what so ever. It is a way off and I must motivate myself and finish the Bounty renovation. Just no French shipsAny thoughts on the next project?
 . Wonderful progress as always Tom. Cheers Grant
 |
The beloved Ships in Scale Magazine is back and charting a new course for 2026! Discover new skills, new techniques, and new inspirations in every issue. NOTE THAT OUR NEXT ISSUE WILL BE July/August 2026 |
|
 |
As a way to introduce our brass coins to the community, we will raffle off a free coin during the month of August. Follow link ABOVE for instructions for entering. |
|
Good morning Tom. Non what so ever. It is a way off and I must motivate myself and finish the Bounty renovation. Just no French shipsAny thoughts on the next project?
. Wonderful progress as always Tom. Cheers Grant

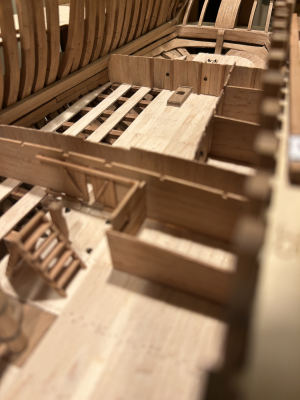
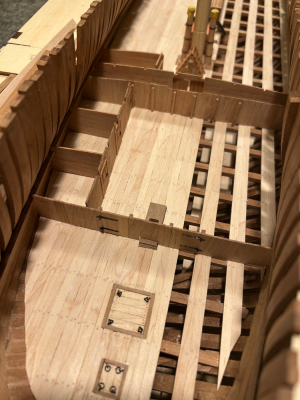

Ditto….andYou're doing fine work here, Tom! I'm enjoying following your build.
True storyNice clean and crisp detail work!
Thanks for sharing.


Beautiful!!Paul, Brad and Grant, thanks for your encouraging words. I am enjoying your respective efforts immensely. I don’t think you would pay me by the hour as I feel am a slow, if persistent, worker.
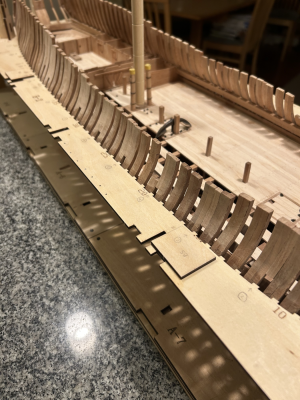
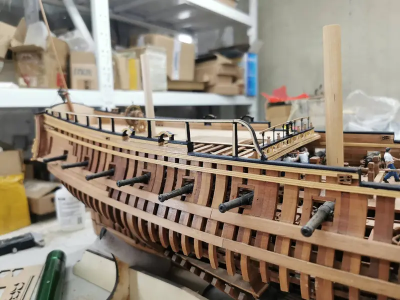
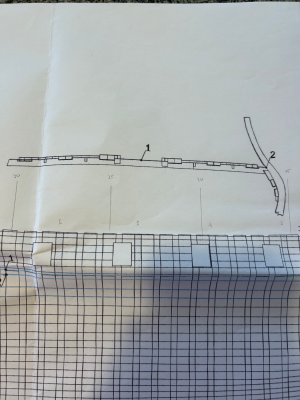
The first task in Part 5 is to fit some filler blocks between the frames where the gun ports sit. The instructions refer you to the plans for their location.
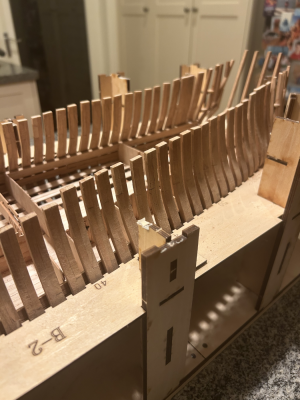
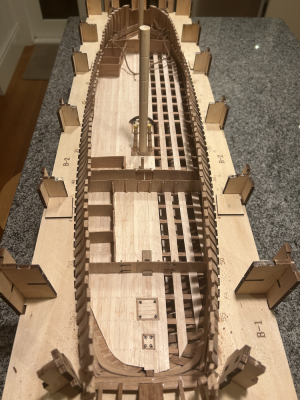
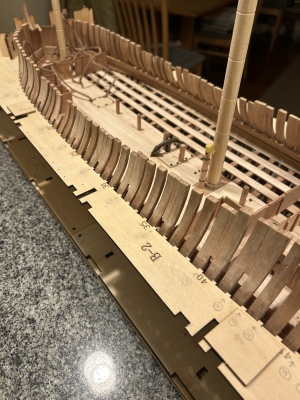
The blocks fit flush at the top of the frames, but I then realised that I hadn’t trimmed the top of the frames to match the heights in the plans. There’s nothing in the instructions about needing to do this, or when to do it. I think I must have just assumed the frames were the right height. I’m not sure it could have been done sooner because the jig had to be partially dismantled. Thankfully, the fix was easy. I temporarily clamped battens at the required heights and used them as a guide to cut off the excess with a small Japanese hand saw.
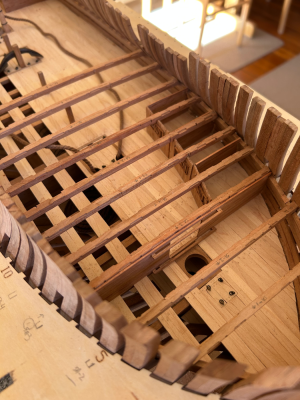
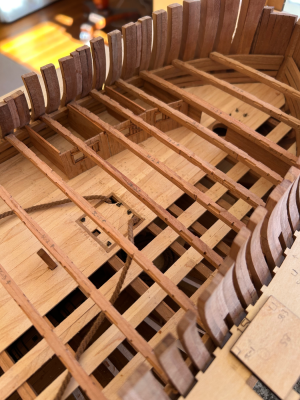
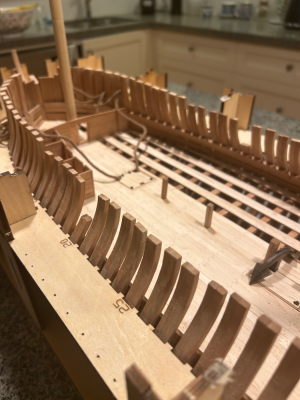
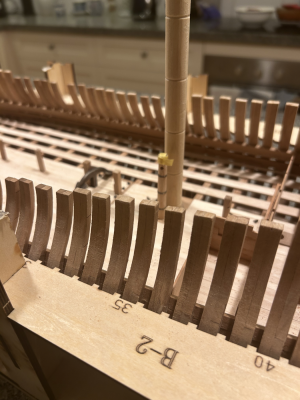
This is what La Renommee now looks like with the frames at their proper heights:
View attachment 631245
View attachment 631246
View attachment 631247
View attachment 631248
Kind regards
Salty
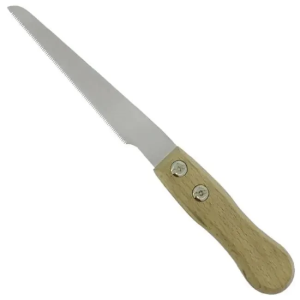
What is the hand saw your using?Beautiful!!
Thankyou!!Brad, I loved your reports on La Salamandre while on the road. I’m not sure I can fit my tools in our VW Golf when we go away.
Paul, it is a kataba saw:
View attachment 631880
The blade is 100 mm x 0.3 mm and its teeth aren’t set, so you can use it to flush cut. I bought it from
https://www.dictum.com/en/kataba-restauro-100/712309
but there are similar saws available elsewhere. The musical instrument making section at Dictum has a few tools that come in handy for modelling. Some are a little expensive, but they’ll probably outlast most of us.
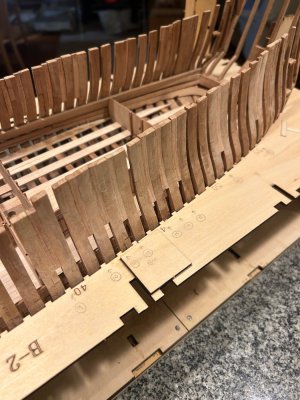
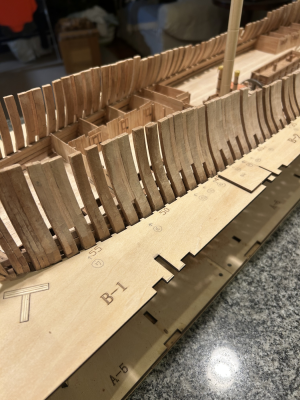
Here are the first of the filler blocks glued in place and sanded flush:
View attachment 631881
View attachment 631882
I was having difficulty sanding the fillers with my usual sanding pens, but things improved after switching to using a short length of 15 mm diameter dowel. The cherry is quite light after sanding, but will soon darken again with time.
I’ve also started looking for angle brackets to hold La Renommee when the rest of the jig is removed. I’ll keep her on the current base as it has slots for tabs on the keel.
Kind regards
Salty
Fabulous- just fabulous.Here are the rest of the filler blocks:
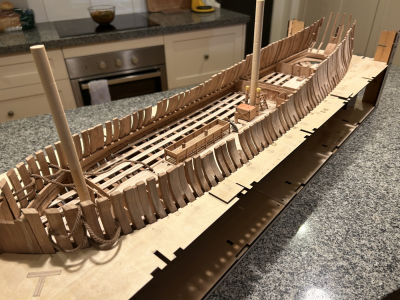
View attachment 632679
View attachment 632680
View attachment 632681
Although the fillers seemed like a simple job, it’s actually taken ages. I would start sanding and two hours would rush by. On the starboard side, a lot of the gun port framing will be visible, so it needs to be finished well as you can see from this picture on the CAF website:
View attachment 632682
Kind regards
Salty
Great, back to the drawing board to remove filler blocks and cut frames to correct height. Good thing there is C/A uncure!Beautiful!!
Salty, thanks for the feedback. I removed the Starboard side fillers using the C/A dissolver. They came out fairly easy, I ran a line where the frames will actually end and replaced the fillers(look much better), now for the Port Side.Paul, I think you have done a wonderful job on La Renommee to date. I’ve made plenty of mistakes myself that I’ve only realised after reading your log and had to redo things more times than I can count. Could I suggest you not remove the fillers, but measure first to see if they provide the necessary support to the frames to accommodate gun ports and the like? In some places, I didn’t have to cut much off the frames to match the plans, so your fillers might be more or less in the right place.
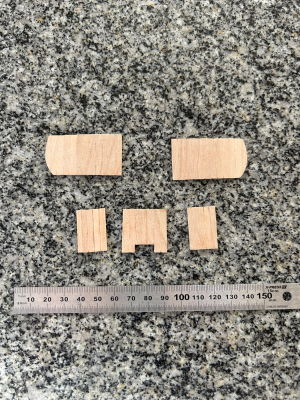
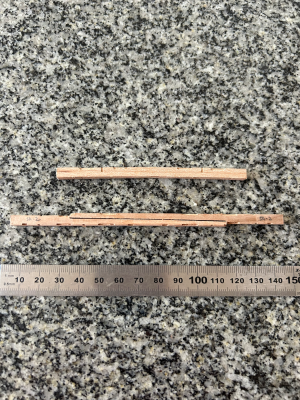
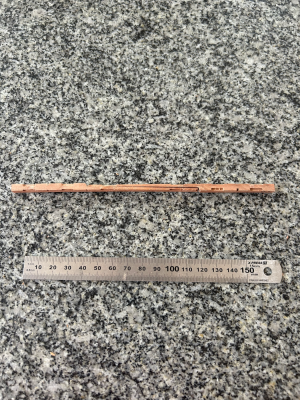
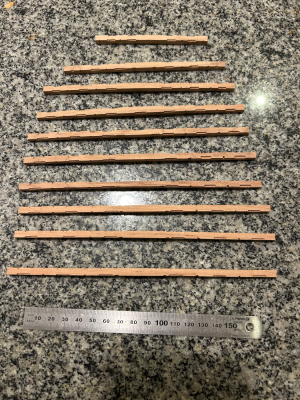
The next task is to make fit the beams for the main deck. Each beam has two pieces scarfed together.
View attachment 634295
As was the case with the lower deck, the joint isn’t flush in some beams and I have decided to fix that by deepening the scarf rather than reducing the nib thickness.
View attachment 634296
On other beams, the joint was too deep, so I had to build up it with some veneer.
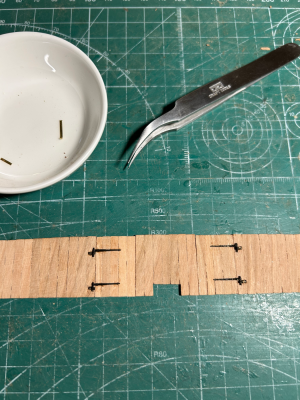
I’m also squaring up the corners of the motrices as they are a bit rounded because of the CNC machining. There are two lots of mortises - small ones for the carlings and larger ones which take notches in the deck planks.
View attachment 634297
Anyway, after all that, here is the first batch finished:
View attachment 634298
Kind regards
Salty