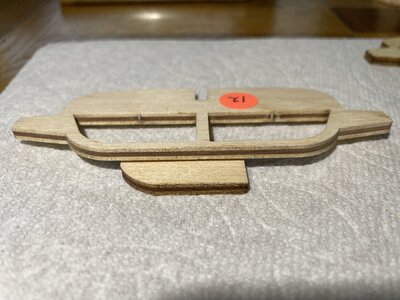
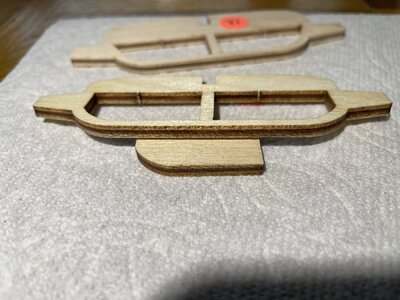
Laser burn, charr removal

  • Thread starter Thread starter Yuri
  • Start date Start date
  • Watchers Watchers 8
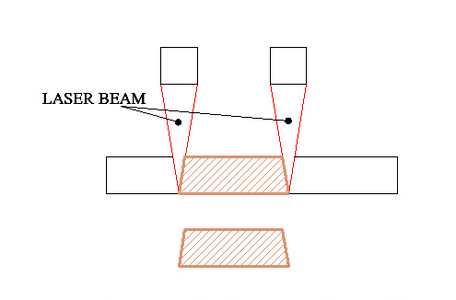
It's my understanding that lasers cut a v-shaped groove into the wood and that the edges need to be sanded for them to be perpendicular. Is this true for all or some kits?
In the past, some years ago it was worse with the V-shape but getting better and better - in the meantime you just can not recognize it. The laser equipment is also developing in a good way.

This sketch was once made by @Donnie but definitely out of scale
Screenshot 2024-02-27 084329.png

and the kit designer are taking this small edge into account, which has to be sanded away.
I am working since years with POF laser cut kits and had never a real problem with this.

BTW: I am using every time new sanding paper with fine grid to remove the char - change the sanding paper more often and the char is history after 3 or 4 times going over the part. Do not use old sanding paper.......
 
Planning to give air spray a try.... Was getting an airbrush anyway.

IMG_2066.jpeg
 
Last edited:
hello @Yuri, here are my thoughts on the set.

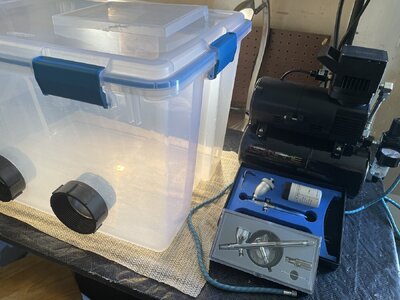
Compressor (No-name cool Tooty with tank): fantastic. it keeps the pressure steady up to roughly 60 PSI. Quiet and run only to top the tank. No-name (Spray Gunner) have a great reputation for quality component, and it was. I would buy again in an instant.

Airbrush (GSI Creos PS-289): A little hard to get. this one was shipped from Japan, but it took only 7 days to arrive at the door. The airbrush is great quality and work very well. Dual-action trigger need some getting used to it, for a beginner like me. The price is very hard to pass. Another great choice would be the new Harder & Steenbeck NEW EVOLUTION 2024.... but twice as expensive. The PS-289 will be great but has a needle of 0.3. For fine detail, I am eyeing the PS-771, from the same company. I would buy again in an instant.

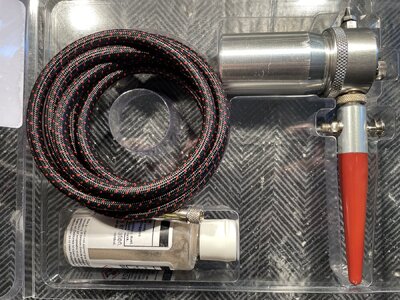
Air eraser (Master Airbrush Gravity Feed Air): Cheap to buy. It does remove charring easily, without affecting the wood. You need to spray very close, ~5mm away but it does work nicely. See @Dave Stevens (Lumberyard) above, I'm getting the exact result.

HOWEVER (drawback), it blocks easily and need to be refill very often. The tank is just too small. If, I'm right the nozzle is 0.5, which is a little small. Larger particles of aluminum oxide will block the flow. I noticed it happen every time at 1/3 left in the tank. The small particles go first, and the heaver particles accumulate at the bottom. When it blocks, I remove the media, blow a couple time and refill... then work again. I would not buy again.

For the air eraser, I'm considering another, the Paasche ER-1S a new release and more expensive. Nozzle is at 0.9 and the tank far larger. When I start my new kit in couple month, I'm likely getting this one. Little review about it since it is a niche market. Hard to recommend without having one... but the specs sound right. A number of good reviews at Ama@@@on.... but who knows about those. Basically, it is the ONLY alternative I could find. Let me know is you come across something else.

Note: For the air eraser build a cheap spray hood (see picture, several youtube video on building one). You will need it. It is messy and you want to keep your lung intact. ;_)

I hope this long comment help you.
 
Last edited:
This is a follow-up on charr removal using air eraser. I made the jump and got the Paashe ER-1S. This is a definitive upgrade over the smaller one. I had no issues with clogging whatsoever, which is a major plus. The larger tank is nice but you can still go through a full tank very fast. For me, it lasts for roughly 6-8 inch of charr removal.

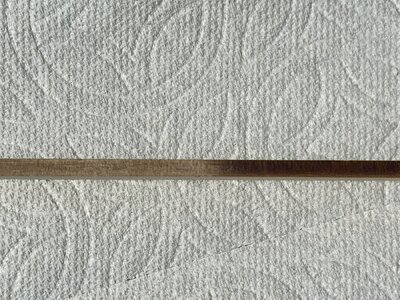
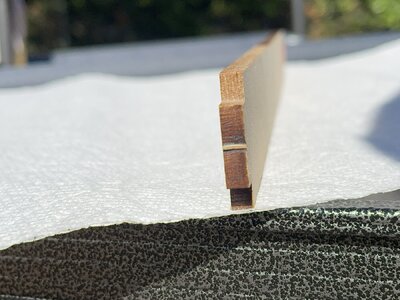
The result was nice. I tried it using baking soda. It is gentler than Titanium Oxide, cheap and non-toxic. There is still residual charring but, for me, really no risk of rounding corners and/or removing too much by sanding. Overall, if you want to use air eraser the ER-1S is the way to go with the airbrush compressor. Note: you will need a 1/4 female to 1/8 male adaptor for the cable.

Picture 3: only the upper part was done.

IMG_2393.jpeg

IMG_2443.jpeg

IMG_2442.jpeg
 
Last edited:
Thank you! Loracs,
I've purchased and used the set very similar to yours. I'm happy with results, better than "Pumice Hand Cleaner". Never thought to use backing soda though, thanks.
 
Another example on plywood bulkheads (Amati kit). Same approach then above. Nice for those hard-to-reach areas, curves and square ends.

IMG_2469.jpeg

IMG_2470.jpeg
 
Back
Top