Yuri's USS Bonhomme Richard - POF - Cross Section in Pear - 1:48

Joined
Feb 29, 2020
Messages
71
Points
113

Location
Toronto, Canada
Hello folks,

I'm back with the new log build of USS Bonhomme Richard - POF from "Unicorn Model". My progress will be slow, it is my second ship model. I'm a bit "green" with ship construction and experience, technics. I would like to thank this forum for great posts and logs. Following discussions from many users we all get "shared" knowledge and skills. Never the less, I hope I can ask for advise and receive critic notes on mistakes I made, please.

Not to be a bore, I will not go to the details of every steps of the built. This is very well covered by others. Please check posts from Uwek, Signet, stan167, carlosys and others. I like to share my progress in general but concentrate on some ideas, some tedious elements and problems...

If you are first time seeing this kit, here is the great review from Uwek
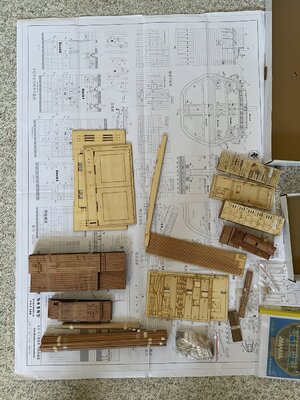
IMG_1797.JPG

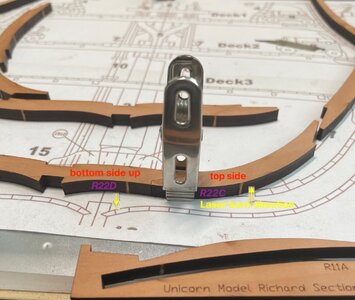
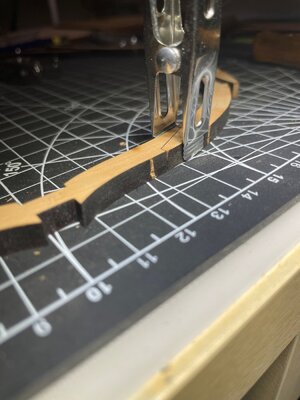
Starting with the ribs, I'm flipping every other part up side down to achieve minimum join gap due to laser burn skew. Join fittings are very good after removing the char. Both parts lay flat with no gaps at the top or bottom of the join. So, instead of sending joint from this " _/ \_" to that " _||_ ", I have it like so "__//__". This works great on most thick laser cut parts and ribs sections.
b4.JPGb5.JPGb6.JPG

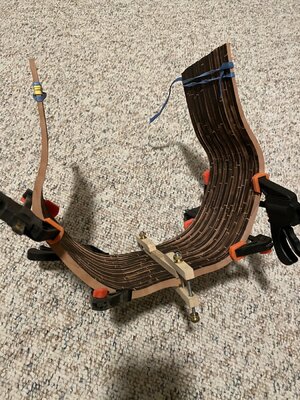
And... Unfortunately, I didn't pay attention to line up properly R1 with R2, R2 with R3, etc. I took a risk of dumping all nine ribs in the hot water for a few seconds to moist the wood but not the glue. After that I used brute force to bend and align all ribs together.
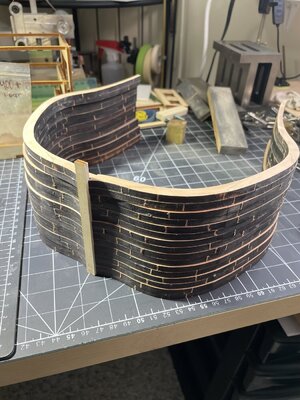
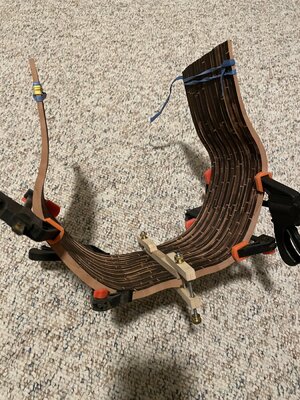
IMG_2153.JPGIMG_2163.JPGIMG_2164.JPG

Couple days later, wood was completely dry and i was somewhat satisfy with the results (+- 0.5mm play)
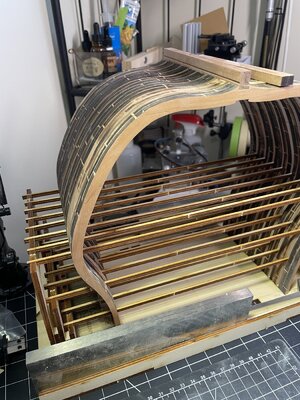
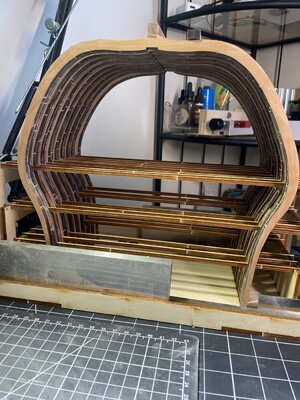
IMG_2206.JPGIMG_2207.JPGIMG_2208.JPG

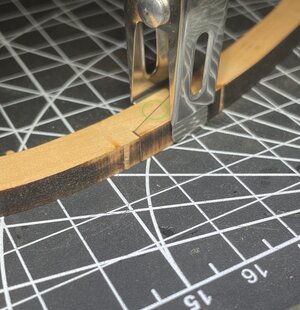
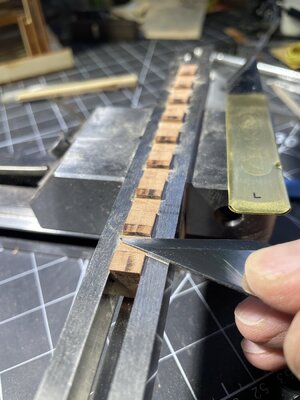
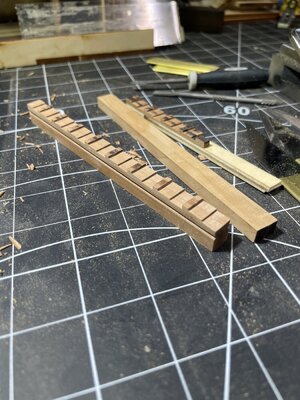
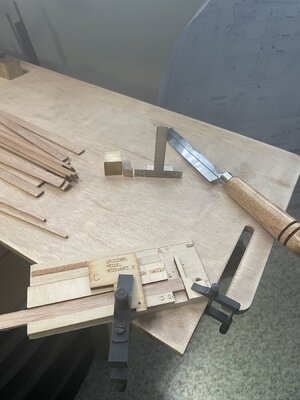
Quick note on a keel to make 90 degree flat cuts with one side knife:
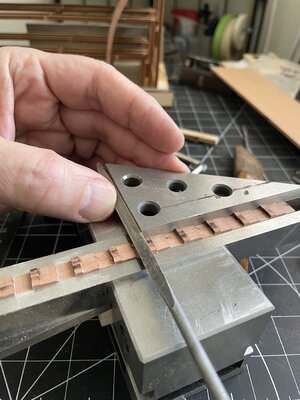
IMG_2213.JPGIMG_2214.JPGIMG_2215.JPG
IMG_2217.JPG

Thank you,
 
It is a highly interesting kit - I have mine still to be finished
I will follow your log with big interest
 
Wow, that was a lot of char. I am very interested in the clamp set up you have the keel in for filing... Can you share pix of that?
 
clamp set up you have the keel in for filing... Can you share pix of that?
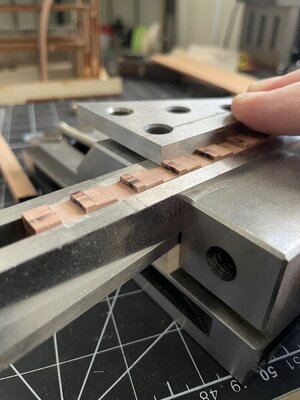
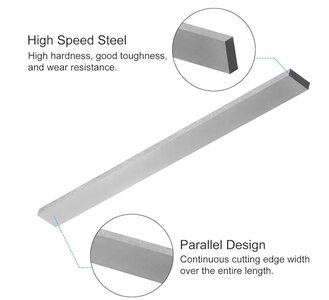
Hi Jwallkc, its not a clamp. I'm just using two instrumental or high speed steel plates in the vise. Main properties are true parallel, true square, edge, hardness, etc. I use instrumental steel a lot in my other projects. Make sure to put a scotch or masking tape on it when holding the wood. It WILL stain the wood with even tiny drop of water. I've got good plates from here at reasonable price ( its not aluminum finish showing in description, and i'm not affiliated with the store )
Screen Shot 2023-10-21 at 11.57.30 AM.jpg
 
Last edited:
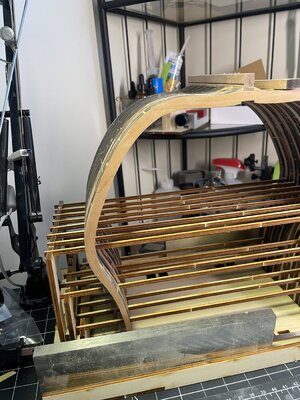
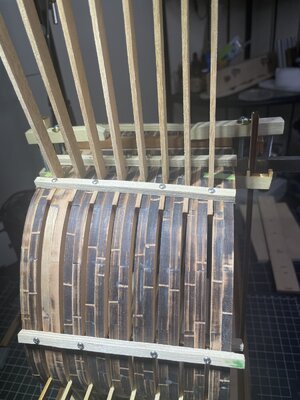
Using leftover plywood from dry dock parts i'm holding ribs in place

IMG_2236.JPGIMG_2237.JPGIMG_2240.JPGIMG_2265.JPG


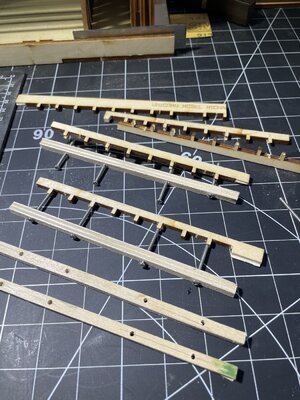
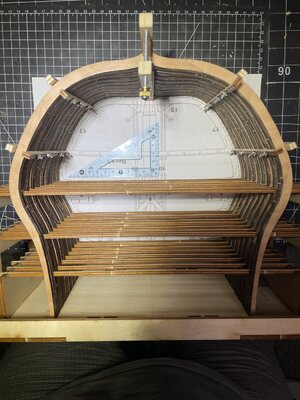
Made decision to glue additional square wood inserts to reinforce the structure because I will not glue both keel parts until later. I think I will use same inserts between ribs at deck lines.

IMG_2285.JPG
IMG_2286.JPG

If all goes well and glue is dry, I will start sending...

Thank you for watching and following,
Yuri

IMG_2264.JPG
 
Using leftover plywood from dry dock parts i'm holding ribs in place

View attachment 401571View attachment 401572View attachment 401573View attachment 401575


Made decision to glue additional square wood inserts to reinforce the structure because I will not glue both keel parts until later. I think I will use same inserts between ribs at deck lines.

View attachment 401576
View attachment 401577

If all goes well and glue is dry, I will start sending...

Thank you for watching and following,
Yuri

View attachment 401574
great work, I will keep following with great curiosity Thumbsup :)
 
Thanks for posting Yuri. I'll be watching along for a while. I bought my kit over 2 years ago but still not made a start. Too busy with my Bomb Vessel scratch build... we will see what the new year has to offer.
Good luck...keep posting.
 
Did your kit come with English Instructions?

My kit has book, stated for reference use only, with blurry photos, and Chinese's instructions with limited English text at end of each block of text.

Also the writing in both languages is on top of photo, blocking lot of the information shown in photo.
Hi Kurt,

Nope, no English. I bought my kit through eBay because description looked different and better than from ZHL. Little i know that ZHL and Unicorn are the same folks. I'm using GoogleTranslate on my phone, just point the camera and Chinese is substituted with the different language. Instruction i have is a bit frustrated and lack some details. My advise (and Uwe's) examine the drawing, translate short instructions, inspect ALL boards (parts are spread out in different boards/sections :)


https://shipsofscale.com/sosforums/...-pear-version-scale-1-48-unicorn-models.3693/

https://shipsofscale.com/sosforums/...d-pof-cross-section-in-pear-1-48-by-uwe.3734/
https://shipsofscale.com/sosforums/...e-richard-cross-section-completed-build.8920/


Y
 
Last edited:
Hello,
Finally, I finished scraping and sanding the ribs, loosing the thickness by at least 0.5-0.7mm. Finished surface with 600 sandpaper in the places which are not going to be covered with planks

IMG_2400.JPGIMG_2401.JPG

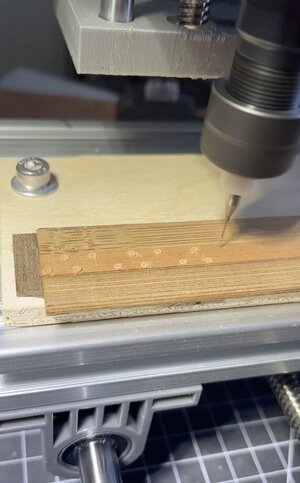
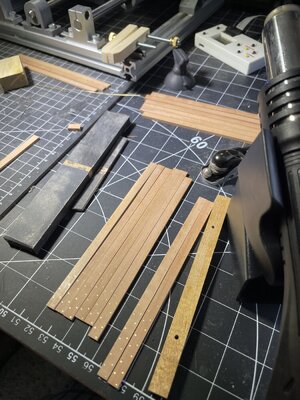
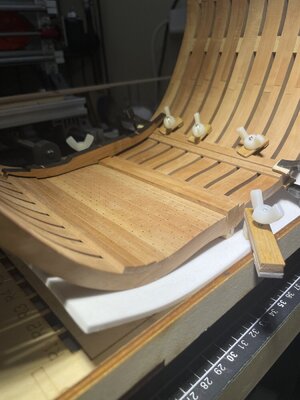
I decided to pre-drill planks on the small CNC to have nails in exact location on all planks, a bit cheating :)
IMG_2414.jpgIMG_2415.JPG

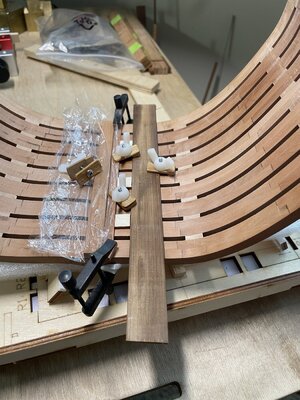
Gluing first plank. The keel part is wrapped as I intend not to fix it place until later. I will be using "scrap" keel for now.
IMG_2419.JPG

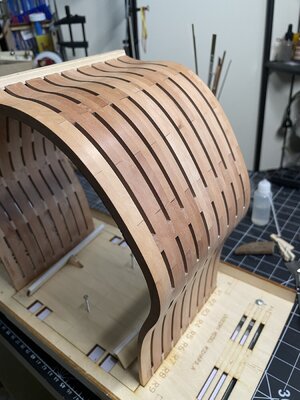
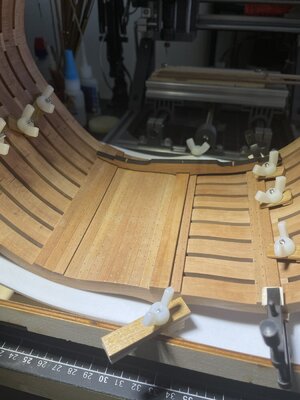
Here how it looks (keel is not glued)
IMG_2436.JPGIMG_2437.JPG

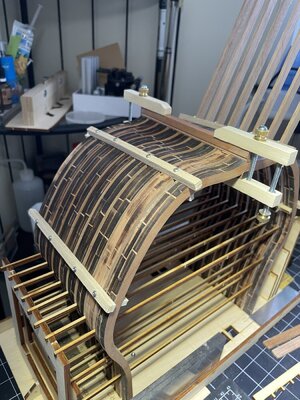
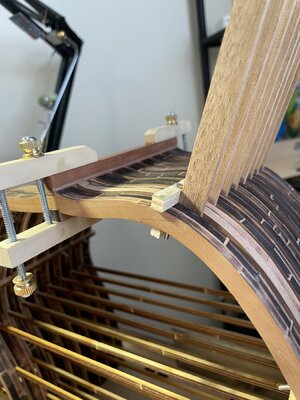
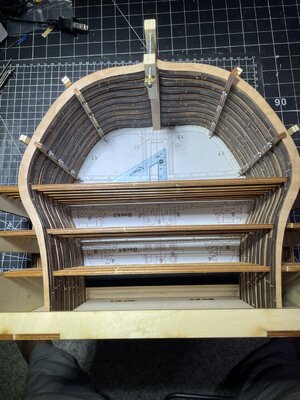
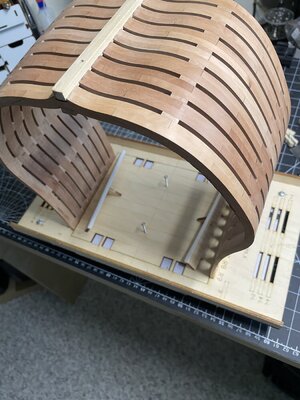
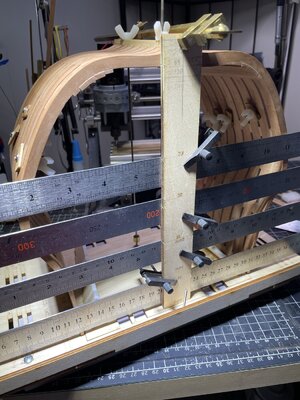
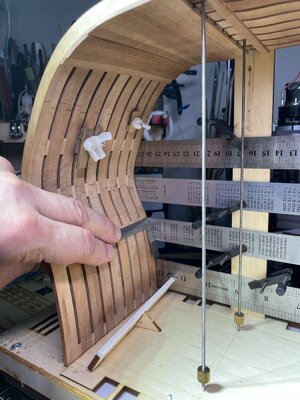
The dry dock can secure hold her right side up and up side down. I've made couple clamps and rods to keep it in placeIMG_2438.JPGIMG_2439.JPG

Thank you for following...
 
Last edited:
Hi Kurt,

Nope, no English. I bought my kit through eBay because description looked different and better than from ZHL. Little i know that ZHL and Unicorn are the same folks. I'm using GoogleTranslate on my phone, just point the camera and Chinese is substituted with the different language. Instruction i have is a bit frustrated and lack some details. My advise (and Uwe's) examine the drawing, translate short instructions, inspect ALL boards (parts are spread out in different boards/sections :)


https://shipsofscale.com/sosforums/...-pear-version-scale-1-48-unicorn-models.3693/

https://shipsofscale.com/sosforums/...d-pof-cross-section-in-pear-1-48-by-uwe.3734/
https://shipsofscale.com/sosforums/...e-richard-cross-section-completed-build.8920/


Y
Hi,Zhl and Unicorn Models are not the same people,also there are I think 3 versions of the Bonhomme cross sections from Unicorn,I was just talking to them and they promised to send me the english manuals.
 
Hi,Zhl and Unicorn Models are not the same people,also there are I think 3 versions of the Bonhomme cross sections from Unicorn,I was just talking to them and they promised to send me the english manuals.

Hello,

My mistake, i've got confused between different versions, makers and sellers. Bottom line, my pear "version" labeled as UNICORN with NO English manual, bought from CROWN HOBBY WORLD

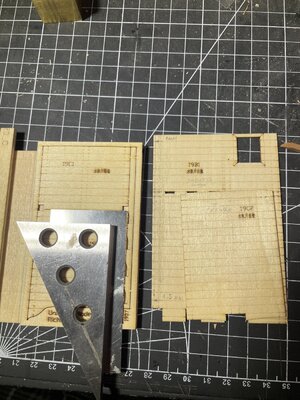
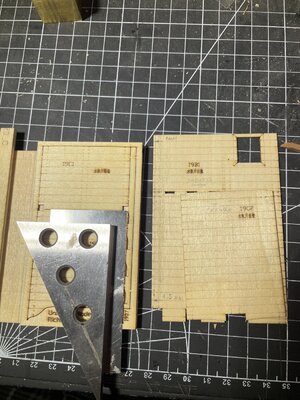
Most frustrating things I found about my kit is that some parts are cut NOT to 90 degrees where they suppose to be. For example, all walls skewed by 0.5mm (see picture below) and some laser cut parts don't agree with the drawings.

IMG_2548.JPG

UPDATE:
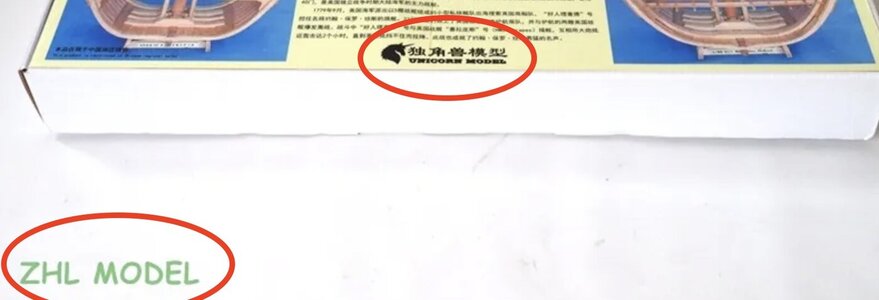
I just checked ZHL website store, here is the screenshot showing ZHL is selling Unicorn
Screen Shot 2023-11-05 at 12.29.41 AM.jpg
 
Last edited:
Unicorn Models are the manufacturer of the kit
ZHL is the distributor of the kit

Be careful
the shown elements of the inner walls are only templates - based on these sheets you have to make the wall planking

IMG_2548.JPG

I personally made it wrong at this time and glued on top of these templates the boards - the result was ok, but now I would do it differently


Our member @Signet made it differently in a better way


your framing is looking very good - clean accurate -> BRAVO
 
Back
Top