- Home
- Forums
- Ships of Scale Group Builds and Projects
- Le Coureur 1776 1:48 PoF Group Build
- Le Coureur 1776 1:48 Group Build Logs
You are using an out of date browser. It may not display this or other websites correctly.
You should upgrade or use an alternative browser.
You should upgrade or use an alternative browser.
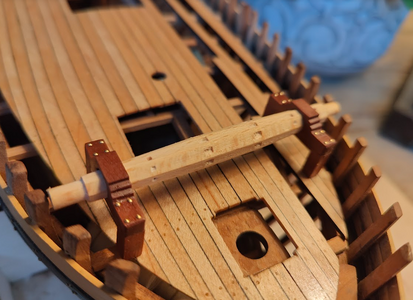
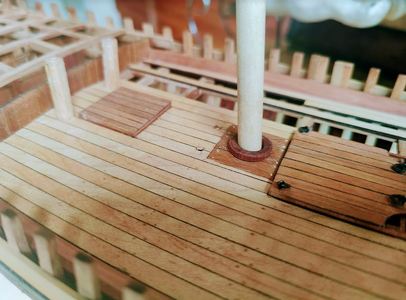
Next up are the mast wedges. I will be setting the rake as well. I was surprised to learn that the front mast has an angle of 90' with respect to the keel and 87' relative to the waterline. Careful measurement of the Boudriot plans indicate that the front set of mast wedges has a 3' pitch for the hole which is drilled through them.
I did not have any swiss pear in the proper thickness but I figure I can glue two pieces of thinner wood together. The seam will be cut out of the center.
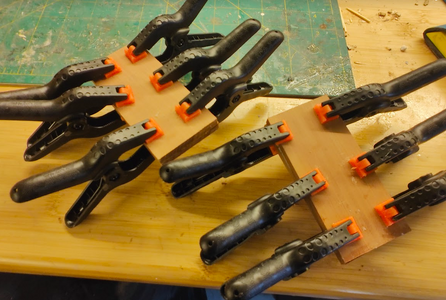
I did not have any swiss pear in the proper thickness but I figure I can glue two pieces of thinner wood together. The seam will be cut out of the center.

The boards have been chopped up and cut to 30' angles. The sections were assembled three at a time to make a 90 degree angle. This was far from perfect but the sander helped.
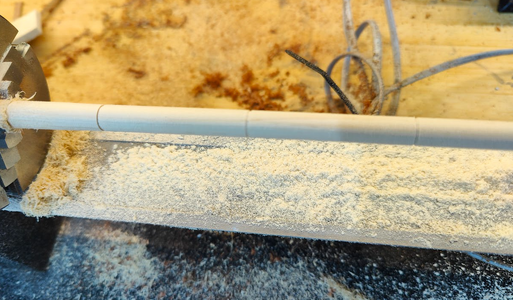
The first set of mast wedges was carefully cut on the lathe. Quite painstaking work, made even more difficult when my wood block came out of the chuck half way through. I persisted and it came out looking nice.
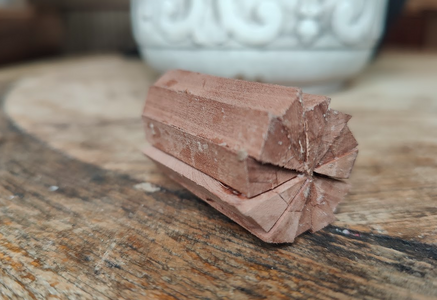
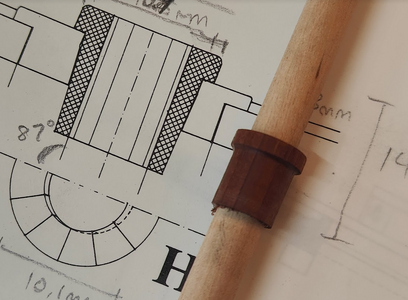
The first set of mast wedges was carefully cut on the lathe. Quite painstaking work, made even more difficult when my wood block came out of the chuck half way through. I persisted and it came out looking nice.


I should point out that the decision to make these mast wedges should be made much earlier. The pieces with a hole to accept the mast (that sit underneath the deck) had been glued in place two years prior and it is not possible to drill them larger (I broke one trying). Perhaps a sanding drum on a Dremel tool would work however.
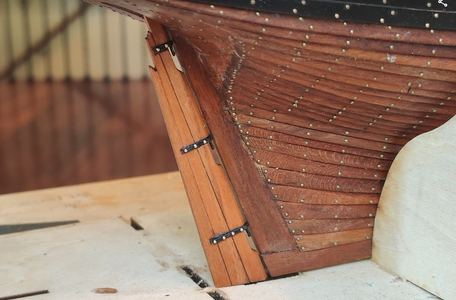
Attached the hinges to the sternpost today. That was only my second time. While I still found it quite difficult, the end result was much better looking than my first ship.
My tiny drill bits kept breaking... I went through 10 of them while trying to get the nails installed. Several times, the broken drill bit broke off below the surface of the hinge, requiring me to remove it to extract the bit. One of the hinges broke while doing this but I was able to glue it back with the break undetectable.
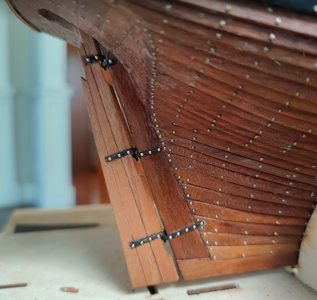
My tiny drill bits kept breaking... I went through 10 of them while trying to get the nails installed. Several times, the broken drill bit broke off below the surface of the hinge, requiring me to remove it to extract the bit. One of the hinges broke while doing this but I was able to glue it back with the break undetectable.

Good evening. A beautiful model. I think the rudder will darken naturally, although there are different shades on the hull planks as well. Stunning work. Cheers GrantAttached the hinges to the sternpost today. That was only my second time. While I still found it quite difficult, the end result was much better looking than my first ship.
My tiny drill bits kept breaking... I went through 10 of them while trying to get the nails installed. Several times, the broken drill bit broke off below the surface of the hinge, requiring me to remove it to extract the bit. One of the hinges broke while doing this but I was able to glue it back with the break undetectable.
View attachment 446936
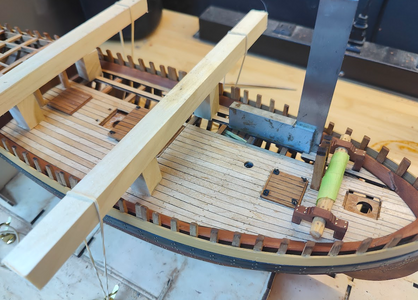
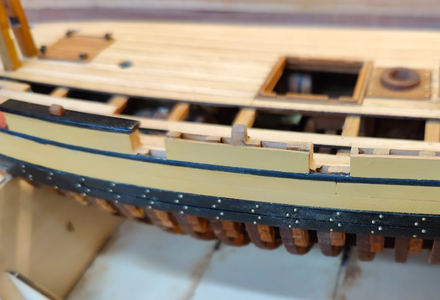
Lots of progress but I haven't been taking many photos. Here the nailing is in progress (upper rail and posts are dry fit only). I am painting the shelves in the cannon cutouts red ochre.
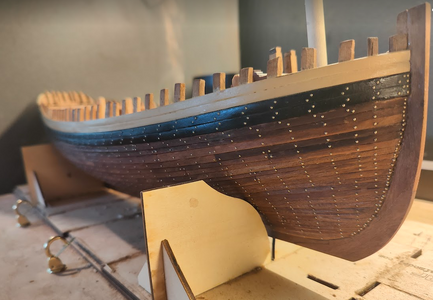
Speaking of paint, I believe that I originally used left over black paint from a prior kit for the wales. This paint has a slight shine to it... perhaps an admirality paint? I purchased several types of quality acrylic but they are all quite dull. I'm wondering if there is a preferred method to give it a bit more sheen.
Also the wales which were painted in yellow ochre have some inconsistencies in them, with some parts shinier than others. Is there a way to get a consistent sheen from them? I'm tempted to go over it with some fine steel wool but I figured I would ask before experimenting.
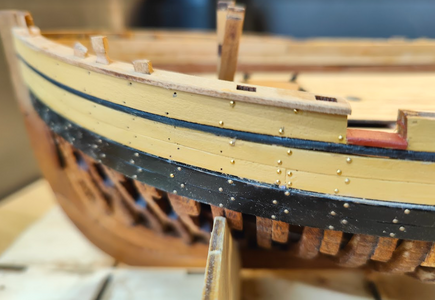

After lots of nailing, the gunwales were cut and the railings dry fit. The painted portions were touched up, taped off and lacquered. If you're going to paint, this is the way to go... it really makes the colors stand out. I am partial to the gloss right now though if I find I don't like it, it should dull up readily with a bit of steel wool.
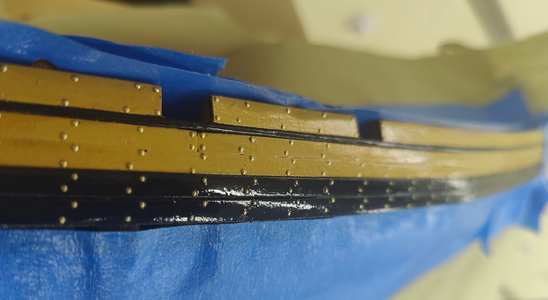
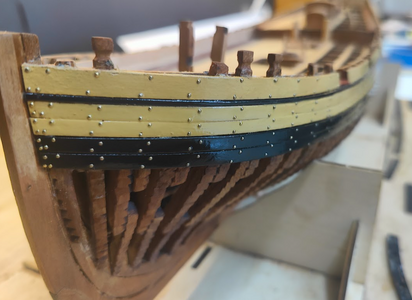


I took a little break before the starboard side to distract myself with the bowsprit. I came across some walnut dowel rods recently so I gave them a shot. I like them a lot more than the wood that came with the kit (main mast).
Following Boudriot's color suggestions, I've painted the foremast black to see how it looks. I haven't decided yet but it isn't bad. If I go this route, the bowsprit will need to be painted black up to the stem.
Funny how every time I post a photo here I see little spots that I missed or need to touch up!
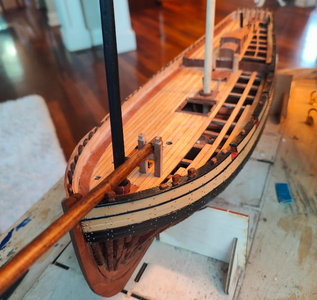
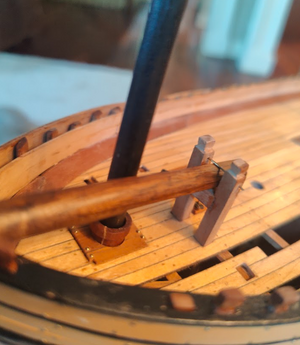
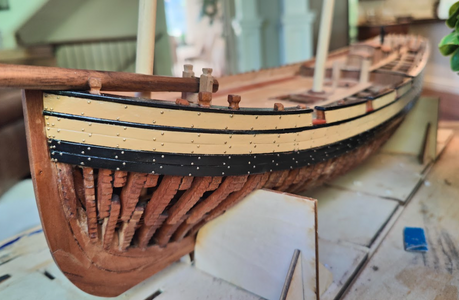


It is a question of taste to paint ot not to paint the masts - and the willigness to make it historical absolutely correct
After sitting with it for a couple of weeks, I decided that I'll probably stick with the original CAF parts for the masts. Pine was used for masts... though I like the darker colors, knowing that I used a hardwood for a mast would really bug me.
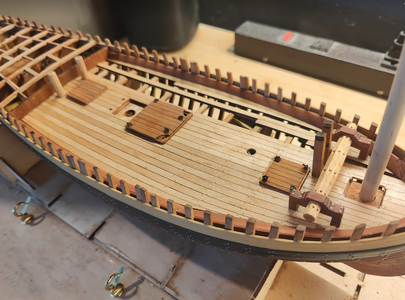
Lots of progress this week. The cleats are more easily made by spraying them with a little adhesive and doing a bunch at a time in a small vise. I also completed the deck rings.
I ran out of tiny nails but Micromark quickly delivered new ones. I was able to finish up nailing the starboard side and lacquered it early today.
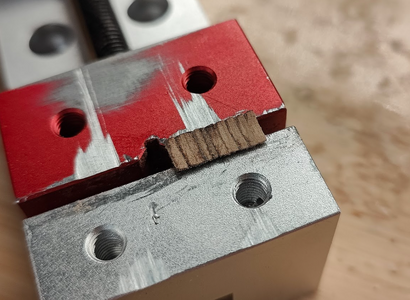
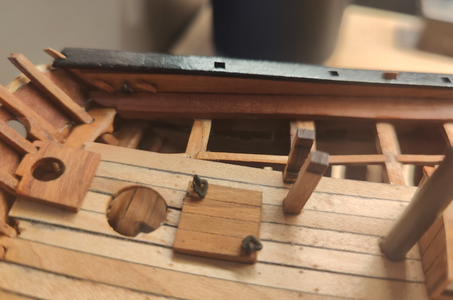
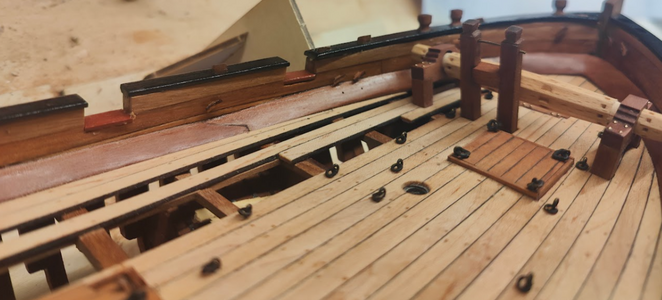
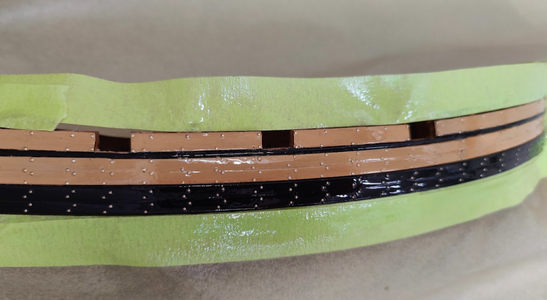


I was able to spend a few hours in the garage today. Good progress. I recently purchased "Historic Ship Models" by Jean Boudriot. Wonderful book, with one example of a 16-gun Cutter, similar in many respects to Le Coureur. While much was left to be desired with that model, it did give me the encouragement I needed to put a little more paint to wood. I rather wish I had discovered this book a few weeks ago, as I would have painted the inner hull planking ochre red (too late now, without incurring a lot of disassembly work).
The belay pins are really tiny but extremely high quality (nice job by CAF models). That's an extreme close up.
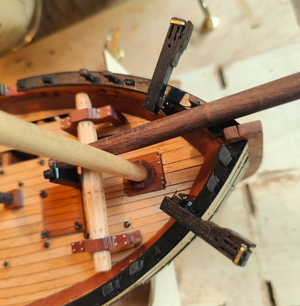
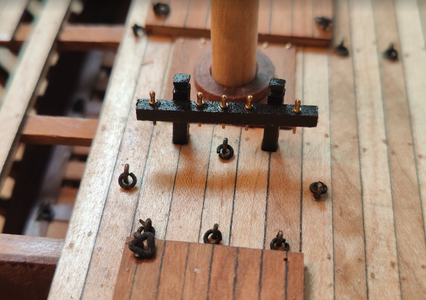
The belay pins are really tiny but extremely high quality (nice job by CAF models). That's an extreme close up.


