I thought I would share my technology for bending planks at the bow as I know this topic has come up many times on a number of forums in the past.
I'll do this over a series of posts.
In my first post I will show you how I bend planks
in multiple axis for use at the bow (note the emphasis!).
As you will have seen in my previous posts, Ammonia allows me to do this easily in one action and has no spring back. It is, in some ways, a perfect solution. However, unfortunately Ammonia changes the colour of lighter coloured woods so is not usable in this instance. As such, my process will describe my technique in the use of steam.
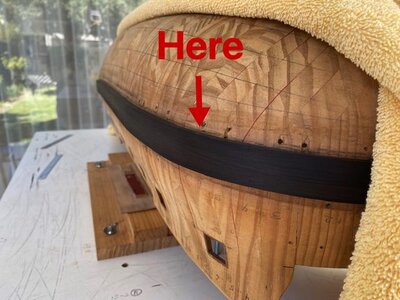
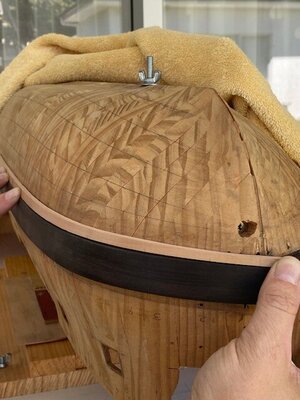
Let's focus on my first pear plank at the bow immediately below the wales. Please see FirstPlank.jpg ("Here" shows where it will go). This plank must bend almost 90 degrees at the bow (in one axis) but it must also bend upwards quite significantly (in the second axis) to maintain a "straight" line against the bottom plank of the wales. Please bear in mind during this process my planks are quite thick (3.5mm).
I break this process down in to a few steps:
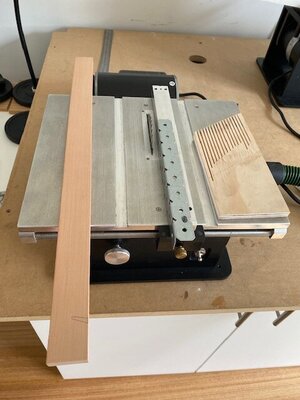
Step 1: From my stock I cut down some double thick planks bearing in mind that this piece will turn in to 2 planks - one of the port side and the equivalent plank on the starboard side. Bearing in mind that my planks will be 3.5mm thick, this piece is about 7.8mm thick because I am allowing 0.5mm for the thickness of my band saw + 0.3mm additional thickness for any minor errors. Please see OriginalStock.jpg and CutDoublePlanks1.jpg and CutDoublePlanks2.jpg
Step 2: I then steam this entire single piece for 35 min. See Steaming.jpg
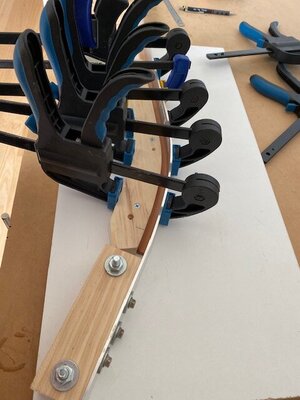
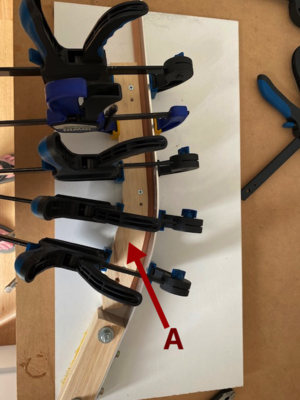
Step 3: I then take the entire piece to my pre-made jig and bend it for 24 hours. Note, this bend is going to be the bend in the "second axis" described above.
Please note the mould "A" in the photo of my jig. The curve in this mould has been cut to a specific shape to ensure my final piece of wood, once removed from the jig, will spring back to the exact position. As such, the mould "A" has a curve which is fractionally stronger than I need in my final piece of pear. I personally find I need to do this by about 30-40%. See Jig1.jpg and Jig2.jpg
Step 4: When I remove the piece from the jig it has the correct bend in it. Remember this is going to turn in to 2 planks very shortly.
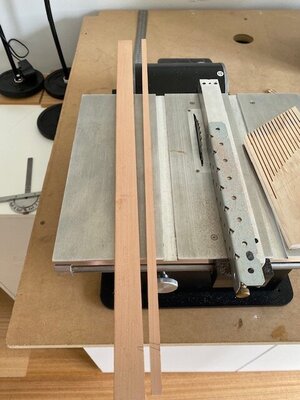
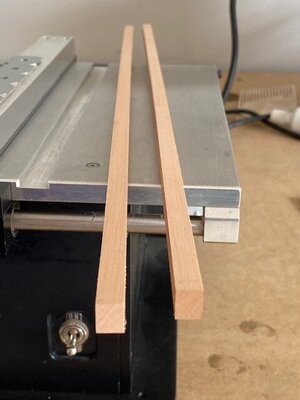
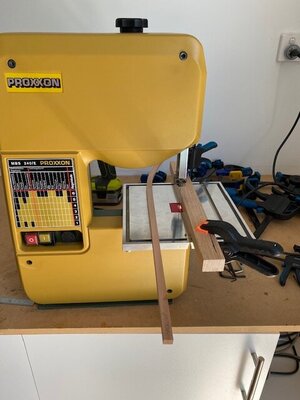
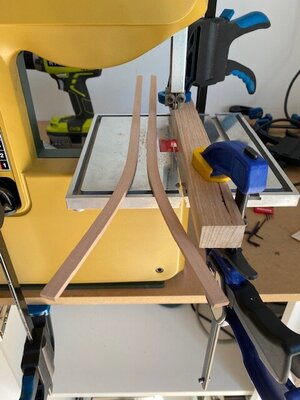
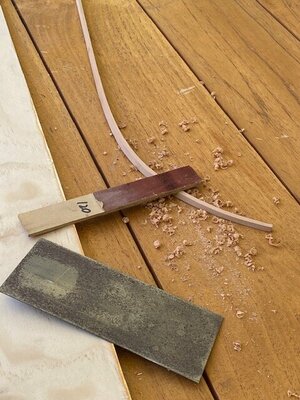
Step 5: I carefully setup my band saw with a fence (attached very tightly!) and run the piece of pear through the band saw slowly and carefully to cut it into 2 perfectly symmetrical pieces (one for each side of the model) with identical thicknesses (about 3.7mm). See BandSaw1.jpg showing the entire piece as it was when it was removed from the jig and just before I ran it through the band saw. Also, BandSaw2.jpg showing the piece after it has been cut in the Band Saw in to 2 symmetrical planks.
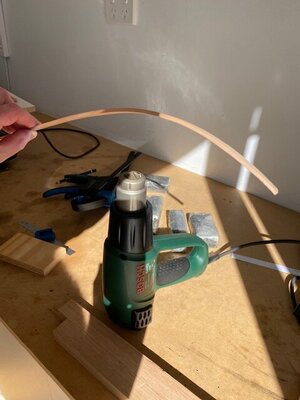
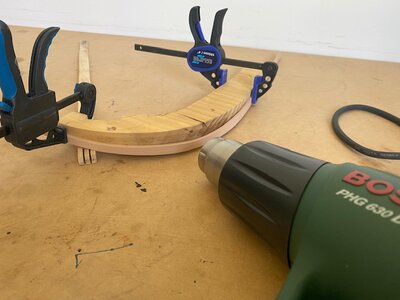
Step 6: These pieces are each then bent (with dry heat - in my case using a heat gun @ 190C) carefully and slowly almost 90 degrees so they each curve around the bow exactly as required. This can be a slow process and you need to keep going back to the model to measure progress every minute or so. See HeatGun.jpg
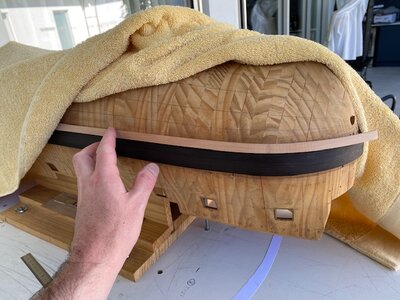
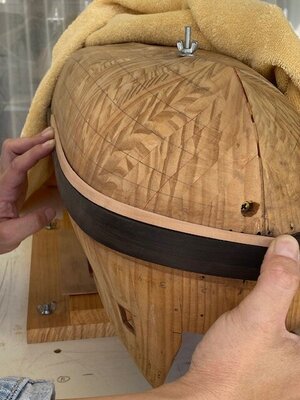
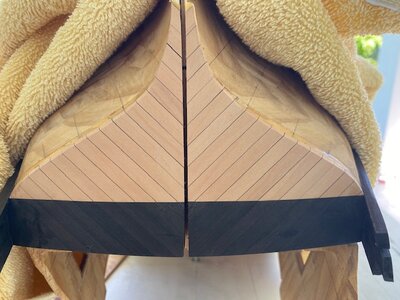
Step 7: The final plank will now have the correct bend in 2 axis. See BentPlank1.jpg and BentPlank2.jpg
In these photos the planks needs a little more bending with the heat gun. I ran out of time today!
Even after this bending process the pieces of pear are not quite finished yet.
I will need to put the correct angle on the top and bottom edges of both planks so they meet adjacent planks correctly. I'll also need to taper the planks at the front edge.
I'll cover this in a separate post later.
