Mainstay mouse.

Joined
Dec 28, 2020
Messages
844
Points
353

Location
Googong close to Canberra Australia
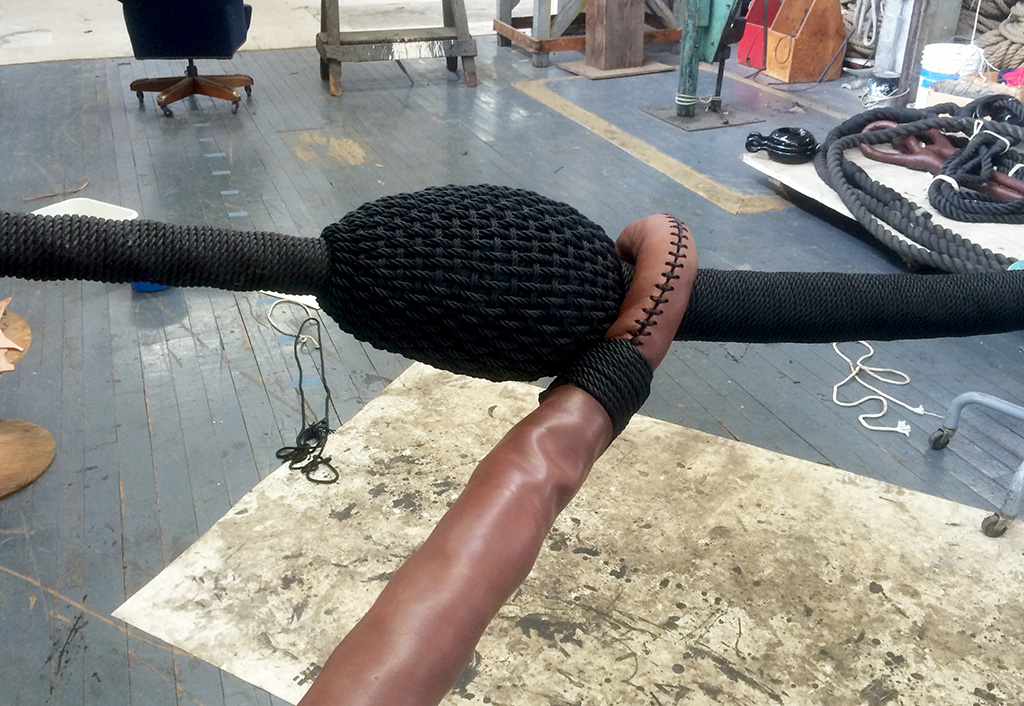
I would like to know the correct way to install a mouse on a stay.
I thought the narrow end went against the loop.


IMG_20210704_170256.jpg
I saw a model with the mouse the opposite way around. When I checked against Historic Ship Models it looked like I was wrong.

IMG_20210924_074400.jpg


Today I checked some other books and cannot find a definitive answer, some show a round mouse but there are a lot of models with the mouse like mine. Can anyone suggest which way is correct.
 
I think that one on the sketch (second picture) is right, but at the end who cares? WHATEVER mouse looks better than no mouse. Actually I am doing the muse the way you do, too, ie. served in lieu of woven. Even the served one is too complicated for a pale face...
János
 
Take a look at this contemporary sketch showing the mouse on the left top
rigging1.jpg


Take also a look at this report showing the production of a real mouse for the USS Constitution - we can see that the form changed over the time

26-IMG_3141.jpg
 
This is how it is described in Anderson's book "Rigging and spars of the 17th century"

Build up the headstock to an approximate musing shape,
pear-shaped part down, wrapping it with cotton wool, and tie two
thin rings of thread above and below this thickening. Then take
a needle with a long thread with a knot at the end and, starting with passing
her through the head, pass the thread through these two rings here and there,
until the entire surface of the thickening is not tightly closed
longitudinal threads. Then, starting at the other end, so that
it turned out an odd number of longitudinal lines, skip
thread in a circle under and above the longitudinal lines, as if darning.
Finish by making a few stitches around the headstock and tracing the end
times or a couple of times through the strands of the headstock itself.

1632472718249.png
 
Back
Top