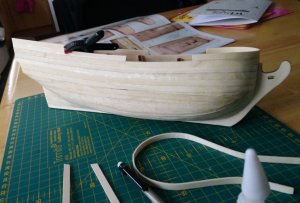
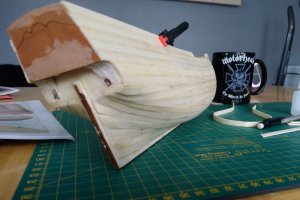
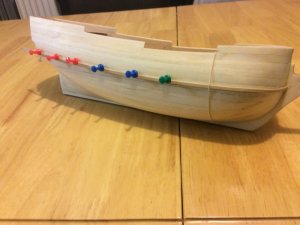
Also almost half of the planks supplied are quarter sawn and are snapping too easily whilst bending with heat, steam, hot water, etc. So can't use!
-

Win a Free Custom Engraved Brass Coin!!!
As a way to introduce our brass coins to the community, we will raffle off a free coin during the month of August. Follow link ABOVE for instructions for entering.
-

PRE-ORDER SHIPS IN SCALE TODAY!
The beloved Ships in Scale Magazine is back and charting a new course for 2026!
Discover new skills, new techniques, and new inspirations in every issue.
NOTE THAT OUR FIRST ISSUE WILL BE JAN/FEB 2026
You are using an out of date browser. It may not display this or other websites correctly.
You should upgrade or use an alternative browser.
You should upgrade or use an alternative browser.
Mantua Sergal President frigate 1:60 build log.
- Thread starter J w rogers
- Start date
- Watchers 17
- Joined
- Feb 23, 2019
- Messages
- 420
- Points
- 323

I had this kit not to long ago and I found the planks to fragile and would snap to easily so in the end I gave up and gave it to charity so I share your pain.
It’s getting close! but it’s not going to beat me just yet! I’m now grading my planks with a magnify glass so I know which direction the grain is at to minimise the cupping and snapping, and then bending gradually as I glue them down with cyano. Seems to be working so far, touch wood!I had this kit not to long ago and I found the planks to fragile and would snap to easily so in the end I gave up and gave it to charity so I share your pain.
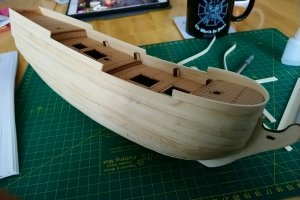
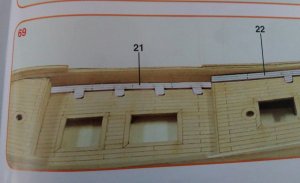
So according to the plans that's the first layer of planking complete and ready to sand. The plan also shows the bow stem planked horizontally, I'm not going to do it like this because it looks really bad to me, it looks like it will be too wide for the scale compared to the rest of the ship. I'm going to do something to make it look more authentic. I've just got too finish the bulwarks first as I've changed the size and lengths so I can make some changes to them to give the ends some curvature instead of the squared ends.
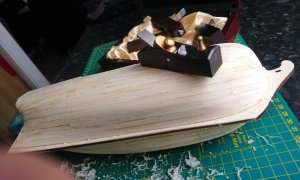
First layer of planking is now sanded and ready to take second layer of walnut on top half. I’ve fitted the 2mm lower wale to which I will but up to with the 1mm planking so it doesn’t stick out so far, as it had this fitted on top on the plan. As there are so many scale and detail discrepancies between the plans and booklet and even the pictures on the box, I’ve decided to make the rest up (scratch build,bashed) as I go along, and make it look a bit more authentic. Shouldn’t be a problem as this kit is not a replica of any particular ship from history! So I will borrow and fabricate ideas and designs for parts from other known ships of around the same period, and revert back to the plans for masts and rigging, as long as I don’t encounter any more problems!
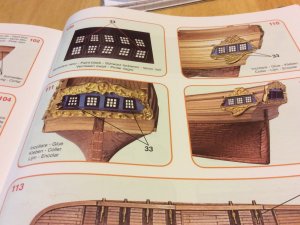
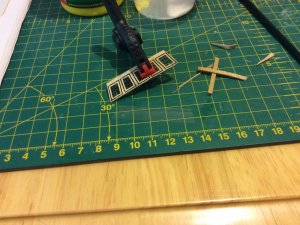
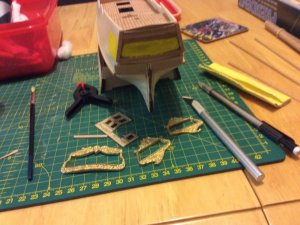
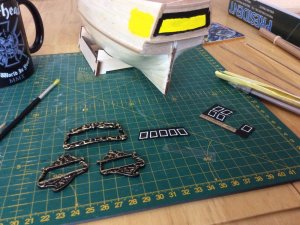
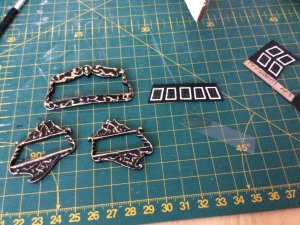
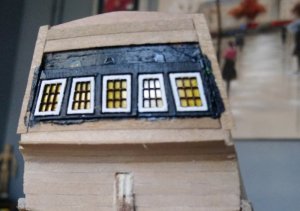
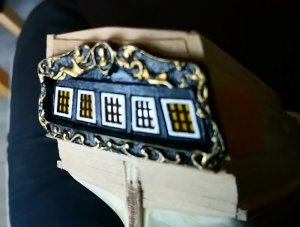
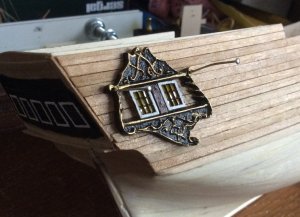
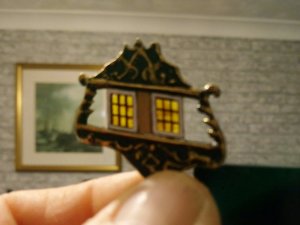
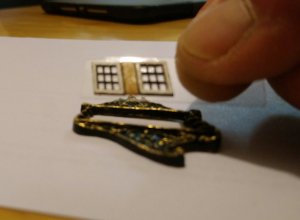
Painting the parts for the stern castle windows and the castings which I have cleaned up with a lot of filing. Decided to paint the areas where they will be fixed yellow, so it looks like the room is illuminated with candle light, and will be putting clear plastic behind the frames to replicate glass.
hell yeah!Go Motorhead !.
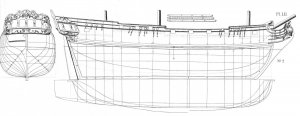
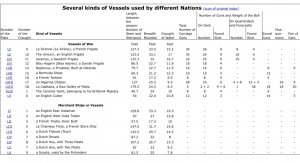
So I stand corrected when I said this is not a particular ship from history, it would seem that I’ve found evidence to suggest it might have been this one, although it only bears a slight resemblance to this drawing but it is very close when you compare the stern gallery castings to those on the plan. But still no evidence to say it was actually built or the name it was given, all I can tell is that it is listed as plate L11 no.2 which is a west India trader and also has no listed armaments but clearly has gun ports.

Anyway, too late as I’ve already made some changes, but I think the bulwarks I can still do as I’ve only just started planking again.


Anyway, too late as I’ve already made some changes, but I think the bulwarks I can still do as I’ve only just started planking again.
When I remember correctly, a longer time ago, I participated in a discussion about the Sergal President and we summarised, that it is a fictional ship and not based on a real historic existing vessel.......
Thanks for the info uwek, in that case I will use this as a training exercise and continue to modify it.When I remember correctly, a longer time ago, I participated in a discussion about the Sergal President and we summarised, that it is a fictional ship and not based on a real historic existing vessel.......
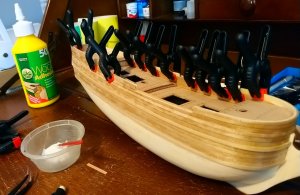
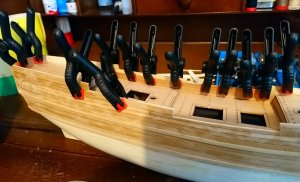
Double planked the top half of the hull and am halfway through double planking the bullocks with 0.5*3mm walnut, found this white wood glue to be really good, dries in ten minutes is resin based and dries clear. Also have done the windows for port and starboard gallery's, cut out of the laser cut sheet, very small and fiddly but really well made, the glazing bars are about half a mm thick. First I glued the frames to a piece of clear plastic and then trimmed flush, then l glued the hole piece into the castings. For interior candle light effect I also painted the back of the glass with yellow acrylic paint the same as the stern windows, then once dried I dry fitted to check they sat correctly.


Last edited by a moderator:
Thanks, much appreciated, yours tooLove your work
Cheers snowy
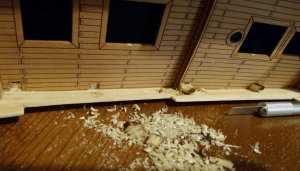
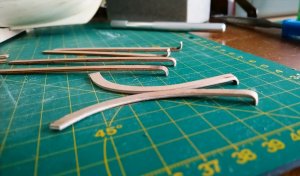
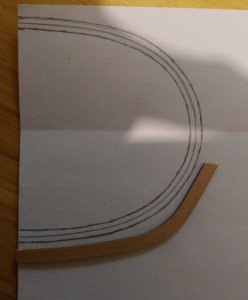
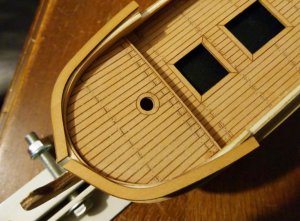
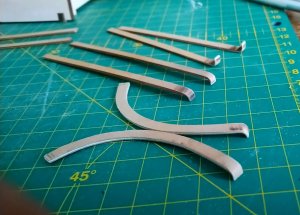
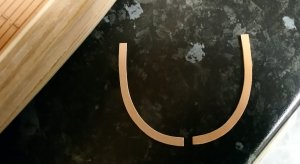
Finally got the planking on the inside face of the bulwarks so now I can turn my attention to the cap rails. In the book and plan it shows these as square ends where they change height from one deck to another, I've decided to go with the design that's on the other drawings that I found earlier and make the ends curved or maybe a scroll. The cap rails are laser cut walnut veneer ply so these I have bent on the ends by wetting and then bending with a soldering iron to get them round. The only problem I've encountered so far is the profile of the fore Castle rails being a different shape to what I've made the Hull, it was most likely caused when I faired the Hull, but I'm quite pleased that it has ended up more rounded. So I've made two new ones that I've cut from what was left of the ply sheet. 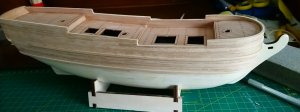


Last edited by a moderator:
Thanks for this ship build log I'll be following as a fellow novice, I've yet to start one. Waiting for my new work-space in my garden which is coming along slowly but surely. Great start, looking good keep it up, all the best for your build.


