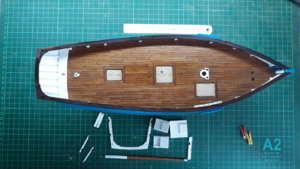
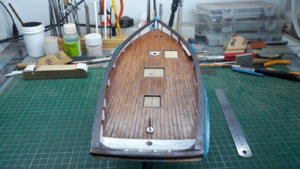
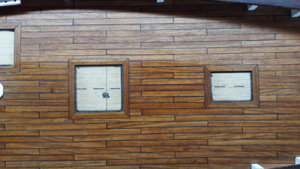
Marie Jeanne - Billing Boats - 1/50

Joined
Sep 4, 2018
Messages
200
Points
253

Location
Johannesburg, South Africa
Hi guys, this is my first build log on SOS.
I am a novice builder, so far I have finished the AL Mare Nostrum and are busy with the AL Mayflower(basically done with the hull and fittings, rigging looming ahead)
I have decided to put the Mayflower on hold and build this model first, to teach myself a bit more about rigging.
I bought the model at Tower Hobbies about 10 years ago(!) for about 20 bucks. The reason it was so cheap was because it was in the 'scratch and dent' section, specifically mentioning that 'some' parts might be missing.

This is what I got:

The box, still in good nick, looking promising
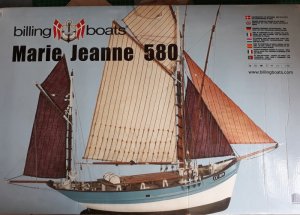
76522
Laser cut plywood sheet, all the little fittings for the deck and rigging
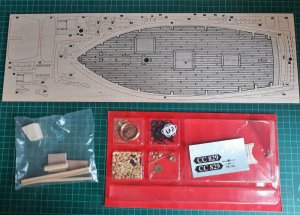
76520
All the masts, sails(plus extra fabric for different color sails), rigging thread, plans
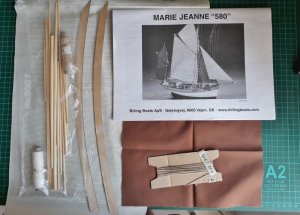
76521

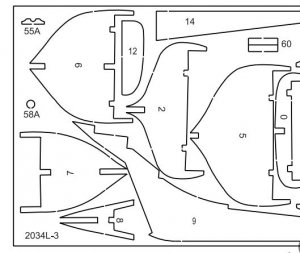
What was missing - the plywood sheet with the keel and frames - eek! ps. and no planks!
Had to figure out a way to make these from scratch, as getting replacement parts to this part of the planet is near impossible.
 
Last edited:
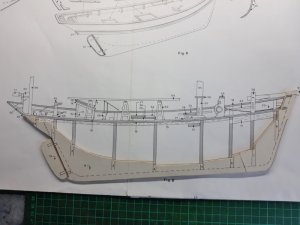
I used the plan drawing to get the shape of the keel and the rudder.
20190130_092644 (800x600).jpg
Luckily Billing Boats included a picture of the missing plywood sheet in their instructions(not to scale)Capture.JPG
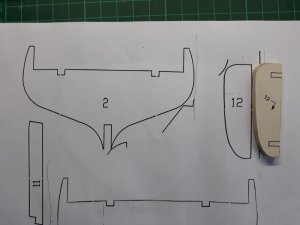
I used the rudder as a template and enlarged the picture on a copier until the rudder fitted the picture, a very rough way of doing it, but beggars can't be choosers!
20190207_070749 (800x600).jpg
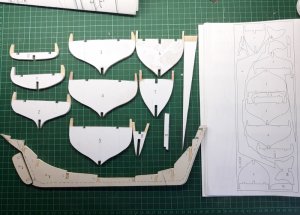
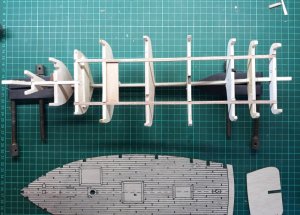
And Bob's your uncle, a full set of frames and a keel cut out of scrap plywood
20190203_081646 (800x571).jpg
Looks like it's going to work!
20190207_064637 (800x571).jpg
 
Some progress on this little beauty:

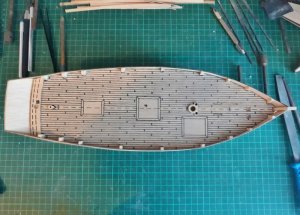
The false deck fitted quite well considering. My bulkheads were about 1mm too wide, so a lot of sanding has been happening in the shipyard!
79659
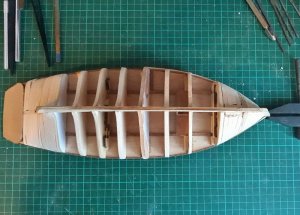
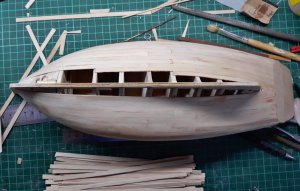
I have added balsa filler blocks to the bow and stern to help me getting a better idea of the shape of the hull79661
79662

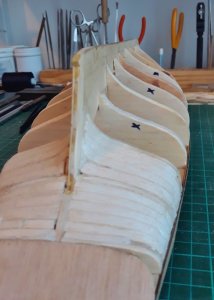
X marks the spot! I have also added extra balsa bulkheads marked with the X to aid with the planking process

79660
The next couple of days will be spent shaping the hull, then planking can start
 
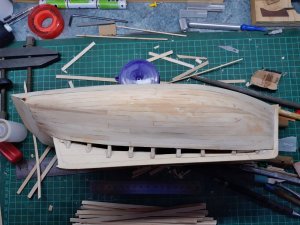
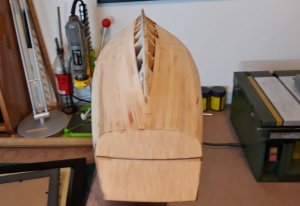
Been planking away for a while now.
At the bottom of this pic is my planking material, coffee stirring sticks made from Birch wood, which I get for the equivalent of $7 a 1000 over here.
20190429_070608.jpg

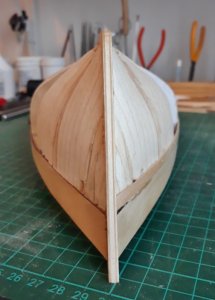
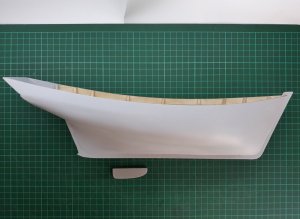
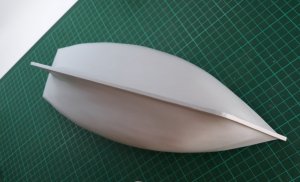
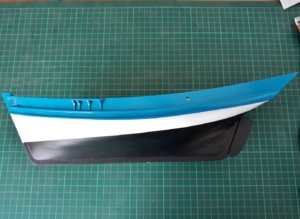
She is taking shape nicely, starting to look the part. The hull will eventually be painted, so not too concerned about the planking pattern.
20190429_070640.jpg

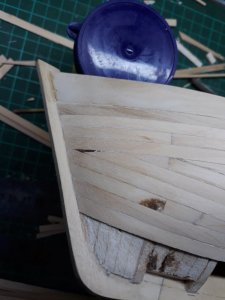
A rabbet line helps to straighten things out
20190429_070721.jpg

The Birch wood bends very easily with a bit of heat from a cheap curling tong and sands very smooth
20190429_070522.jpg
 
Look to be a nice kit
Will follow with interest
And yes what technique did you use for your deck caulkingQuestion-Mark
 
I use black paper sourced from the local stationary store. I have seen other builders using the same or similar technique( for example - the excellent La Jacinthe by Kortes, using plastic film - La Jacinthe)

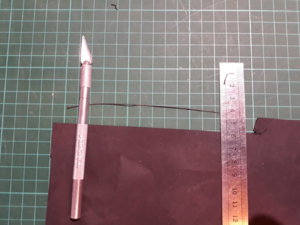
First cut a paper strip roughly the same thickness as the planking strip - 0.5 mm
It looks like a tedious process, but after I've done a couple it is getting easier and easier.
20190820_061941.jpg

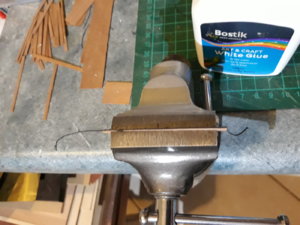
Then glue to the planking strip which is kept firm in a vice (apologies for the quality of the photo, had to rush before going to work this morning)
20190820_062430.jpg

and dry fitted at the bottom
20190820_062609.jpg
 
I use black paper sourced from the local stationary store. I have seen other builders using the same or similar technique( for example - the excellent La Jacinthe by Kortes, using plastic film - La Jacinthe)

First cut a paper strip roughly the same thickness as the planking strip - 0.5 mm
It looks like a tedious process, but after I've done a couple it is getting easier and easier.
View attachment 108385

Then glue to the planking strip which is kept firm in a vice (apologies for the quality of the photo, had to rush before going to work this morning)
View attachment 108386

and dry fitted at the bottom
View attachment 108387
I am also often doing the caulking with black or dark grey paper, which works well, especially if you use wooden glue. Due to the fact, that paper is also produced out of timber, you can also sand the deck surface very easily.
One small hint to your way:
We can see, that you cut the paper on the thickness of one plank, and glue this one very small strip on the single plank.
I am usually prepare a pack of several planks of the same length (f.e. 6 planks), glue the black paper with the width of the thickness of the complete 6 planks.
After drying, you can separate the 6 planks with a very sharp knife, cutting through the paper longitudinal - it is working well for me and reduces the work......hope you understood my explanations
If not......and I guess so....take a look at this page, which is explaining it well with photos:
 
Back
Top