- Joined
- Jun 17, 2021
- Messages
- 3,199
- Points
- 588

I'll make a point to look it up!
 |
As a way to introduce our brass coins to the community, we will raffle off a free coin during the month of August. Follow link ABOVE for instructions for entering. |
 |
 |
The beloved Ships in Scale Magazine is back and charting a new course for 2026! Discover new skills, new techniques, and new inspirations in every issue. NOTE THAT OUR FIRST ISSUE WILL BE JAN/FEB 2026 |
 |

Thanks JeffThe craftsmanship on the building slipway is great, so I'm sure this model is going to turn out wonderful! I'm looking forward to seeing your build which I'm sure will be excellent !
Jeff
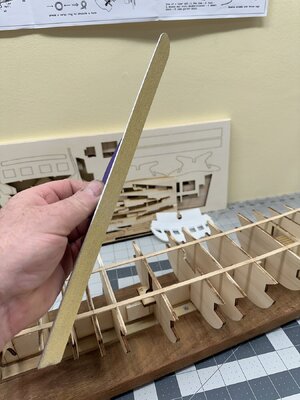
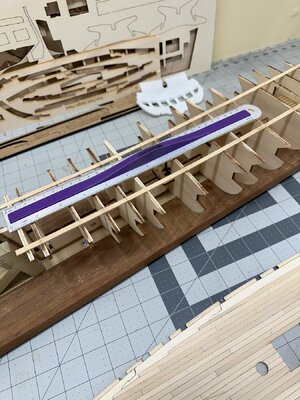
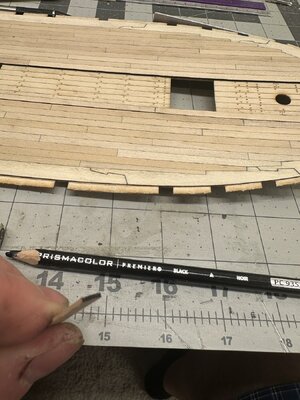
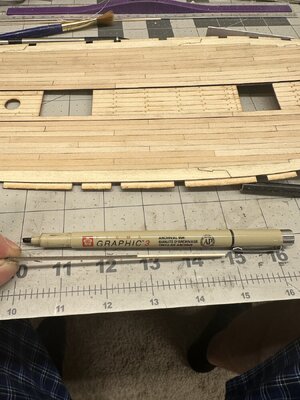
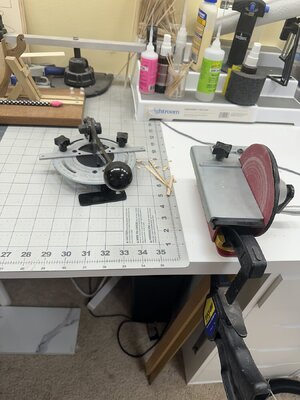
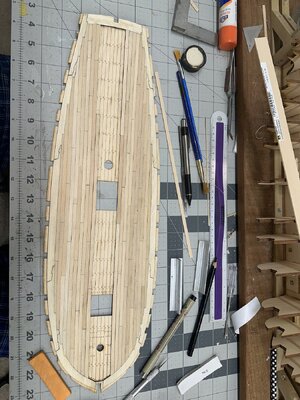

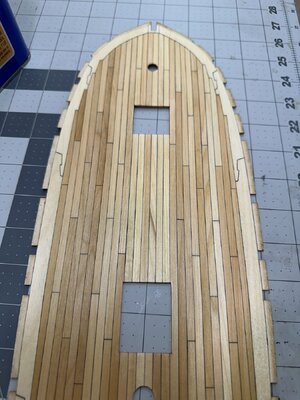
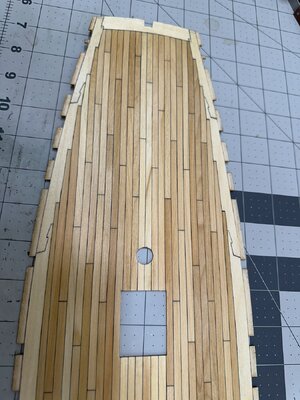
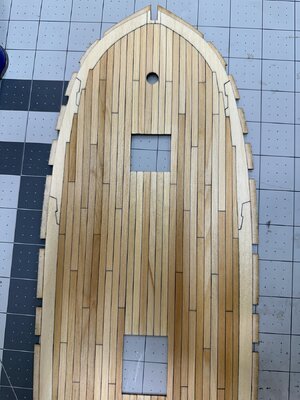
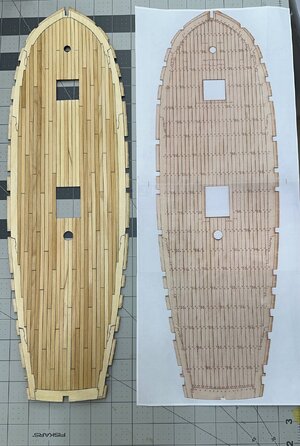
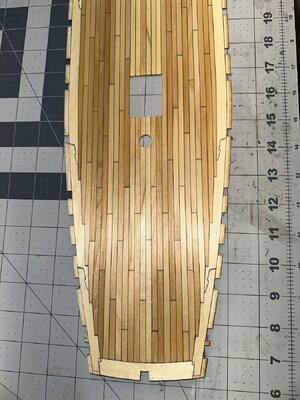
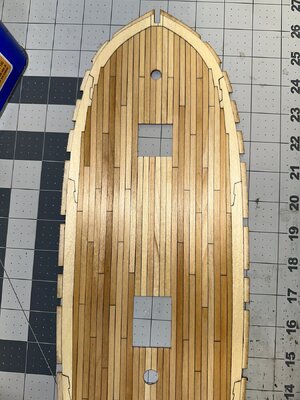
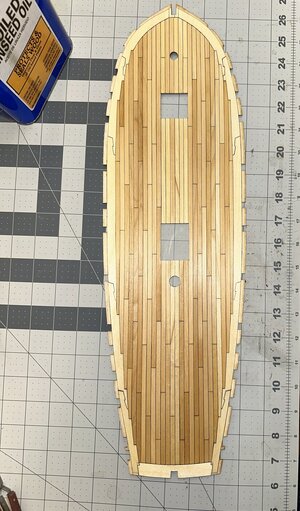
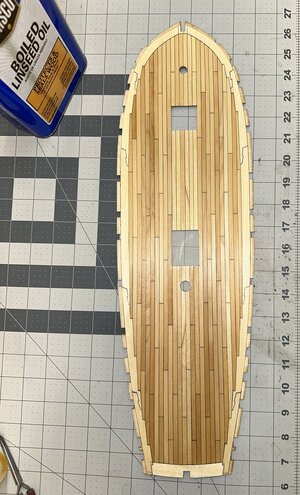
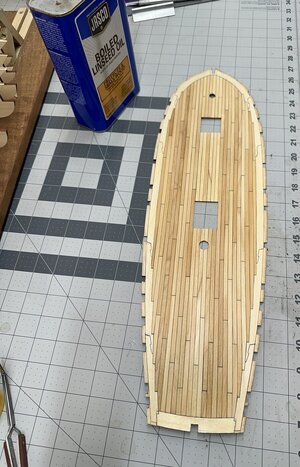
Beautiful rich colours and varied tones. Lovely deck work.Long over due update. Lots of outdoor yard work to do. So haven’t had much time to work in the shipyard. Sorry, I crammed a lot of stuff in one post. I got all of the bulkheads glued and I faired the tops of the bulkheads for the gun deck. I used a flexible ruler with sticky back sand paper to get the job done. The kit comes with the choice of using the laser cut deck or planking the laser cut deck with 1x5 mm planks. I chose to plank my deck as I think it will offer a better look. I used basswood planking that I milled myself on my mini table saw. I’ve then cut the planks to length and sanded the ends with my Ultimation sander and cutter. For imitating caulking I used a colored pencil for the end grain on the planks because the ink will suck into the pours and make the ends not as sharp. And a non-bleeding ink archival pen for the long grain. Once the planks were laid and sanded smooth and level I applied linseed oil. Once I have a few coats of linseed oil on, I will treenail it with birch wood toothpicks. I don’t like bamboo toothpicks because the grain is porous . I made a photocopy of the laser cut deck before I applied the planking so I have a reference for the tree nail pattern. I really like how the deck came out with all the variation and color and tones of the basswood. I was thinking of using Maple on the main upper deck. But I am thinking I will not have as much variation and wood tones as the basswood. I guess I’ll cross that bridge when I get there. Sorry for any typos as I am doing this post on an IPhone at 11:30 at night.View attachment 449944View attachment 449945View attachment 449946View attachment 449947View attachment 449948View attachment 449950View attachment 449951View attachment 449952View attachment 449953View attachment 449954View attachment 449955View attachment 449956View attachment 449957View attachment 449958View attachment 449959View attachment 449960
Thank you!Beautiful rich colours and varied tones. Lovely deck work.
DittoBeautiful rich colours and varied tones. Lovely deck work.
Thank you. Lots of holes to drill next.Now that's a nice looking deck! Congratulations!
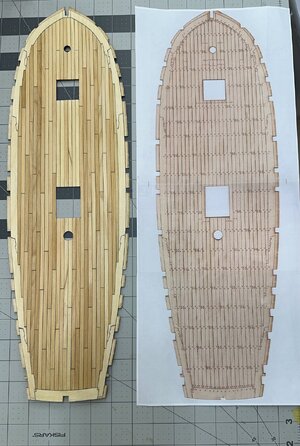
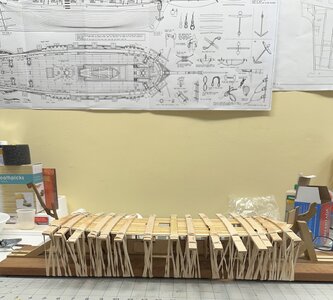
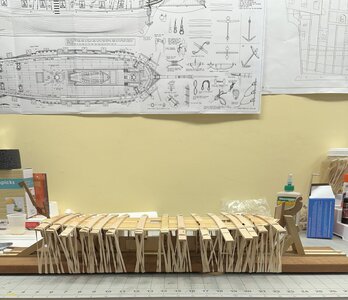
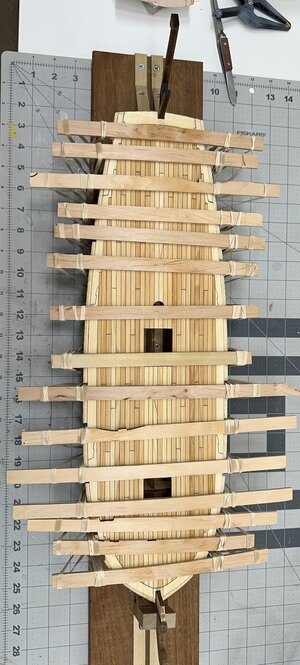
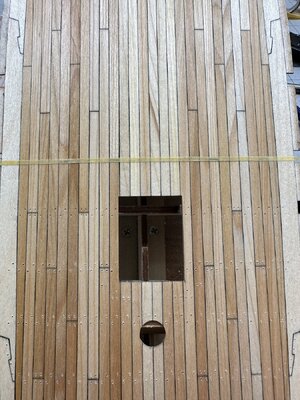
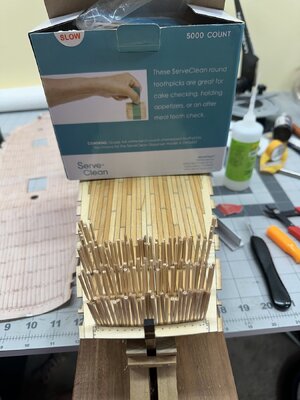
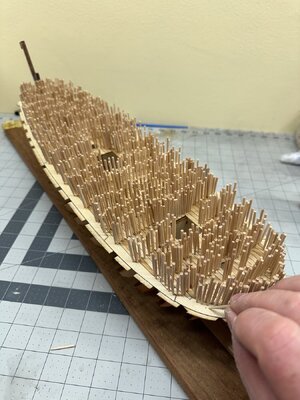
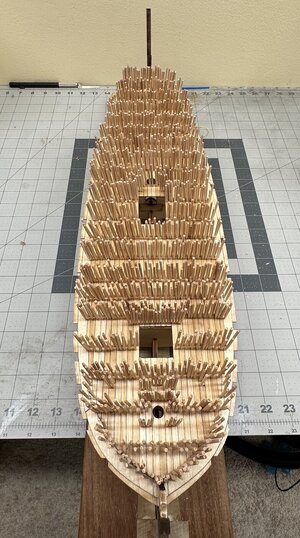
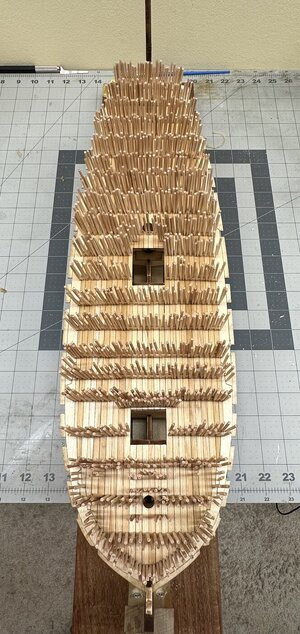
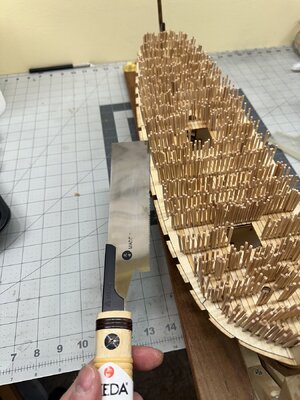
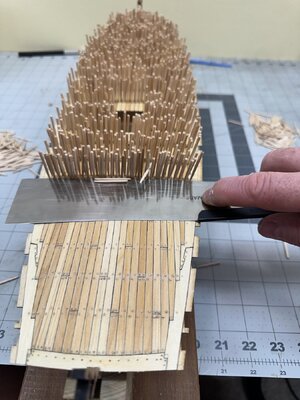
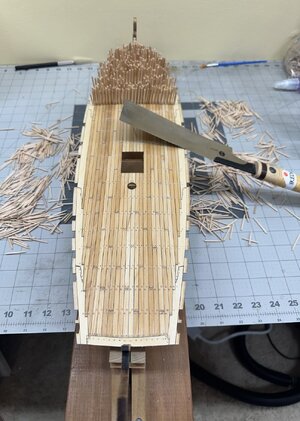
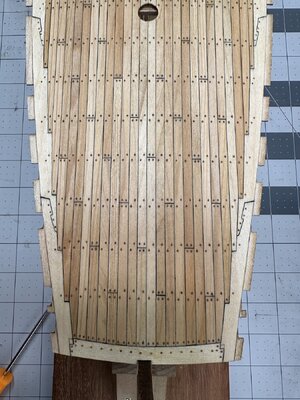
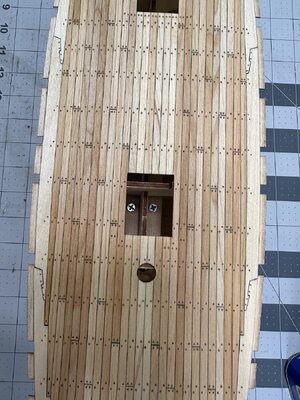
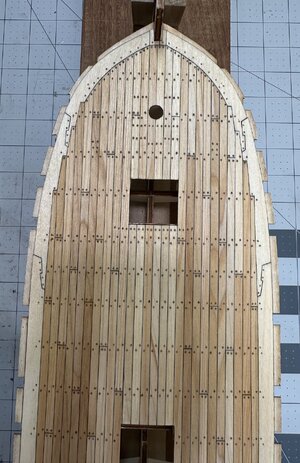
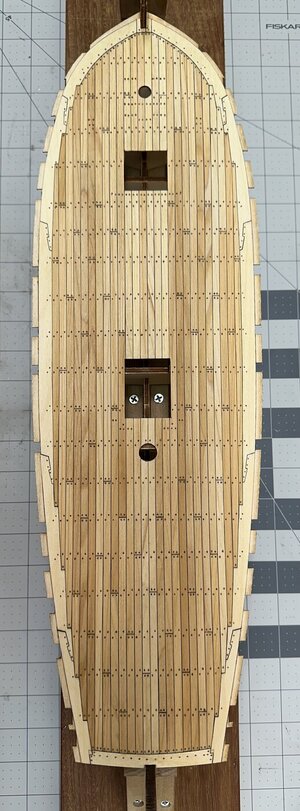
That's an impressive porcupine! Very nice result!Been drilling lots of holes for tree nails. About 1400 to be exact. I first glued the deck to frames. Then I used a .7 mm bit. Thinking I should have used a .6 maybe even a .5. But this is the gun deck. So not to worried about it. I used birch wood toothpicks not bamboo. I made a photo copy of the laser cut deck since the pattern would be lost with 1x5 deck planking. Once the holes were drilled I used waterproof titebond wood glue. I then used zap thin ca from the bottom to really secure them in place. Once the tree nails were cut and sanded I applied some more boiled linseed oil. Since birch wood toothpicks are a little more exspensive I saved the cut offs for my San Bartolome.View attachment 452415View attachment 452416View attachment 452418View attachment 452419View attachment 452423View attachment 452424View attachment 452425View attachment 452426View attachment 452427View attachment 452428View attachment 452430View attachment 452431View attachment 452432View attachment 452433View attachment 452434View attachment 452435
Thank you!That's an impressive porcupine! Very nice result!

Thank you!Beautiful !
thank youReally very good work on the deck planking and treenailing - Well done
Craftsmanship and patience will come with time. Just keep on persevering. Thank you for the compliment!OH my goodness, You are serious indeed. Great craftsmanship and Patience, which I continue to work on. right now Im at the tying block stage on my first model ,I think Im going nuts but Im hanging in.....I really appreciate your post ,Thank you......
