• Ships of Scale has incorportated an extra level of security when you log In. Please follow on-screen prompts to acknowledge that you are not a robot via a "Check Box" or a "Pictorial Check Box Puzzle". This is needed due to higher level of AI Activity Security.
  • SUBSCRIBE TO SHIPS IN SCALE TODAY!

    The beloved Ships in Scale Magazine is back and charting a new course for 2026!
    Discover new skills, new techniques, and new inspirations in every issue.

    NOTE THAT OUR NEXT ISSUE WILL BE July/August 2026
  • Win a Free Custom Engraved Brass Coin!!!
    As a way to introduce our brass coins to the community, we will raffle off a free coin during the month of August. Follow link ABOVE for instructions for entering.

MEERMIN Dutch wijdschip 1/44

  • Thread starter Thread starter Iterum
  • Start date Start date
  • Watchers Watchers 7
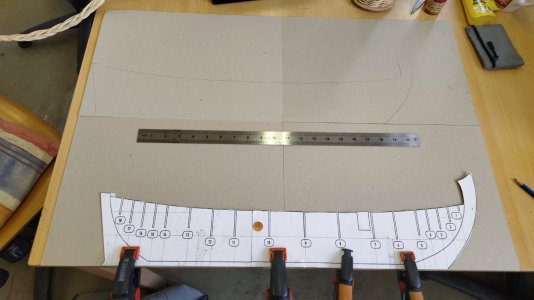
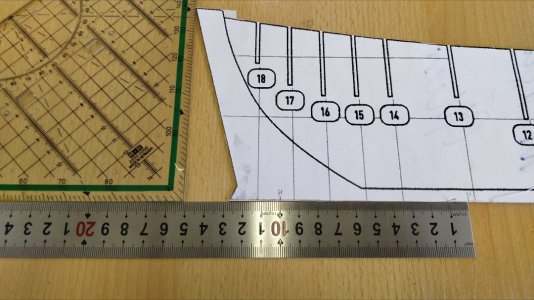
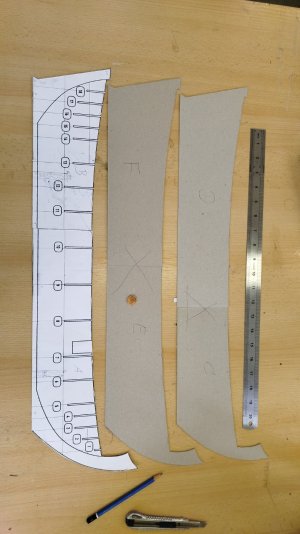
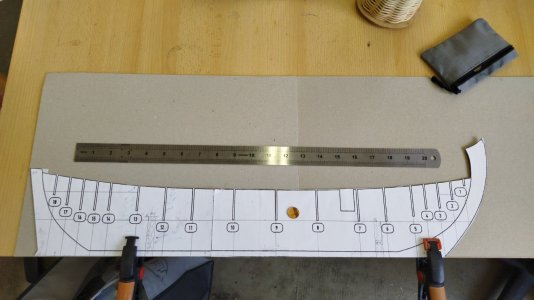
I ordered DIN A2 bookbinder's cardboard and the spine doesn't fit - even laying diagonal by some millimeters.

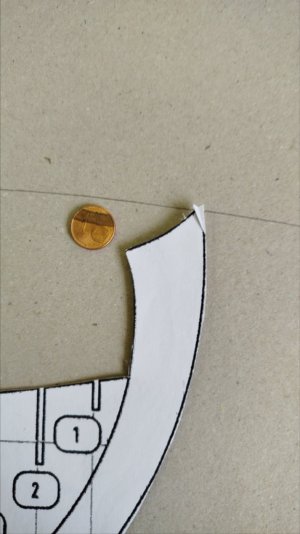
So I cut the spine into two and placed her on top the 1mm cardboard:
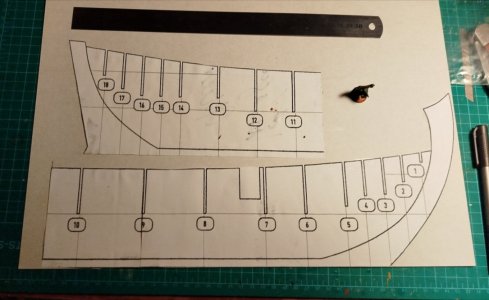
Polish_20260923_210120909.jpg

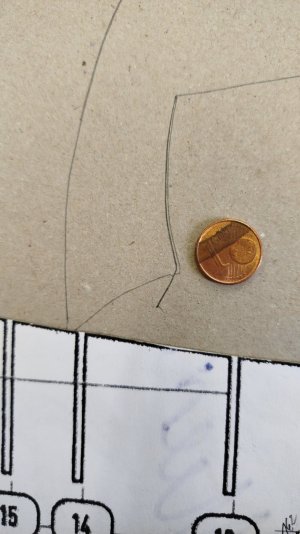
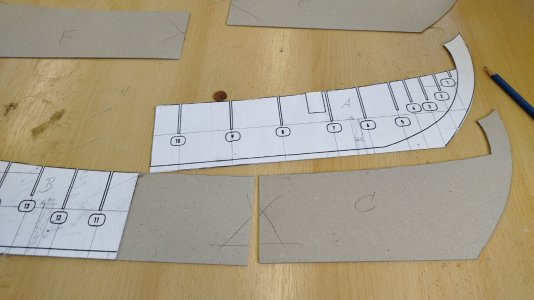
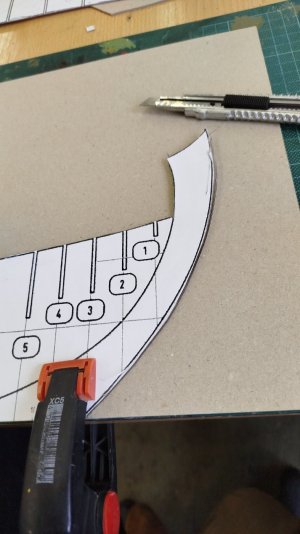
I could not go to bed this night before the very first layer was cut out. The next layer is cut near bulkhead four - and so the laminated spine-parts do fit together giving a stiff 5mm thick centerboard. Being glued together, than the slots for the bulkheads will be added by the use of my trusted Proxxon table saw.

So this night I worked it out this way:
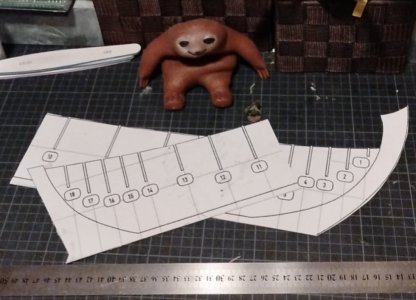
Polish_20260923_221315628.jpg
 
Last edited:
Hello colleauges, fast steps foreward are a great thing to have - after my experience in 1/44 a lot is easier here in 1/33 scale.

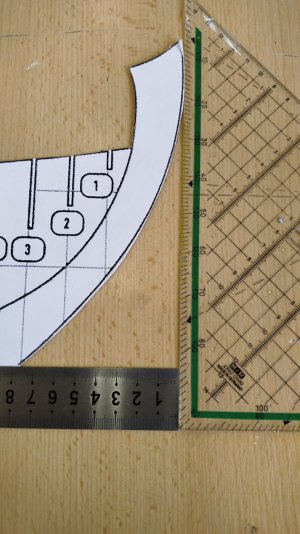
Today I worked with the spine. As my centerboard is a bit longer than the DIN A2 sheets - I decided to change to my pile of 2mms bookbinder's cardboard. By this the hole 5mms thickness is build by three layers.
IMG_20260924_103831_267.jpg

I also was in need of a single sheet per part:
Polish_20260924_113556065.jpg
IMG_20260924_103149_276.jpg
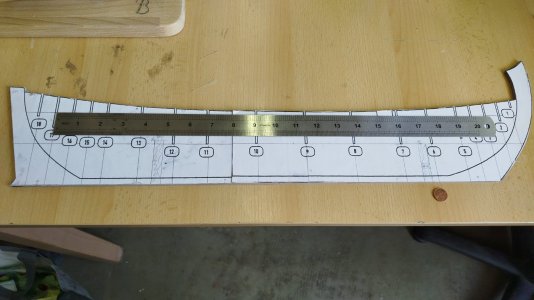
I positionated the parts in an overlapping pattern for more stability. I measured the mid between stem and stern and took there just the very half at 162mms for my slots outside:
IMG_20260924_101716_727.jpg
Polish_20260924_113523303.jpg
and also added the stand's pair of slots of 5×10mms stanchions to keep the boat upright:
IMG_20260924_110504_067.jpg


IMG_20260924_110708_443.jpg

IMG_20260924_111258_725.jpg
So now I am awaiting my glue to bond.

Best wishes from Berlin Card Yard,
Chris

IMG_20260924_102911_921.jpg

IMG_20260924_110131_414.jpg
 
@Ab Hoving

IMG_20260924_115000_146.jpg

Dear Ab,

progress is fast in this "semi-kit" by your drawings. So as I want the kick of the struggle of a rigging I would like to ask you for your mast plan and rigging details - because I think when reading to literature I cannot figure it out by myself...

Certainly there is the question WHERE to strengthen the hull tontake the righings' forces.

Thank you very much.
 
Hello Chris,
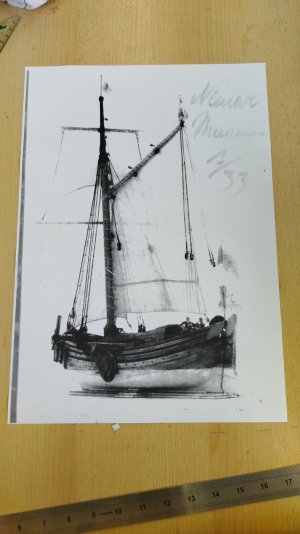
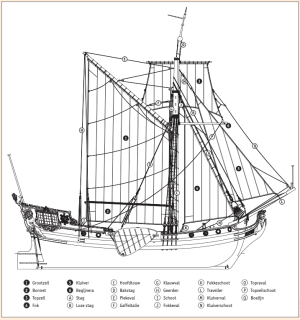
I see you chose the standing gaff rig for your wide ship. This rig is actually the same as what was used for Statenjachten. Here is a picture that is applicable:
Scherm­afbeelding 2026-09-25 om 08.07.12.png
As to reinforcements of the hull: I suppose you have cut the hole for the mast into your spine? If you execute the foot of your mast as a fork, fitting over the spine you are sure that the mast is upright. It might be wise to reinforce the location of your channels, because you are building at a relatively large scale.
The ratlines on the shrouds are not necessairy.
Good luck.
Ab
Furthermore
 
Back
Top