Midwest Products Skipjack

Ok a question for those more experienced builders out there.

I bought replacement blocks for the kits single plastic blocks.

In review of the rigging I realized I will need several double blocks also.

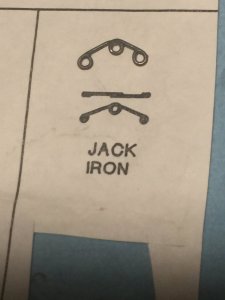
Some single blocks need loops on both ends to correctly rig.

So my question is how to add loops to plain blocks? I think it’s called stropping the block?

I have Walnut blocks 4mm size which have groves on sides of blocks. Both single and double blocks.

Anybody have good instructions or links to videos on this miniature task?

Kurt
I’ve worn out the pages of “Lennarth Petersson’s “ book “Rigging Period Ship Models”. Lots of good information on rigging and blocks.

Jan
 
Last edited:
If you pardon the pun, I got a little work done tonight.

After some research in forums and online I got a Perry’s good idea how to strop my rigging blocks.

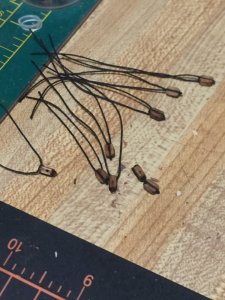
So I worked up a batch to test out and see how they looked.

I “borrowed” some of the Admirals embroidery thread which was a bit heavier than black thread in kit to strop the blocks.

I am letting glue dry and harden before I cut off ends of string. About half done with required quantity needed.

Once I figured out the process I could complete one block in about two minutes.

Here is what I have so far.

PS woodgrain in photo is kitchen table! My workshop for now!

Kurt K
6BE30270-A0C0-4958-AD7B-969C56A223EB.jpeg
 
Ok project update. More rework in progress.

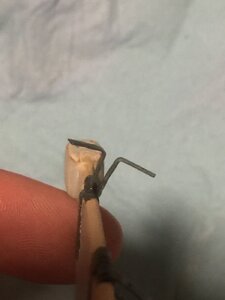
I didn’t like thin boom jaws as skit plans had then. Half thickness of boom. Then glue boom bail wire onto jaws. Looks wrong!

So I used scrap wood same thickness as boom to cut replacements. This thicker material will allow for drilling of holes in ends to mount bail bail wire.

5F9C1149-2108-4E5B-8734-0AFE99407953.jpeg

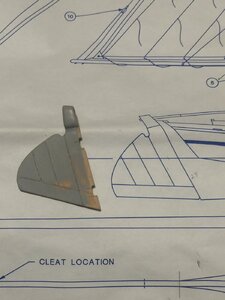
Other update was due to rough handling to be truthful. Ships rudder was just glued to stern post. No gap or hinges. While sanding hull I snapped off rudder accidentally. This made me decide to add hinges which I have ordered

3C27482E-83F0-4880-A985-109B4FBAC809.jpeg

Now to wait and work on boom upgrades and getting boom and mast painted

That’s all for now

Kurt K
 
Slow progress on the Skipjack.

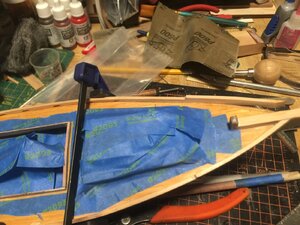
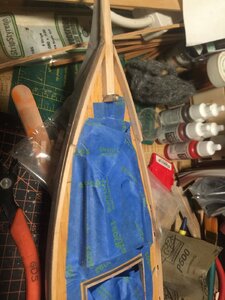
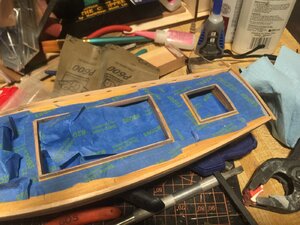
Got the deck edge toe rails attached after some trial and error.

I had to soak wood I hot water to bend and let it dry in near final shape and then work them as I glued them down

Started taping off deck for painting when hull prep is finished

E1BFF407-BADD-4A14-AD23-A60437F8A76A.jpeg474CD909-192B-4626-BDBC-554B7D798D4E.jpegBFD44149-250A-4E2A-8EE2-6B52795AD80B.jpeg
 
This ship was started many years ago, and then went into storage. I pulled it out to get her finished and ship shape.

I am waiting on replacement wood for my OcCre cross section, so its on temp hold.

And the Blandford build is something to keep me busy in spare time, to help me learn scratch building techniques.
 
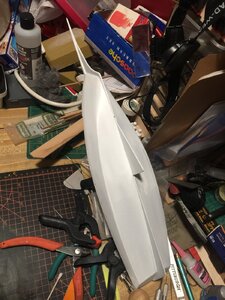
I have been working toe rail and hull prep for painting. Seems like two steps forward and one back.

Had sides and bottom done when I glued toe rail on per instruction with thin CA. It ran down side and bottom with streaks that had to be sanded out again!

About ready to prime for painting. Going AF Red on bottom with White upper hull and Brown trim stripe as current plan!
 
Nice hull work. I have airbrushed some of these kits, but also have brush painted some, as some of those boats were brush painted working boats with dings and dents and scratches.
I'll be following this as I have the Midwest lobster smack to do. I kinda like those kits. Simple, quick, pretty plain, allowing for lots of personal extras and do-da's. I did the Skiff and a really old "Flattie" kit I got at a garage sale. Enjoyable, especially as a fill in while working on a different build.. I'm gonna enjoy the "Canoe" group build.

It's too bad Midwest stopped making kits. I've tried to find a few with little success.

EJ
 
They are still in business but now only list basswood strips & sheets, some walnut, glue, craft supplies and a few tools. No kits and no balsa wood filler or sanding sealer. Had to go to SIG Co for the sealer.

EJ
 
HI KURT, IF YOU WANT TO TAKE A LOOK I DID THIS SOME TIME AGO IT IS LISTED IN SOS KITS, BUT I TOOK A DIFFERENT APPROACH, AS I CAN NOT PAINT EVEN WITH AN AIR BRUSH DON AND PAINT DO NOT MIX, SO I CHOOSE TO DO IT WITH WHAT I CALL PAINTING WITH WOOD, USED MUCH OF MY EXISTING MATERIALS, SUCH AS RED GUM, HOLLY, CHERRY BLACK WALNUT, BOXWOOD, I DO NOT KNOW HOW TO GIVE YOU THE LINK, IT WAS SENTN TO MY NIECE AS A CHRISTMAS PRESENT, TURNED OUT OK. GOD BLESSB STAY SAFE DON
 
Ok back from vacation to Louisiana, I did take a day and drive up to visit with Donnie.

That was fun and enjoyed a short but great visit before driving back to hotel

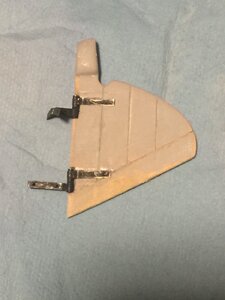
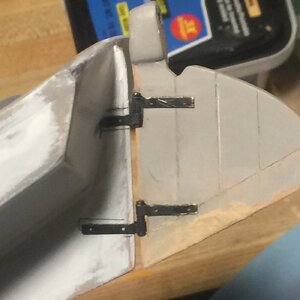
Now I am working again on ship. I had broken off the rudder by mistake in handling and decided to add pintle hinges

Work is progressing and almost ready to permanently attach rudder before final hull painting

I cut notches in rudder and installed pintle then bent top section to fit hull.

Next is test fit before final gluing on

I am looking for small needles to cut and use as nails in pintle a

BCCF6367-B94A-4998-8E64-DD7F332BC3C2.jpeg578CFA3F-576B-49C2-BFAB-9F8320886A3F.jpeg0E0E3CD2-5D3E-4BC4-876D-5F49724CB97D.jpeg
 
Back
Top