-

Win a Free Custom Engraved Brass Coin!!!
As a way to introduce our brass coins to the community, we will raffle off a free coin during the month of August. Follow link ABOVE for instructions for entering.
-

PRE-ORDER SHIPS IN SCALE TODAY!
The beloved Ships in Scale Magazine is back and charting a new course for 2026!
Discover new skills, new techniques, and new inspirations in every issue.
NOTE THAT OUR FIRST ISSUE WILL BE JAN/FEB 2026
You are using an out of date browser. It may not display this or other websites correctly.
You should upgrade or use an alternative browser.
You should upgrade or use an alternative browser.
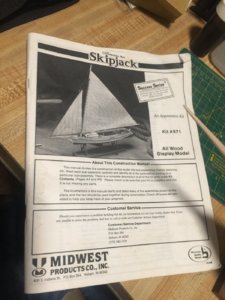
Midwest Products Skipjack
- Thread starter Kurt Konrath
- Start date
- Watchers 25
Kurt Konrath
Kurt Konrath
Kurt Konrath
Kurt Konrath
Kurt Konrath
Kurt Konrath
Kurt Konrath
Kurt Konrath
Kurt Konrath
Kurt Konrath
It has taken me a day or so to review instructions and work completed on this ship.
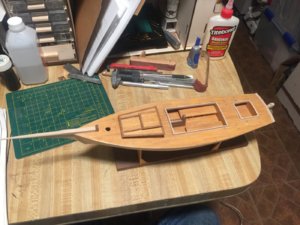
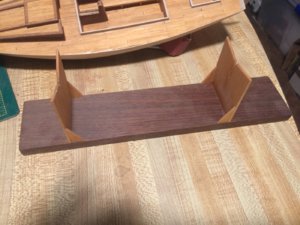
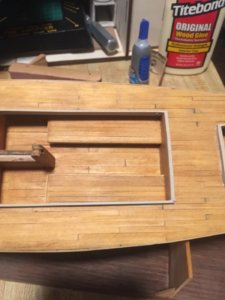
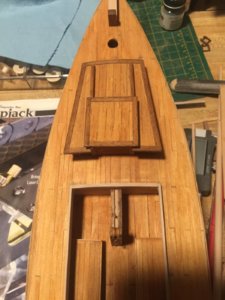
I noticed that I had changed not only the seats in main hold but the top of front compartment and hatch
It looks like I also covered the roof and hatch with planks and trimmed with walnut.
When I was building this with the local club my coach and adviser said to always look for ways to improve on the kit!
So i guess it did just that!
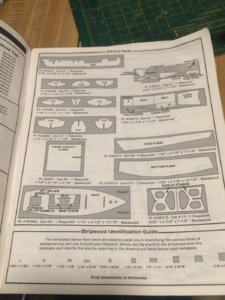
Kit shows a plain flat roof and hatch that was painted.

Kurt Konrath
Kurt Konrath
Also today I made a very minor piece of installation to get going.
It was not much but all I had time for.
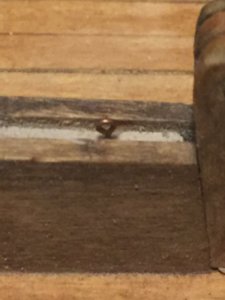
I drilled and installed an eyebolt into the top of centerboard for attaching line to raise the board.
Also I tried something I hadn’t done before.
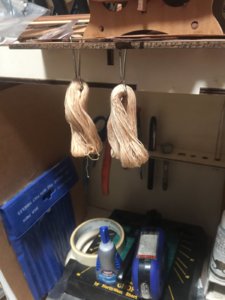
The kit came with two spoils of white thread for running lines. Instructions said to dip in mixture of tan paint and turpentine to darken to look like manilia rope. So I decided to use another process I had Learned in past.
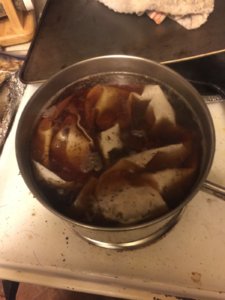
I boiled up a pot of hot water and added several tea bags to get a dark colored tea.
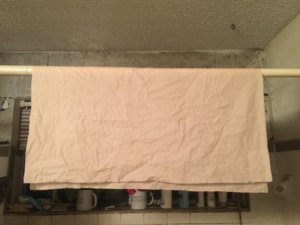
After unspooling thread in a big loop around several fingers I used a clip to soak the thread to give it a darker color. I liked the result and then places the provided sail cloth in the tea soak and boiled it for about 5 minutes till it soaked in colors and lost stiffness of new cloth.
Photos show loops of dyed rope airing out and drying and sail cloth in pot and hanging over shower rod to dry.
Next step when rope is dried well to run thru bees wax to coat it and roll back on spools for use when needed.
I did this now as I need a 4” piece to tie up the center board before moving on with instructions
Kurt
It was not much but all I had time for.
I drilled and installed an eyebolt into the top of centerboard for attaching line to raise the board.

Also I tried something I hadn’t done before.
The kit came with two spoils of white thread for running lines. Instructions said to dip in mixture of tan paint and turpentine to darken to look like manilia rope. So I decided to use another process I had Learned in past.
I boiled up a pot of hot water and added several tea bags to get a dark colored tea.
After unspooling thread in a big loop around several fingers I used a clip to soak the thread to give it a darker color. I liked the result and then places the provided sail cloth in the tea soak and boiled it for about 5 minutes till it soaked in colors and lost stiffness of new cloth.
Photos show loops of dyed rope airing out and drying and sail cloth in pot and hanging over shower rod to dry.
Next step when rope is dried well to run thru bees wax to coat it and roll back on spools for use when needed.
I did this now as I need a 4” piece to tie up the center board before moving on with instructions
Kurt


very nice small project.
Kurt Konrath
Kurt Konrath
Your correct it is a great small easy build. Looks like you built out of box and painted as listed. I am not sure if I want to leave the wood sides above deck and sides of bow sprint plain wood or paint.It's a great little project. And a lot of fun to build. Did this one last year. It's what I used to get back into wooden ship modeling after about a 20 hiatus.
View attachment 145747
Yes I did pretty much do it straight out of the box. I liked the color scheme so I opted to do it that way. I was going to add some dredging nets but decided I wanted to move on to other projects.
Kurt Konrath
Kurt Konrath
Today’s work was to install the first minor bit of rigging.
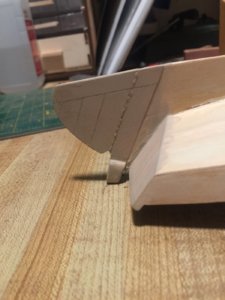
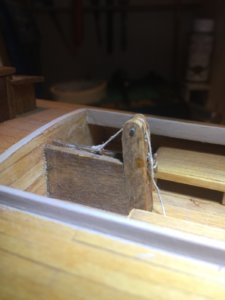
I added the retraction rope for the center board starting at eyebolt installed last night and over roller to clear on aft of centerboard frame!
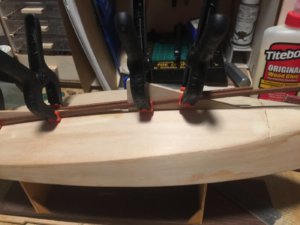
Then I attached the lower section of center board. I used some wood stock and clamps to keep it centered vertically while glue dries
I added the retraction rope for the center board starting at eyebolt installed last night and over roller to clear on aft of centerboard frame!

Then I attached the lower section of center board. I used some wood stock and clamps to keep it centered vertically while glue dries

Nice work. I like your additions.
These small builds can be a joy. I have built several over the years as relief projects between larger more demanding models. Great post and well done!
Kurt Konrath
Kurt Konrath
Progress of last few days was to decide on paint theme!
I bought Antique White for masts and yards and upper hull.
I have a medium brown for trim work and strip on hull.
Found spray can of dark cardinal red for anti-foul on lower hull.
Had to go with what I could find at local stores that were open!
Then I started painting mast and yards for topside.
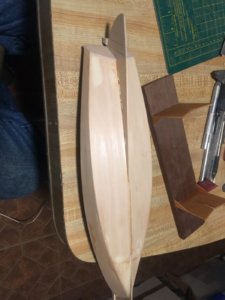
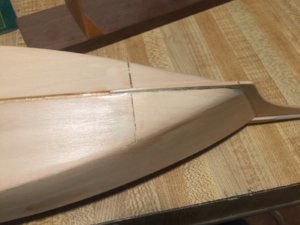
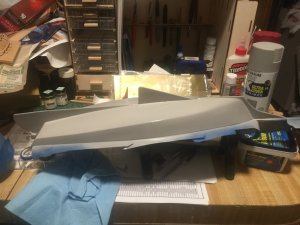
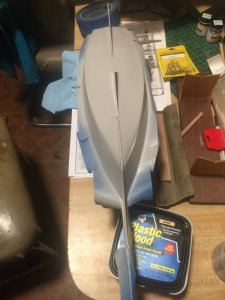
I have the hull some wood putty for minor gaps and scratches in plywood hull and sanded.
Next is to prime and check hull before painting.
Last on list I found in the project box where I bought some wooded blocks to replace oversized plastic blocks. Now I have to add stropping lines to blocks to get ready for use.
Lots of minor prep work still before final assembly begins
Kurt K
Cool. Keep up the good work.
Kurt Konrath
Kurt Konrath
Kurt Konrath
Kurt Konrath
Ok a question for those more experienced builders out there.
I bought replacement blocks for the kits single plastic blocks.
In review of the rigging I realized I will need several double blocks also.
Some single blocks need loops on both ends to correctly rig.
So my question is how to add loops to plain blocks? I think it’s called stropping the block?
I have Walnut blocks 4mm size which have groves on sides of blocks. Both single and double blocks.
Anybody have good instructions or links to videos on this miniature task?
Kurt
Kurt Konrath
Kurt Konrath
Ok while working on hull sanding and priming paint to dry I have stayed busy with other little bits on project.
My first thing was to upgrade cabin stove vent.
The instructions call for 1/8” dowel with paper hood glued on and painted.
I knew I could do better so I picked up some 1/8” brass tubing and package of thin brass sheeting from local hardware store still open
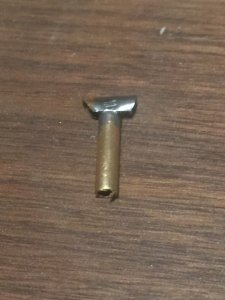
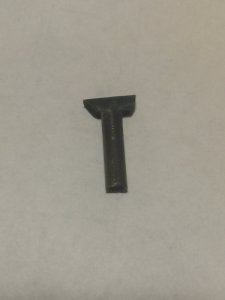
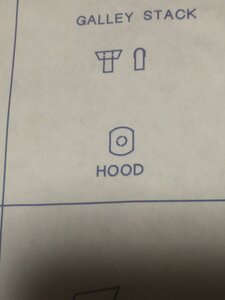
I taped hood design and cut shape from .002” shim stock. Then formed and soldered it to tube. After some clean up I gave it a bath in brass blacking solution to make it look like real stove vent.
Photos show pattern, new part before and after blacking. Some of solder didn’t fully blacken but I am happy as you will have to look under the hood to see light spots.
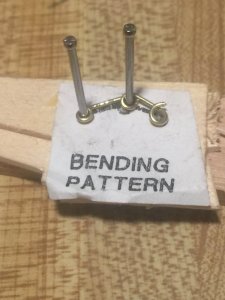
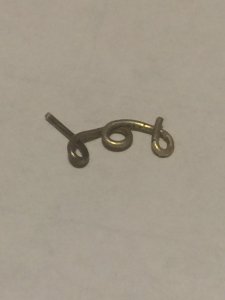
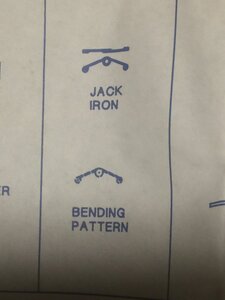
Next on list is part for job rigging a V shaped wire with loops. I am on second try as first didn’t come out too good. I got more .032 brass wire while getting the tube to try again
My first thing was to upgrade cabin stove vent.
The instructions call for 1/8” dowel with paper hood glued on and painted.
I knew I could do better so I picked up some 1/8” brass tubing and package of thin brass sheeting from local hardware store still open
I taped hood design and cut shape from .002” shim stock. Then formed and soldered it to tube. After some clean up I gave it a bath in brass blacking solution to make it look like real stove vent.
Photos show pattern, new part before and after blacking. Some of solder didn’t fully blacken but I am happy as you will have to look under the hood to see light spots.


Next on list is part for job rigging a V shaped wire with loops. I am on second try as first didn’t come out too good. I got more .032 brass wire while getting the tube to try again


