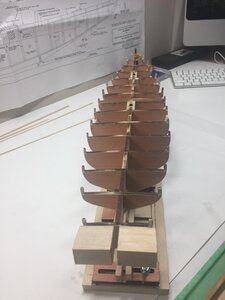
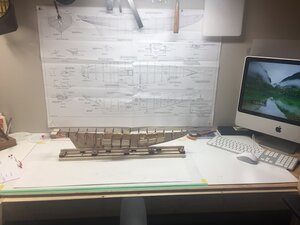
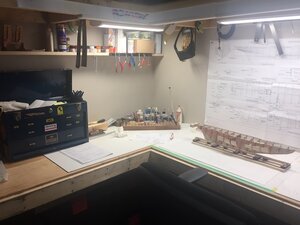
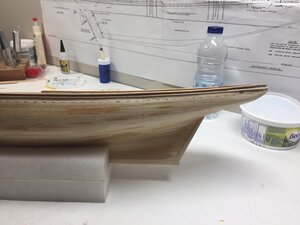
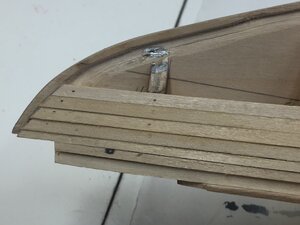
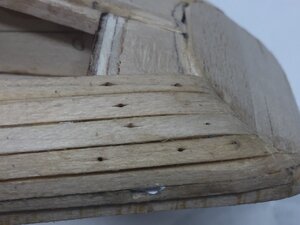
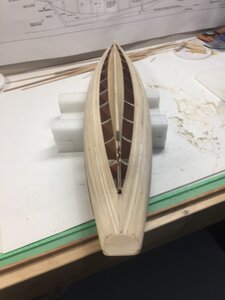
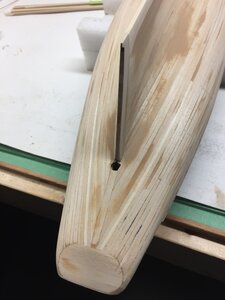
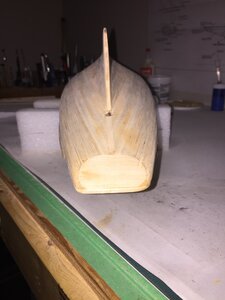
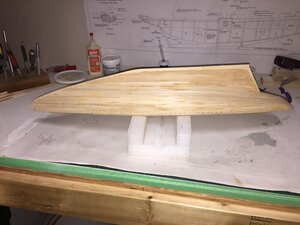
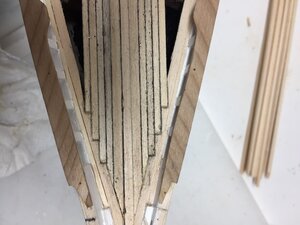
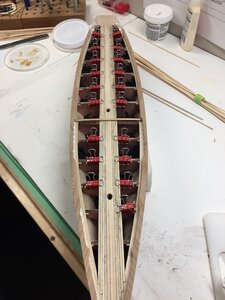
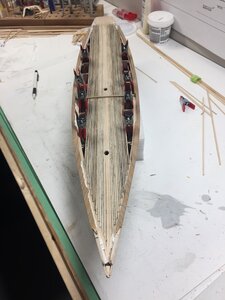
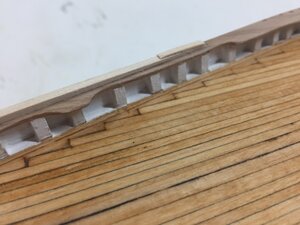
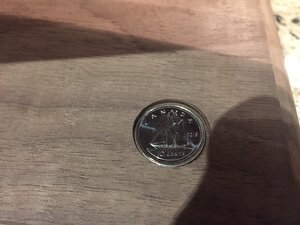
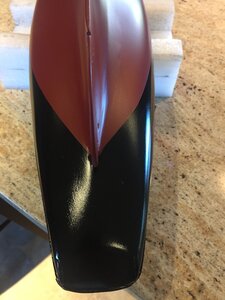
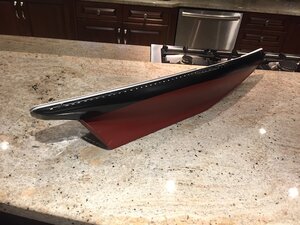
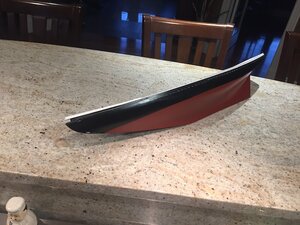
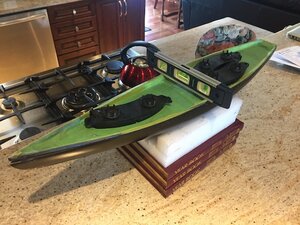
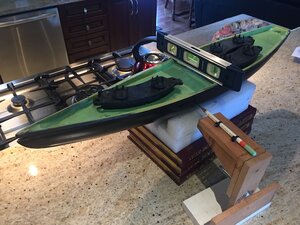
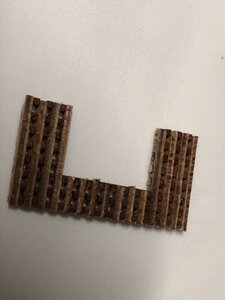
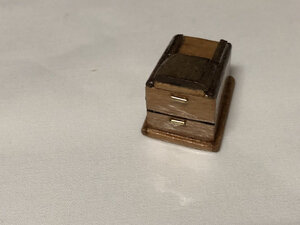
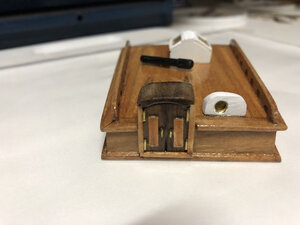
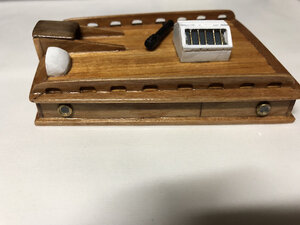
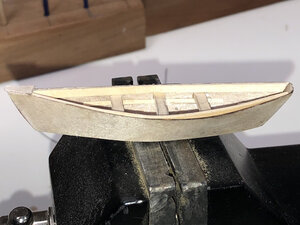
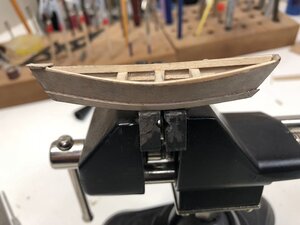
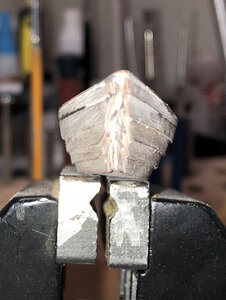
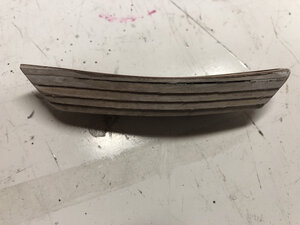
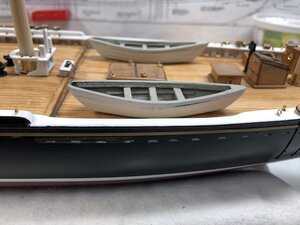
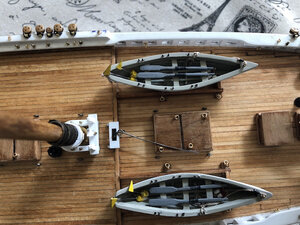
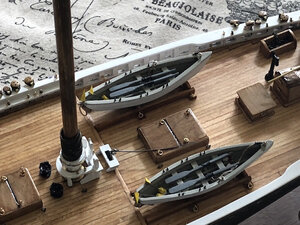
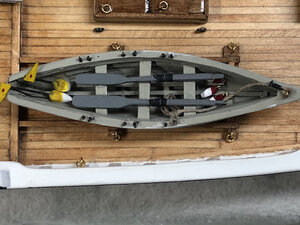
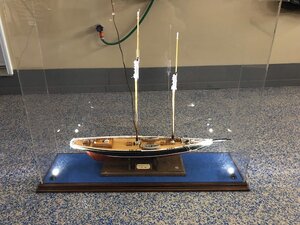
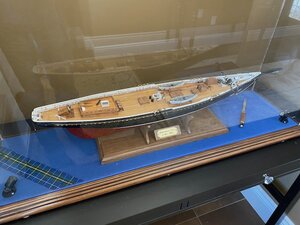
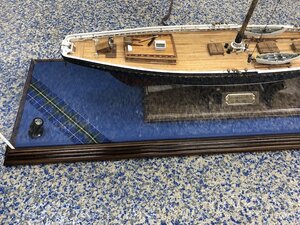
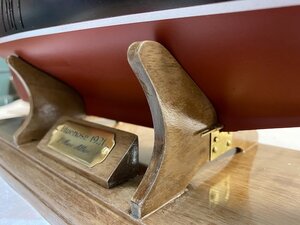
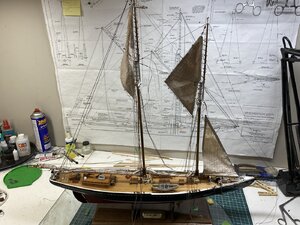
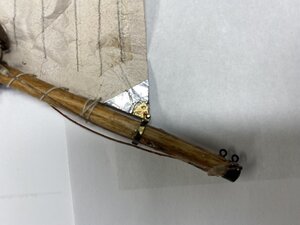
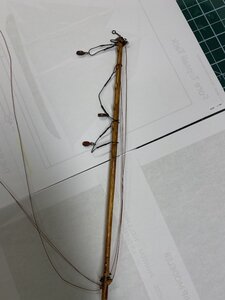
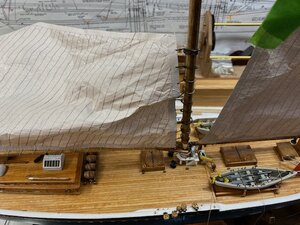
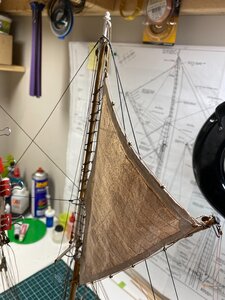
Welcome to the Bluenose build. This ship is the famous racing schooner that appears on the Canadian dime. This kit is from Model Shipways and is 1/64 scale. I started the build my first on May 25, 2017 and have so far found the challenge very rewarding. First, I laid the keel and made sure all was straight then I cut the rabbit along the bottom of the keel. Next was positioning the bulkheads and made sure that they were perpendicular to the keel and straight. My next task was to sand the bulkheads that required shaping in order to ensure that all planks would sit flat on the bulkheads. Following this step, I glued and shaped the stern blocks according to the plans. Then the Horn timbers in the stern were completed. Next I installed the Waterway planks, which need to be installed before the fake stanchions. The next challenge was to complete all the stanchions, which I found difficult at the beginning, as I was, not cutting them straight but, with some practice I was able to finish, prime and paint these. It is better to have these stanchions a little longer than too short, which required removal and re cut. The next task was to install the Haws timbers, Knighthead and Cable chafe blocks. Once this was complete, I was able to make the main rail for both port and starboard sides. I used a piece of cherry 1/16 thick cut from a piece of cherry veneer. This seemed a better way to complete the main rail as the kit included stock, which would require gluing three pieces together in order to give me enough length to fabricate the rail in one piece except for the stern and the bow pieces. Before gluing the main rail in place, I completed the bulwarks as well as the cutting out of the scupper holes. Before installing the main rail, I cut out the slots for the chain plates, as they need to be close to the exterior of the hull, this also makes them close to the outer edge of the main rail. Then it was time to permanently install the main rail. I planked the section of the stern decking as this portion runs from port to starboard. Following this, the hull planking was initiated. This process took some time and can be tedious and a fairly long process about 44 hours. Each plank was treated as a separate task being careful to stagger each plank so that there are three strakes before you start planking on the same bulkhead. You must also ensure that you butt up to the previous plank as well as alternate from side to side in order to prevent distorting or warping of the hull. I used various clamps, and close pins in order to ensure that the strakes were tight to the previous row. I used a syringe filled with lepages wood glue to apply the glue to the planking only occasionally did I use CA glue as I realized that I was allergic to the regular version and switched to the odorless version of it. I also used pins to hold the strakes to each bulkhead while they dried. In order to keep the glue in the syringe from drying and blocking the flow I took a used pill bottle drilled a hole in the top and filled it with water. By keeping the syringe immersed in this bottle I could leave it there for up to one month without it drying out.
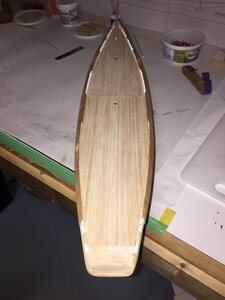
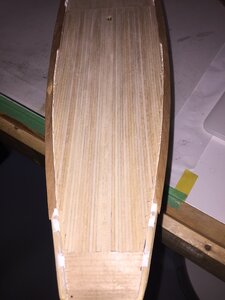
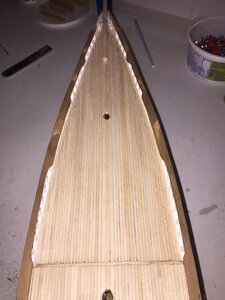
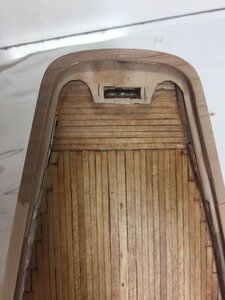
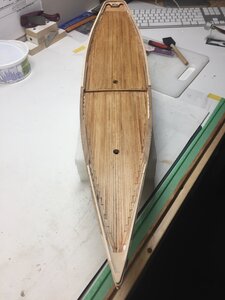
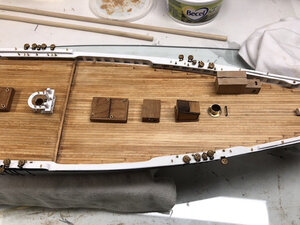
The decking was next which was started in the center and I worked from side to side completing the stern first followed by the bow section. In order to imitate caulking between each plank I used a black wax crayon in order to darken both edges. I decided to use full lengths of planking and did not cut or scribe the planking in order to simulate shorter planks, as we are all aware that they did not use planks that were in excess of 60 ft. on the real Bluenose. You will notice that I did nibbling on each plank as it meets the waterway plank. There are several other ways to achieve this look. The next step was to sand the deck and the hull. I did use a little filler on the hull only. I now have over 120 hours logged since the start of the build.
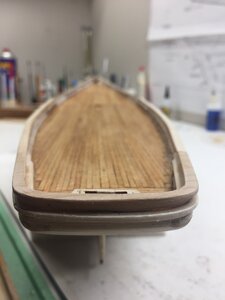
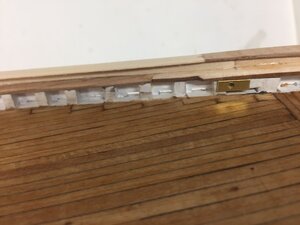
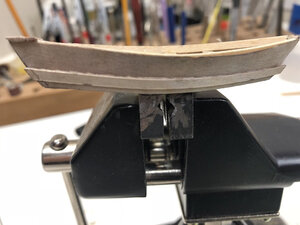
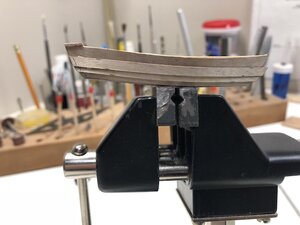
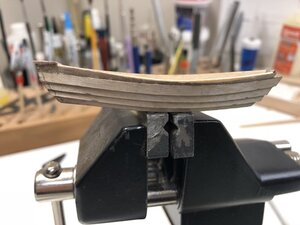
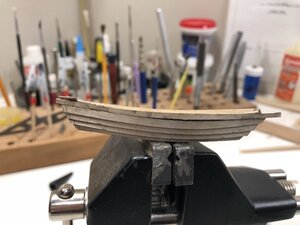
Once the decking completed, I started to work on completing the main rail at the stern. Be careful to install the “Main sheet boom buffer” which is under the stern main rail before you complete the stern main rail. Next came the main rail and the Buffalo rail at the bow. Now it was time to bend and install the Monkey rail at the stern. This can take some time to bend and align the holes for the chain plates, which run through both the Main rail as well as the Monkey rail.
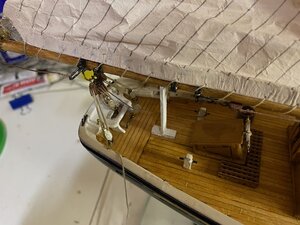
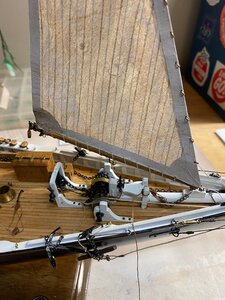
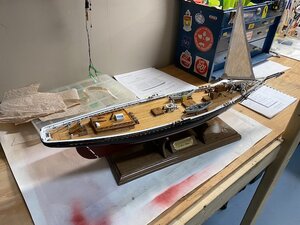
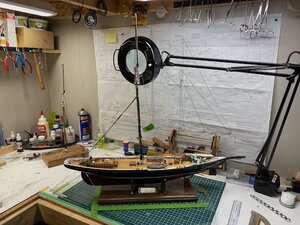
Progress on my Bluenose build.
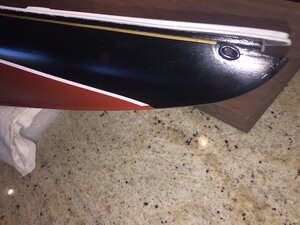
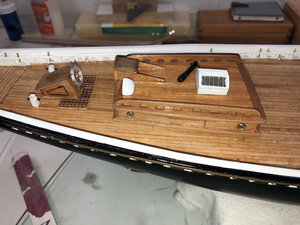
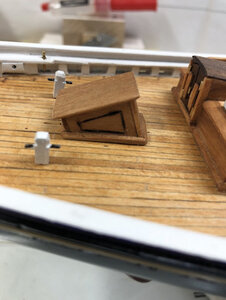
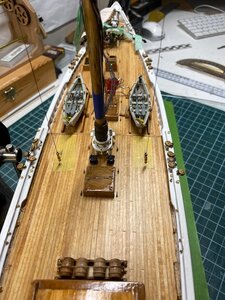
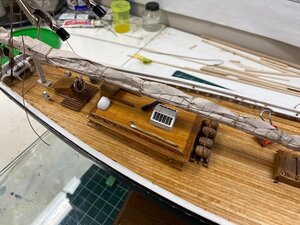
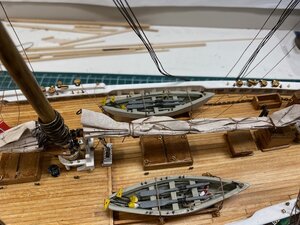
I have now stained and varnished the deck, with a mat water base varnish, completed the main rail as well as the monkey and the buffalo rails, drilled and installed the hawse pipe trim pieces at the bow.
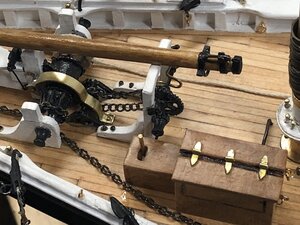
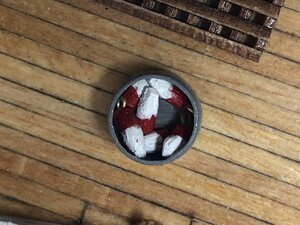
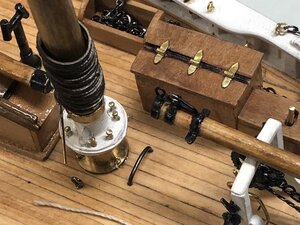
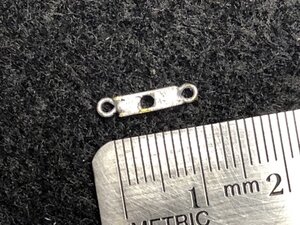
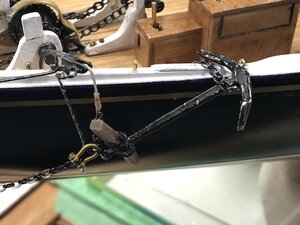
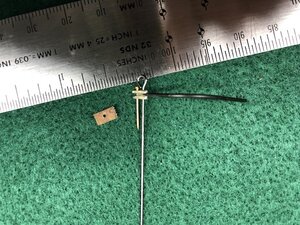
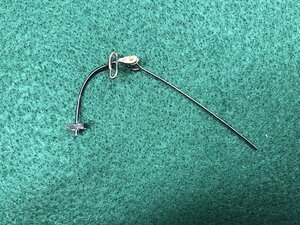
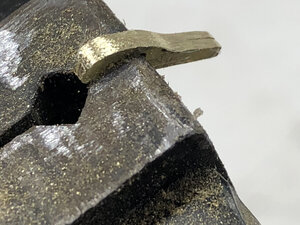
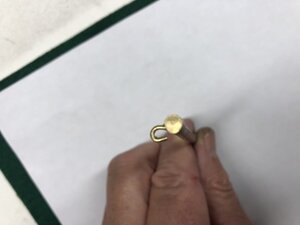
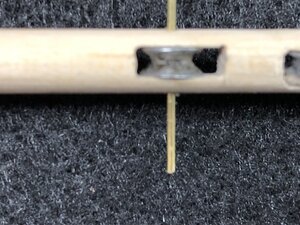
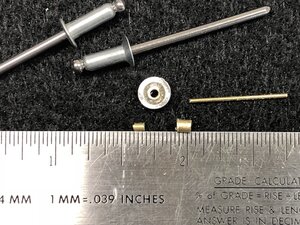
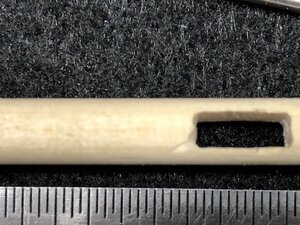
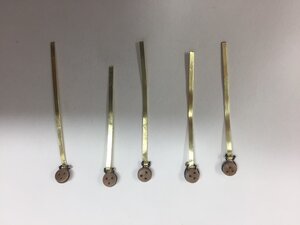
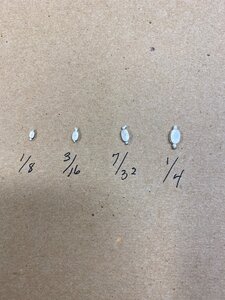
I have also installed the mooring chocks at the stern. I drilled the holes and then covered them with a small piece of brass, in order to have them stand out. I have made several attempts at making chain plates.
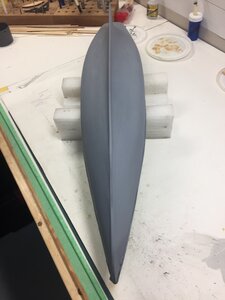
My next project will be to install the fashion pieces at the stern. Following this I will prime the hull...
Last edited:


