• LUCZORAMA SHIPWRECK SCAVENGER HUNT GIVEAWAY. 4 Weeks of Fun • 1 Legendary Prize ((OcCre’s Fram Ship)) • Global Crew Welcome!
    **VIEW THREAD HERE**

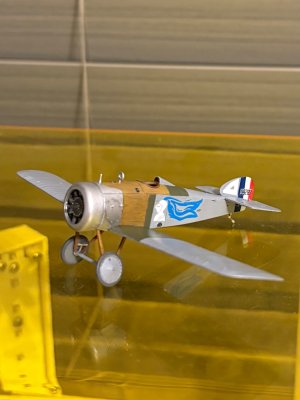
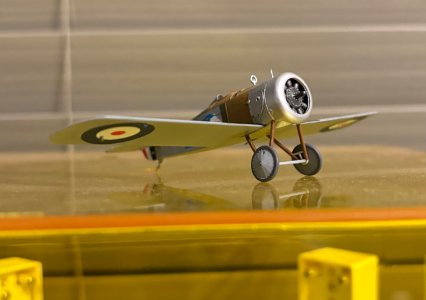
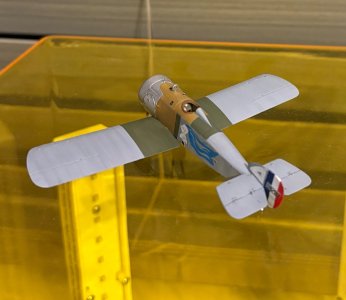
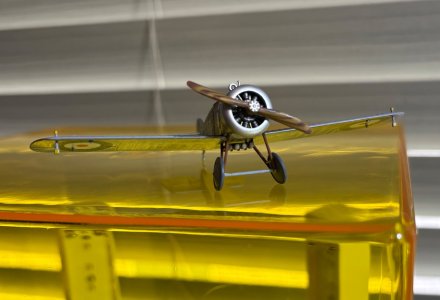
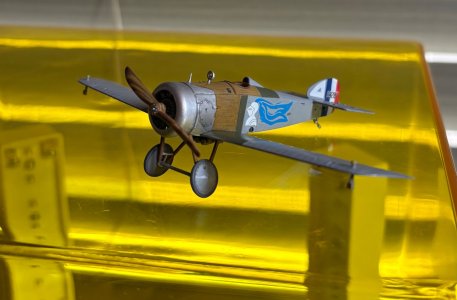
My 1/72 scale aircraft

I just ordered more 1/72 scale aircraft for my collection:
Bristol Bulldog
Fokker E.IV (ww1)
Junkers D1 (ww1)
Vultee Vengeance Mk.II (ww2)

Back to painting the clock.

Next I will start my Sopwith Camel F1.3 Comic, which was a night fighter to defend against nighttime air raids. So the guns were on the wing to prevent muzzle flash from blinding the pilot, there were some running lights and the cockpit was moved backwards to help with reloading the guns. Those were the main differences verses the standard F1 Camel. The moving of the cockpit being the biggest difference that moved the CG and made it fly differently. ;)
 
Last edited:
Work started on the Sopwith Camel F1.3 Comic…
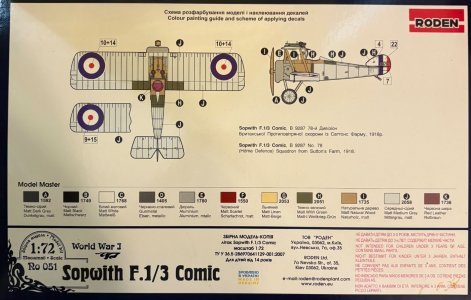
This is the color scheme I am going to use because I am building a Camel F1 in the standard color scheme. So I am using one unique to the ‘comic’…
IMG_8854.jpeg

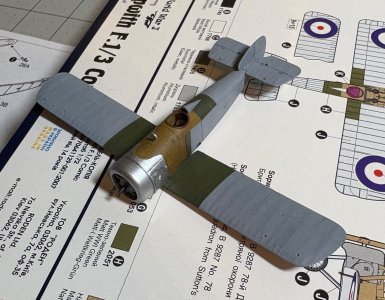
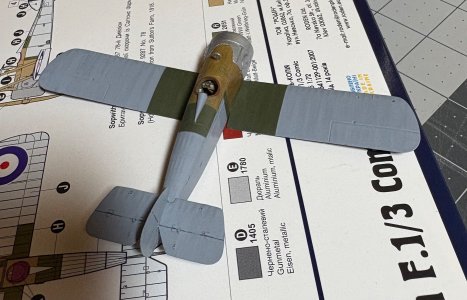
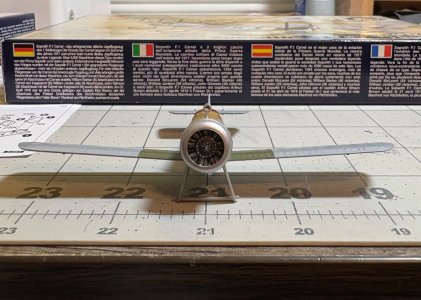
The cockpit was assembled and painted (seat, control stick, instrument panel, etc.) and then the fuselage, lower wing, motor, cowling and empanage assembly were done.

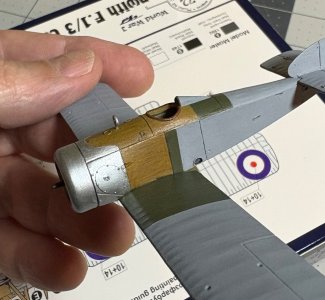
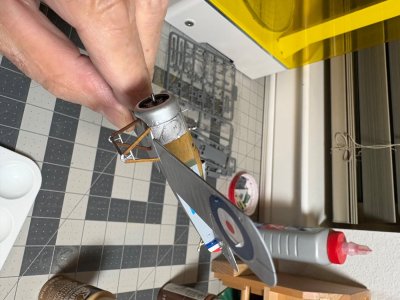
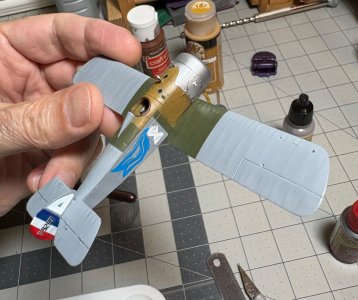
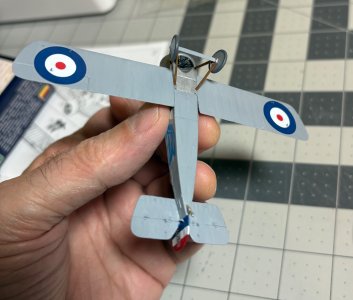
IMG_8860.jpegIMG_8858.jpegIMG_8861.jpeg
So the preliminary painting is done on this, and next I need to add decals, clear coat and then other parts will start going on.
 
Hi Dean,
I like the wood effect you have achieved.
Do you air brush or use brushes?

Cheers,
Stephen.
Thank you, I use brushes.
You have really perfected the wood effect paint scheme!
Thank you, I have done better, but each time is different or unique. ;)
I saw your photos and immediately wanted to comment on your fantastic woodgrain effect. I see that I am not alone. Please, we all would like to know your technique.
Thank you, my technique varies, as I don't want all of the wood I paint to be the same. Panels verses a propeller is different.
On panels I typically paint a base color and then brush darker lines on with a tiny brush to simulate wood grain, and then I typically do a darker wash on top of that. Sometimes I come back with a lighter color and do some accents after that. It really is an artistic experiment that varies every time. And I have also used a charcoal pencil to add wood grain in the past. I still experiment with techniques. I do add a matte clear coat to protect it.
Colors I typically use would be; dark brown, gilded oak, middlestone, burnt umber, mahogany, etc. ...there is no set colors I use every time. So I don't have a set recipe per se, but I mix light and dark colors and stick with wood tones. Hope that helps.
 
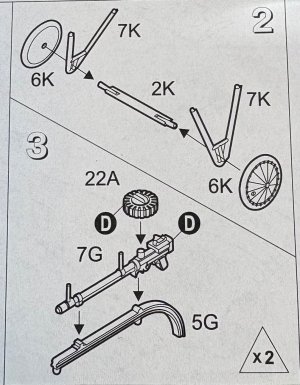
Step 2 shows the assembly of the wheel struts, etc.
IMG_8865.jpeg
This is ridiculous because you can’t properly align this without putting it on the fuselage.
So I saved this for after the fuselage was done…
IMG_8867.jpeg
Once glued on, I ensure the airplane is level prior to the glue fully setting up or curing. I sight it as shown above.

IMG_8874.jpeg
Then I painted it. For the wood, I painted the struts brown and then dry brushed a little gilded oak on them.
Then the wheels were painted and glued on and the decals were added previously.

IMG_8879.jpegIMG_8875.jpeg

IMG_8888.jpegIMG_8893.jpegIMG_8889.jpeg
Next will be the running lights and the propeller, and then it will be time to paint the 8 struts for the wings and then paint the upper wing.
Once the holes are drilled for the EZline and everything is painted I can begin the final assembly and rigging.
The finishing touch will be the upper guns and their railings and supports.
See ya next time…
Ps - sorry for the picture quality. I will set up to take good pictures once it is finished. ;)
 
Last edited:
Well I added the navigation lights and did a few washes to add the last bit of detail prior to starting the upper wing assembly and rigging.
IMG_8905.jpeg
IMG_8907.jpeg
The navigation lights are outboard on the wings above and below. The lower lights were small enough and I spent time searching for one I lost. The upper lights were so tiny they were lost, never to be found again! So I had to make my own…sigh!
When a part is too small to hold with tweezers without dropping it, there is no hope of ever finding it once dropped in the carpet. It’s times like that I remember one of my favorite shows growing up, and I think to myself…
”Somewhere between my desk top and the vast ocean of carpet below, lies a place where all lost model parts go…a place so vast and so hidden, it can only be found in... The Twilight Zone!” ROTF
So that’s where my parts go…I’m sure of it! ;)
 
Last edited:
Brilliant work Dean, I have just gone through all the posts and your models are fabulous, you definitely have some skills.
I have only been modelling for eight months now and have only completed The Polaris boat by OcCre but then decided to switch to building a Sopwith Camel by Artesania Latina. It’s much bigger than your models but I still find it difficult to master handling many of the smaller parts. Heaven knows how you cope with your smaller models. I changed the original colour scheme and have been surprised that it resembles actual aircraft, I will post pics when finished as I am almost there.
Love your work, they are beautiful
 
When I read your last post Dean, I paused for a moment and thought, "Nav lights? On a WWI aircraft?? But there is no electrical system on those!"

So, I had to go down the rabbit hole and look it up. Reading the Wiki page, I discovered that the Comic variation was specifically designed for night fighting with the incendiary-ammo firing Lewis machine guns mounted over the upper wing and the cockpit moved rearward to allow the pilot to reload the guns. (Moving the C.G. back like that must have made an already squirrely, tail-heavy airplane even more-so.)

So, close your eyes for a moment and imagine this: It's 20 deg. F on a winter's night. You're in the cockpit of a Comic behind a mass of whirling iron (remember, the whole crankcase of a rotary engine spun with the propeller). There's no throttle control, the engine is either on (producing full power) or off - that's your only speed control. Using your handy scarf, you wipe the constant spray of castor oil from your goggles to better see your enemy. Realizing that your last encounter left your Lewis machine guns empty, you take your feet off the rudder pedals and your hands off the stick, and you stand up to to reload your guns - in the freezing cold - in the dark - all while the Red Baron was bearing down on you!

They were better men than I, my friends!
 
Last edited:
Realizing that your last encounter left your Lewis machine guns empty, you take your feet off the rudder pedals and your hands off the stick, and you stand up to to reload your guns - in the freezing cold - in the dark - all while the Red Baron was bearing down on you!
Russ you paint an amazing scene, makes me wonder if they at least had a light down low in the cockpit area.
 
Brilliant work Dean, I have just gone through all the posts and your models are fabulous, you definitely have some skills.
I have only been modelling for eight months now and have only completed The Polaris boat by OcCre but then decided to switch to building a Sopwith Camel by Artesania Latina. It’s much bigger than your models but I still find it difficult to master handling many of the smaller parts. Heaven knows how you cope with your smaller models. I changed the original colour scheme and have been surprised that it resembles actual aircraft, I will post pics when finished as I am almost there.
Love your work, they are beautiful
Thank you, the tiny parts are most often difficult to work with! I built a 1/16 scale Camel by Model Airways, you can find the build log in this section. ;)
 
Back
Top