- Joined
- Jun 29, 2024
- Messages
- 1,490
- Points
- 393

Sorry, I don’t even know or want to know what Scientology is.
 |
As a way to introduce our brass coins to the community, we will raffle off a free coin during the month of August. Follow link ABOVE for instructions for entering. |
 |
 |
The beloved Ships in Scale Magazine is back and charting a new course for 2026! Discover new skills, new techniques, and new inspirations in every issue. NOTE THAT OUR FIRST ISSUE WILL BE JAN/FEB 2026 |
 |

Correct! You don’t!Sorry, I don’t even know or want to know what Scientology is.

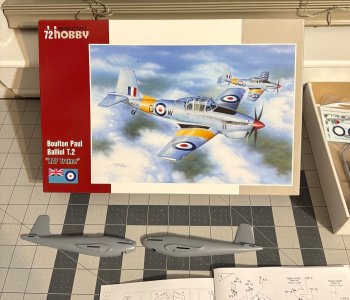
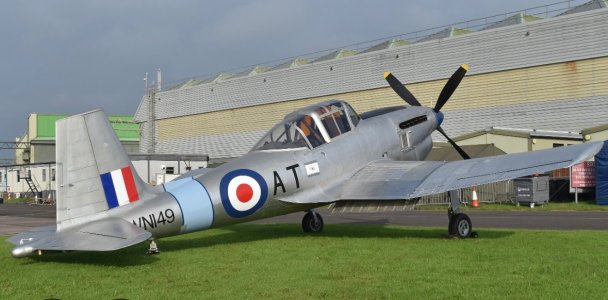
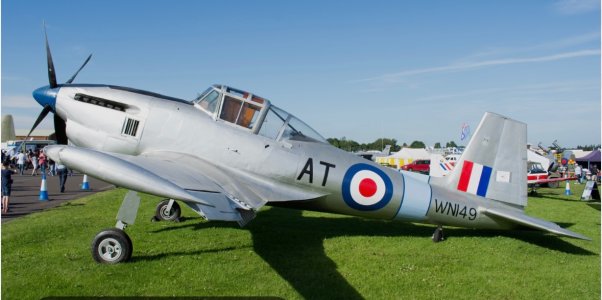

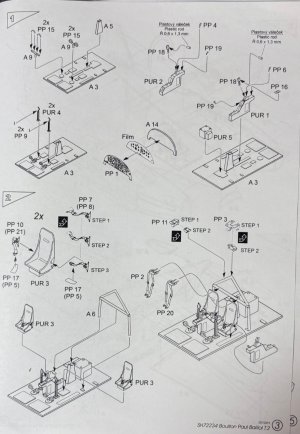
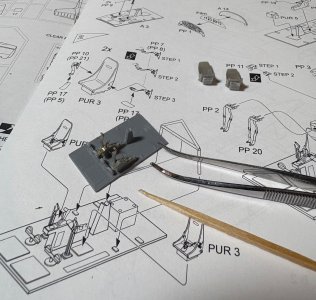
Yes, I was surprised and happy about that since that’s the scale I chose. It gives me a better chance of being able to have a large collection, but the detail sure is tiny! I used to build in 1/48 scale and I love the detail. However some of the 1/72 scale models now have just as much detail, like the P-39Q Airacobra by Arma Hobby I built. I was very impressed with the kit.There’s a lot of unusual aircraft available in 1/72 scale.
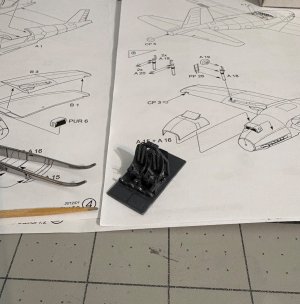
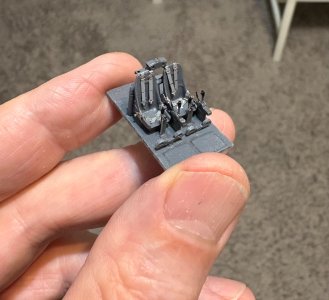
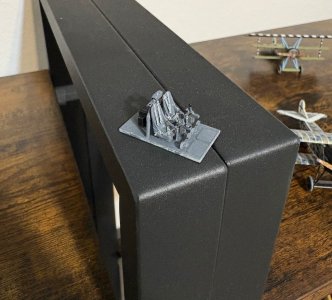

Yes, I was surprised and happy about that since that’s the scale I chose. It gives me a better chance of being able to have a large collection, but the detail sure is tiny! I used to build in 1/48 scale and I love the detail. However some of the 1/72 scale models now have just as much detail, like the P-39Q Airacobra by Arma Hobby I built. I was very impressed with the kit.

True, it seems we add a lot of detail that will never be seen. But we know it’s there!More and more detail, but smaller and smaller. I was looking at your PE rudder pedal straps and thinking how ridiculous, they will be impossible to see at the bottom of a 1/72 cockpit with the canopy on. My Jaguar has hundreds of really really tiny stencil decals. I won’t be using them because I look at my models from a yard away, maybe 2 feet. At 1:48 scale that’s a viewing distance of 100 to 150 feet. From that far away, you can’t see stencils. You can’t see aerial wires. Come to think of it, you can’t see all the details that I intend to paint in the undercarriage bays either!
That’s really small stuff, Dean. It’s looking nice!More assembly and painting was done. The PE parts are like doing surgery!But I survived.
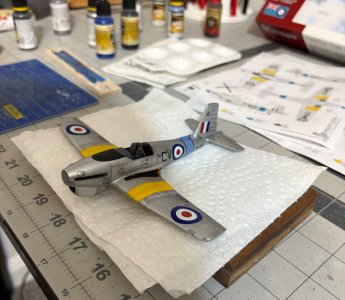
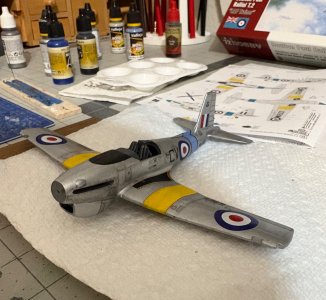
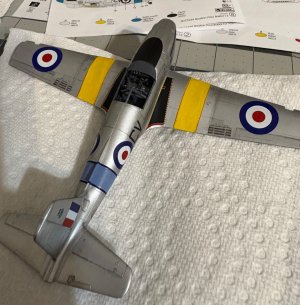
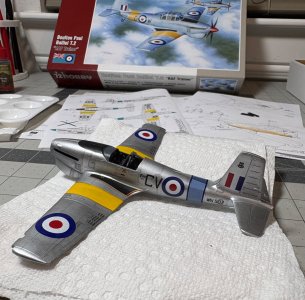
Now steps 1 and 2 are completed and it’s time to put the fuselage halves together and add the instrument panel.
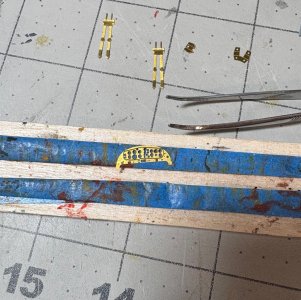
View attachment 556629
View attachment 556630View attachment 556631
It’s really hard to get good pictures of this tiny stuff.
The PE parts are brass…
View attachment 556632
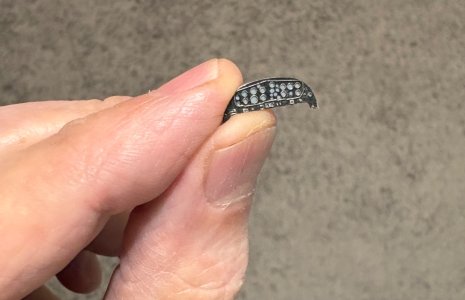
This is the instrument panel painted…
View attachment 556633
Not sure about the gauges, I know they were black, but you will never see them. So I may leave them light grey or change to a dark grey? Decisions…
See ya next time…
Thanks Peter.That’s really small stuff, Dean. It’s looking nice!
Regards, Peter
Thank you Paul! Thanks for reaching out! You have a current build going?Hi Dean, just popping in to say hello. I don't share you interest in tiny planes but have the utmost respect and admiration for what you do with them. Stunning craftsmanship!


That's quite a collection of unbuilt models, Dean!You have a current build going?
 .
.
Not sure about the gauges, I know they were black, but you will never see them. So I may leave them light grey or change to a dark grey? Decisions…
Thanks Paul, I will look in on your project.That's quite a collection of unbuilt models, Dean!
And yes, I am attempting a scratch-built stern section. It's primarily a carving/decoration project but it requires a substrate so my time thus far has been building the butt end of a ship. Lot's of learning along the way... There is a link in my signature (though I would say its nothing you haven't seen before done better by more experienced/skilled members of the forum).
Otherwise (like you) I'm still working at my paying job as well as my hobby job. Keeps me off the streets and out of the bars.
I'll try to stop by more often!

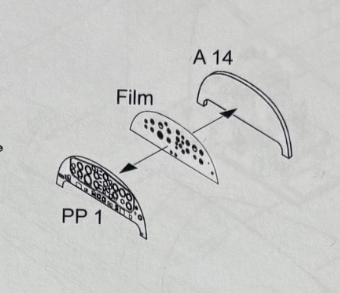
Yes, they show a film decal, but it’s no where to be found in the kit…so I moved on without it. Gauges were black with white markings, etc., and I feel like they would be lost with the canopy on at this scale. So I chose to leave them a medium grey in hopes that in the end you could see them through the canopy and at least be able to tell gauges are there!Wow, that's a lot of detail for 1/72! I realize it's too late now, but I've been unable to spend much time here since my PC's motherboard decided it was time to retire and I've had to rebuild the computer, but regarding the instrument panel, doesn't the instructions show a decal that goes behind the PE panel to show the gauges?
View attachment 556753
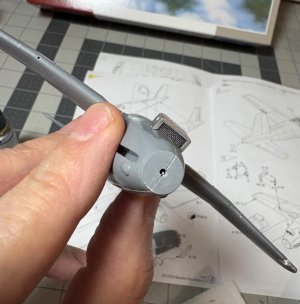
 That allows me to paint, dry it in a few minutes and paint again.