• Ships of Scale has incorportated an extra level of security when you log In. Please follow on-screen prompts to acknowledge that you are not a robot via a "Check Box" or a "Pictorial Check Box Puzzle". This is needed due to higher level of AI Activity Security.
  • SUBSCRIBE TO SHIPS IN SCALE TODAY!

    The beloved Ships in Scale Magazine is back and charting a new course for 2026!
    Discover new skills, new techniques, and new inspirations in every issue.

    NOTE THAT OUR NEXT ISSUE WILL BE July/August 2026
  • Win a Free Custom Engraved Brass Coin!!!
    As a way to introduce our brass coins to the community, we will raffle off a free coin during the month of August. Follow link ABOVE for instructions for entering.

My 1/72 scale aircraft

B-25 Mitchell update…

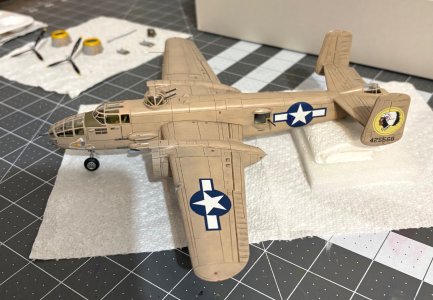
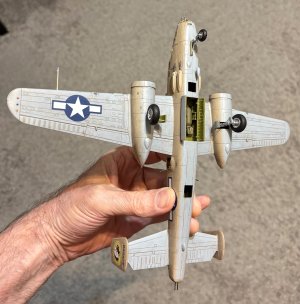
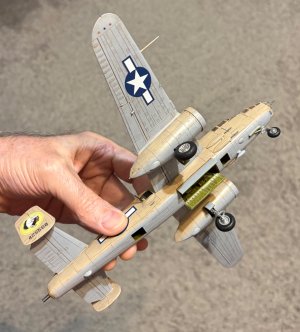
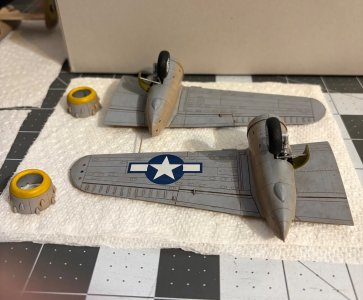
Work continues on the wings.
IMG_4771.jpeg
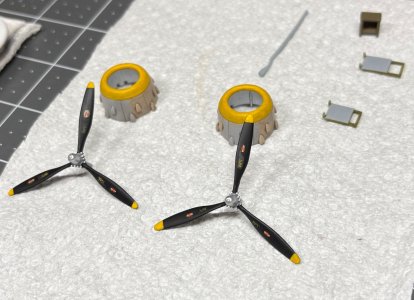
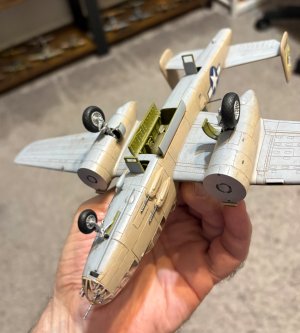
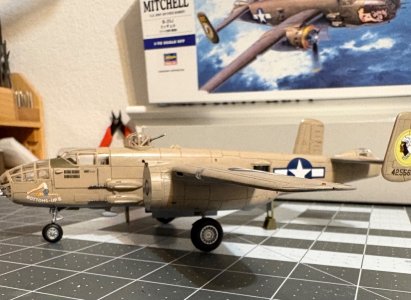
I added the gear doors and actuation cylinders, painted the engine cowlings inside and out. Inside = silver, outside = sand, light grey bottom, and yellow.
Just waiting on motors now.

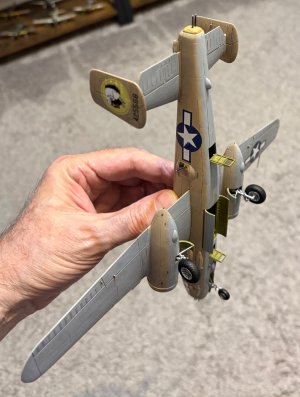
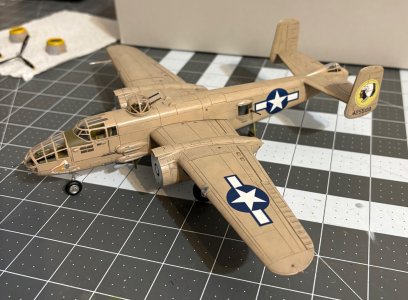
Then I painted the propellers and added decals…
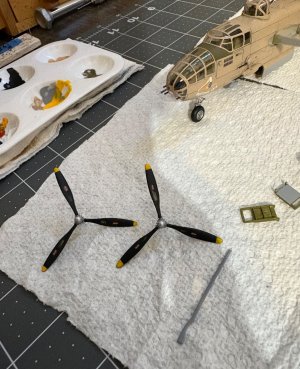
IMG_4772.jpeg

Next I will join the wings to the fuselage.
 
I don’t understand this. If they molded the other half on, why not these too?

That's an easy one. The two halves of the injection mold met at the aft edge of the cowling. The rearward scoops came right up to the separation line, thus they could slip out of the mold quite easily. The forward scoops would have created an obstruction that would prevent mold release.

As always Dean, your painting skills are second to none. I am truly amazed that you can match the color of that decal so perfectly given your colorblindness. Wow! She is coming along beautifully!
Thanks Russ! You are absolutely correct on the mold release. I should have recognized that...lol
 
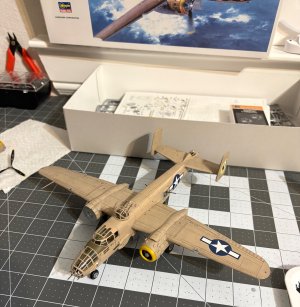
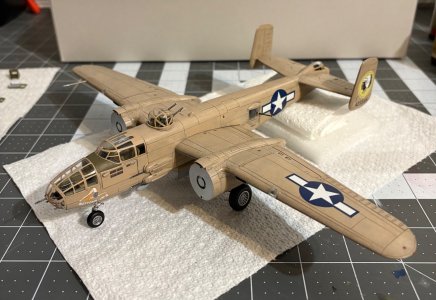
Dean, from the looks of your paper towel "tailwheel", it would appear that adding some nose weight prior to closing up the fuselage might have been prudent. Will you be able to tuck some in through that little square access hatch now that it's all glued together?
 
Dean, from the looks of your paper towel "tailwheel", it would appear that adding some nose weight prior to closing up the fuselage might have been prudent. Will you be able to tuck some in through that little square access hatch now that it's all glued together?

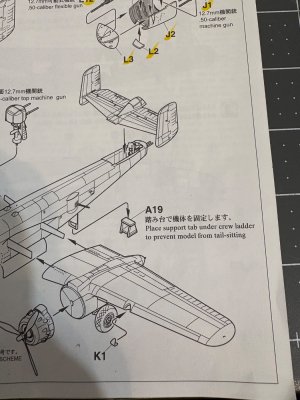
Good observation. The instructions call for a support. The two open hatches will have the hatch with built in ladder for crew access added to the fuselage. They hang straight down. The rear one hangs down the lowest and you add a step ladder under it. That is the solution from Hasegawa. I have added nose weight in the past to some kits and they still needed a support…sigh! So I save the sprues for clear parts (canopies) and use them if needed. I can attach them with PVA, which can always be removed later. So sometimes aircraft with a nose wheel require a clear support in the rear. Other times weight works fine. This would most likely require too much weight given how much mass is behind the main landing gear wheels.
Another clever thing I have seen, is making wheel chocks and gluing them to the tire. ;)
IMG_4788.jpeg
 
Last edited:
My upgraded engines were supposed to arrive between Nov 17-24. But I received an email saying they are arriving early, this Friday! To say I’m excited is an understatement! So keeping my fingers crossed.
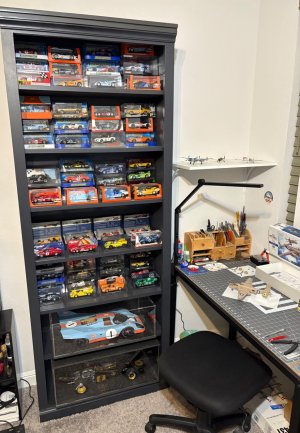
On another note, once the B-25 is finished I will have to clear off my shelves with cars to start using for my remaining aircraft.
I sill have room for 4 of my remaining WW2 aircraft on the other shelves. But I have 14 left. And the shelves for my jets still have room for 14 more. But I still have 19 left.
So that’s 15 that I have to put on the car shelves. In addition I have 10 more WW1 and biplane aircraft to build. So that total of 25 aircraft have to be placed on the car shelves.
In short, cars have to be boxed or sold. ;)
IMG_4790.jpeg
 
Hi Dean,
Even without the engines, she looks great. I love the color scheme you chose. I'm eager to hear what you think of the engines when you finally receive them. Once I read that you were ordering 3D printed ones, I started messing about printing them myself. Turned out to be a little more of a challenge than I anticipated. I'm eager to see what you receive. The photo that you posted shows some superb details, but I have a feeling that the photo is of a 1/48 scale print. At 1/72, scale the lines going to the cylinder heads (fuel/ spark plug wires?) are so small, they are like hairs. Even the push rods at this scale are extremely thin. Anyway, I hope what you receive looks great and I am anxious to see them.

Keep up the great work
Thank you!
That would be misleading since that is the photo for the 1/72 scale motor. When I have created 3D models of engines and other tiny mechanical parts, you learn that when scale is too small to print, you have to size up certain components in order to keep the detail. So I’m sure the wires and rods are larger in diameter than actual at 1/72 scale and that some of the cylinder head fins are deleted as well to use less so their thickness works too. It’s a compromise between scale and detail. ;)
 
Last edited:
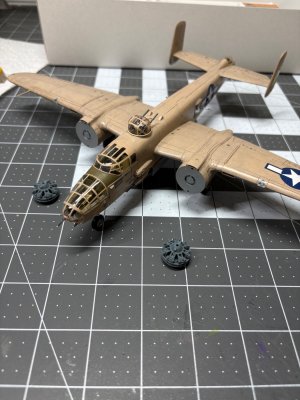
Happy to report the engines arrived today from Ukraine model shop early!
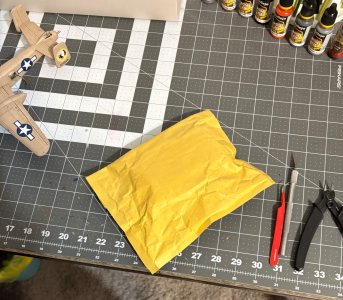
Arrived in a package…
IMG_4797.jpeg
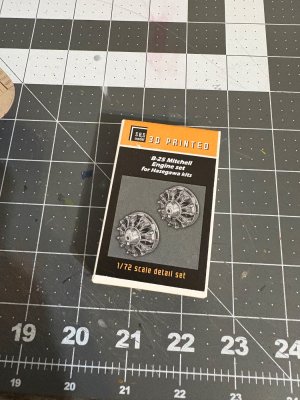
Box inside protected with additional cardboard…
IMG_4798.jpeg
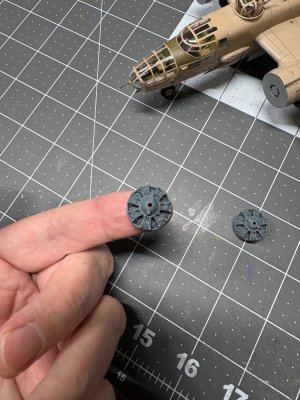
And now the engine, as small as my fingertip…
IMG_4800.jpeg
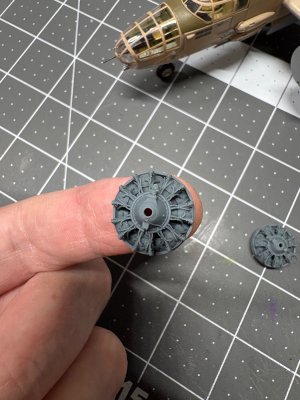
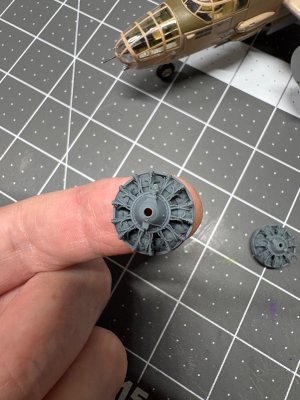
Look at the detail!!!
IMG_4801.jpeg
Worth every penny! ;)

IMG_4802.jpeg
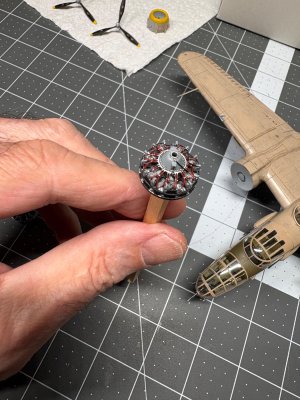
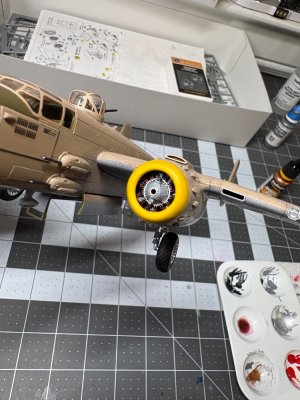
Now to paint them! They are approx, 11/16” in diameter. I was disappointed they were one piece, as it is going to be far more difficult to paint. Oh well…time to start on them.
 
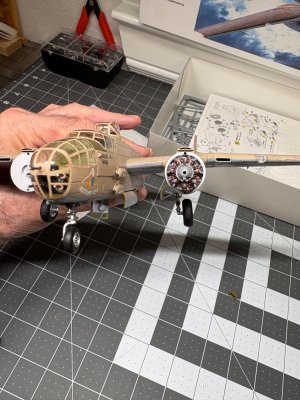
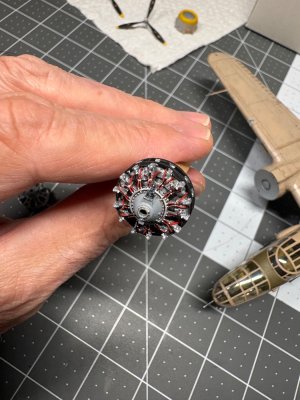
B-25 update…I couldn’t wait to paint one of the engines. Very tedious trying to paint the wires and pushrod covers without getting paint on anything else. But in the end it was done…
IMG_4801.jpegIMG_4808.jpegIMG_4810.jpeg

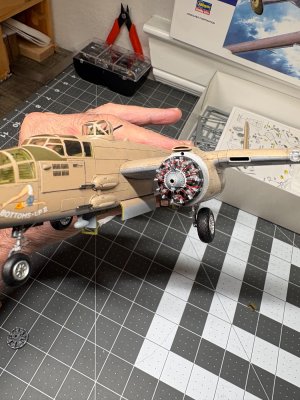
Then glued onto the airplane…
IMG_4812.jpegIMG_4813.jpeg

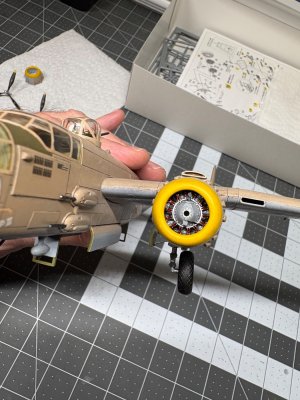
Cowling added…
IMG_4815.jpegIMG_4816.jpegIMG_4821.jpeg

Now for the other engine and cowling…and then I can put on the props and find her a spot on a shelf.
In conclusion, the engines are very detailed and realistic… however a lot gets hidden by the engine cowling. But if you view it up close at the right angle, you can see a surprising amount of the wiring. :)
 
Last edited:
Back
Top