- Joined
- Oct 9, 2020
- Messages
- 2,240
- Points
- 488

Interesting. I did none of that.
 |
As a way to introduce our brass coins to the community, we will raffle off a free coin during the month of August. Follow link ABOVE for instructions for entering. |
 |
 |
The beloved Ships in Scale Magazine is back and charting a new course for 2026! Discover new skills, new techniques, and new inspirations in every issue. NOTE THAT OUR FIRST ISSUE WILL BE JAN/FEB 2026 |
 |

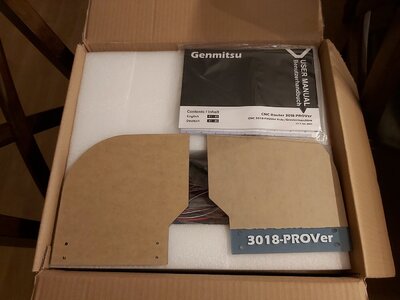
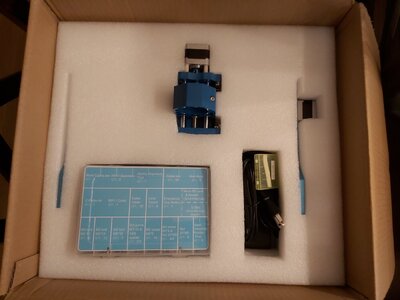
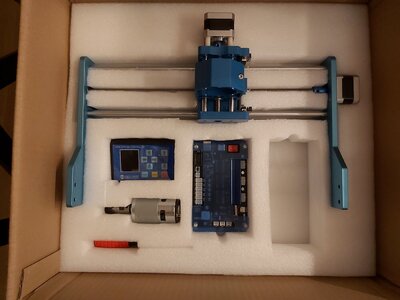
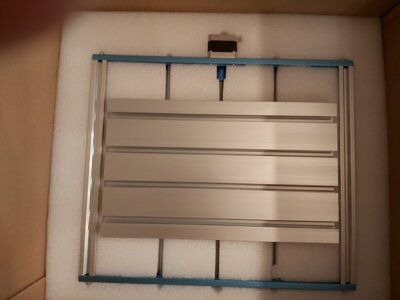
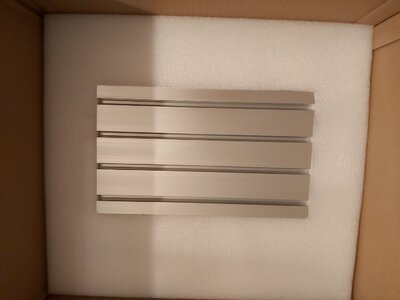


no i am using an enclosure and a shop vac.For Jack,
Did you use a dust control unit : air, mist, vacuum...?
Now if only they had an adapter for reading manuals printed upside down.......Second - Color manual (cool!)
View attachment 281145View attachment 281146
Third - accessories (Power supply is truly the new version)
View attachment 281147View attachment 281148View attachment 281149View attachment 281150View attachment 281151

i purchased my enclosure from Sainsmart and yes after the job and during. just have to be careful I guess.Edition done in original pictures Kurt.
Thanks Jack... Your shop vac is used in same time as routing or after the job done to clean up ? I pirchased wood and acrylic to make enclosure. Really not sure I done a good move compared to purchased the real stuff from Sainsmart.

Je passe l'aspirateur au fur et à mesure...i purchased my enclosure from Sainsmart and yes after the job and during. just have to be careful I guess.

Je crois que oui.OK. Un gros merci, J'imagine que ce ne sont que les plus grosse machine qui nécessite plus d'entretien en continu.
Thanks you, I figure that only biggest machine require to take much care abouot the cleaning during job process. Wow, Sainsmart enclosure are well made, but the one with the panel on top and on front is not cheap and I begin tio be on budget with all these investments.
Did you invest in the 3040 extension ?

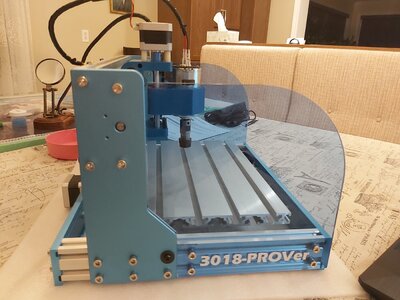
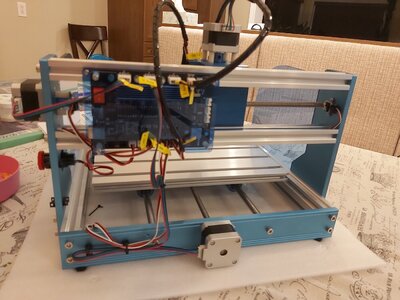
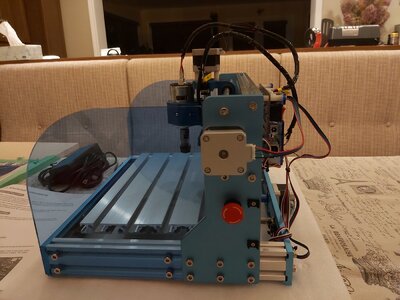

Dear MichelNow structural aspects are finally covered and end. I found an other manual in the CD version download from Sainsmart web site were I found others details not included in the official manual provided with the unit. This is a part 3 - electrical instructions : driver installation, com port determination, Installation of Candle and connecting to the controller, G-Code running, firmware parameter (firmware upgrade provided on USB Key in the tools box), offline controller, G-Code running and finally z-axis probe utilisation/calibration/G-Code modification.
Next step : electricalpart 3 then axis calibration and testing.
I finished with 1 extra limit switch and some bolts and nuts.
Good evenning
Michel
Last pictures followed :
View attachment 281270View attachment 281269View attachment 281267View attachment 281268

