Fantastic Work Brother
-

Win a Free Custom Engraved Brass Coin!!!
As a way to introduce our brass coins to the community, we will raffle off a free coin during the month of August. Follow link ABOVE for instructions for entering.
-

PRE-ORDER SHIPS IN SCALE TODAY!
The beloved Ships in Scale Magazine is back and charting a new course for 2026!
Discover new skills, new techniques, and new inspirations in every issue.
NOTE THAT OUR FIRST ISSUE WILL BE JAN/FEB 2026
You are using an out of date browser. It may not display this or other websites correctly.
You should upgrade or use an alternative browser.
You should upgrade or use an alternative browser.
Same best wishes applied to your loved ones on this Holiday Season!I hope you and loved ones have a wonderful Holiday Season !!!
Fantastic Work Brother
Many thanks! I've picked up some wonderful tips, tricks and ideas from the many talented people in here such as yourself. Cheers and HaPpY HoLiDaYs !!!
Just when I thought I was finished with the beacon towers Grrrrr... I became aware that there are several items on the sprues that are not listed on Lindberg's 8 page instructions! Only after researching photos of the real ship and of other model builds did I discover the answer to my confusion of parts. There are 'extra' rings that should have been placed inside of the beacon cages.( Too late now #@!%) Then there are three pieces that belong to the radar unit that sat atop the aft beacon cage. The radar was installed onto this ship during WWll. Lindberg needs to get there act together and update their instructions. I find this another mistake by only using a number system in place of naming what the part is that goes on to a ship. 
I decided that I wanted to include the radar unit to my tower which gives it a more finished look. I had to use my Xacto blade to remove some of the plastic on the four vertical rails and then sand the bottom of unit until I could skip it inside of the tower's beacon cage. It works but, really Lindberg?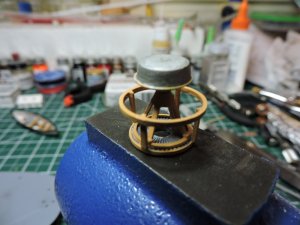
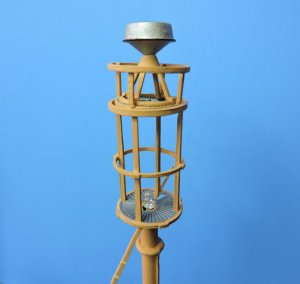
I decided that I wanted to include the radar unit to my tower which gives it a more finished look. I had to use my Xacto blade to remove some of the plastic on the four vertical rails and then sand the bottom of unit until I could skip it inside of the tower's beacon cage. It works but, really Lindberg?


Nino - I am really surprised that Lindberg would not include these parts in the instructions at steps 14 and 15. Basically, the inside rings would go on regardless of the year of ship. I do not have the exact date, but the radar unit was added to the ship somewhere between 1942 and 1945. It could detect ships within an eight mile radius. In 1960, the LV-112 was converted over from steam engine to a diesel engine. One of the main visual changes that was made was a shortened smoke stack. With all of that, thanks for taking a look and enjoy your Holidays!!!
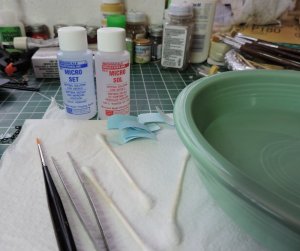
My Micro Set and Micro Sol arrived earlier than I expected, so I worked on adding the ship's name to the hull. I masked off the bottom two-thirds of hull and sprayed the upper portion with a clear gloss to allow the decals to move around smoothly for placement. The process actually went rather quickly! Once the decals dry overnight, I'll spray a coat of Dullcoat to seal and protect decals.
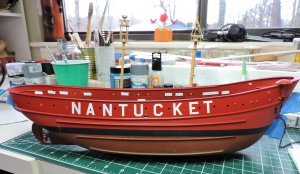


Unfortunately, I can not boast the ability to use paint so do you! She is looking real!!
With the help of Mrs. O, I installed the deck into the hull BUT, not without putting a big smile on her face. It turns out I soldered all of my connections and forgot to run the wires up through the hull of the ship  LOL After going back to the drawing board and redoing my the wiring, the deck is now installed and I can go about gluing on the rest of the deck features. Another test to see how the ship will look at night with led's on.
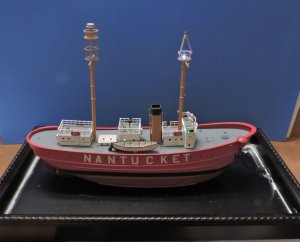
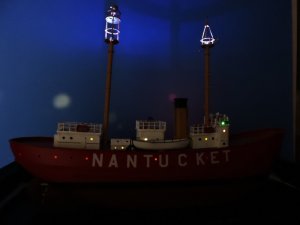


Last edited by a moderator:
Looks great! Hope the Mrs wasn't to hard on you, sounds like she got a good chuckle at your expense.
Indeed she did !!! Best to you in the New year!Looks great! Hope the Mrs wasn't to hard on you, sounds like she got a good chuckle at your expense.
Very, very nice !!! Looks like you got everything under control. Love the color scheme - paint and all looks very authentic.
- Joined
- Dec 31, 2018
- Messages
- 5
- Points
- 1

this is a great job with what I understand is a an ages old kit.
Q: do we know the history of tan painted masts? that and funnels. always have wondered.
the lighting adds immensely to the presentation.
Q: did research ever reveal why so many holes above the boot stripe?
thanks
Q: do we know the history of tan painted masts? that and funnels. always have wondered.
the lighting adds immensely to the presentation.
Q: did research ever reveal why so many holes above the boot stripe?
thanks
Tom - the only article that I could find for the color scheme was that the USCG chose colors that appeared to be non-threatening; such as a white hull, buff (spar) masts etc. This was in an article online that I came across while researching "buff" colored paint and I'm not positive if this is the real reason why it was chosen.
As for the openings above the boot stripe, I have not come across any article that mention these. I'm fairly new at modeling, but I do try to look up the history of the ship that I am working on. This is a great way in learning History!
I want to thank you, and everyone else, who have commented and followed along with me on this kit. I had hoped to have this light ship finished by new years, but sometime in January will work for me.Here is an update photo. I was successful in my basic wiring of lights and I'm hoping my water effects for the base will turn out as well. Another 1st for me. Happy New Year to everyone!!!
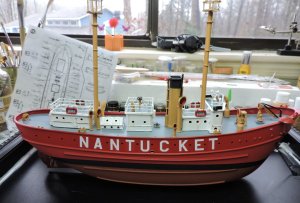

Denis - Greetings and thanks for your kind compliment. I took a look at your work on your Revenge and I must say that it is some outstanding workmanship!!! After I complete this light ship, I plan to start work on my 2nd wooden kit, MS HMS Bounty Launch. This will be my first attempt at a POF build. Thanks again for dropping in and your comment 
Grand !
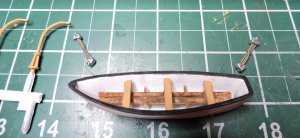
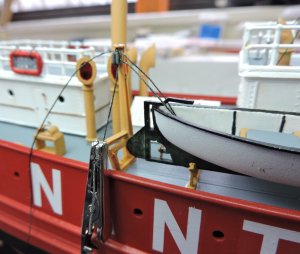
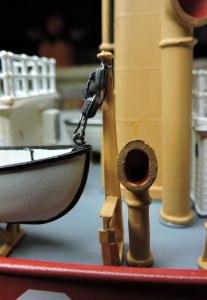
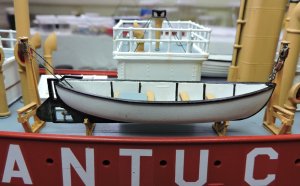
I decided not to use the tackle, provided by the kit, to attach the davits to the whaleboat. First off, I used some 22 gauge wire to make small eye rings and hooks for the 2mm blocks to attach to. I drilled fine holes thru the top of the davits and also into the bow and stern of the boat. I used CA glue on the block under top of davit and also glued the rings into bow and stern of boat. Used black thread for the lines running between the blocks. Blocks were painted a flat brown. For better or worse, I will do the same for the port side lifeboat as well.