-

Win a Free Custom Engraved Brass Coin!!!
As a way to introduce our brass coins to the community, we will raffle off a free coin during the month of August. Follow link ABOVE for instructions for entering.
-

PRE-ORDER SHIPS IN SCALE TODAY!
The beloved Ships in Scale Magazine is back and charting a new course for 2026!
Discover new skills, new techniques, and new inspirations in every issue.
NOTE THAT OUR FIRST ISSUE WILL BE JAN/FEB 2026
You are using an out of date browser. It may not display this or other websites correctly.
You should upgrade or use an alternative browser.
You should upgrade or use an alternative browser.
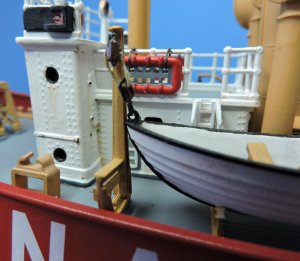
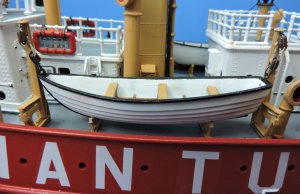
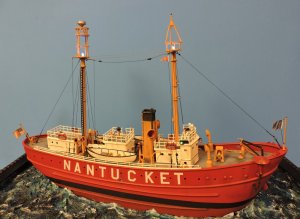
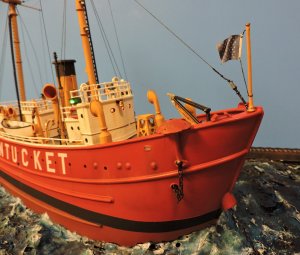
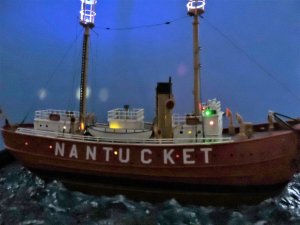
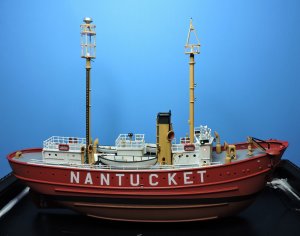
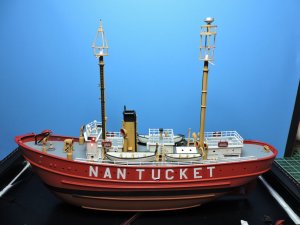
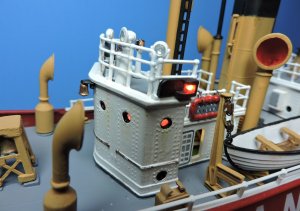
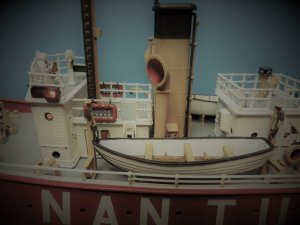
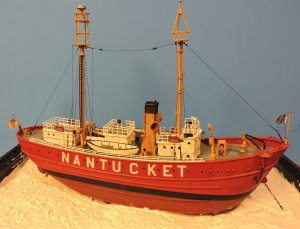
I finally finished mounting all of the deck parts to the ship (minus flag poles for bow and stern). I will try to find some 1:95 scale flags to use instead of the thick plastic ones that come with the kit. My next step now is to work on the rigging lines, antenna lines and stays on the beacon towers. Final step will be to create my water effect for the base. Here are a few pictures of completed ship so far.


Beautiful work, great looking model.
Very nice work.
Mike - many thanks for taking a look and for your comment. I started work on the rigging and realized I'm missing one turnbuckle. Another modeler mentioned the same problem with his kit. I sent a request for the missing part to Lindberg but I doubt if they will send me the missing part. Delay of Game - 15 Yard penalty !!! LOLBeautiful work, great looking model.
Pathfinder - many thanks for your comment. My skills have improved since my first build in 2011.Very nice work.
JPC - thanks and I'm looking forward to working on this kit. I looked up information on the South Goodwin lightship model and it was issued with having no propeller. I cannot find information as to whether the real vessel was 'towed' to it's position or was able to sail under it's on power ( thus, it would be in need of a propeller).
I have looked at pictures of the Nantucket LV-112 while she was in drydock in 2011. Her keel lines look similar to what is portrayed by Lindberg on my kit. I noticed that the model hull is missing a few holes just above the water line ( I presume these are drain holes for the bilge ). I will mark them on my hull to be drilled open.
The real South Goodwin was towed to her position , Goodwin Sands the Great ship shallower. If you went aground there you lucky to get off.
I'd like to give a "shout out" to Lindberg Models for responding to my request in replacing a missing turnbuckle on my Nantucket lightship. I received within 4 days a small box and much to my surprise, upon opening it, it contained a sprue with all ten turnbuckles! Now that is great customer service !!!
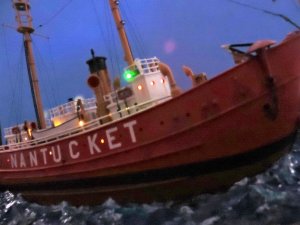
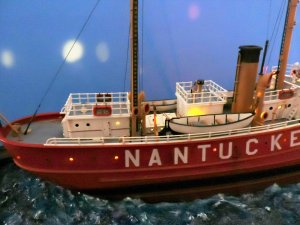
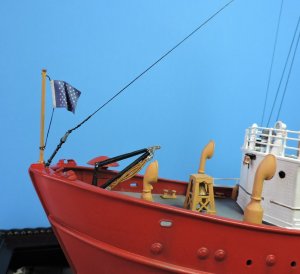
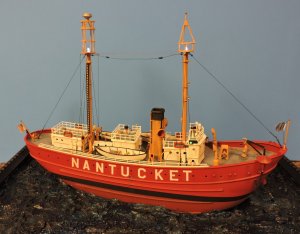
Here are some photos of my nearly completed light ship. Most of the rigging is in place. I'm waiting for my EZ Line to arrive so I can add the radio wires to the beacon towers. I'm working on reproducing the Union Jack and American flag so I can mount them on the bow and stern. I'm really happy with the way this kit has turned out and I hope my 1st attempt at creating the ocean effect will live up to the ship. I've been watching videos and articles on creating water dioramas.

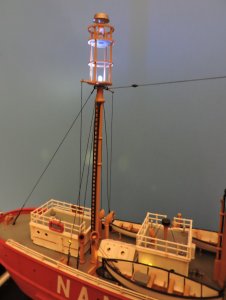
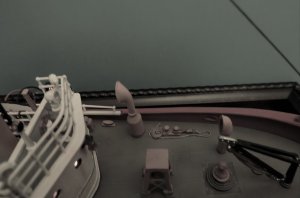
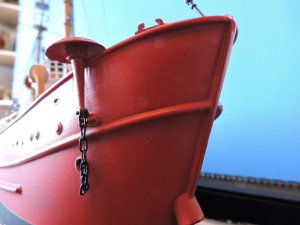
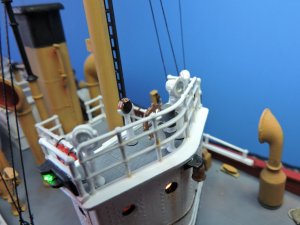
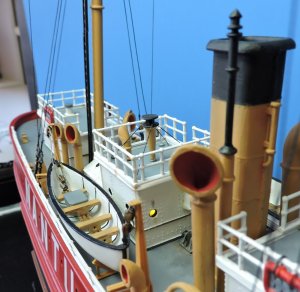
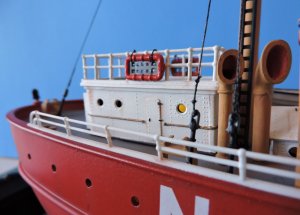
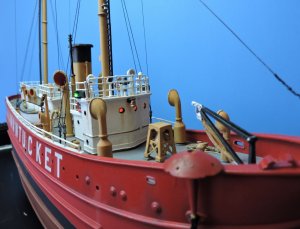
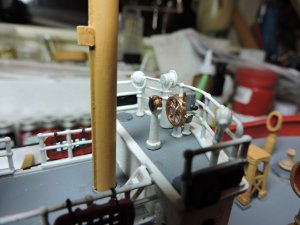


Norway - thanks and she's coming along. I was not aware that these vessels used mushroom anchors until I discovered these light ships. Now there's some history of these ships along with the brave men that served aboard them. I tried to stay with the official USCG colors used on these vessels after 1939. Red hull, gray decks, white structures, spar used on all deck equipment and masts. Lindberg's color scheme is off the mark.
Beautiful ship and wonderful build!
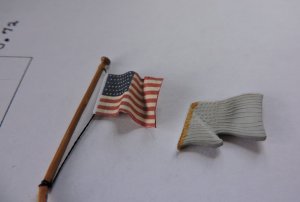
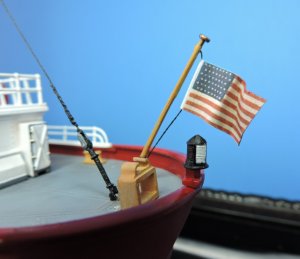
Thanks to my wife's talent in working with miniatures, she reduced down and printed out my US Navy Jack and American flags for my ship. The actual flags that were included in this kit are too thick and do not look real. After cutting the flags out with an Xacto blade, I glued a slightly smaller piece of tin foil to one half of flag. I ten ran my string thru and folded and glued my flag together. The foil allows me to bend the flag and hold it's shape to whatever position I need. I found this tip on a youtube video. I'm very happy with the results. Still waiting for my EZ line to complete the radio wires.
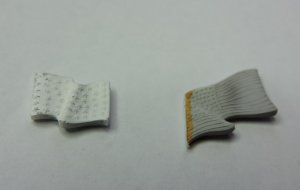
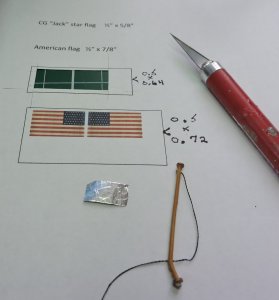


I would like to say thanks to so many for leaving your comments, for being kind enough to offer suggestions or advice when needed and sharing the many model builds that display incredible talents. It certainly has helped me to improve on my skills. 

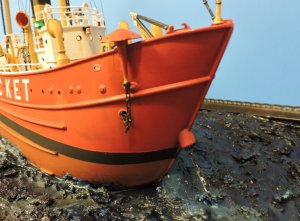
I accomplished quite a bit of work over this weekend. Radio wires installed between beacon towers using rust colored EZ Line. Great stuff! I finally glued ship to it's base and started in on creating my 'water' using plaster of Paris. I did three layers, allowing each one to dry before adding the next layer. Allowed it to dry and broke out the acrylic paints to start the base colors for my ocean. I will let this dry overnight and then use Vallejo Atlantic Blue gel to build up my swells and water around the hull.
My wife came thru once again. She reduced and printed out a small craft weather warning flag which will go on the forward beacon tower. She gave me two sizes to choose from.
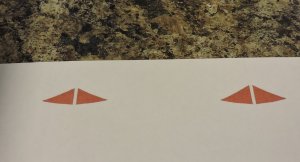
My wife came thru once again. She reduced and printed out a small craft weather warning flag which will go on the forward beacon tower. She gave me two sizes to choose from.


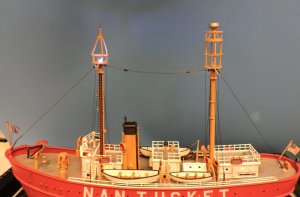
I built this kit with modifications about 10 years ago. I discovered that the Blujacket kit is the same scale so I purchased their plans and some of their parts to add more accuracy to the kit. I was able to satisfy a $300. urge with a $30. kit.


