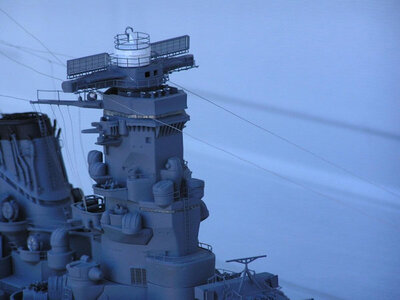
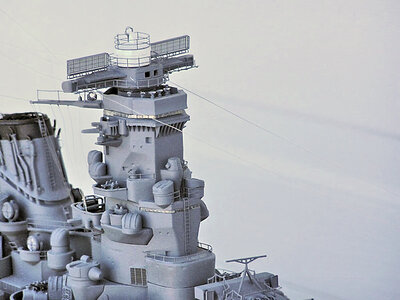
Nichimo 1/200 Yamato

Joined
May 18, 2022
Messages
13
Points
48

Location
Brownwood, TX
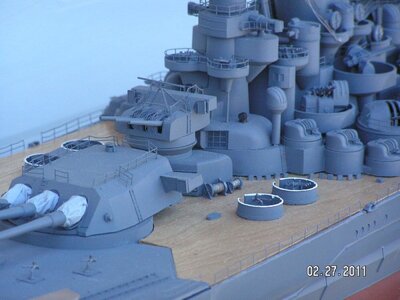
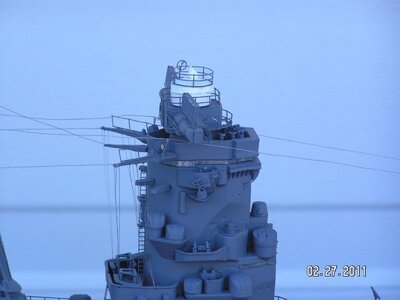
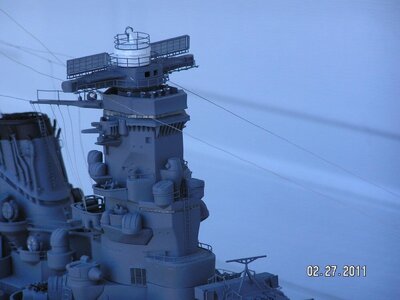
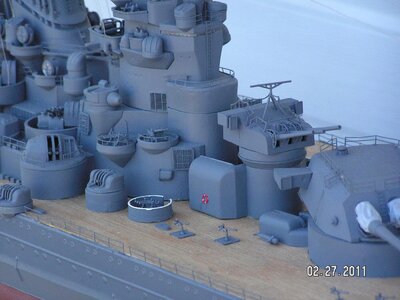
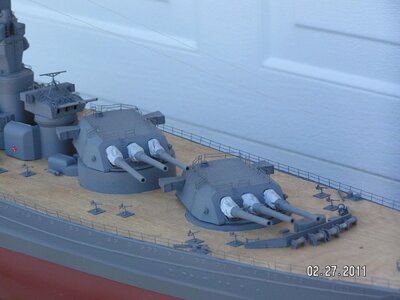
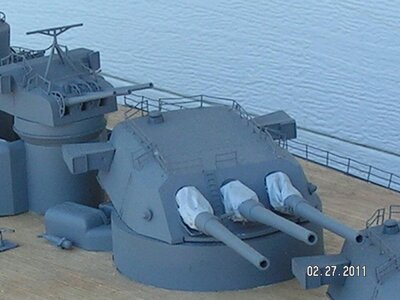
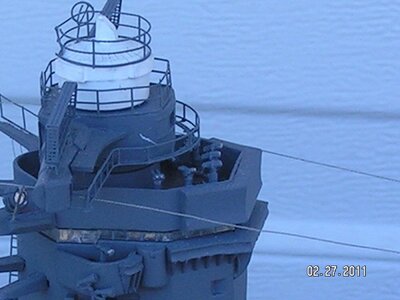
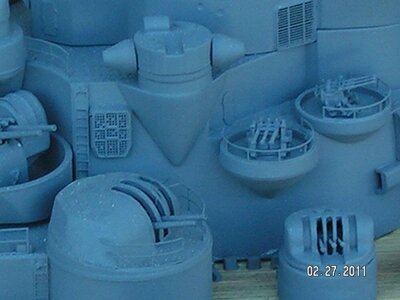
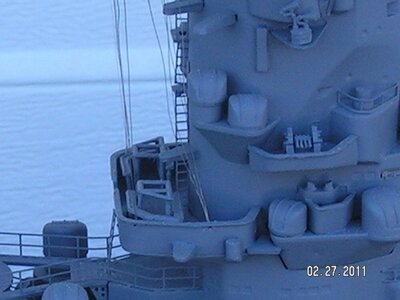
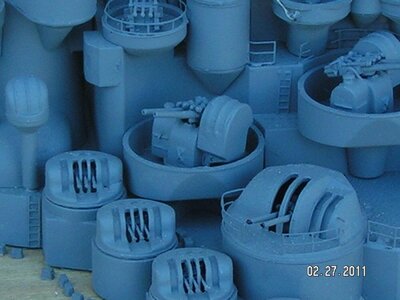
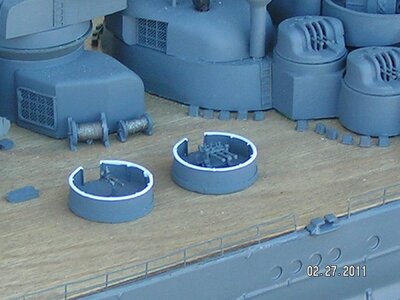
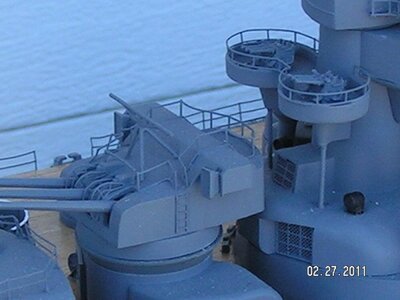
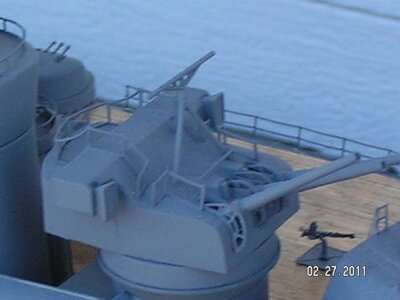
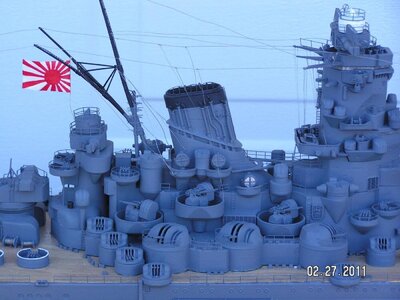
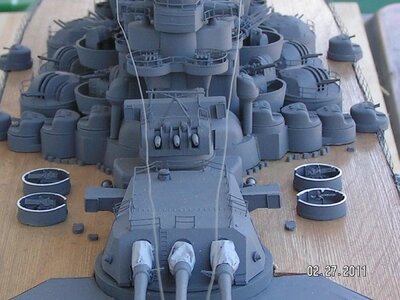
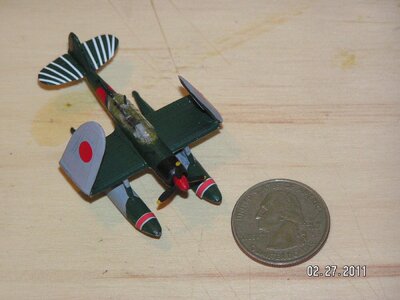
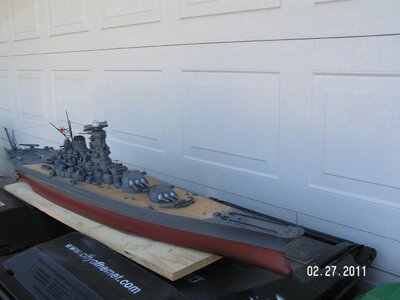
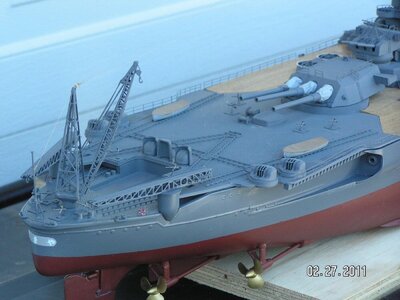
I built this model back in 2011. From start to finish it took me 18 months. The main turrets traverse and elevate. Plus I added a smoke generator for a bit of extra realism. I was especially pleased with the float plane. It was the last part of the model that I worked on. I was feeling a little sad as I had done as much as I could think of to detail the ship. I looked at the parts for the float plane and saw just a lump of plastic. So armed with my trusty dremel, a knife, a few other carving tools, a heat gun and, an old plastic Pepsi bottle. I set to work. Then proceeded to hollow out the fuselage. The end result was that I rebuilt the cockpit complete with seats, controls, radio and rear facing machine gun. It’s kind of hard to see but, I know it’s there. I had first built this kit back in 1980. When I had been stationed in Hong Kong with my Regiment in the British army. I had wanted this kit ever since I had seen it completed in the window of my local hobby store in Preston. This was when I was about 8 or 9 years old. Unfortunately it was destroyed by an irate relative with a hammer a couple of years later. I was devastated by the loss and always wanted to get another. My wife had heard my sob story and for Christmas 2010 she presented me with this replacement (I think she’s a keeper). I hope you enjoy the photos?
8B94A2A8-8976-4BA1-A8C5-3181A1CA96C3.jpeg

DB5493A4-1A63-4742-A1AA-6FC811DA2BEE.jpeg

9C382B10-FBA9-4B5E-AB8E-2F99E38C8B02.jpeg

2970B870-D09F-4DD9-870B-03E793122757.jpeg

3B227F2A-1DEC-451A-855B-5565FB500BBB.jpeg

B3F8818A-377E-4652-89F0-2DF6EAC79618.jpeg

7E0F37FF-4E69-4BB8-9660-803C4539FC64.jpeg

EAB085FE-1269-41F0-ADC7-5D9B814C4D2A.jpeg

5C220448-6610-405F-AEF0-36B9B22FD483.jpeg

ECF8ECDC-9D38-4736-AE1F-2722CEB7BBC0.jpeg

7EBECC51-6F1A-416A-8B15-9B3D6A9A2DEB.jpeg

F3AD14E1-D59B-4A02-910C-7439A287836A.jpeg

D7629E26-B104-4C5A-A6E5-6A5EC3BAF358.jpeg

88C77FC9-CC18-4055-AE5E-3D77B145D394.jpeg

EB920494-0D91-4410-8D24-ECB02146D496.jpeg

DB1E0E20-DEC9-49D4-8504-EF25FF7462C3.jpeg

A550FEF8-5885-45C0-B16E-3397860C037E.jpeg

0DEE40D2-2B1A-4D65-B2BD-01EB98897F2D.jpeg

F8420167-A28D-49E8-84F5-94446514EFAF.jpeg

17DBFE88-8FE4-4E90-BEC1-34189D6B2D74.jpeg
 
I love this being a closet Yamatoholic ROTF I have this kit complete with all the new Fujimi releases plus both GMM etch sets.Yours is a lovely model, vastly different to one built straight out of the box.I dreamed of this kit as a child, when I bought it just before Nichimo went pop, the reality didn't live up to expectations.
 
I love this being a closet Yamatoholic ROTF I have this kit complete with all the new Fujimi releases plus both GMM etch sets.Yours is a lovely model, vastly different to one built straight out of the box.I dreamed of this kit as a child, when I bought it just before Nichimo went pop, the reality didn't live up to expectations.
Oh to true lad. It takes a lot to turn it into a good looking model.
 
I built this model back in 2011. From start to finish it took me 18 months. The main turrets traverse and elevate. Plus I added a smoke generator for a bit of extra realism. I was especially pleased with the float plane. It was the last part of the model that I worked on. I was feeling a little sad as I had done as much as I could think of to detail the ship. I looked at the parts for the float plane and saw just a lump of plastic. So armed with my trusty dremel, a knife, a few other carving tools, a heat gun and, an old plastic Pepsi bottle. I set to work. Then proceeded to hollow out the fuselage. The end result was that I rebuilt the cockpit complete with seats, controls, radio and rear facing machine gun. It’s kind of hard to see but, I know it’s there. I had first built this kit back in 1980. When I had been stationed in Hong Kong with my Regiment in the British army. I had wanted this kit ever since I had seen it completed in the window of my local hobby store in Preston. This was when I was about 8 or 9 years old. Unfortunately it was destroyed by an irate relative with a hammer a couple of years later. I was devastated by the loss and always wanted to get another. My wife had heard my sob story and for Christmas 2010 she presented me with this replacement (I think she’s a keeper). I hope you enjoy the photos?
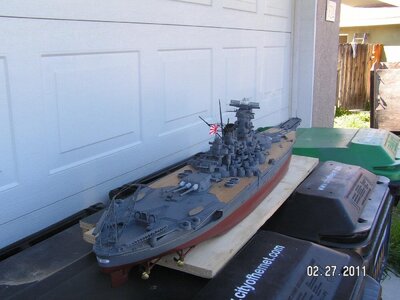
View attachment 309122

View attachment 309123

View attachment 309124

View attachment 309125

View attachment 309126

View attachment 309127

View attachment 309128

View attachment 309129

View attachment 309130

View attachment 309131

View attachment 309132

View attachment 309133

View attachment 309134

View attachment 309135

View attachment 309136

View attachment 309137

View attachment 309138

View attachment 309139

View attachment 309140

View attachment 309141
Great looking model. Did you stretch sprue for the rigging ??
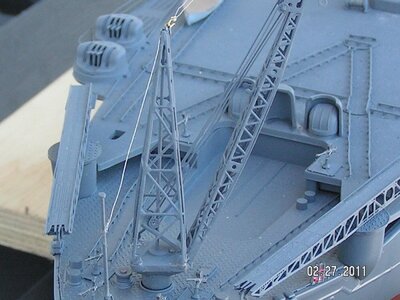
 
Great looking model. Did you stretch sprue for the rigging ??
No actually. I took some strands of “ribbon”multi strand computer cable. Stripped the sheathing off it in lengths that I needed. Then spun/twisted it with my fingers until it resembled the actual steel cable used. For the main rigging lines I used three strands and, for the smaller lines and cable reels I used two strands. It quite honestly took me hours. But I think the look was far more authentic than single strand anything. Where the lines attach to the etched brass I soldered. To plastic or wood I glued with CA. Where the lines attach at the bow and stern. I fabricated a hook and eye from brass rod and soldered them. So they could be removed when accessing the ships innards.
 
No actually. I took some strands of “ribbon”multi strand computer cable. Stripped the sheathing off it in lengths that I needed. Then spun/twisted it with my fingers until it resembled the actual steel cable used. For the main rigging lines I used three strands and, for the smaller lines and cable reels I used two strands. It quite honestly took me hours. But I think the look was far more authentic than single strand anything. Where the lines attach to the etched brass I soldered. To plastic or wood I glued with CA. Where the lines attach at the bow and stern. I fabricated a hook and eye from brass rod and soldered them. So they could be removed when accessing the ships innards.
Brilliant! and thank you for replying. I may try your method on some incomplete 1/350 ships (waiting on rigging) I have.
 
I built this model back in 2011. From start to finish it took me 18 months. The main turrets traverse and elevate. Plus I added a smoke generator for a bit of extra realism. I was especially pleased with the float plane. It was the last part of the model that I worked on. I was feeling a little sad as I had done as much as I could think of to detail the ship. I looked at the parts for the float plane and saw just a lump of plastic. So armed with my trusty dremel, a knife, a few other carving tools, a heat gun and, an old plastic Pepsi bottle. I set to work. Then proceeded to hollow out the fuselage. The end result was that I rebuilt the cockpit complete with seats, controls, radio and rear facing machine gun. It’s kind of hard to see but, I know it’s there. I had first built this kit back in 1980. When I had been stationed in Hong Kong with my Regiment in the British army. I had wanted this kit ever since I had seen it completed in the window of my local hobby store in Preston. This was when I was about 8 or 9 years old. Unfortunately it was destroyed by an irate relative with a hammer a couple of years later. I was devastated by the loss and always wanted to get another. My wife had heard my sob story and for Christmas 2010 she presented me with this replacement (I think she’s a keeper). I hope you enjoy the
Hallo @Scarecrow325
we wish you all the BEST and a HAPPY BIRTHDAY
Birthday-Cake
A beautiful model - Are you working actual on a new project?
 
Very nice - I want to add these to the Showcase Gallery. I hope you do not mind, but I did some touchup work on your photos. Being taken outside has a tendency of being a little blue.
I will add these to the Gallery soon in a few days.

Donnie

ps. Included is a BEFORE and AFTER demo.

before.jpgyamato06.jpg
 
Back
Top