Norwegian Sailing Pram 1:12 by Roscoe [COMPLETED BUILD]

Joined
Jan 15, 2024
Messages
39
Points
58

Location
Sobieski, WI
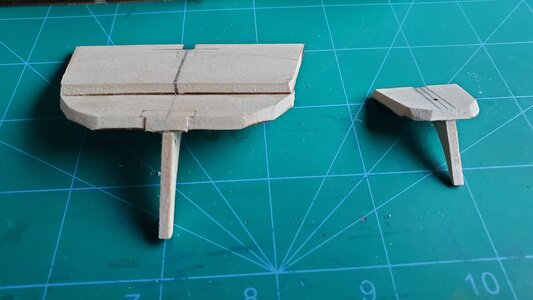
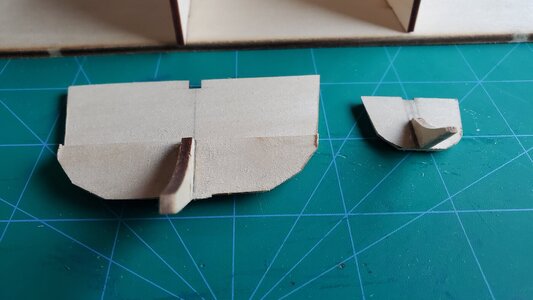
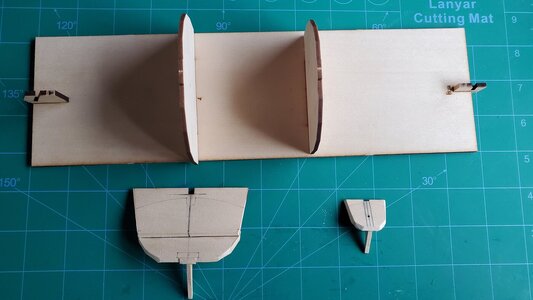
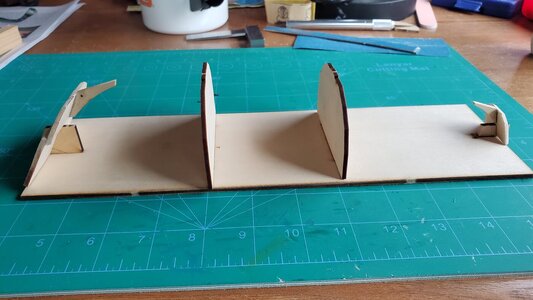
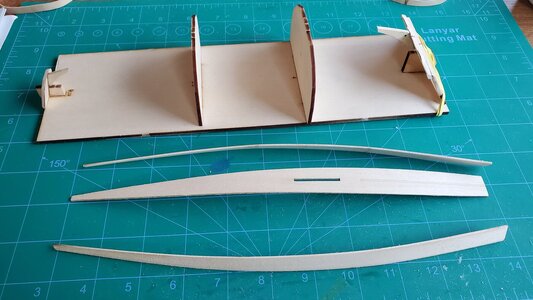
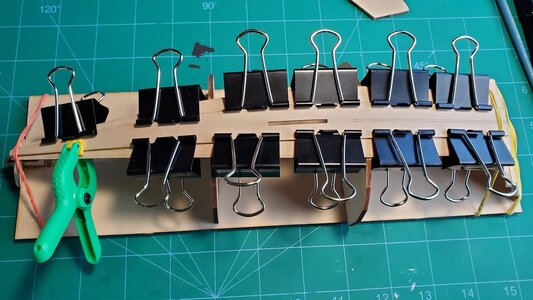
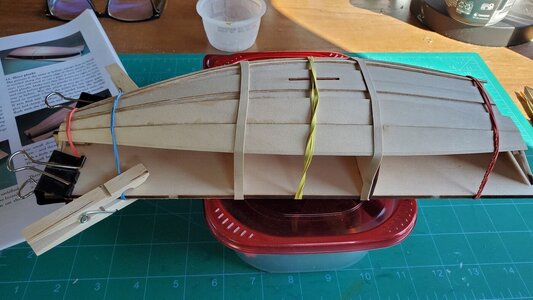
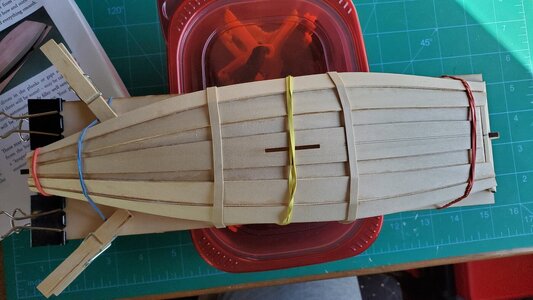
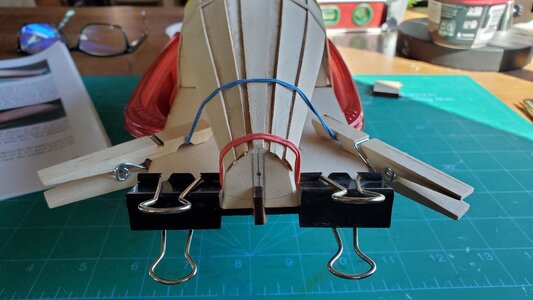
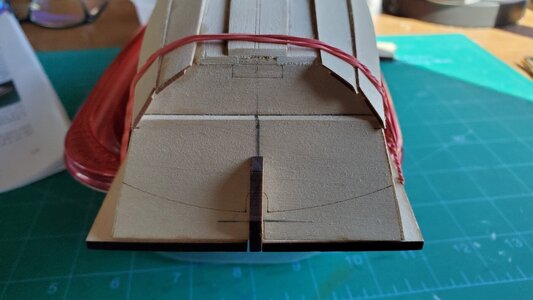
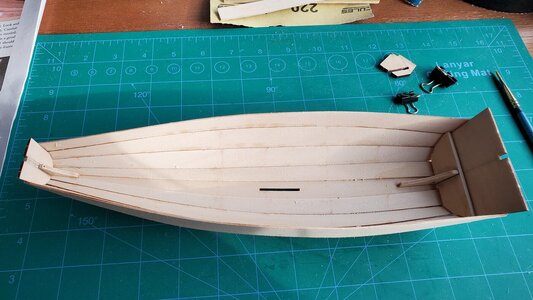
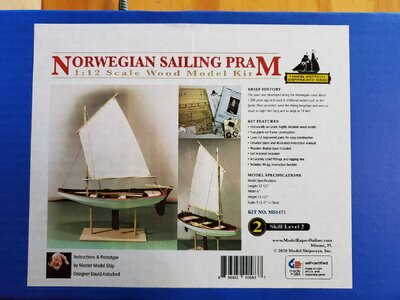
This is my second wooden ship model and its the second in a 3 boat series from Model Shipways. After completing my first model, the Grand Banks Dory ( https://shipsofscale.com/sosforums/threads/build-log-lowell-grand-banks-dory-1-24-by-roscoe.13515/ )I thought this would be smooth sailing but I found right out of the slip I was wrong. For more experienced ship builders it might have been clearer, but to me the first steps in the build were somewhat confusing. The bow transom was pretty straight forward but the stern transom instructions I found a little confusing. I beveled the lower piece the wrong way but I was able to correct my mistake and completed the 2 parts of the stern transom. while the glue was drying I put the building board together. The hot water method of bending the planks worked well for my dory so I used this for this one as well.

20230815_180822.jpg20240222_104734.jpg20240222_104512.jpg20240222_104451.jpg20240222_104552.jpg20240223_100220.jpg
 
Looks like a great start. Take your time and read the instructions several times if you need to. I have a build log here, I also found the model expo you tube to be great help!


Rob
 
I have started planking. This is going well. Building the dory first has definitely helped in this process. The bottom planks wen on nicely.

20240223_115217.jpg

The keel plank also went good.

20240223_130432.jpg

I beveled upper edge of the Garboad planks and cut the gain in the lower ends per the instructions. They seem to be fitting together somewhat tight.

20240225_092545.jpg


20240225_092559.jpg

The bow and stern look good to me so far.
20240225_092641.jpg20240225_092618.jpg

I am planking both sides at the same time. The second row strake plank is currently drying. I should get the Sheer planks on this afternoon and I will be done planking.
So far I am happy with how things look.
 
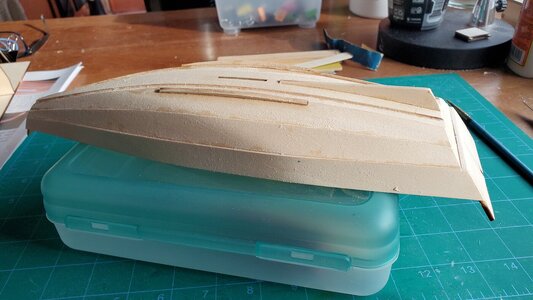
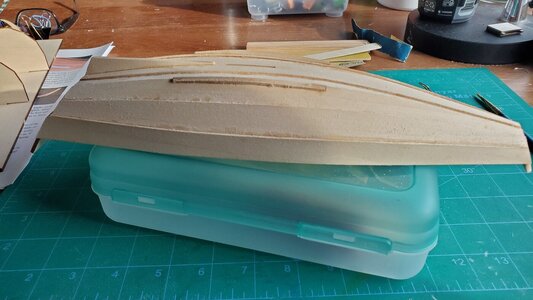
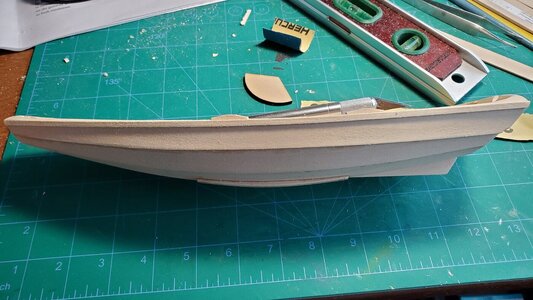
I have finished planking and cleaned up the hull.

20240228_075817.jpg

Applied the Skeg and Bilge keels.

20240228_080038.jpg

20240228_080048.jpg

Built and installed the Dagger board case. shaped and installed the bottom frames

20240228_124134.jpg

I have soaked the inwales in hot water and they are currently drying.

20240229_123128.jpg

I am happy with how my model is turning out.
 
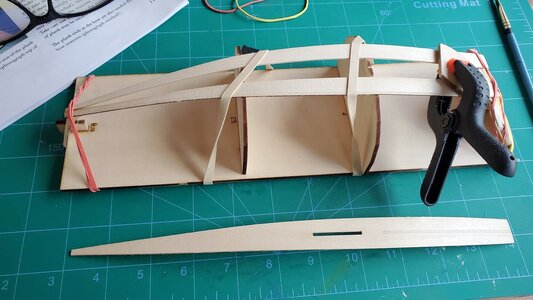
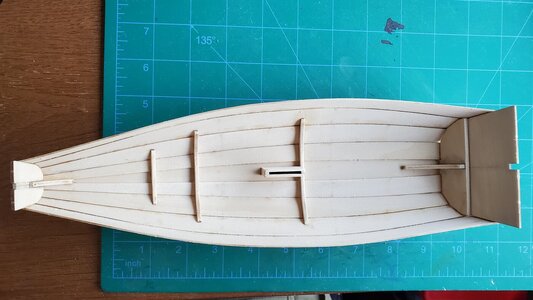
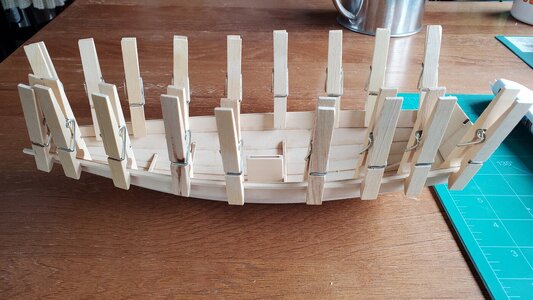
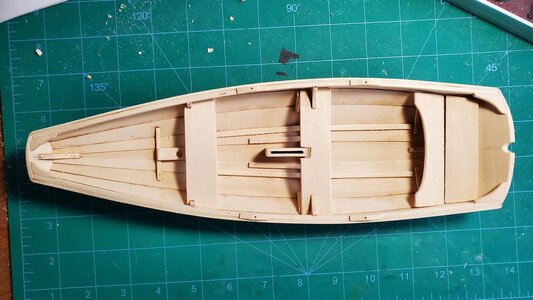
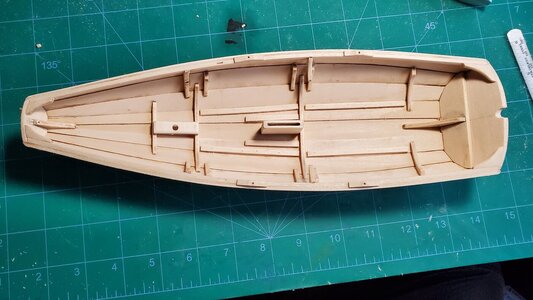
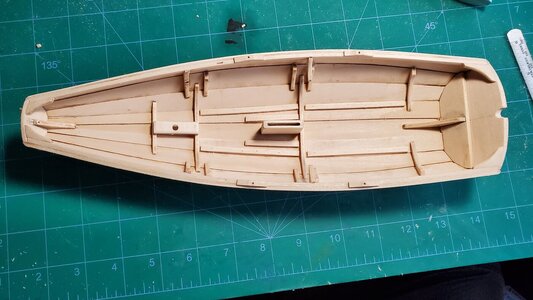
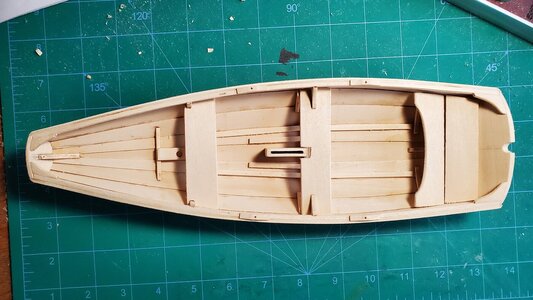
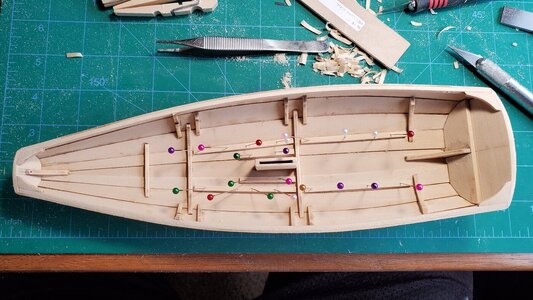
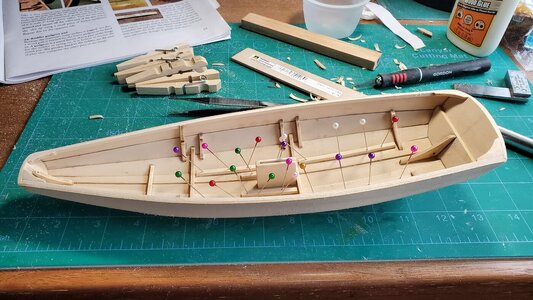
The strips for the inwales are longer than required so I clamped them to the outside of the hull to pre-bend them. After they were dried, I fit the stern end using a sanding stick. The manual suggests to only glue the first inch or so and then try to trim and fit the bow end. I choose to cut and fit each side before gluing and after I was happy with the fit I glued the entire side at once and it worked out good for me. Next was the quarter knees. The instructions were not clear as to whether the shorter arm was against the inwale or the stern. After looking at the pictures and other build logs, I decided the longer arm was against the inwale and the shorter against the stern and bow transoms. I beveled the transom side and glued in place. The instructions for the seat and thwart frames were unclear to me as to how high they should be up the sides of the hull, but there seemed to be enough flat surface to make a assumption as to where they should be. I will find out later if I was close enough. The floor board cleats needed to be slightly curved to match the bottom of the hull but with the dagger board case installed it was difficult to try to put weights or clamps to hold them when drying so I decided to do what I did with my dory build and wet them with hot water, put the ends off the bench with scrap wood and put a weight in the middle of the pieces until dry. sorry, but I forgot to get a picture of this. After they were dry I glued them in the hull and again there wasn't any measurements given for proper placement so I just eyeballed it from the pictures. I used pins to hold in place while the glue was drying.
20240302_143011.jpg

20240302_143019.jpg

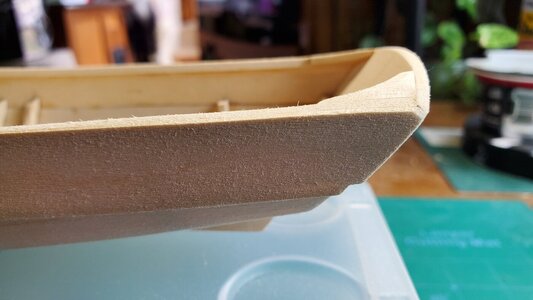
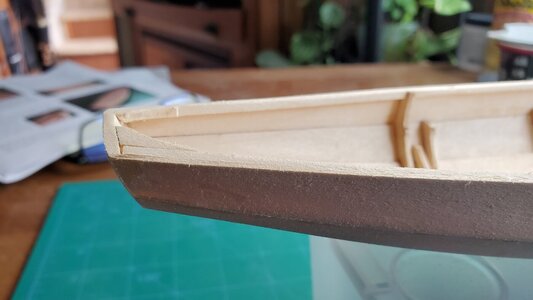
I read, reread, and reread the instructions on finishing the upper edges of the transoms and was confused as to what it meant by the corners at the sheer planks. I used a knife to remove a lot of bulk and then a sanding stick to finish, I ended up removing to much material and both the bow and stern ended up flush with the quarter knees and I don't think this is accurate. I am hoping it will not cause a problem with functionality and only be for authenticity.
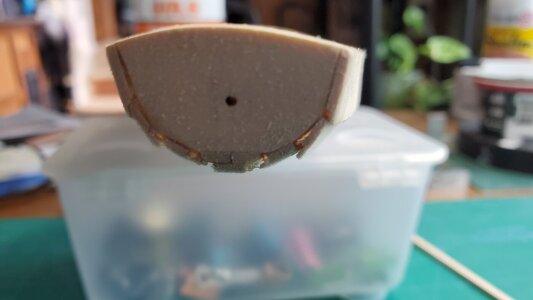
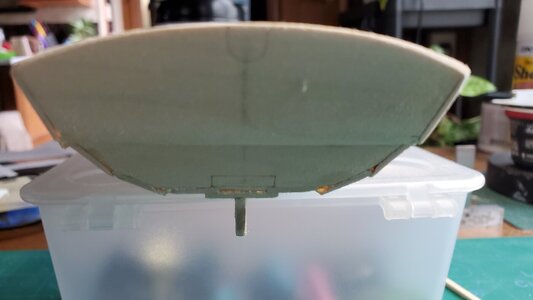
20240304_122124.jpg

20240304_122138.jpg

20240304_122338.jpg

20240304_122357.jpg

The manual states the mast step has 2 pieces, one with a hole and one without. I could not find a piece without a hole so I glued both pieces together with the hole and then in place on the bottom of the hull.
The chain plate slots were kinda tricky for me also. I located the slots as best as I could figure out and drilled the hole at the forward end as the instructions stated. I don't know if my saw was the same size as they mentioned in the instructions, but it worked for me to create the slots. When I created these slots I did not realize there was actual hard included to be installed later in the build. My concern now is I made these slots larger than they probably should be but I will find out when I put the metal straps in.
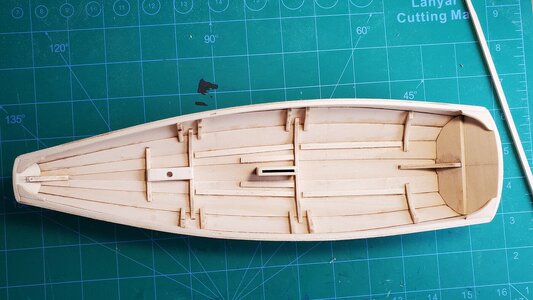
20240304_121820.jpg

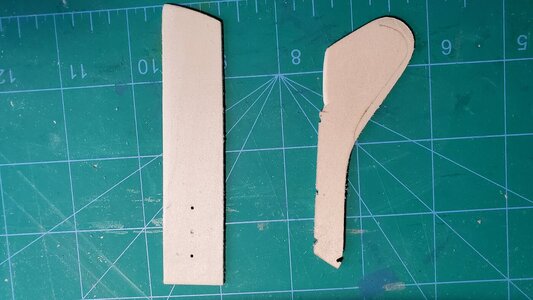
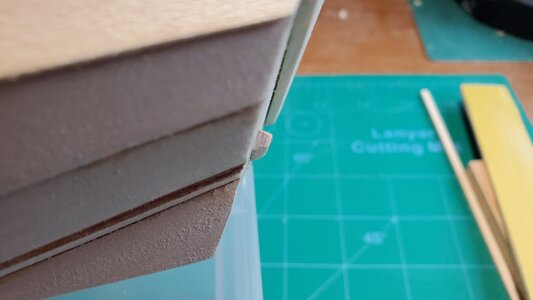
The instructions talk about using the angle guide to sand one edge of the rudder gudgeon pad. I did this but they didn't say if this goes on the top or bottom. I seems that it should be on the bottom side of this pad to me so thats what I decided to do.
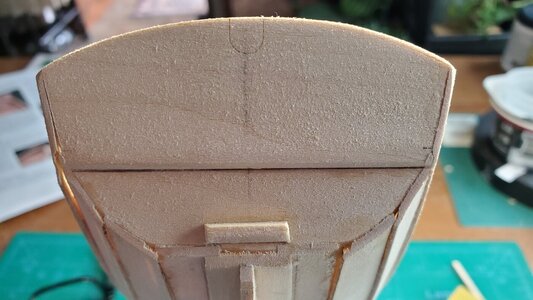
20240304_124015.jpg

20240304_133239.jpg

I am ready to work on the rowlock pads now. I am still happy with my progress and even though I may have made a few mistakes along the way I am not frustrated or discouraged yet and am still having fun with this new hobby.
More to come.
Dave.
 
Glad to have another enjoying this hobby, but do remember it can be addicting. Love the use of clamps, clothespins, and rubber bands. One thing to remember is basswood is very soft and dents easily. I learned this the hard way. So when clamping I sometimes use a backing strip between the clamp and model surface.

Its looking great
 
Roscoe you have the right attitude for this hobby! As you find a mistake just shake it off and try to fix it. If you cant fix it on the current build you will remember it and not make it on the next. You can take that from a guy who has made a ton of them over the years.
 
All the little detail things really bring life to the model. Painting basswood is hard to get a smooth finish without first using a paint sealer and then multiple coats of thin paint. But it will be worth it bringing all the small details to life.
 
Your Pram is looking great! A few pieces of advice. As Will has said a few coats of sanding sealer before painting will really help prevent the basswood from getting "grainy". Also make sure that the dagger board will easily pass through the dagger board case before and after you paint it.

Rob
 
I'm currently working on the same model. Struggling with the metal hardware, though. The bolts provided with the kit are way too thick to fit through the holes in the stay plates, etc.
 
I'm currently working on the same model. Struggling with the metal hardware, though. The bolts provided with the kit are way too thick to fit through the holes in the stay plates, etc.

I found them also too thick and too long. For the back stays I enlarged the holes. cut the nails and inserted them. I omitted them for the oarlocks and grunions etc, just using CA. To attach the tubing to the straps on the grunions, I silver soldered them, I did not think the CA would have held them secure enough.

Rob
 
I found the same problem with the hardware. My solution was to take copper rod and made new nails. Placed the rod in a small vise and lightly hammered the end to flare and cut to length. The copper rod was made from copper wire stretched to harden and shape straight.
 
Looks good. Take your time on the finish, consider a light sanding between coats.
 
I'm currently working on the same model. Struggling with the metal hardware, though. The bolts provided with the kit are way too thick to fit through the holes in the stay plates, etc.
Donnie, I have not gotten that far yet but I am glad that Rob and Will offered suggestions as I will be getting there soon myself.
I will document here how I decided to handle it.
 
Back
Top