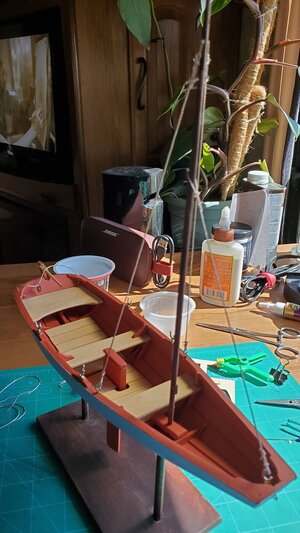
Norwegian Sailing Pram 1:12 by Roscoe [COMPLETED BUILD]

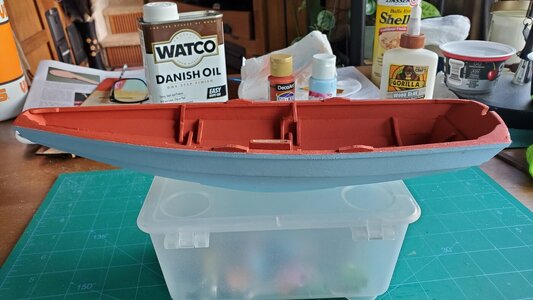
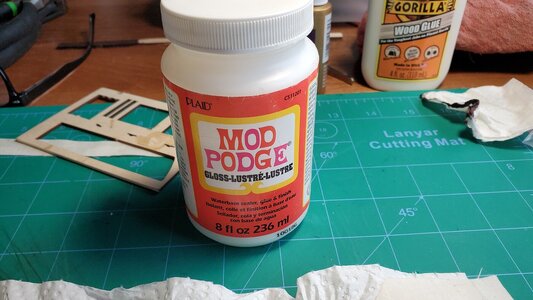
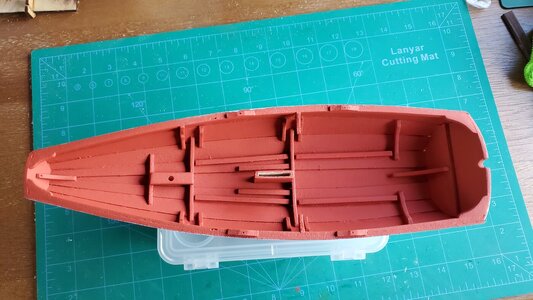
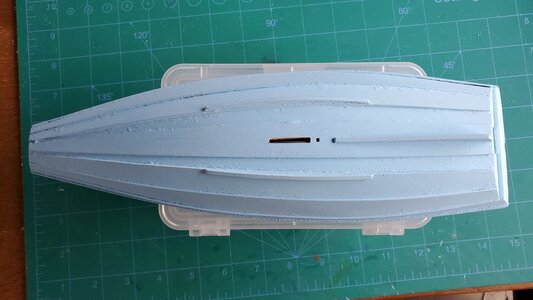
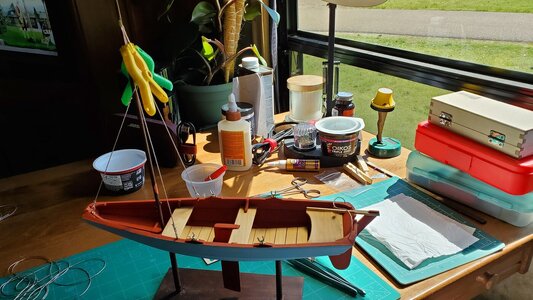
As Rob and Will has described, I found that painting my dory, I found the finish was a little ruff because I didn't seal first. With this being only my second build I am still experimenting with finishes. I choose to use Shellac as a sanding sealer before painting and am happier with the finish, but there still could be room for improvement. here are the products I am using for my pram.
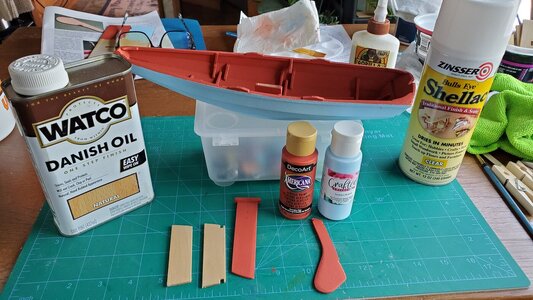
20240307_142629.jpg

I sprayed 2 coats of shellac and then 3 coats of paint on the hull. I did not sand between coats but that would help with a smoother finish. I am still struggling with how to sand the interior between all the nooks and cranny's.
20240307_142821.jpg

20240307_142832.jpg

20240307_142851.jpg

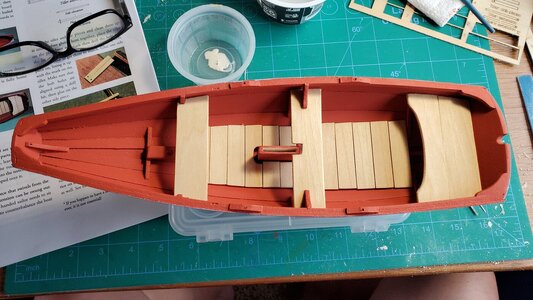
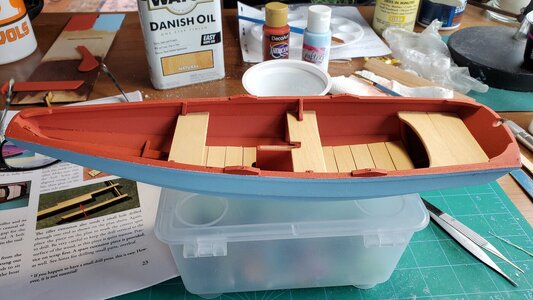
I choose to leave the seats and floors a natural color and used the Danish Oil like I did with my Dory.
20240308_101748.jpg


20240308_101806.jpg

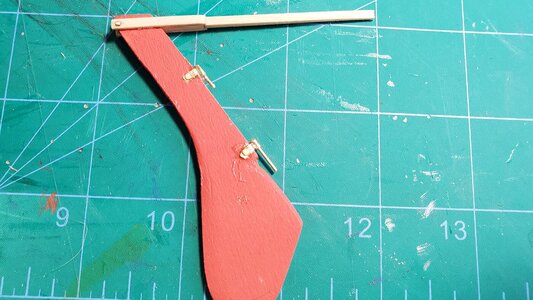
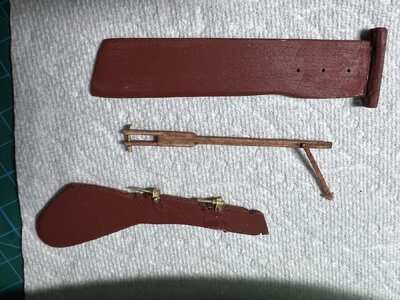
I am going to leave the tiller natural (clear danish oil), but painted the dagger board and rudder the same color as the interior of my pram (Georgia Clay).
 
Thanks for the replies, Will and Rob. I got all three stays installed by enlarging the holes and cutting the nails. But I like the idea of making new nails, too!
 
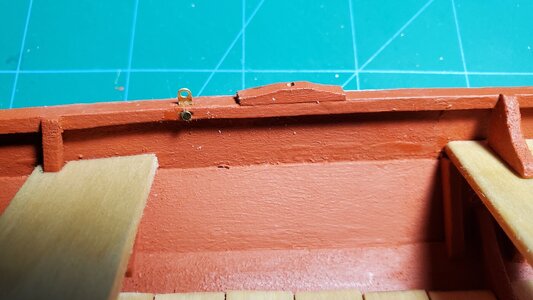
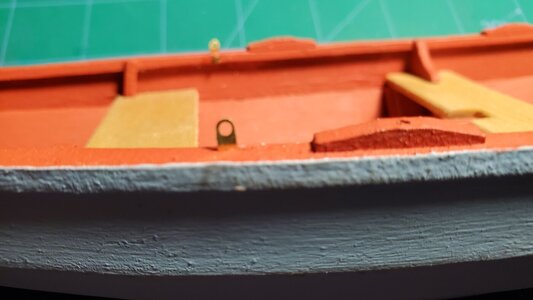
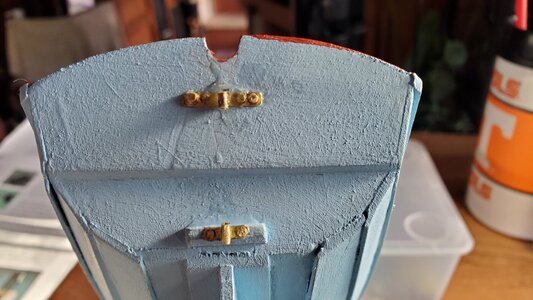
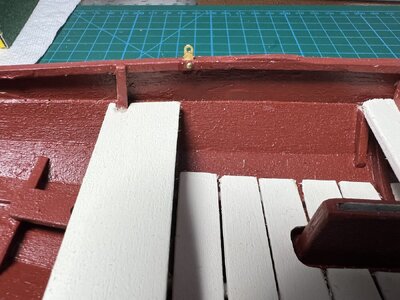
Installing the back stay plates went very well for me. I enlarged the lower hold in the brass so the supplied bolts would pass thru, cut the brass bolts supplied in the kit very short and pre-drilled the holes in the inwale. A drop of CA glue completed the install.

20240308_170632.jpg

20240308_170730.jpg

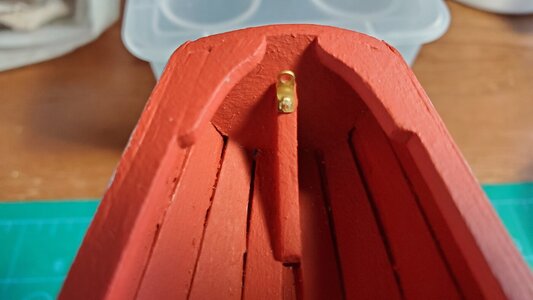
The forward stay went pretty well also, cutting the brass tube used to represent the hex nut was a little challenging but I managed to get it.

20240312_175752.jpg

20240312_175846.jpg

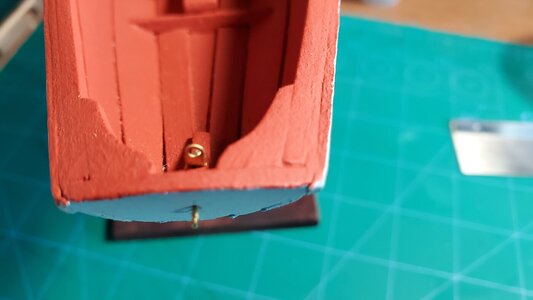
The rudder gudgeons were a different story. It took me all day to get these cut and installed. Working with CA glue turned out to be very challenging for me. I was able to glue everything except the brass pieces I was trying to. my fingers, the tweezers, other pieces of brass that weren't supposed to be glued. I was very frustrating. I manged to loose 2 of the small brass tubes and had to re-cut them. I finally got the rudder installed.

20240312_181029.jpg

20240312_181101.jpg

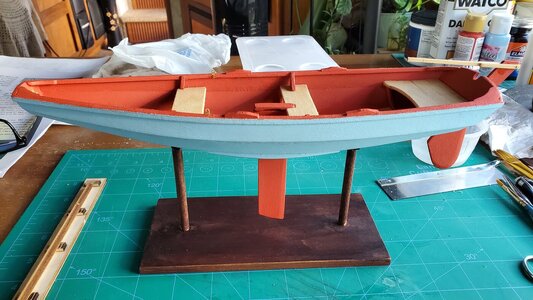
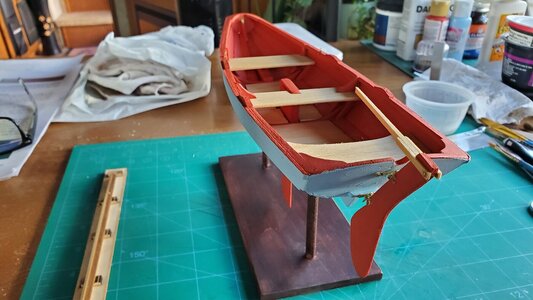
I built the base and glued the hull to the supports.

20240312_172058.jpg

20240312_172133.jpg

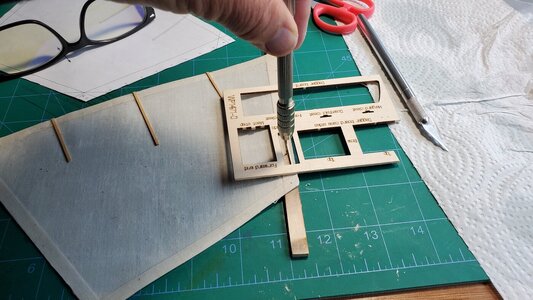
The manual has 2 methods of making the mast. The first is to use a supplied dowel and second was to use the 2 flat laser cut pieces and glue them together then shape it. I am going to try to shape the square mast and not the supplied dowel. My thought is if I destroy it to bad I can use the dowel. and this is where I am at in my build. I have assembled the jig for shaping the mast and I have the 2 mast half's glued together. The picture in the manual for the jig has 5 V shaped blocks the mast sits in when shaping but I could only find 4 in the kit. I used the board these were cut out of to create a fifth one although I am not sure it was necessary. I will find out when I start shaping.

Roscoe
 
I also used the shaped square mast. It was easier to drill the holes in the square piece first then shape it. It came out a bit oval but I was pleased with the shape and used it.
 
I too am having a hard time with the rudder gudgeons. Especially getting a clean cut on the tube so the thinner rod passes through from the rudder to the hull plate.
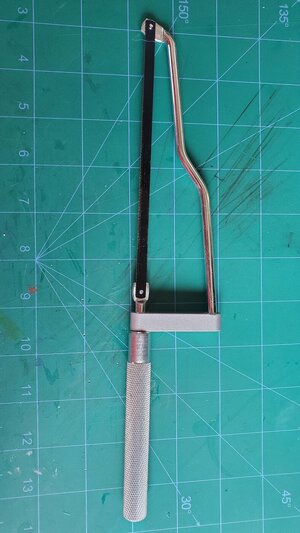
I am using a similar fine tooth saw I see in your pic, and vise, but having trouble getting a clean. Also had to order another die cut plate of brass because I didn’t t have a large enough clip to wrap around the tube and still bolt it to the rudder.
What’s the best way to get a clean cut on a tiny tube about 1/16” long?
It is important to anneal the tubes and pins before cutting. It makes cutting much easier. I used a fine tooth razor saw like this


but a regular razor saw would also work


After the tubing is cut I use a small diamond file to smooth the ends and clean them of any burrs. I make sure the rods will fit into each other. I found that soldering the tubes to the brass strip was more secure than using CA

Rob
 
Last edited:
I too am having a hard time with the rudder gudgeons. Especially getting a clean cut on the tube so the thinner rod passes through from the rudder to the hull plate.
I am using a similar fine tooth saw I see in your pic, and vise, but having trouble getting a clean. Also had to order another die cut plate of brass because I didn’t t have a large enough clip to wrap around the tube and still bolt it to the rudder.
What’s the best way to get a clean cut on a tiny tube about 1/16” long?
Hi Larro,
I found a mini hack saw at Harbor Freight that worked best for me. Also as Robb pointed out, annealing it first seemed to help. I am currently building out of my 5th wheel camper and only brought along a small plastic hobby vice which worked okay, but a metal vise would have been a bit better for me to hold the rod more securely while cutting. after cutting them, I held it in a small pliers and used a file to smooth the ends. I didn't have a broach but used a drill bit to de burr the tube.
Patience is what is needed, good luck..

20240316_113247.jpg
 
Installing the back stay plates went very well for me. I enlarged the lower hold in the brass so the supplied bolts would pass thru, cut the brass bolts supplied in the kit very short and pre-drilled the holes in the inwale. A drop of CA glue completed the install.

View attachment 434566

View attachment 434567

The forward stay went pretty well also, cutting the brass tube used to represent the hex nut was a little challenging but I managed to get it.

View attachment 434576

View attachment 434577

The rudder gudgeons were a different story. It took me all day to get these cut and installed. Working with CA glue turned out to be very challenging for me. I was able to glue everything except the brass pieces I was trying to. my fingers, the tweezers, other pieces of brass that weren't supposed to be glued. I was very frustrating. I manged to loose 2 of the small brass tubes and had to re-cut them. I finally got the rudder installed.

View attachment 434578

View attachment 434579

I built the base and glued the hull to the supports.

View attachment 434580

View attachment 434581

The manual has 2 methods of making the mast. The first is to use a supplied dowel and second was to use the 2 flat laser cut pieces and glue them together then shape it. I am going to try to shape the square mast and not the supplied dowel. My thought is if I destroy it to bad I can use the dowel. and this is where I am at in my build. I have assembled the jig for shaping the mast and I have the 2 mast half's glued together. The picture in the manual for the jig has 5 V shaped blocks the mast sits in when shaping but I could only find 4 in the kit. I used the board these were cut out of to create a fifth one although I am not sure it was necessary. I will find out when I start shaping.

Roscoe
 
Hi Larro,
I found a mini hack saw at Harbor Freight that worked best for me. Also as Robb pointed out, annealing it first seemed to help. I am currently building out of my 5th wheel camper and only brought along a small plastic hobby vice which worked okay, but a metal vise would have been a bit better for me to hold the rod more securely while cutting. after cutting them, I held it in a small pliers and used a file to smooth the ends. I didn't have a broach but used a drill bit to de burr the tube.
Patience is what is needed, good luck..

View attachment 435330
Thanks, that helps. The rudder gudgeons are giving me a difficult time. And the small extra handle on the tiller was a PIA to drill a clean hole through.

IMG_3244.jpeg
 
Hi Larro,
I found a mini hack saw at Harbor Freight that worked best for me. Also as Robb pointed out, annealing it first seemed to help. I am currently building out of my 5th wheel camper and only brought along a small plastic hobby vice which worked okay, but a metal vise would have been a bit better for me to hold the rod more securely while cutting. after cutting them, I held it in a small pliers and used a file to smooth the ends. I didn't have a broach but used a drill bit to de burr the tube.
Patience is what is needed, good luck..

View attachment 435330
Thanks, that helps. The gudgeons are giving me a difficult time. And the small extra ha,due
Thanks for the replies, Will and Rob. I got all three stays installed by enlarging the holes and cutting the nails. But I like the idea of making new nails, too!
I used some smaller nails than supplied in the kit But same effect.

IMG_3246.jpeg
 
It is important to anneal the tubes and pins before cutting. It makes cutting much easier. I used a fine tooth razor saw like this


but a regular razor saw would also work


After the tubing is cut I use a small diamond file to smooth the ends and clean them of any burrs. I make sure the rods will fit into each other. I found that soldering the tubes to the brass strip was more secure than using CA

Rob
Thanks Rob!
 
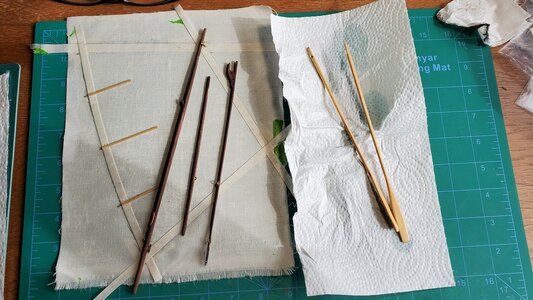
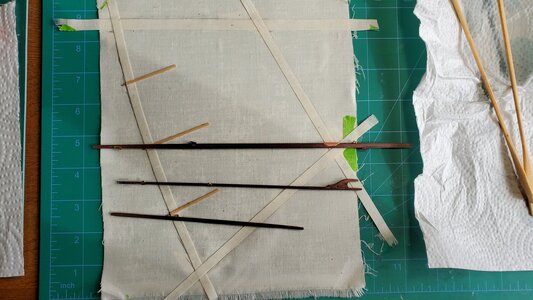
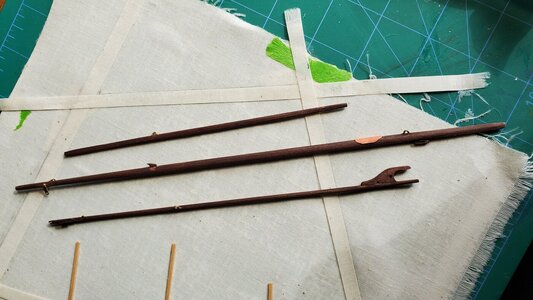
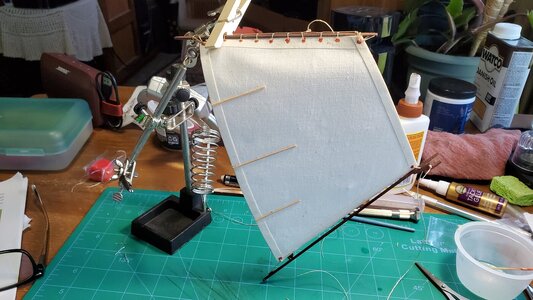
I have finished the mast, boom, and gaff. As others have mentioned, they came out more oval than round but I am okay with this. I ended up breaking the tip off the gaff also as mentioned by others. The break is not noticeable after I glued it back together. I also worked on the sail. The instructions say to use diluted glue and paint the material. I choose to use Modge Podge. I taped the material to my cutting mat and applied the modge podge and when I pulled it off I was not real happy with the outcome. The side I applied the glue to left a texture on the material which I like, but the underside against the cutting mat left a smooth glossy finish which I don't care for this look so I will not do it this way in the future. I should have tested this process first before jumping off the dock, so I will live with the outcome. I also shaped the oars, This went much better than the oars for the Dory I did, but I think they are bigger. I used the mast jig and that worked very well to start the shaping.
Tomorrow I hope to start lashing the sail.
I think I am getting very close to finishing this one.

20240324_161536.jpg

20240324_161643.jpg

20240324_161731.jpg
 
I’m right behind you! Just building the stand right now. Your post helps big time. Not sure what Modge Podge is yet, but, I guess I won’t be using it. I’ll look it up for future reference though. Thanks for your build post! This is very helpful to me.
 
Last edited:
If I may suggest, try on a piece of sail material to put the modge podge on, flip it over to get the smooth side you don't like and put some more on. It may dry with more of a texture you will like. Alternately, try a little water with a sponge on the smooth side to roughen it up.

Rob
 
Larro, I'm glad my posts are helping you.
Rob, I tried to wet the backside of the sail but it didn't help. I am okay with how its looking, just want to do something different when I get to the next one.
I was mistaken on the name of what I used, its Mod Podge and the bottle actually says Glossy.. oh well, next time.

20240325_102457.jpg

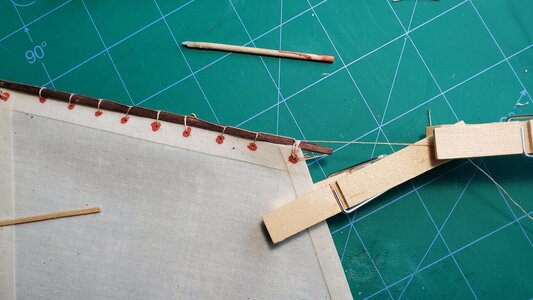
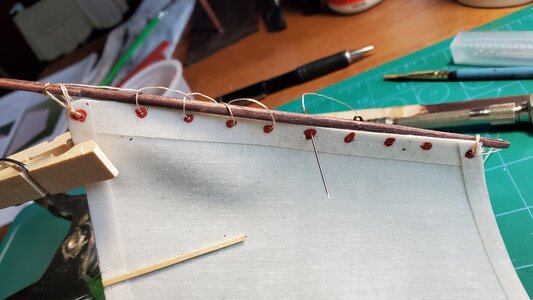
When I drilled the holes in the sail, I centered the 4 corners, but I used a scrap from the kit to measure the distance from the edge to the line of holes for lacing.

20240325_113449.jpg

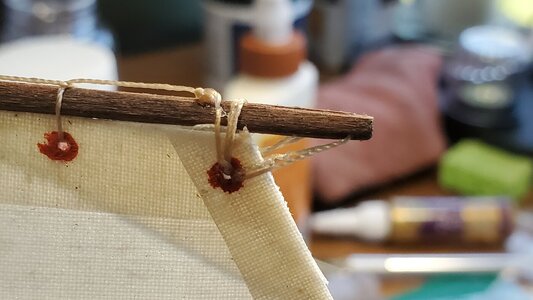
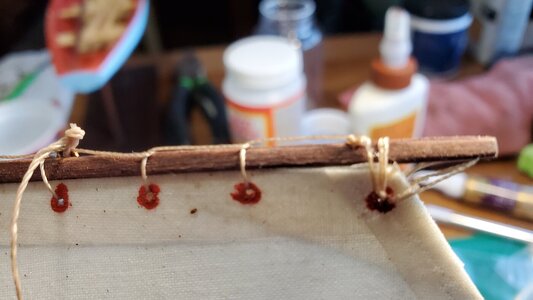
I cut off the end of a toothpick and used that to paint around the holes I had drilled. it worked good. I wasn't sure what color to use so I used the same color I painted the inside of the pram with.

20240326_085857.jpg

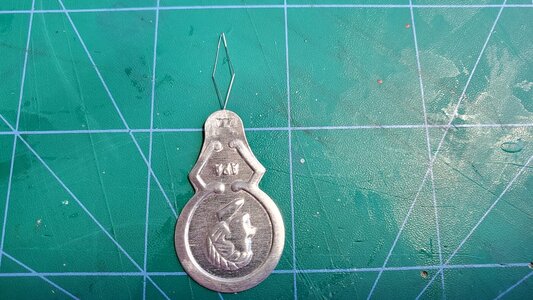
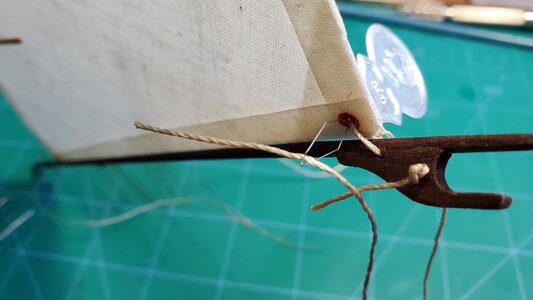
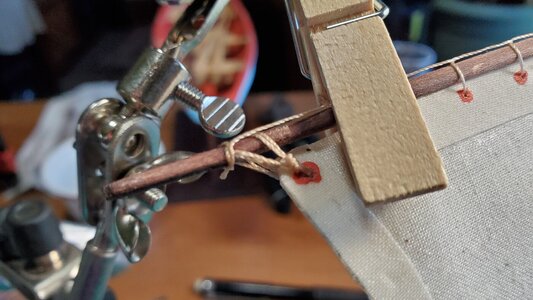
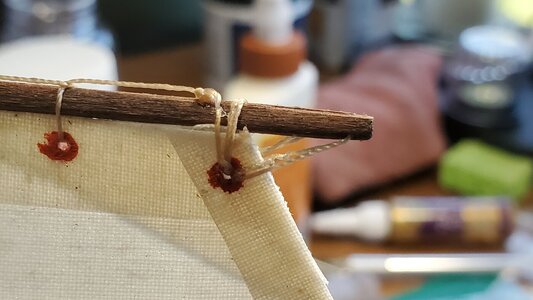
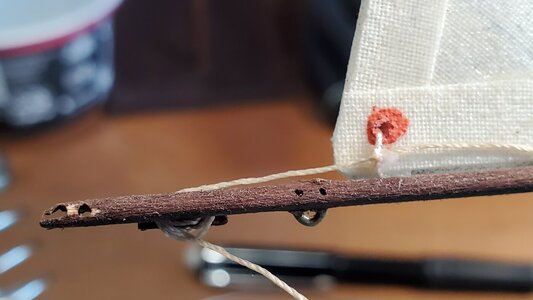
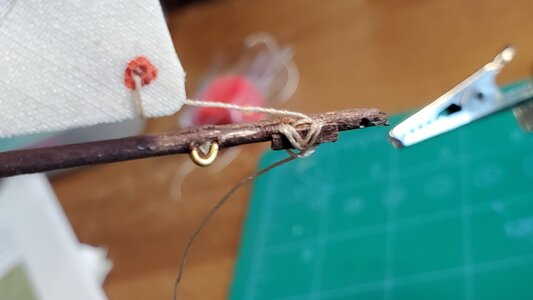
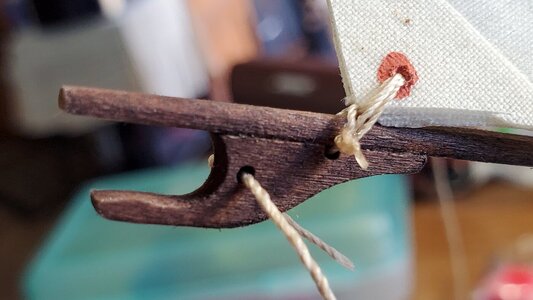
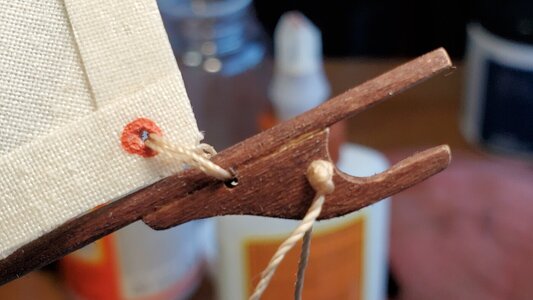
For attaching the corners to the gaff and boom my wife had a handy tool which I believe is a needle threader. I worked great for this..

20240327_114504.jpg

20240327_114633.jpg

And a regular sewing needle worked great for the lacing.

20240326_084021.jpg

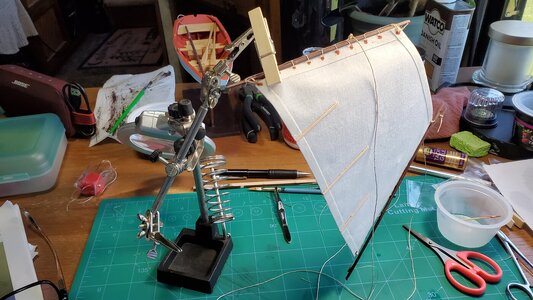
I found a pair of helping hands were needed to finish attaching the sail to the gaff and boom to get it off the mat.

20240327_105710.jpg

I have all the rigging done on the sail now.

20240327_105844.jpg

20240327_114747.jpg

20240327_114835.jpg

20240327_114917.jpg

20240327_114928.jpg

20240327_114946.jpg

20240327_105908.jpg

I have the traveler attached to the back of the boat and next is to put the mast in place and hoist the sail.
I hope to do this tomorrow.
I am getting very close to the end now and can't wait to see how it looks with the sail on.

20240327_114747.jpg

20240327_105830.jpg
 
Last edited:
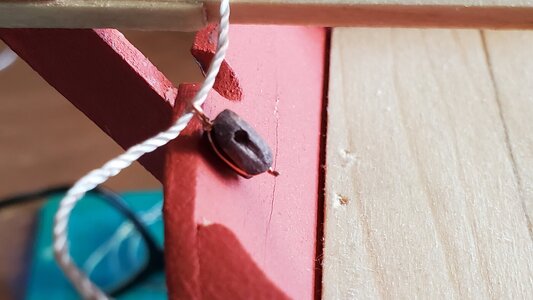
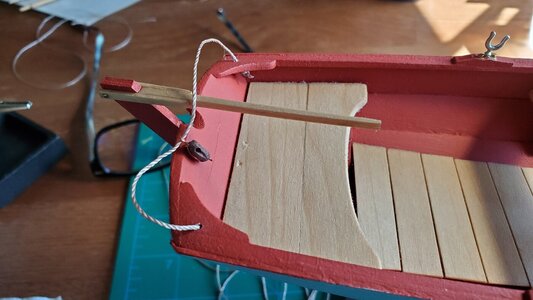
I modified the block as the instructions suggested. I drilled holes in the stern transom knee because they weren't pre-drilled with the kit. I guessed on where they should be based on the picture from the instructions. I threaded the line and attached the block.

20240328_152152.jpg

20240328_152210.jpg

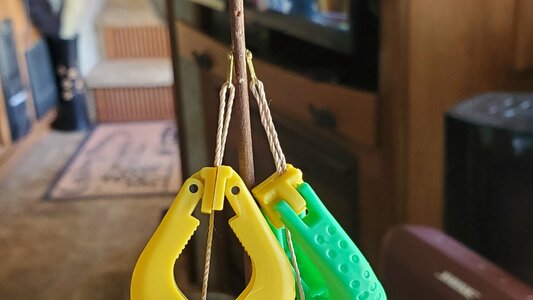
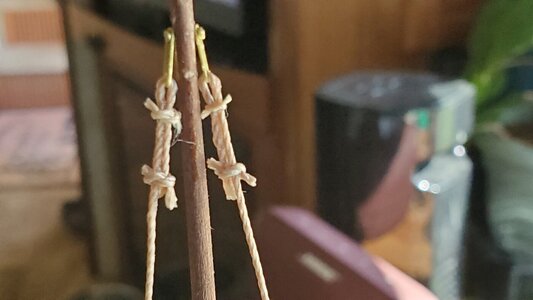
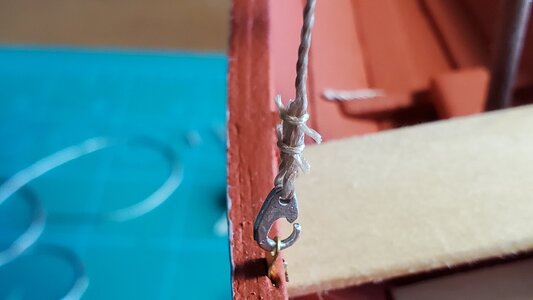
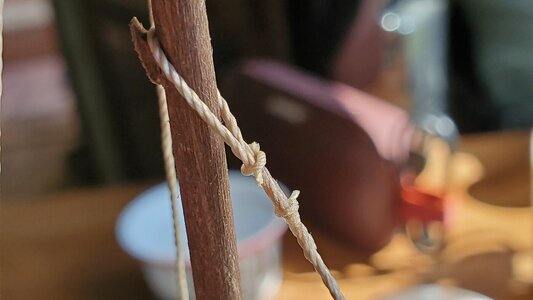
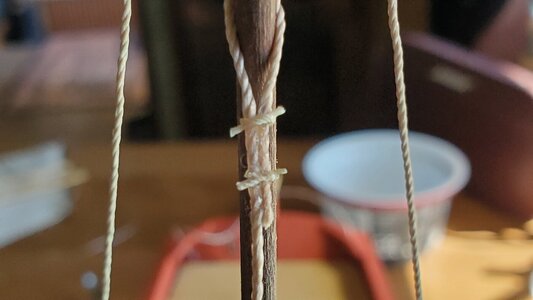
The instructions never said to glue the mast in the step so I choose not to. I was pretty nervous about getting the fore and back stay lines at the proper tension but it actually went pretty well. I used the optional method of making the loops on the clips, mast, and back stay straps. The line didn't want to thread thru the holes that were in the back stay straps and I have had issues on my dory in this area so I drilled them slightly bigger and was able to thread the line thru without messing it up. It would have been easier to have done this before I attached them to the mast but I did manage to do it without breaking the mast or ruining the straps.

20240328_142622.jpg

20240328_142717.jpg

20240328_151806.jpg

20240328_151826.jpg

20240328_151946.jpg

20240328_152004.jpg


20240328_152105.jpg

I am ready to hoist the sale. I will have pictures shortly.
 
Back
Top